How To Make
- PLUSHIES
- → Pretty Tiger – In The Hoop Plushie Toy
- → Cow family – In The Hoop Plushie Toy
- → Leopard - In The Hoop Plushie Toy
- → Kitty – In The Hoop Plushie Toy
- → Bunnies – In The Hoop Plushie Toy
- → Pretty Foxes 🦊 In The Hoop Plushie Toy
- → Simple snowballs
- → Snowballs
- ALPHA & FONTS
- → Text Along a Curve
- → Raggedy App Duo fonts
- → Puffy foam fonts
- → Puffy Fonts Videos
- → Glitter HTV
- → Glitter HTV Alphabets
- → Glitter HTV in embroidery
- → Ombre Iridescent 2 Color Fonts
- → Patchwork style Applique fonts
- → Split Greek
- → Candy Stitch Fonts
- → Fringed Double Layer Applique
- → Circle BX Font (Embrilliance)
- → Working with alphabets
- SOFTWARE & SETUP
- → Materials & Process FAQ
- → How to unzip
- → Resize Embroidery Designs
- → Alphabets in PE-Design 11
- → Tajima Pulse software
- → About ESA Files
- → Quality Imports in Wilcom
- → Files in Wilcom
- → Quality Imports in Hatch
- → Hatch 3? Map Alphabets
- → Use Alphabets in Embird
- → Fonts with Your Bernina
- → ART Bernina Machines
- → Fonts in Melco DesignShop
- → Font Editor (Luxe) in Chroma
- FRINGE
- → Fringed Rainbow
- → Fringed Pom-Poms
- → Fringed designs
- → Fringe Embroidery videos
- → Llama Fringed designs
- GAMES & LEARNING
- → Math multiplication table game
- → Puzzle designs
- → Memory game Pumpkins
- → Shapes Memory game
- → Little Chef oven mitts
- → Little Chef hot pot holder
- → Farm memory game
- ACCESSORIES
- → Key cover
- → Fringe key fob
- → Puffy key fobs
- → Keychain in the hoop
- → Envelope to Santa Felt project
- → Pineapple Zipped Bag
- → Zipped Bag
- → Zipper Bag
- → Video for a Zipper Purse
- → Zipper Lined Bag
- → Biker key case
- → Fabric and Felt Bows
- → Kindle Sleeve
- → Apple Airtag Key Pocket
- → Face Mask in the hoop
- → Zipper bag with a flap
- CLOTHING DETAILS
- → Lace split seam
- → Split seams in short
- → Neckline cutout
- →Doctor side seam Bow
- → 3D BUTTERFLY
- → Bunny Head 3D
- → Unicorn 3D
- → Unicorn 3D
- → Lamb head 3D
- → Seamstress Pockets
- → Teacup Pockets
- HOME DECOR
- → Fringed Edge Napkins
- → Crown bow holder
- → Full Christmas Stockings
- → Simply Christmas Stockings
- → Ornaments
- → Ginger Stocking felt project
- → Gingham Christmas ornaments
- → In-the-hoop Gingerbread
- → Gnome towel topper
- → Gingerbread Stuffies
- → Towel Topper
- → Towel hanging hole
- → Cat Towel Topper
- → Sloth Towel hanging hole
- → Towel Hanging Holes
- → Curtain holes
- → Christmas ornaments
- → 3D Fabric and Felt Bows
- → Felt Bow Folding
- → Fringed FSL Napkin Rings
- → Halloween Napkin
- → Coasters
- FSL LACE
- → Bow hanger ribbon FSL
- → Create FSL Earrings
- → FSL the "Succulentes"
- → Lace FSL Hibiscus
- → FSL roses floral crown
- → Cat Lace FSL bow
- → Assembly: Lace FSL bow
- → FSL 3D Dragonfly
- → 3D Bow
- OTHER
- → Bee Ribbon Appliqué
- → Tooth Fairy pillow
- → Tooth Fairy pillow Tooth
Fringed Edge Napkins
Fringed Edge Napkins Tutorial
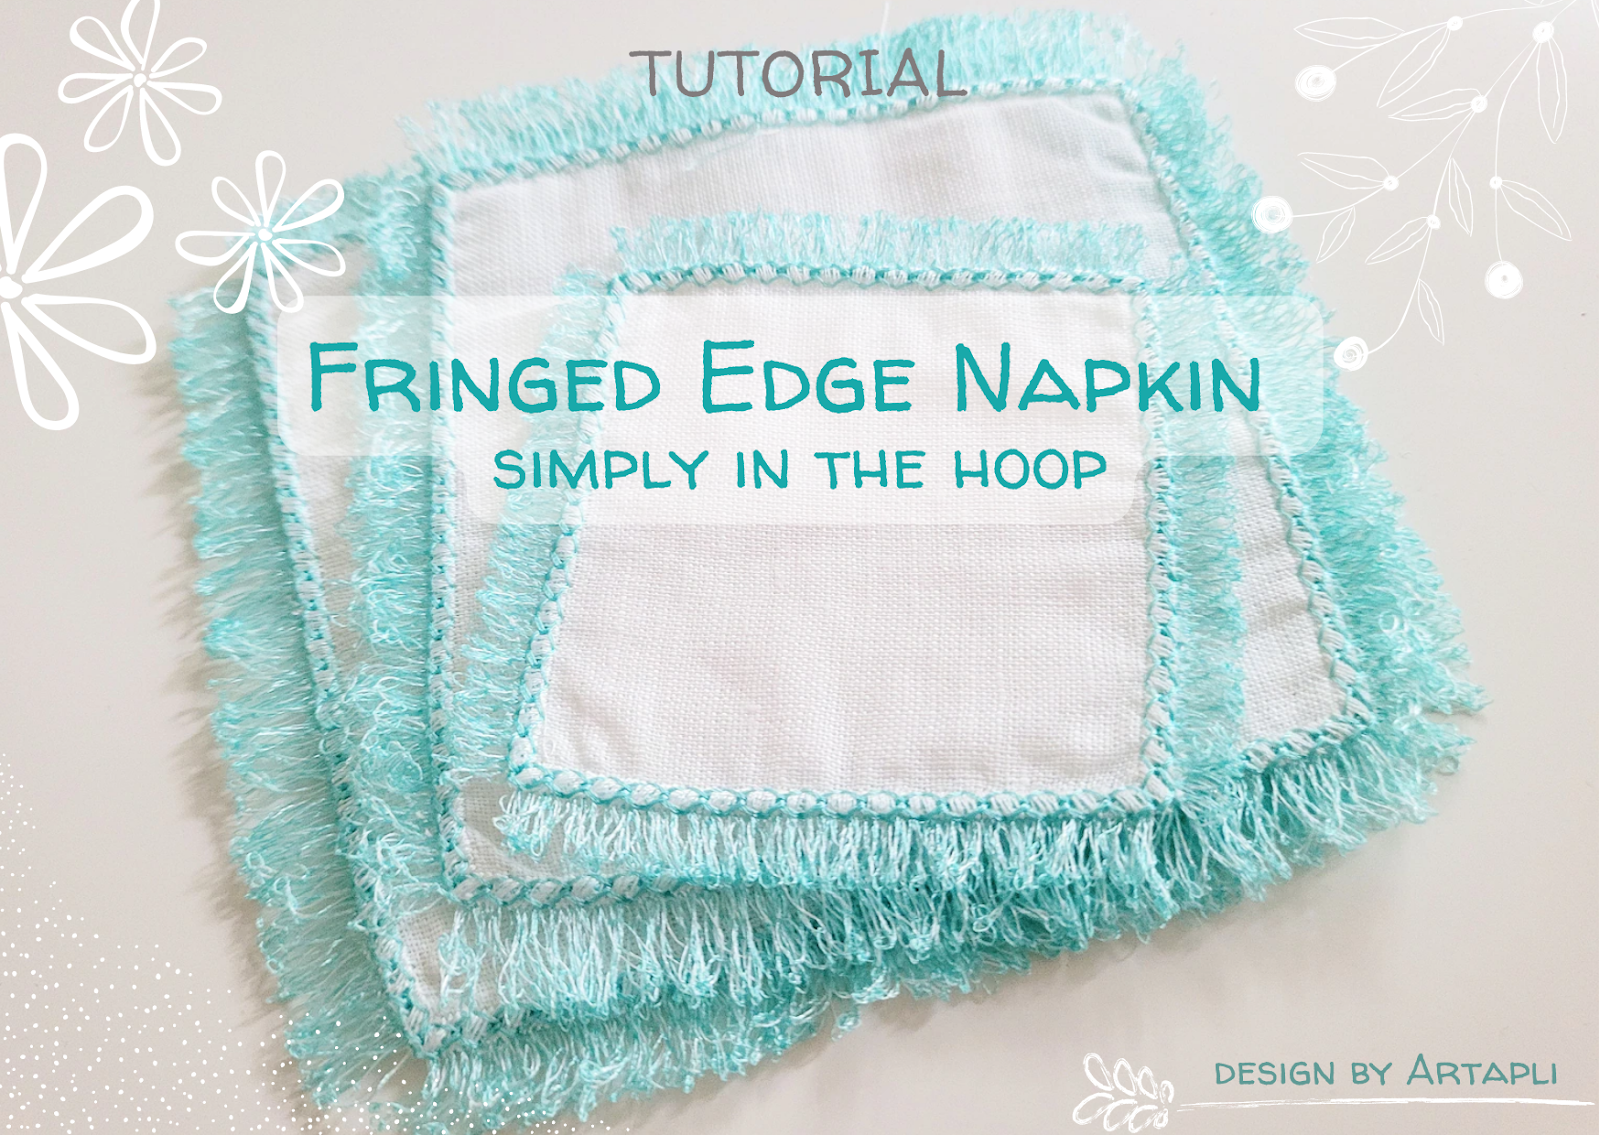
This design creates a napkin with a lovely fringed edge, perfect for decorating your home or for gift giving. The design comes in many sizes, from 4 inches up to 9 inches, and can be used to make napkins, coasters, placemats, doilies, and more.
Materials Needed
For this project, as shown in the photos, you will need your main fabric (I used linen) and a water-soluble stabilizer. I recommend using a fabric-style wash-away stabilizer, like Vilene, rather than a film type.
Stitch Sequence
- Napkin outline
- Fringe large stitches
- Fringe tack-down stitch
- Decorative stitch
Embroidering Instructions
Hoop a water-soluble stabilizer and lay a piece of your main fabric flat on top.
Stitch Color 1, which is the napkin outline, then stop the machine. (Note: I have a large hoop, so I am stitching three napkins at once in this photo).
Do not unhoop your project yet. Carefully trim the excess fabric from around the outside of the napkin shape.
Place the hoop back into the machine and continue stitching the remaining Colors 2, 3, and 4.
When finished, unhoop your project and trim the excess stabilizer. Gently wash the napkin in lukewarm water to dissolve the remaining stabilizer. (Sorry, I forgot to take a photo of the trimming; here you can see the washing process).
Place the napkin on a towel to dry.
TIP: While it's damp, straighten the napkin and its fringe so that it dries evenly.
Congratulations! You are done!
Find more napkin designs in my shop.