
FSL roses floral crown Unicorn
Freestanding Lace (FSL) Unicorn Head with Shabby Chic Roses
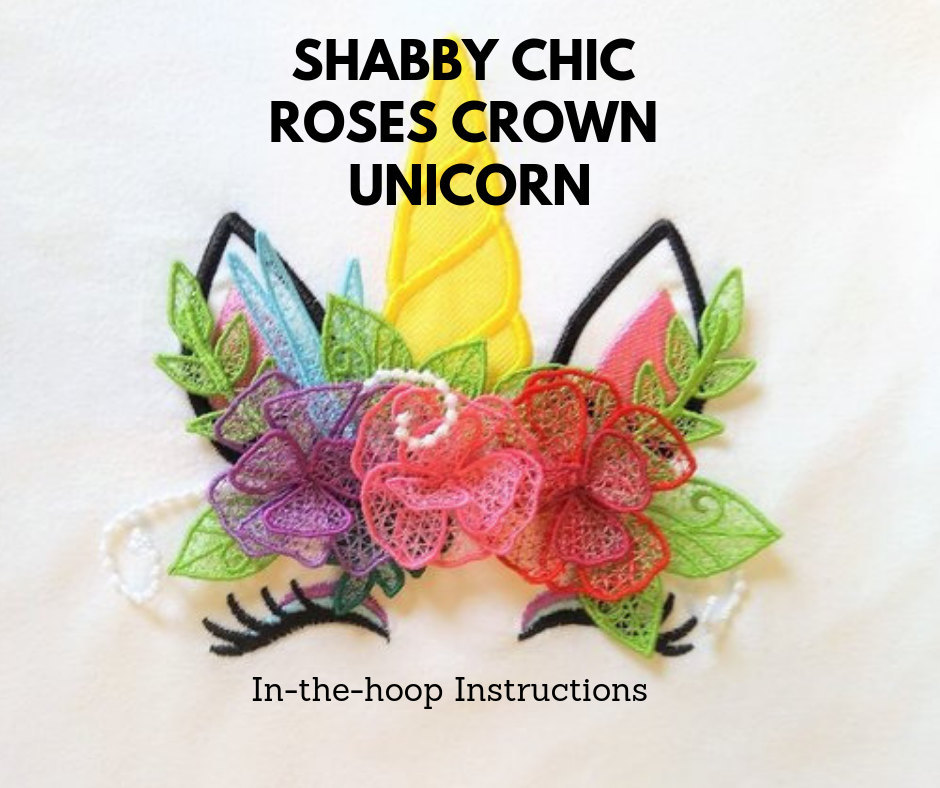
Project Overview
To make this project, three separate hoopings are required. The download folder includes three files:
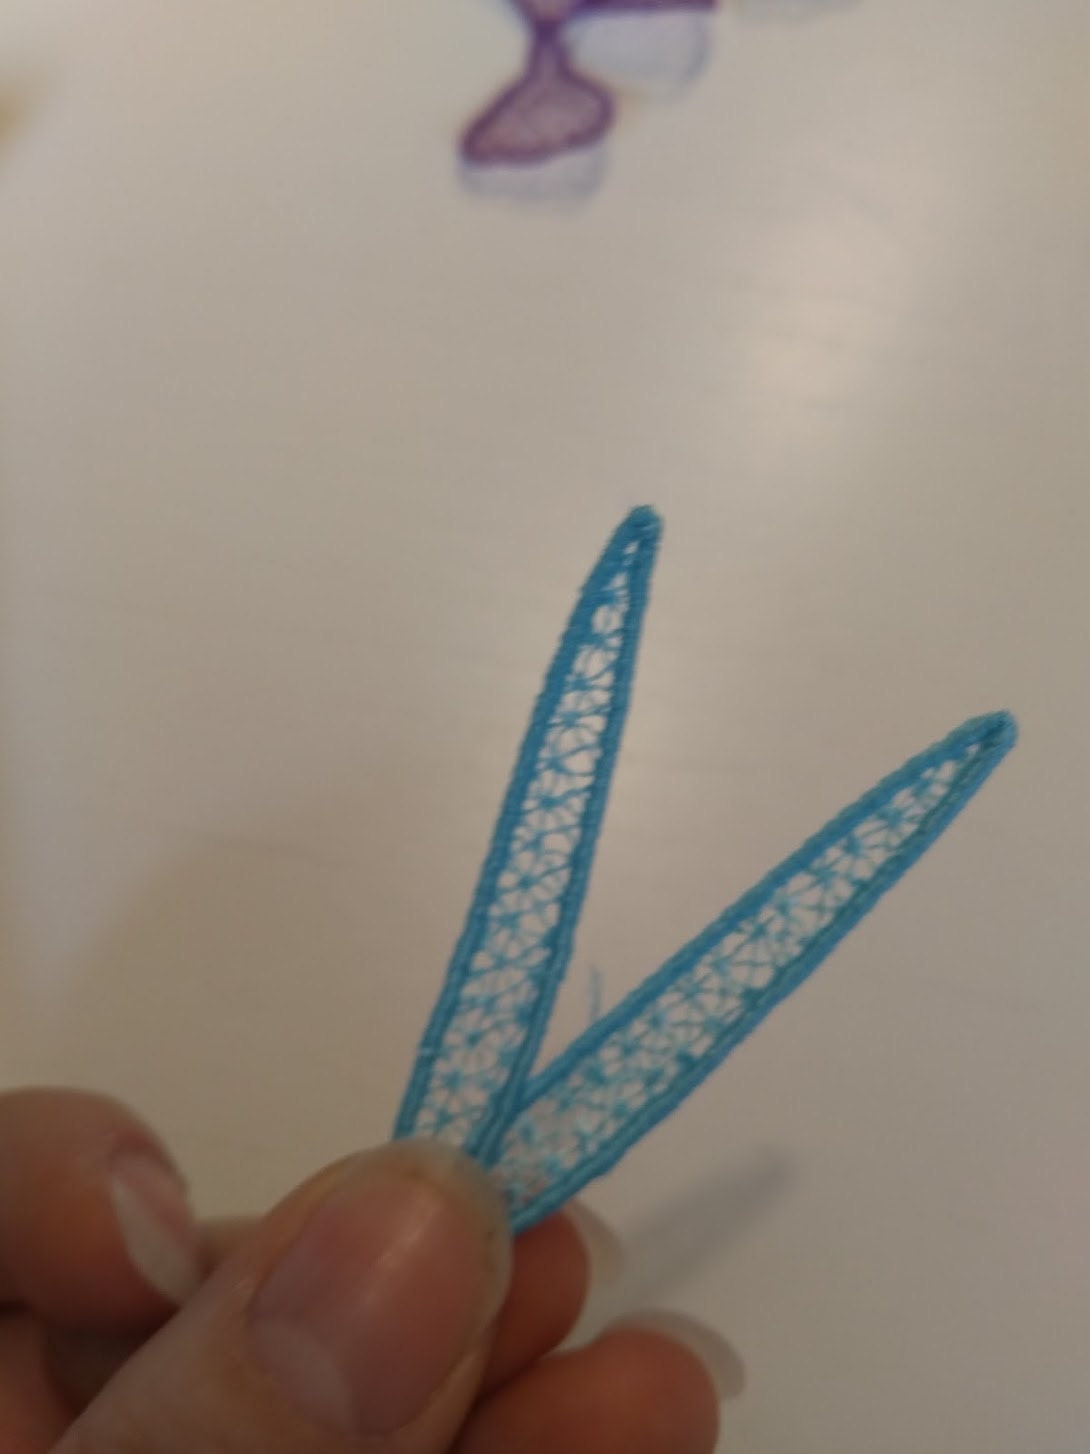
- Freestanding FSL Flowers
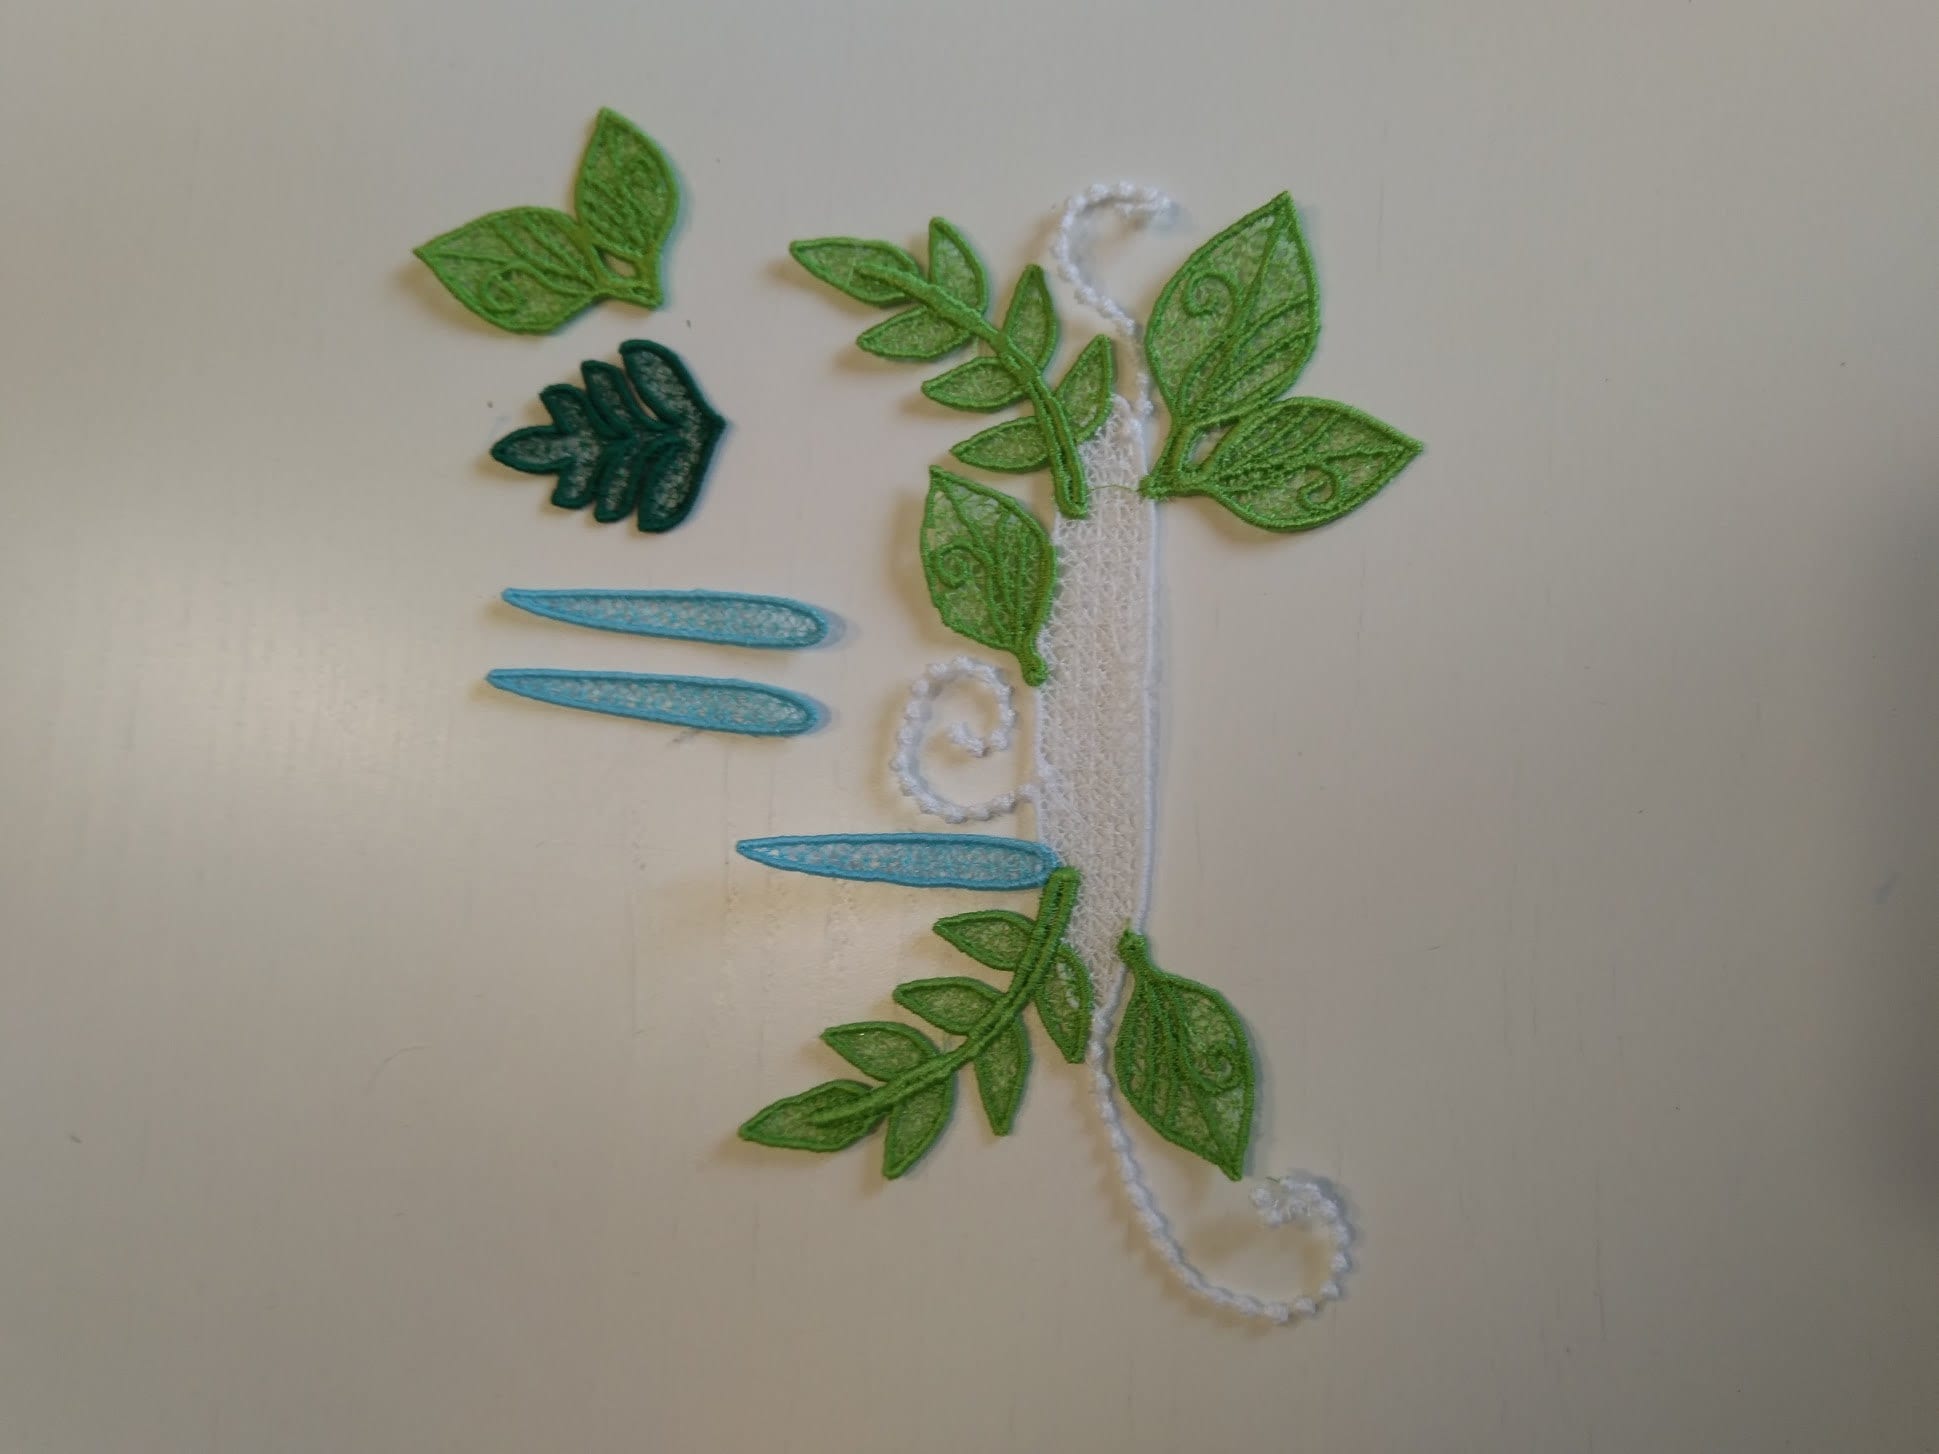
- Freestanding FSL Leaves
- Unicorn Face
For a 5x7 hoop, two hoopings are required to prepare all the FSL details (flowers and leaves).
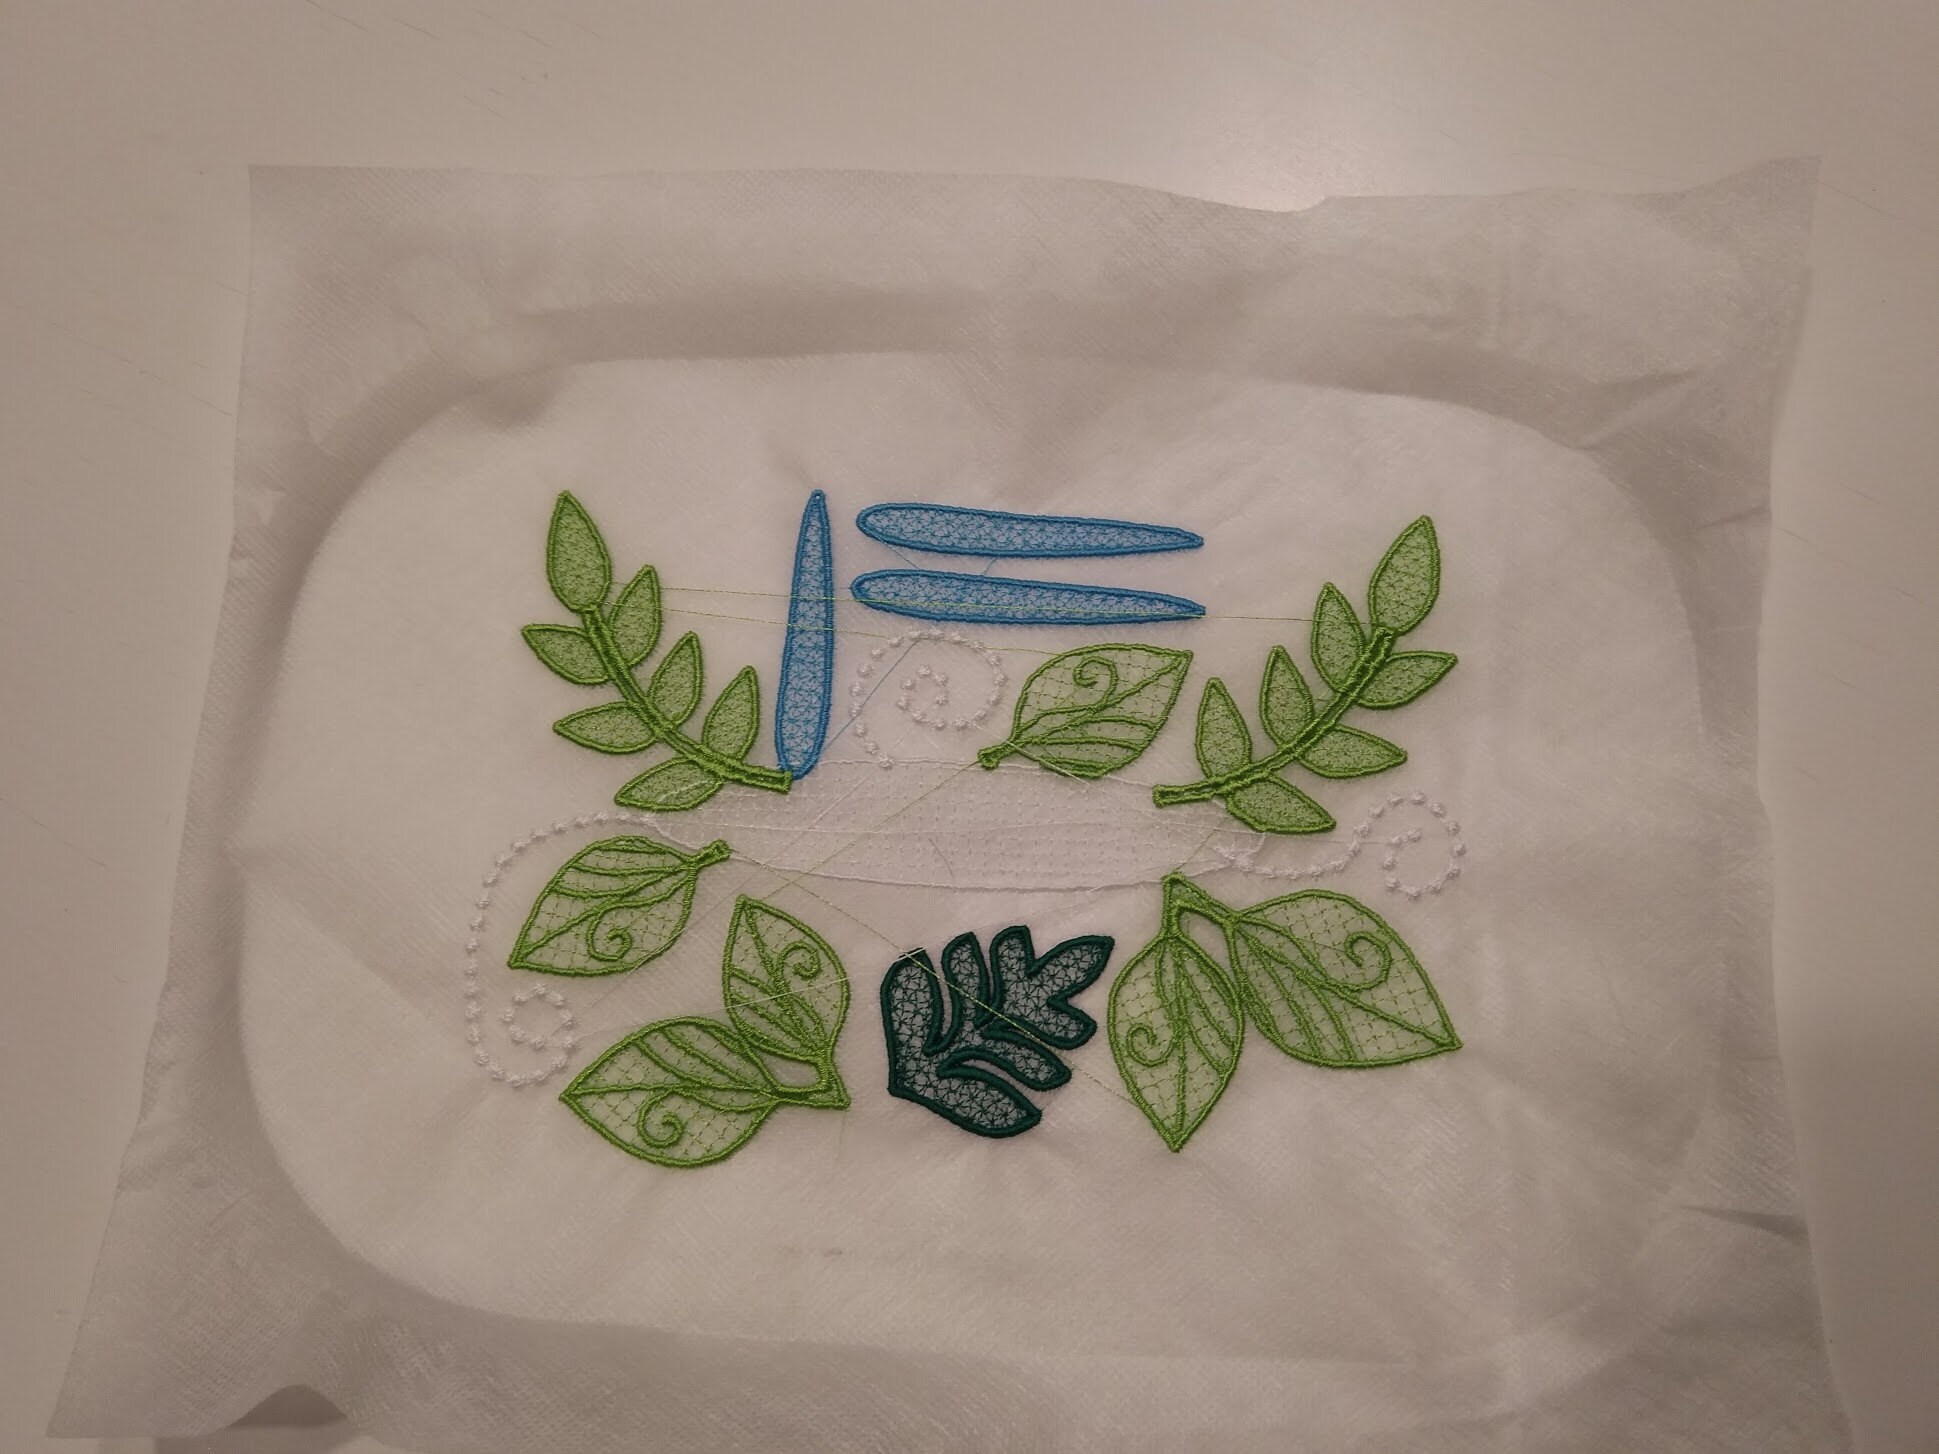
Embroidering on Water-Soluble Stabilizer
Use a wash-away stabilizer for free-hand embroidery, lace, or any project that requires the complete removal of the stabilizer. Water-soluble stabilizers completely dissolve in cold or warm water without leaving a sticky residue or stiff fabric.
Stitching the FSL Flowers and Leaves
- Hoop the stabilizer only.
- Stitch the design directly on the stabilizer.
- Unhoop and trim the excess stabilizer from around the shapes.
- Rinse the pieces with water to dissolve the remaining stabilizer.
- Let them dry completely.
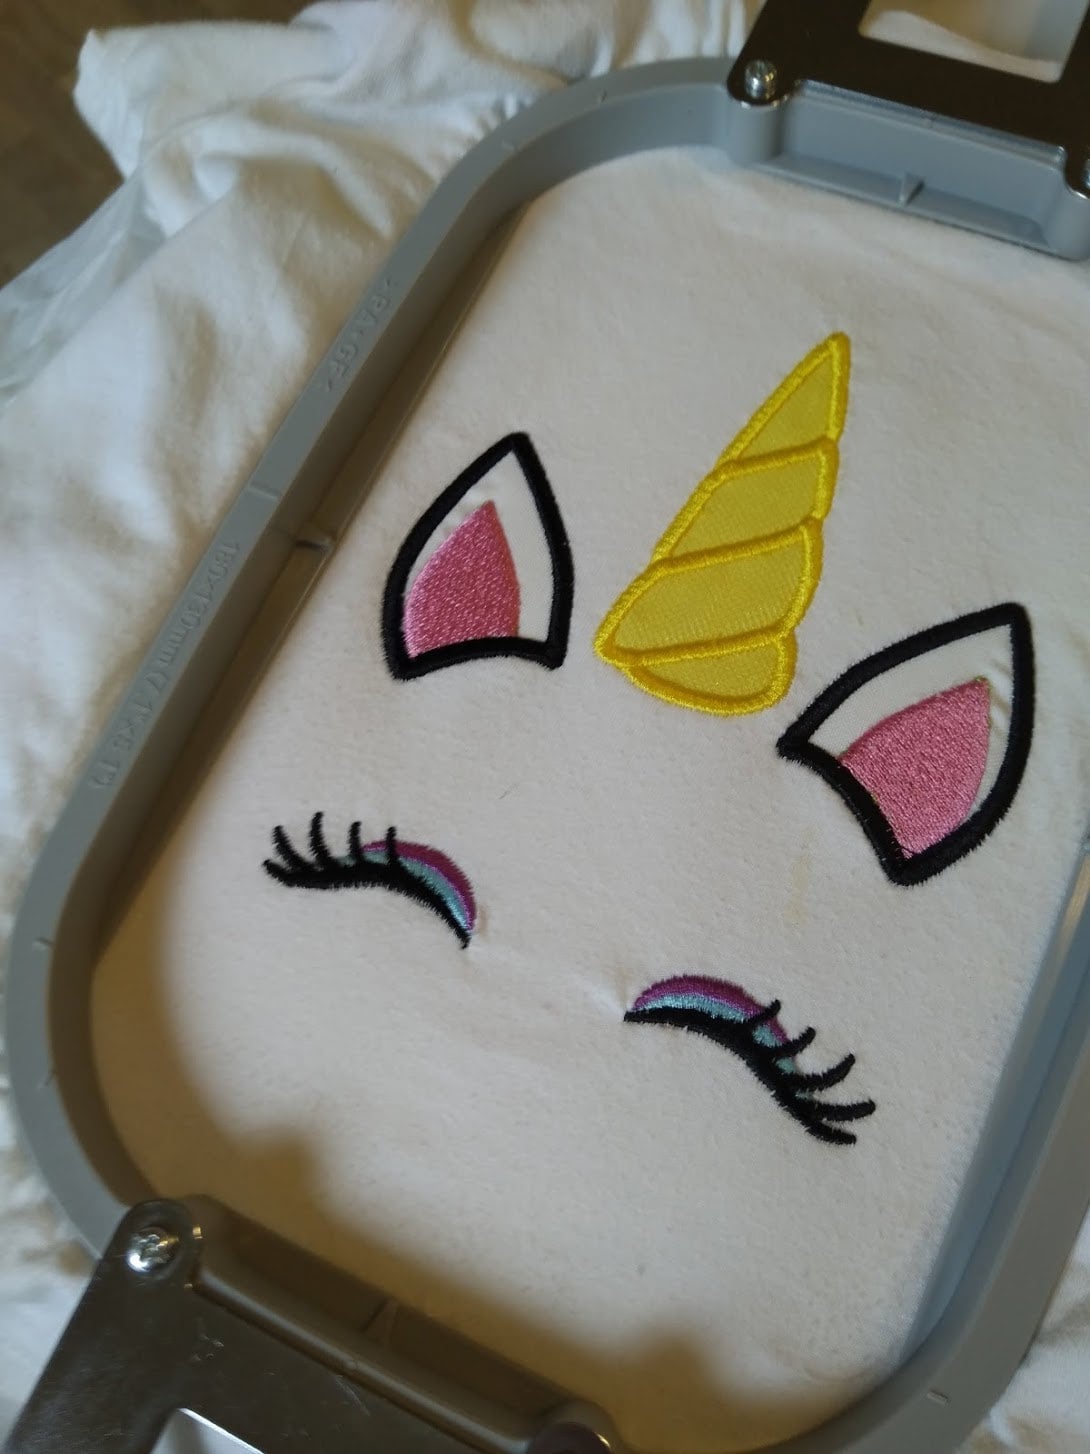
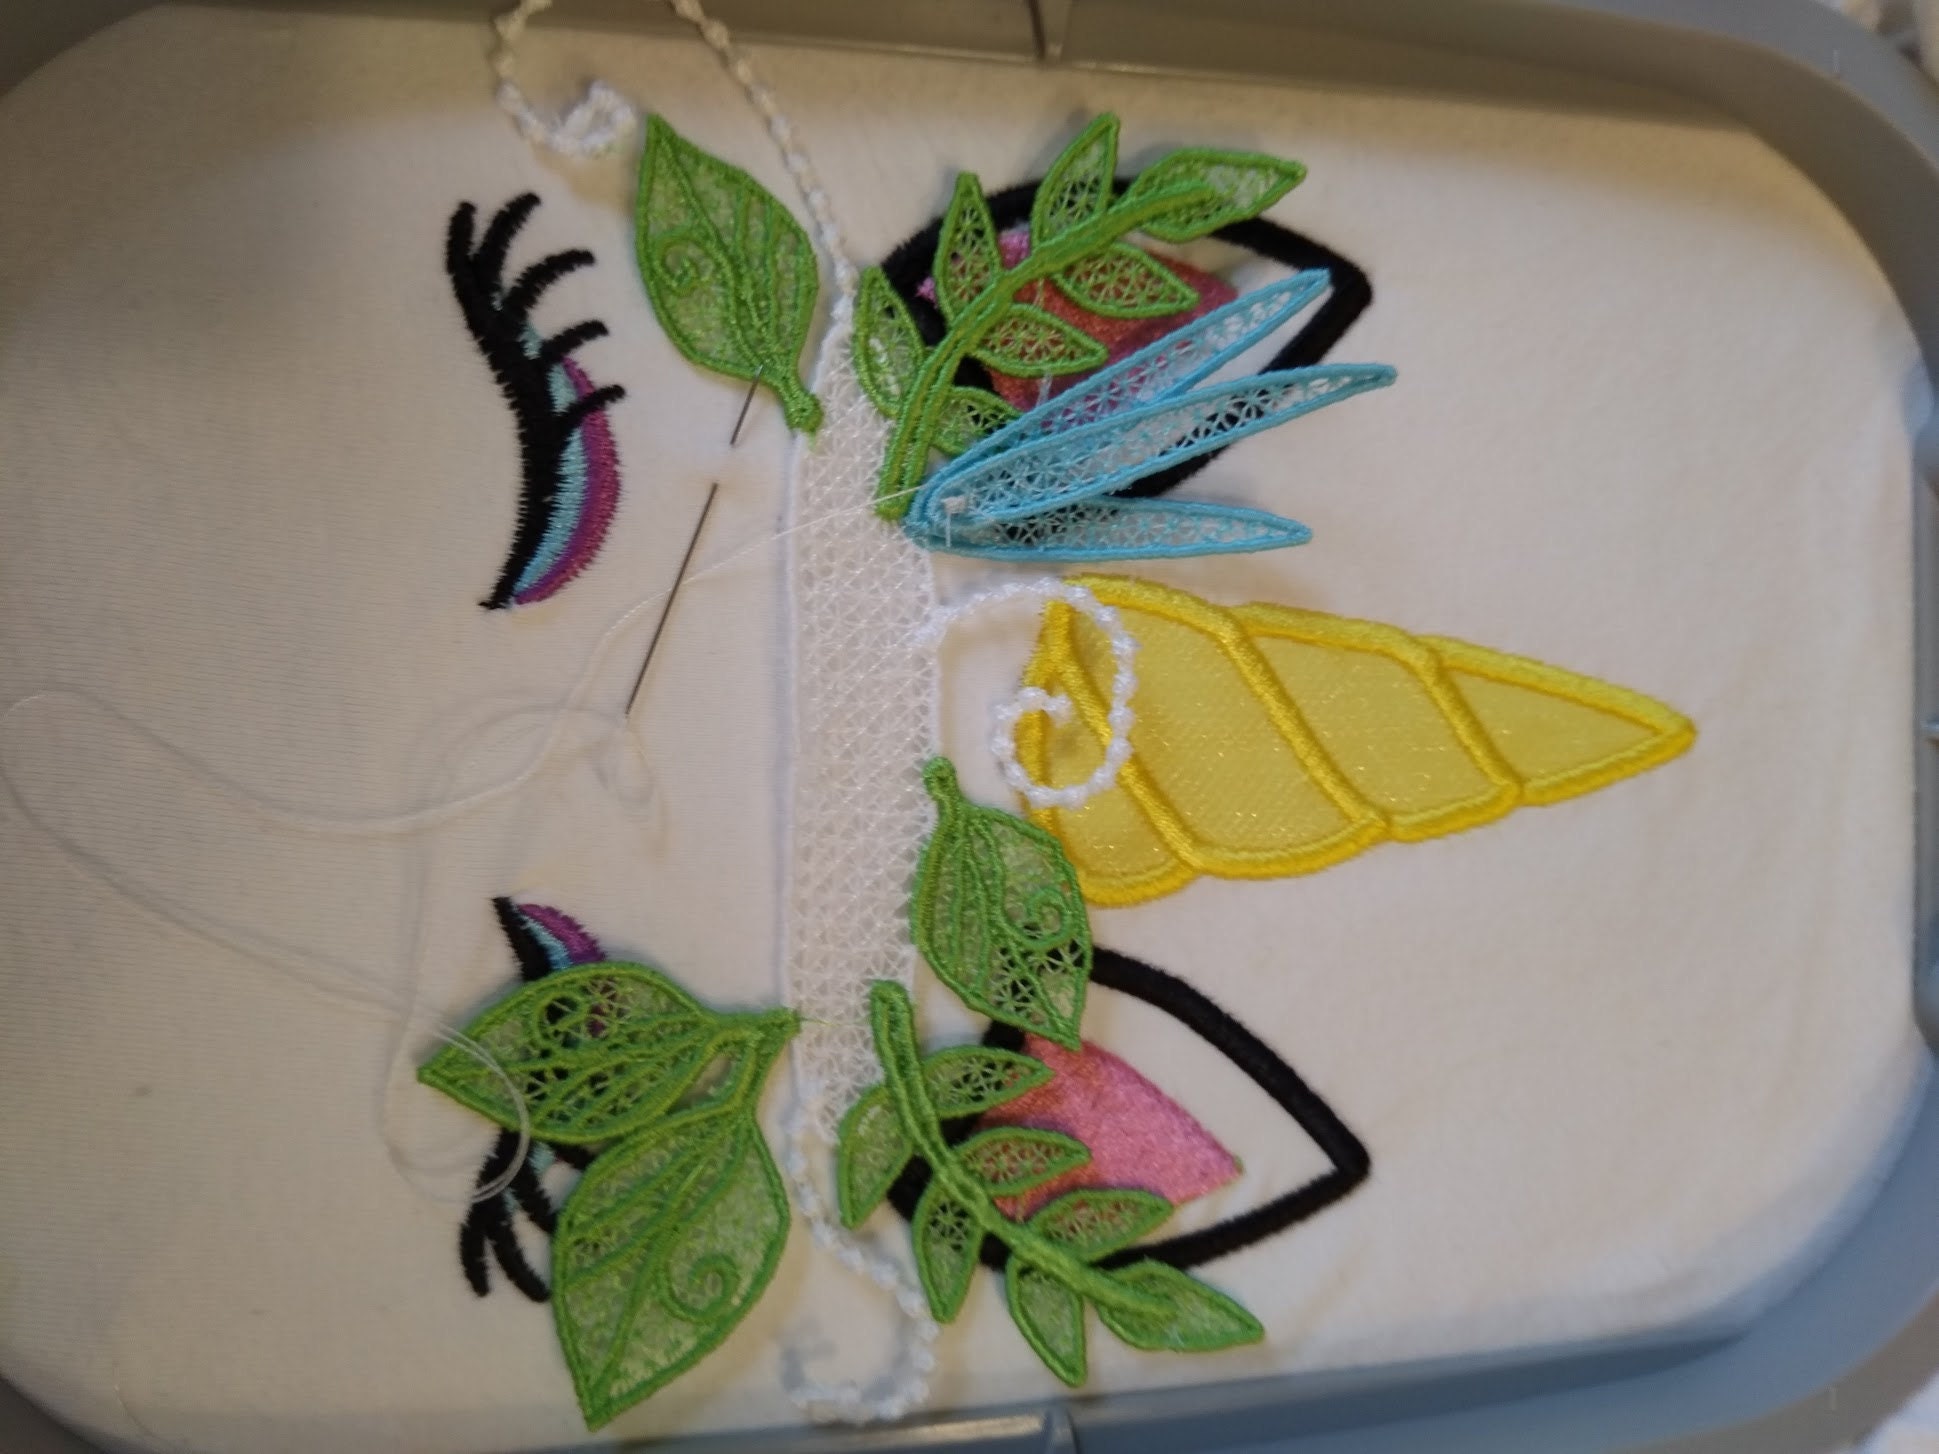
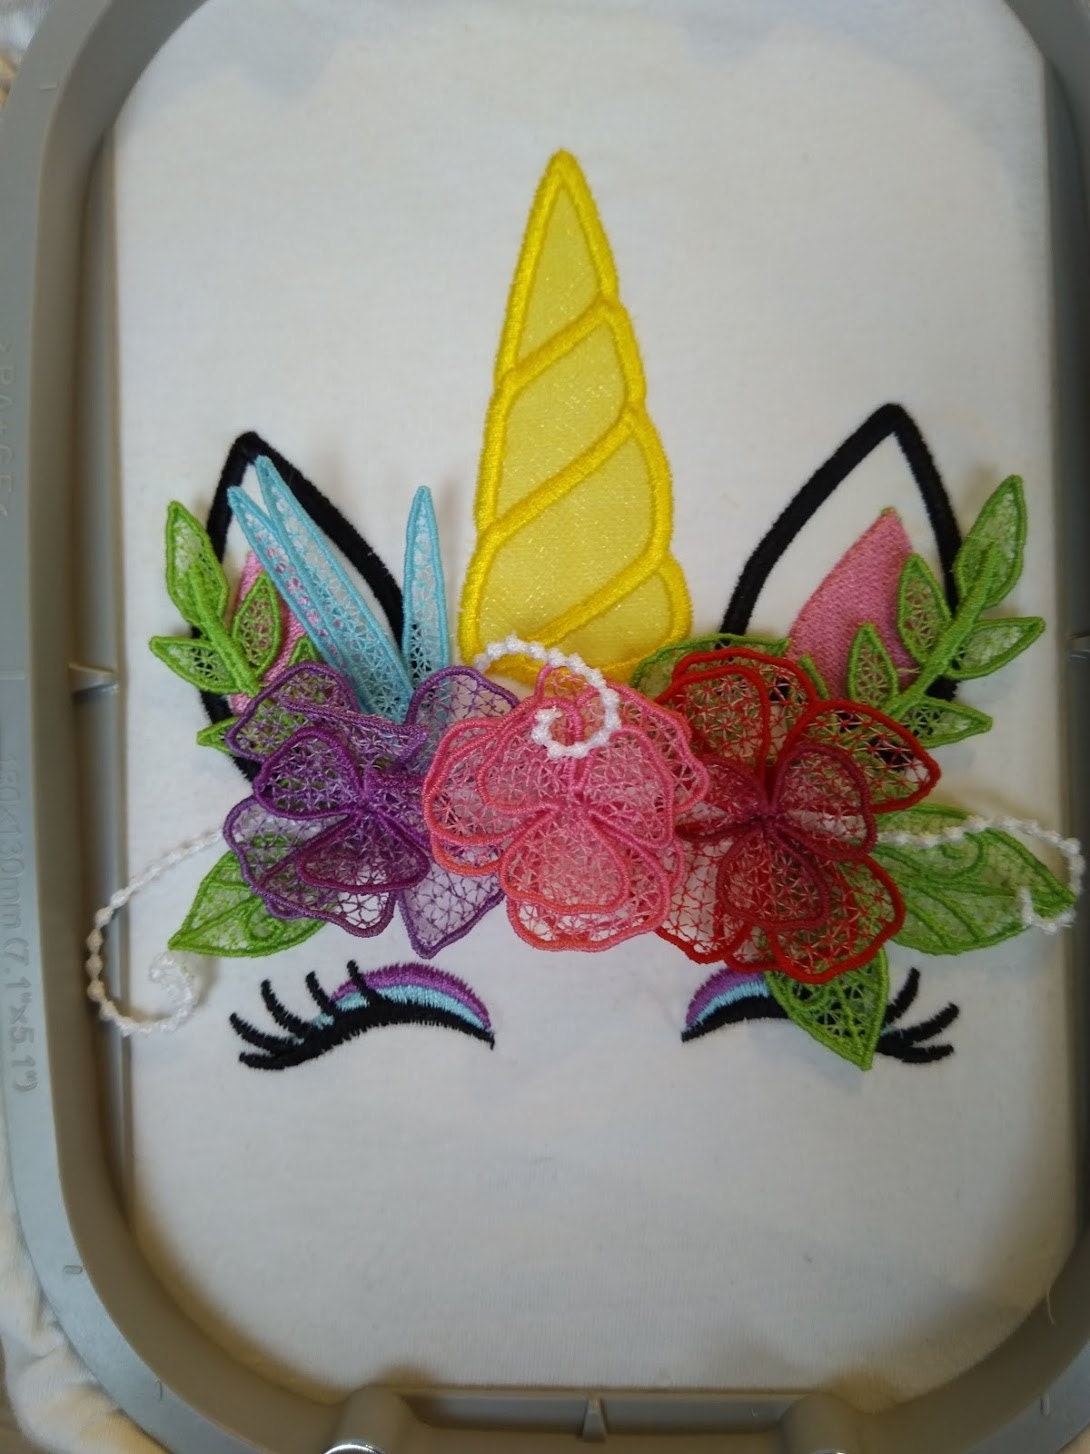
Stitching the Unicorn Face
Hoop the item where the unicorn will be placed and stitch the unicorn face design.
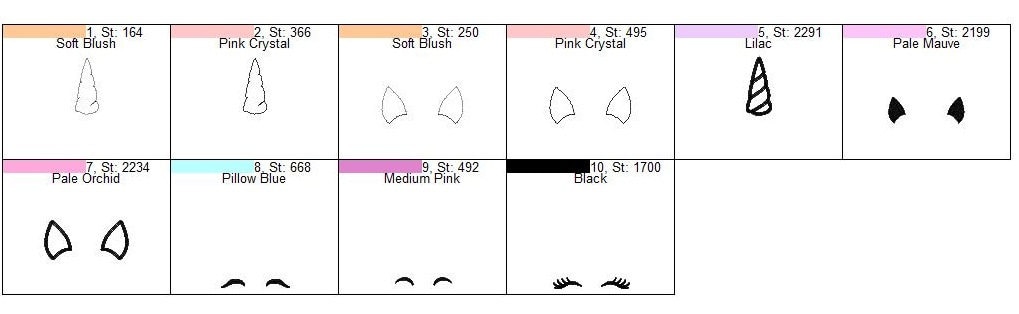
Appliqué Instructions:
- Stitch the first outline, which is the placement seam for the horn appliqué.
- Stop the machine, but do not unhoop. Place the appliqué fabric for the horn right inside the shape. It is helpful to use tape to keep the fabric flat. Stitch the next step, which is the horn appliqué tack-down seam.
- Stop the machine, but do not unhoop. Carefully trim the excess appliqué fabric from around the horn. Attach the hoop back on the machine and continue with the design.
- Stitch the next outline, which is the placement seam for the ears appliqué.
- Stop the machine, do not unhoop, and place the ear appliqué fabric right inside the shapes. Stitch the fabric tack-down seam.
- Stop the machine, do not unhoop, and trim the excess appliqué fabric from the ears. Attach the hoop back on the machine and continue with the design. The satin stitch outlines will be next.
- The eyeshadows and eyes will be the last parts to stitch.
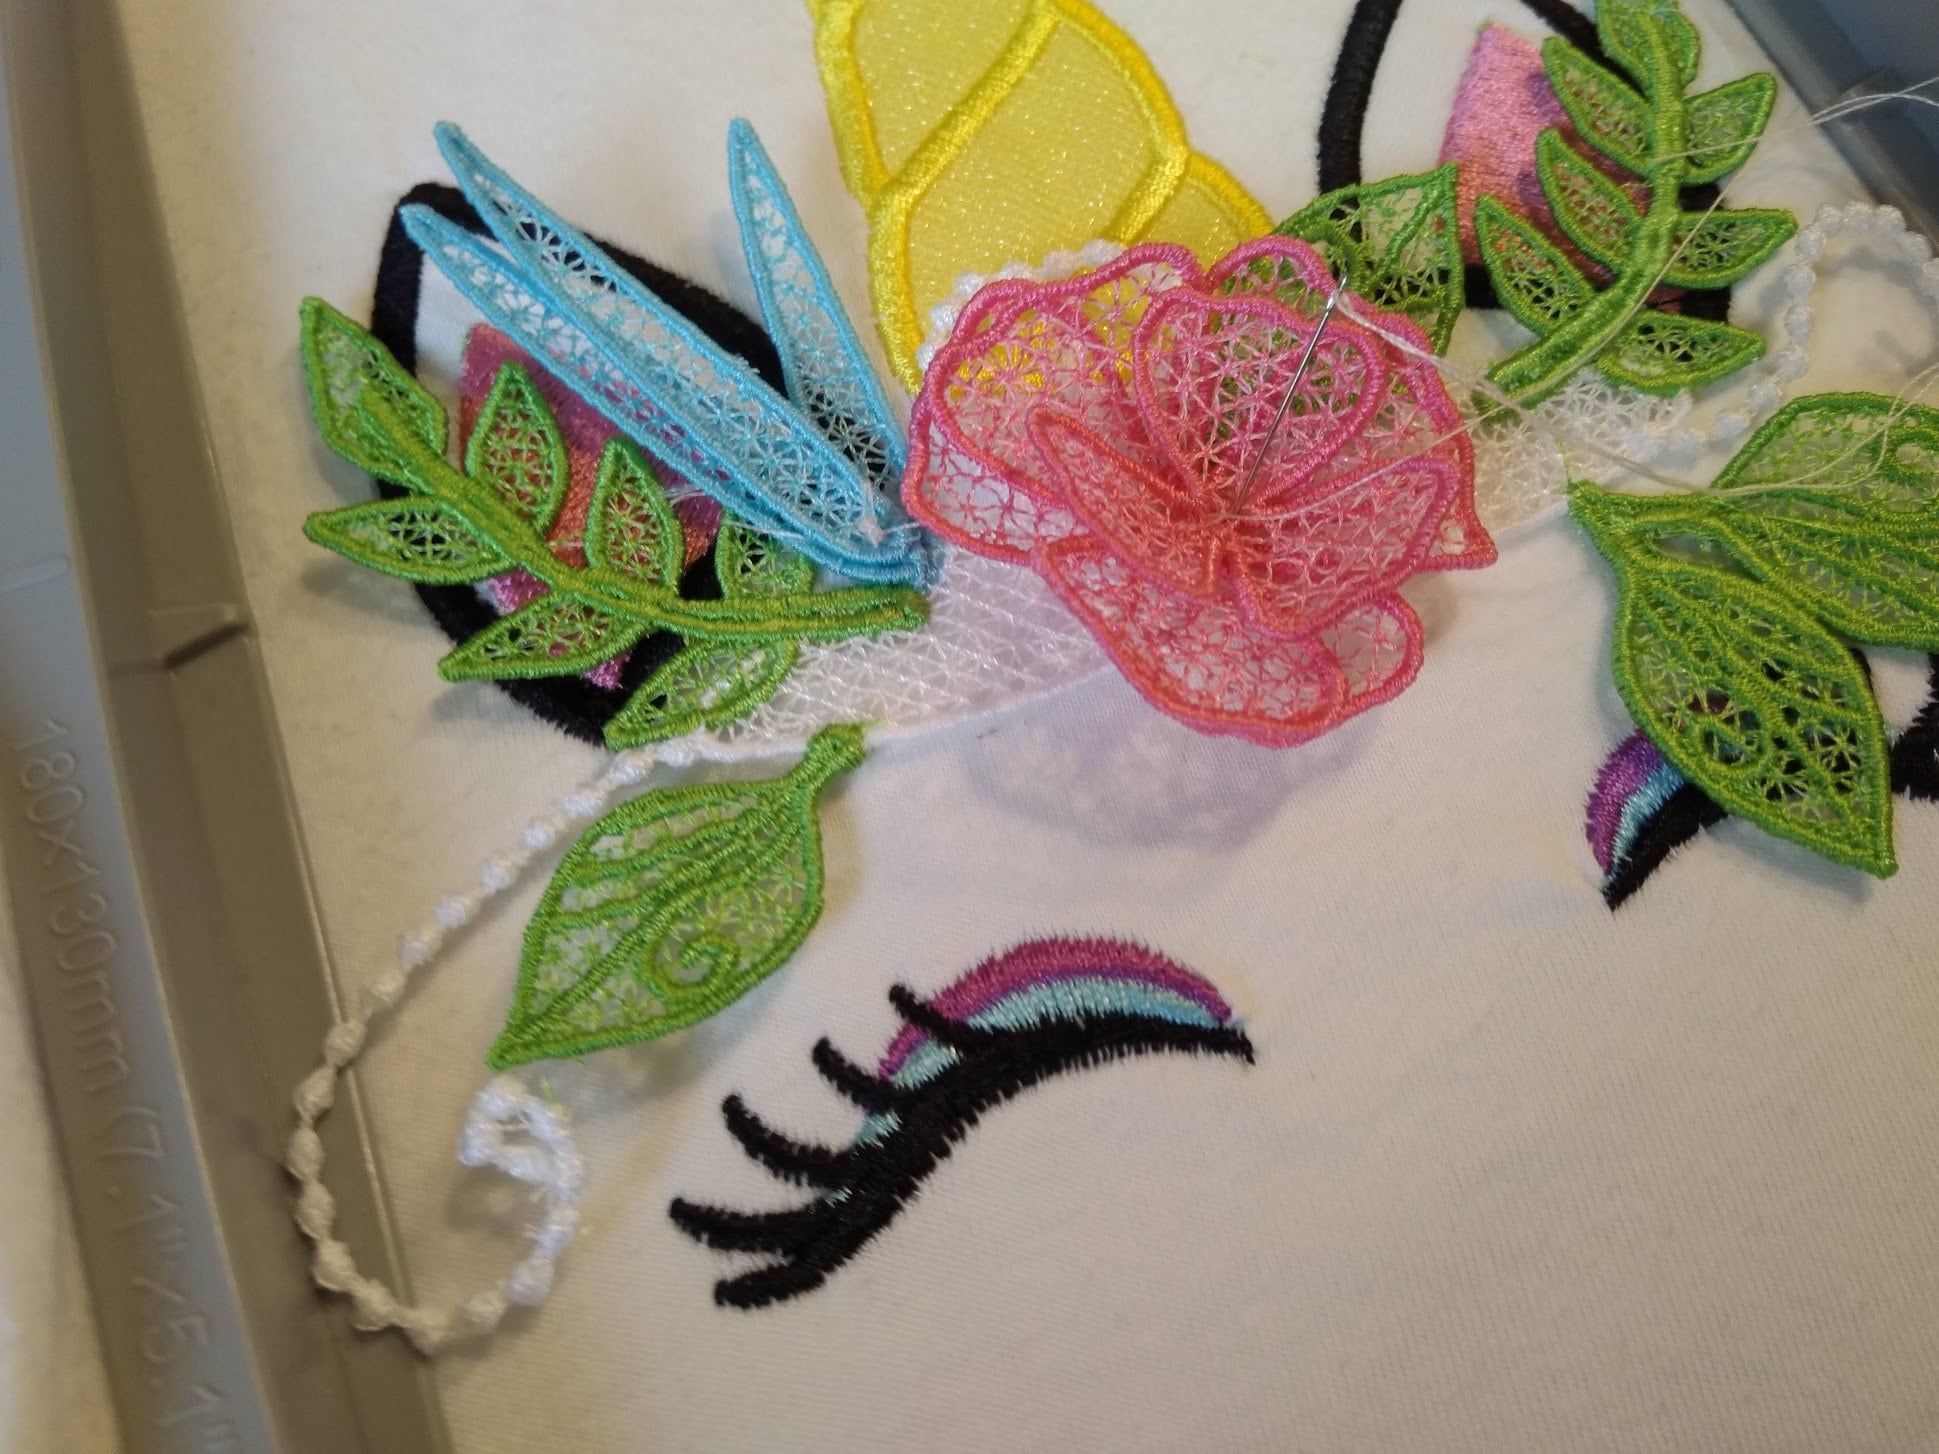
Assembling the Flower Crown
Use matching embroidery thread for assembly. The assembly is done by hand. First, lay the base with the leaves right inside the stitched crown shape on the unicorn's head.
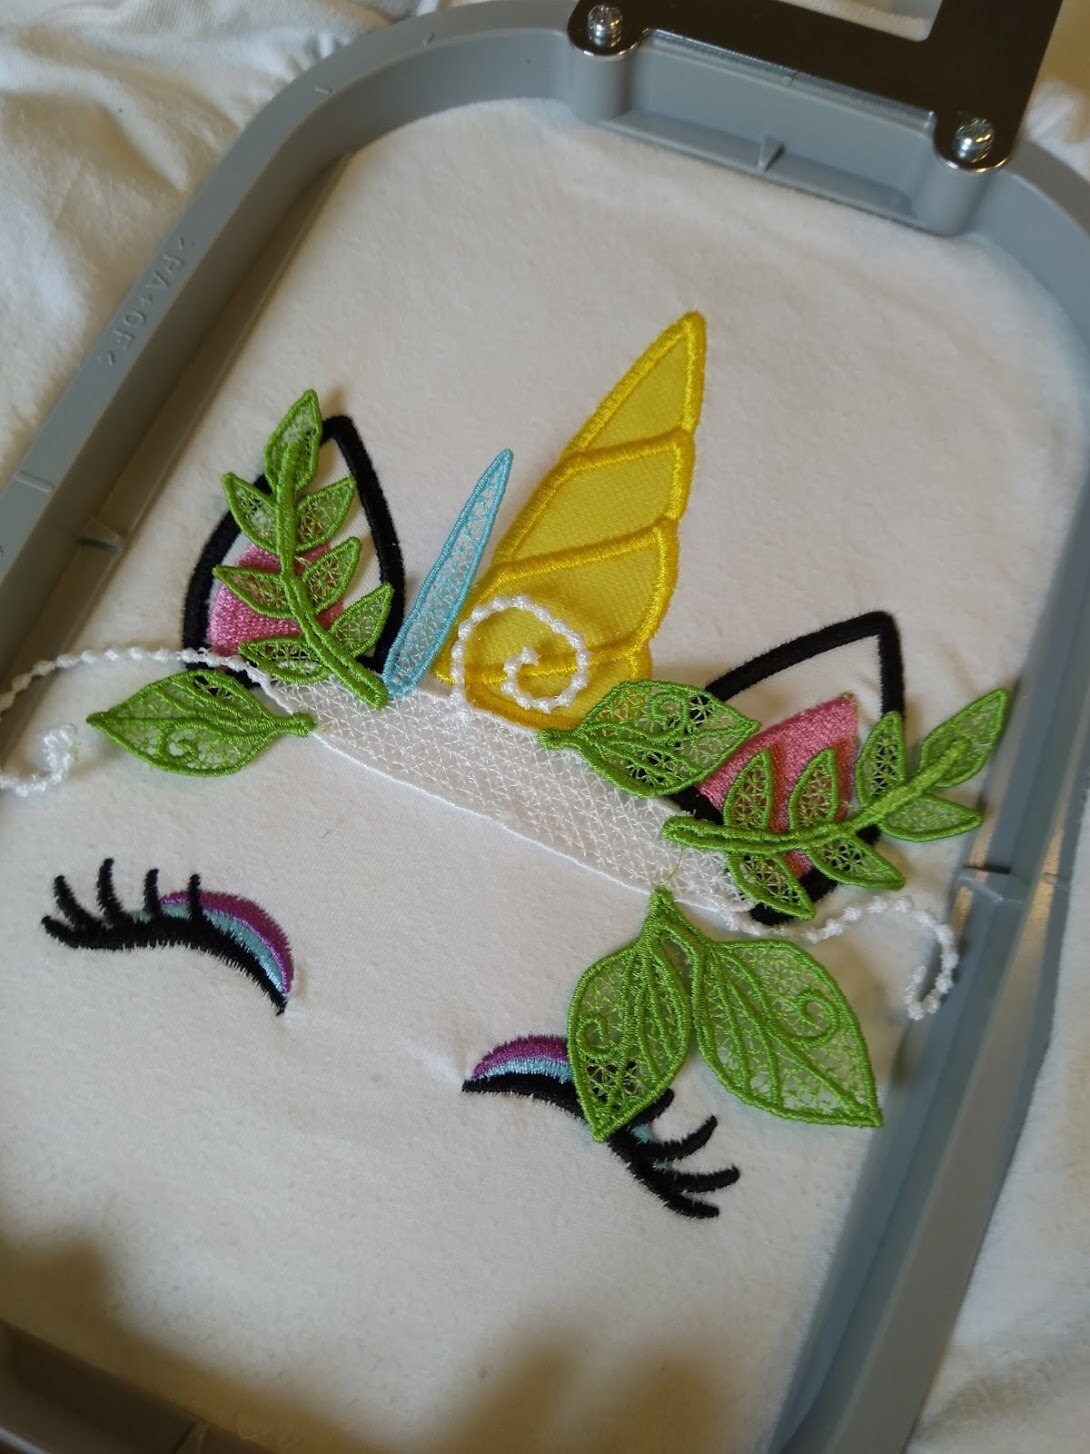
Stitch it by hand to the item along the oval shape. Then, take two of the small flower pieces and fold them together.
Lay them inside the shape where the third, similar blue piece is on the leaf base, in the upper left corner.
Sew it by hand.
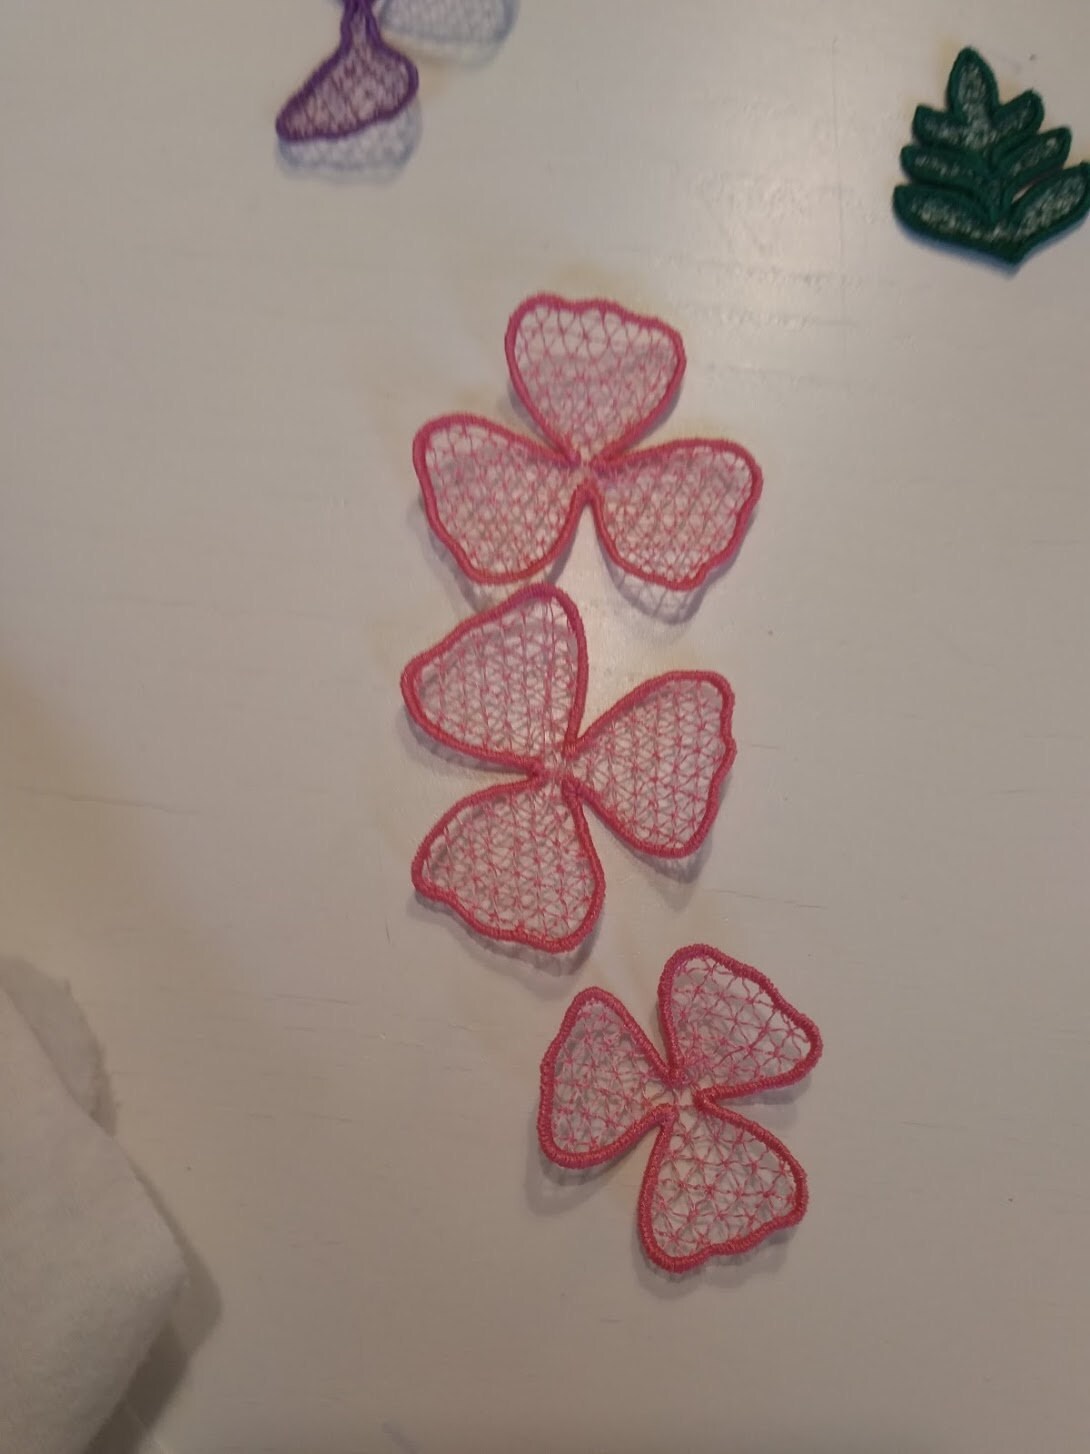
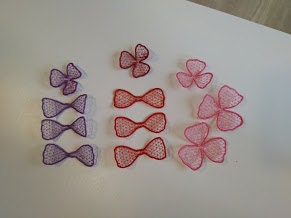
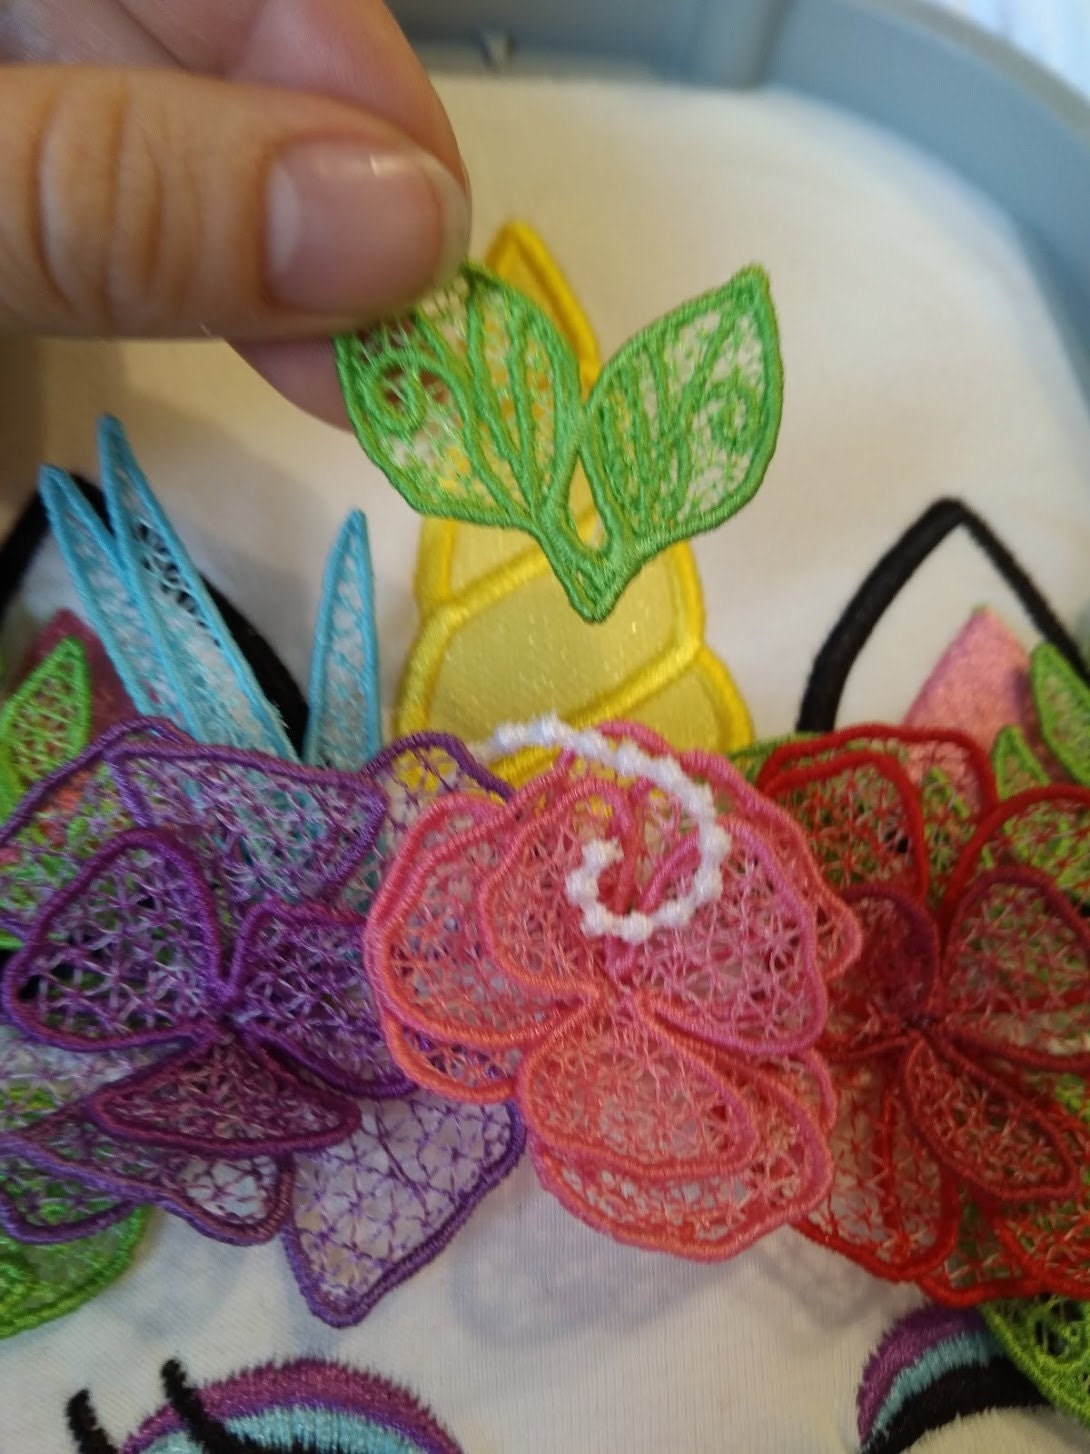
Two types of flowers are included, and both are assembled in the same way.
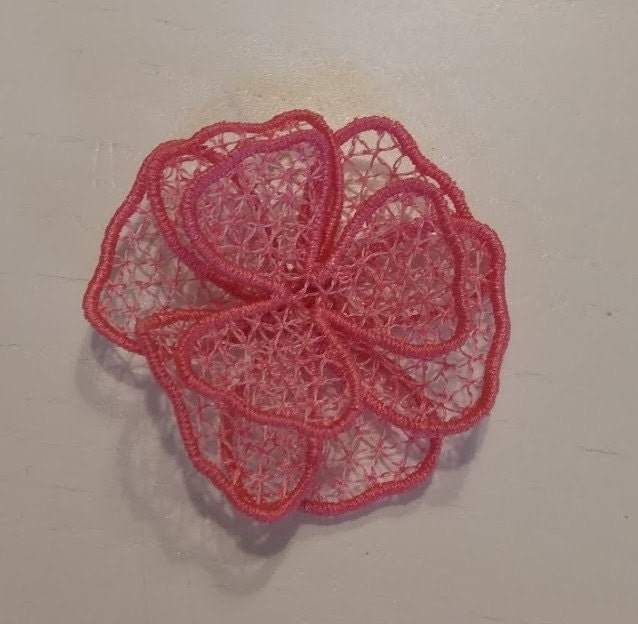
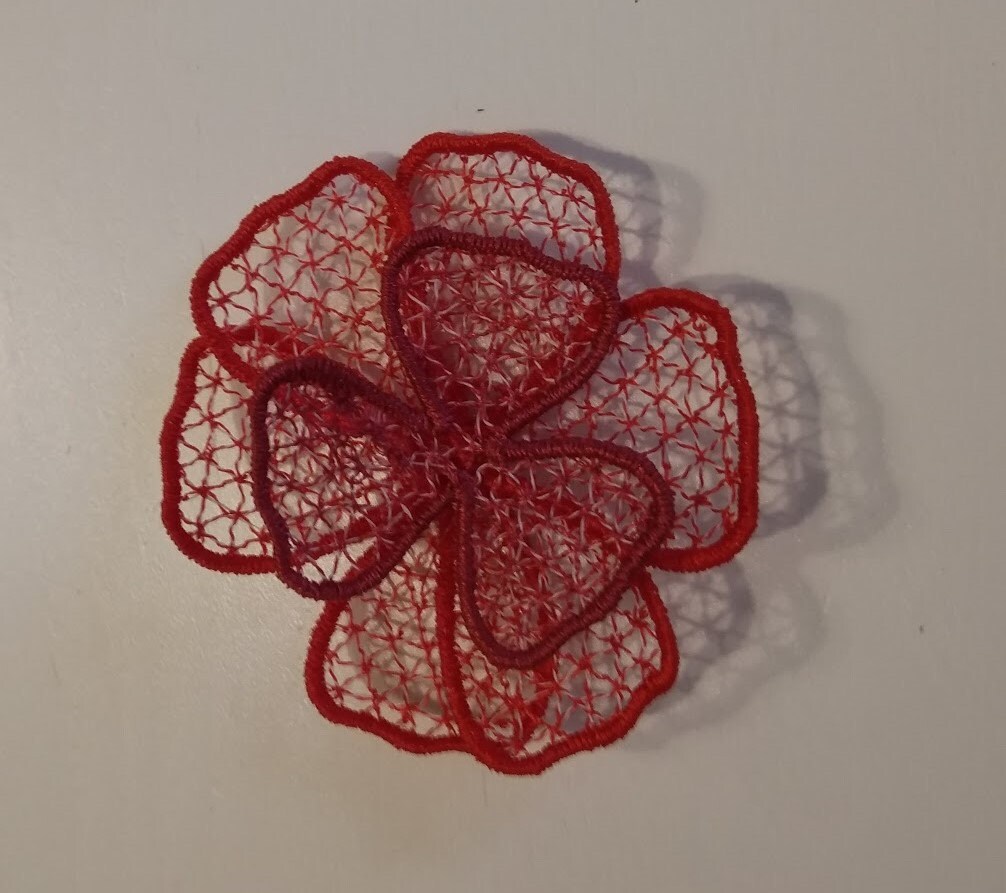
Stack three flower layers and sew them together in the center with a few stitches. Lay the ready flower inside the shape on the crown and sew it down with a few stitches in the middle.
Do this three times. When the three roses are in place, add leaves to any empty spaces.
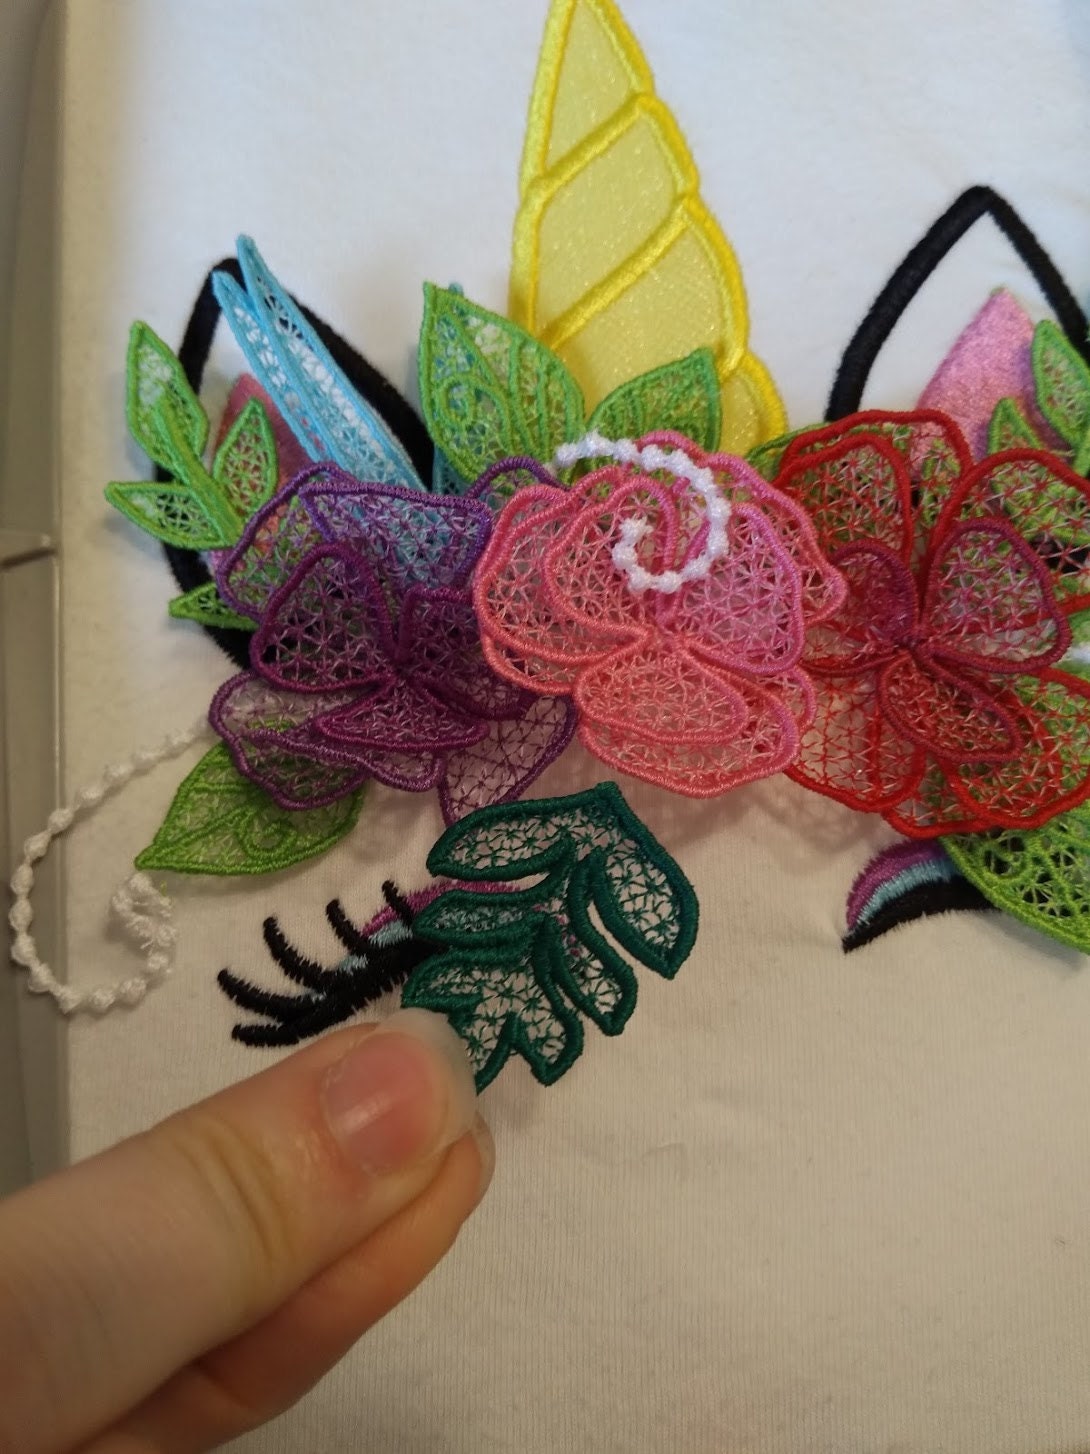
When the design is complete, unhoop and gently tear away the stabilizer. Congratulations! You are done!