
Hooded Towel Unicorn in the hoop instructions
Dimensional Unicorn Hooded Towel Topper Tutorial
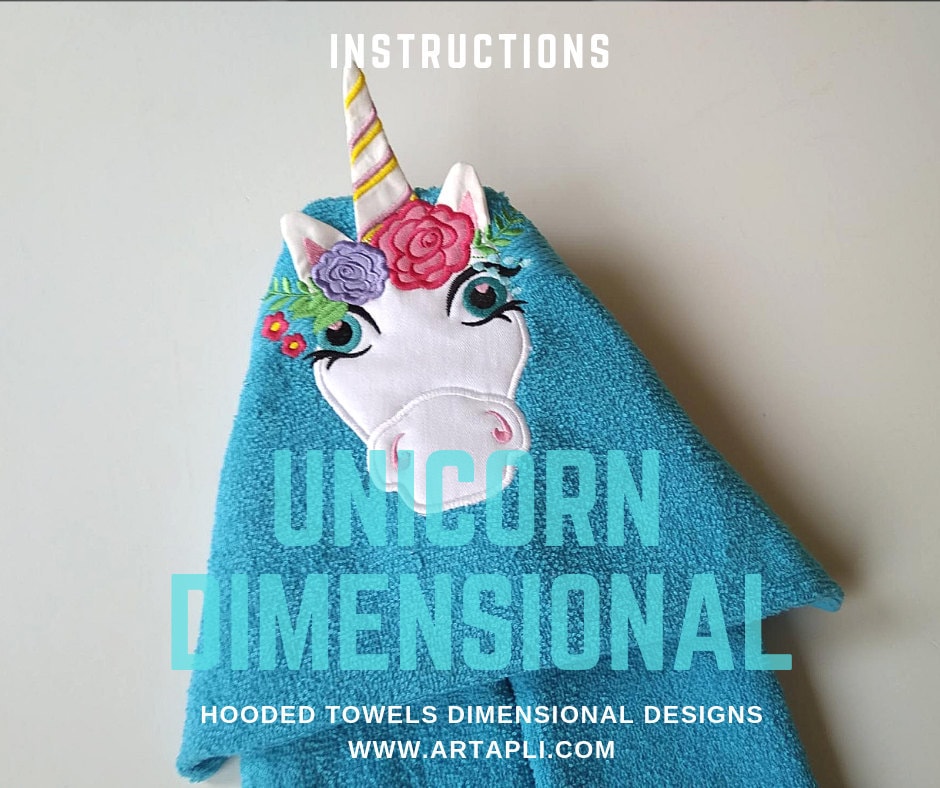
These are the general instructions for creating dimensional unicorn designs for hooded towels. The project is completed in two separate hoopings.
- Prepare the horn and ears.
- Stitch the face and attach the horn and ears.
Part 1: Preparing the Horn and Ears
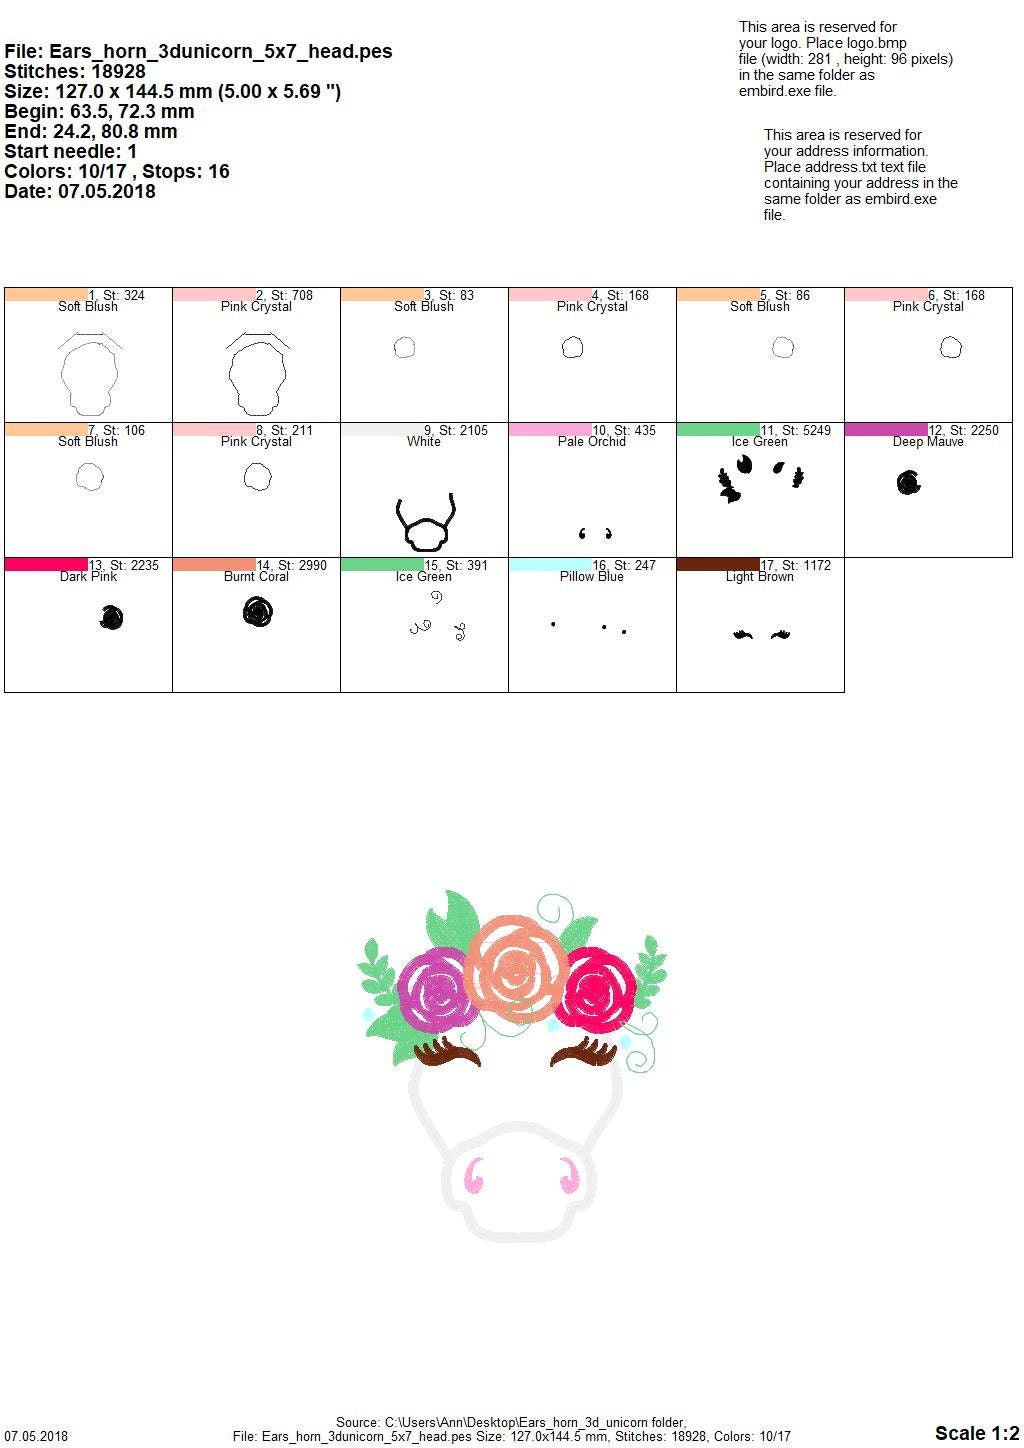
Load the file to prepare the horn and ears. The design has the following color steps:
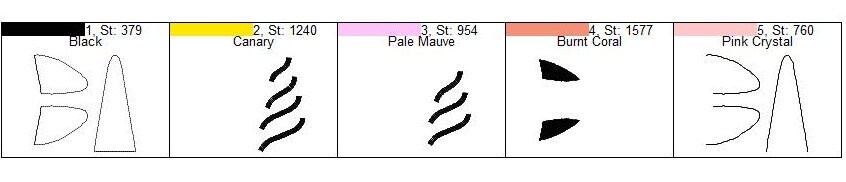
Color Steps for Horn and Ears:
- Horn and ears outline
- Horn decoration (Color 1)
- Horn decoration (Color 2)
- Ears decoration
- Final stitch outlines
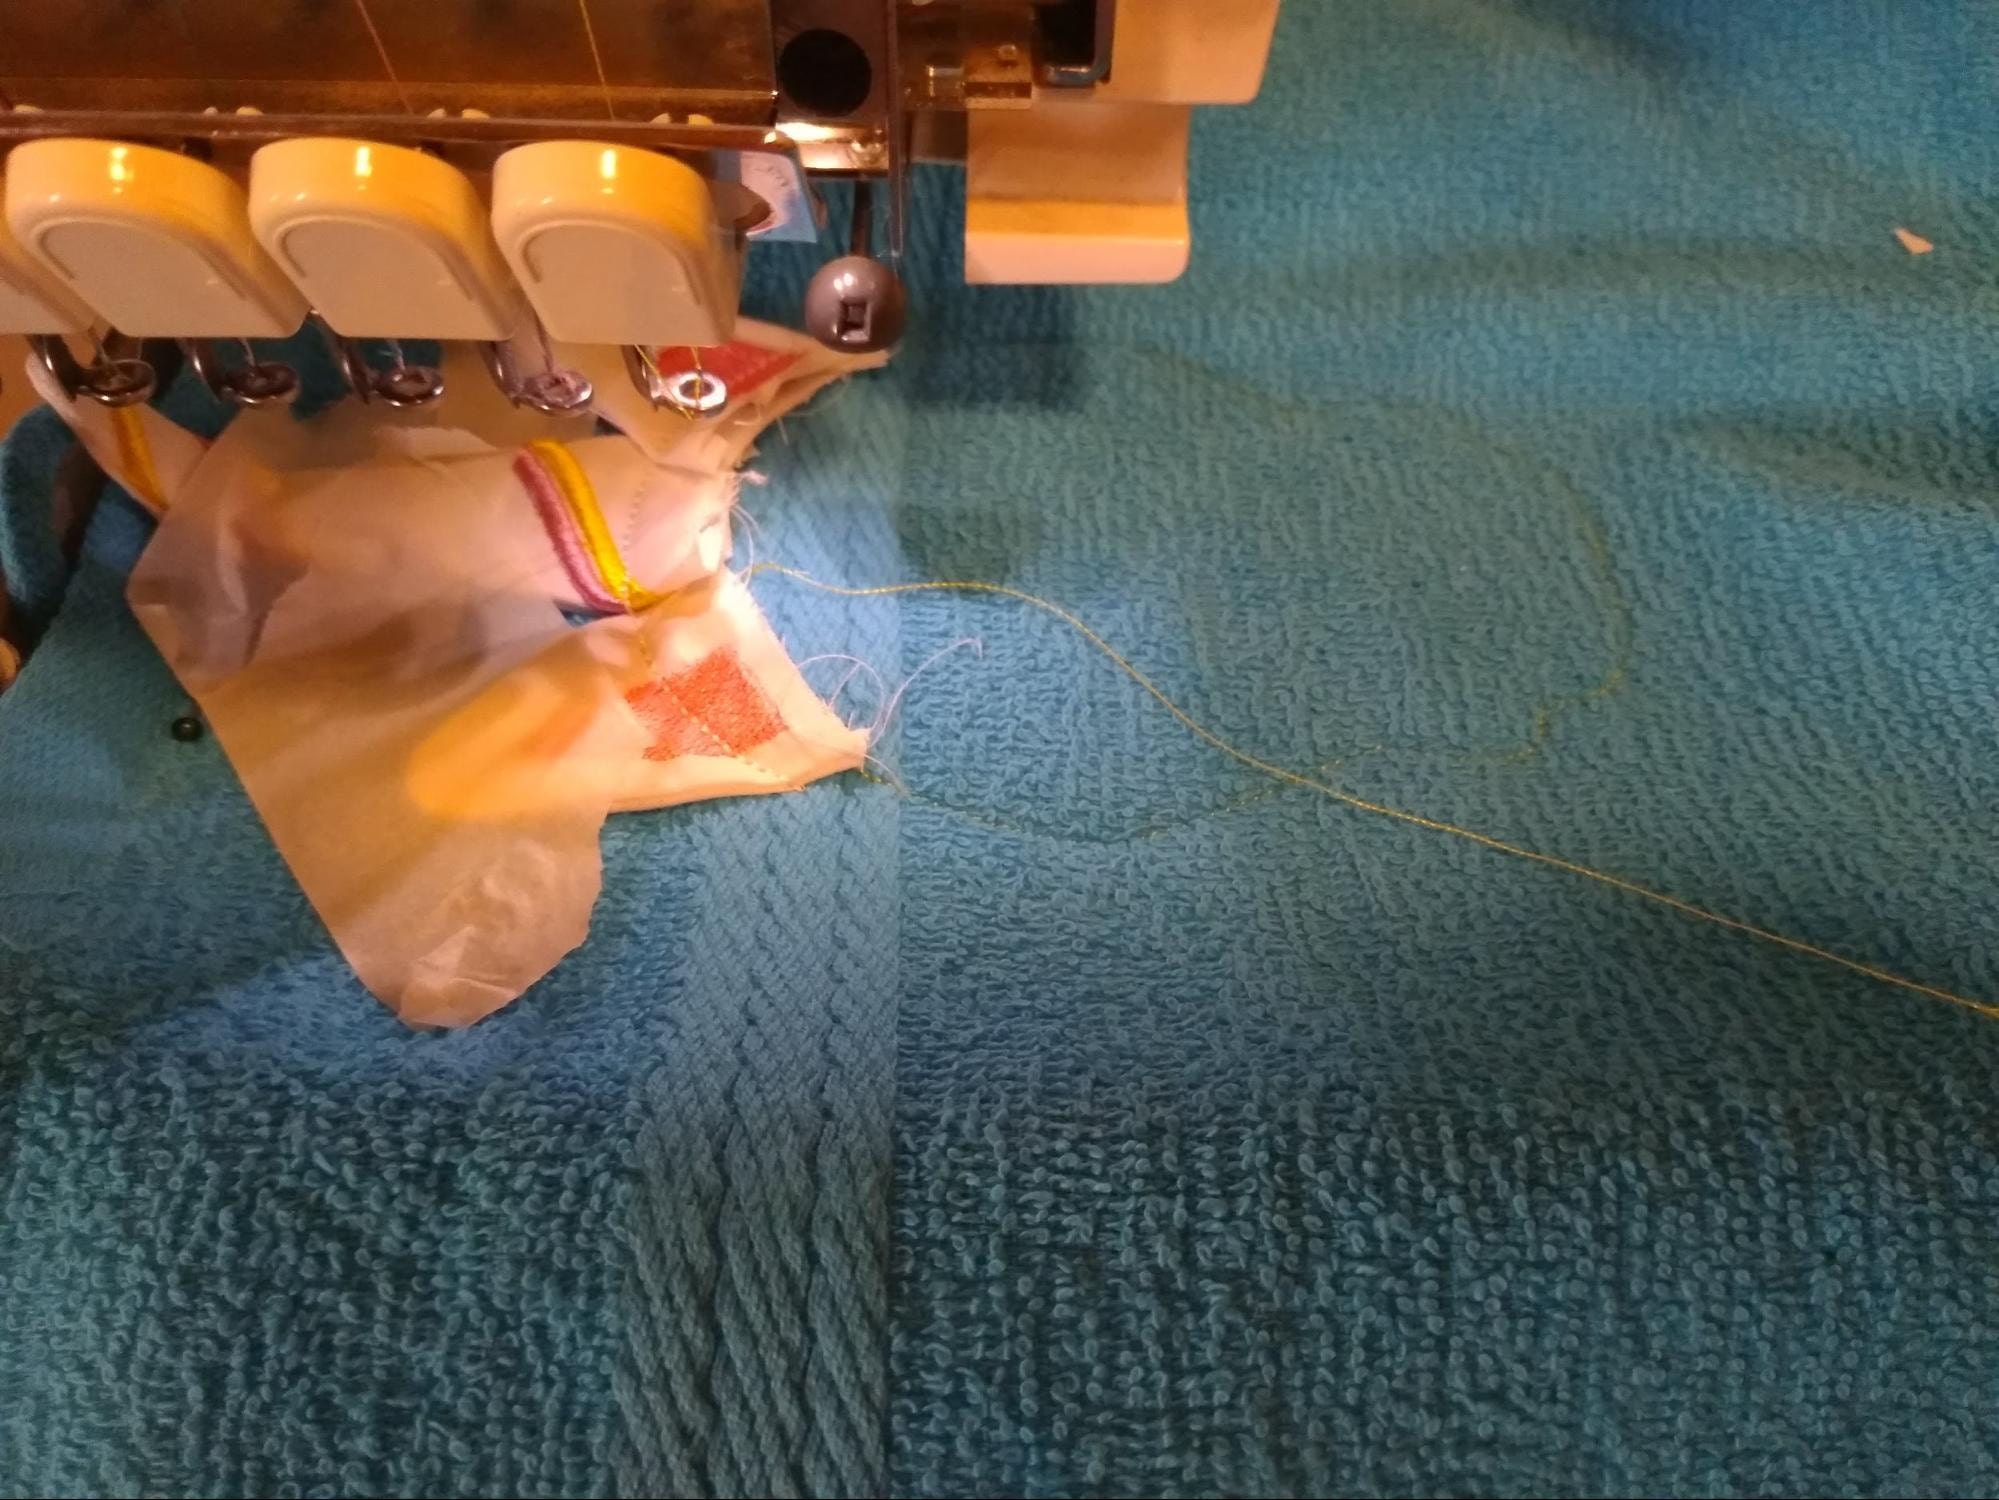
Hoop a tear-away stabilizer with one piece of fabric (up to a medium-weight cotton) and stitch Colors 1, 2, 3, and 4.
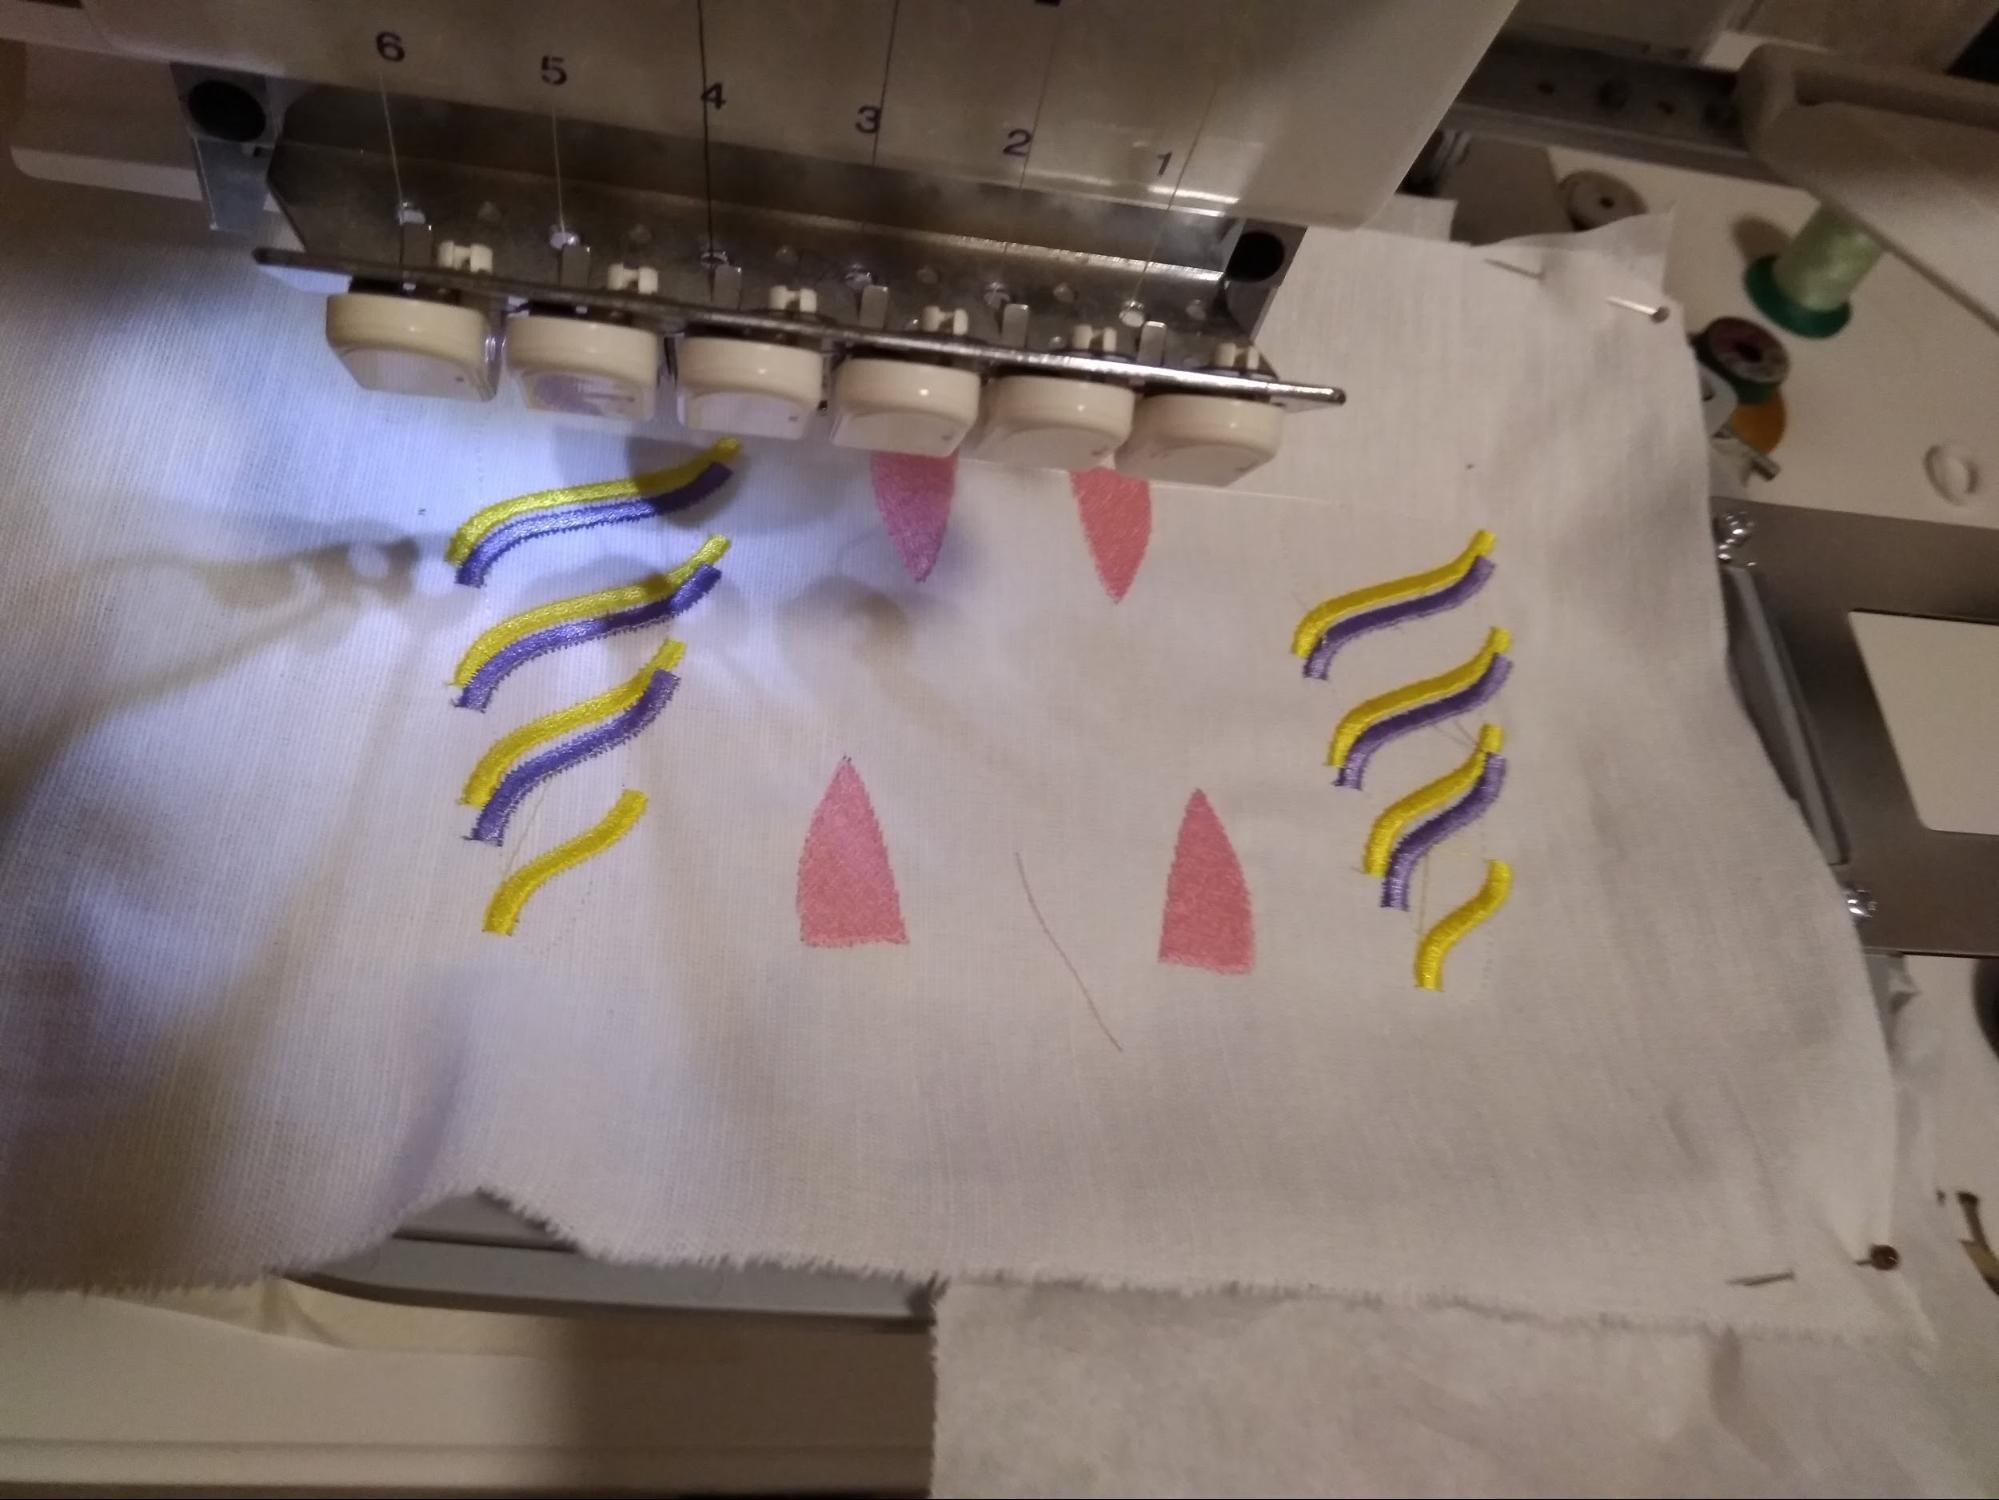
Stop the machine, but do not unhoop your project. Lay a second piece of fabric over the design with right sides facing.
Stitch the final outlines for the ears and horn (the last color, Color 5).
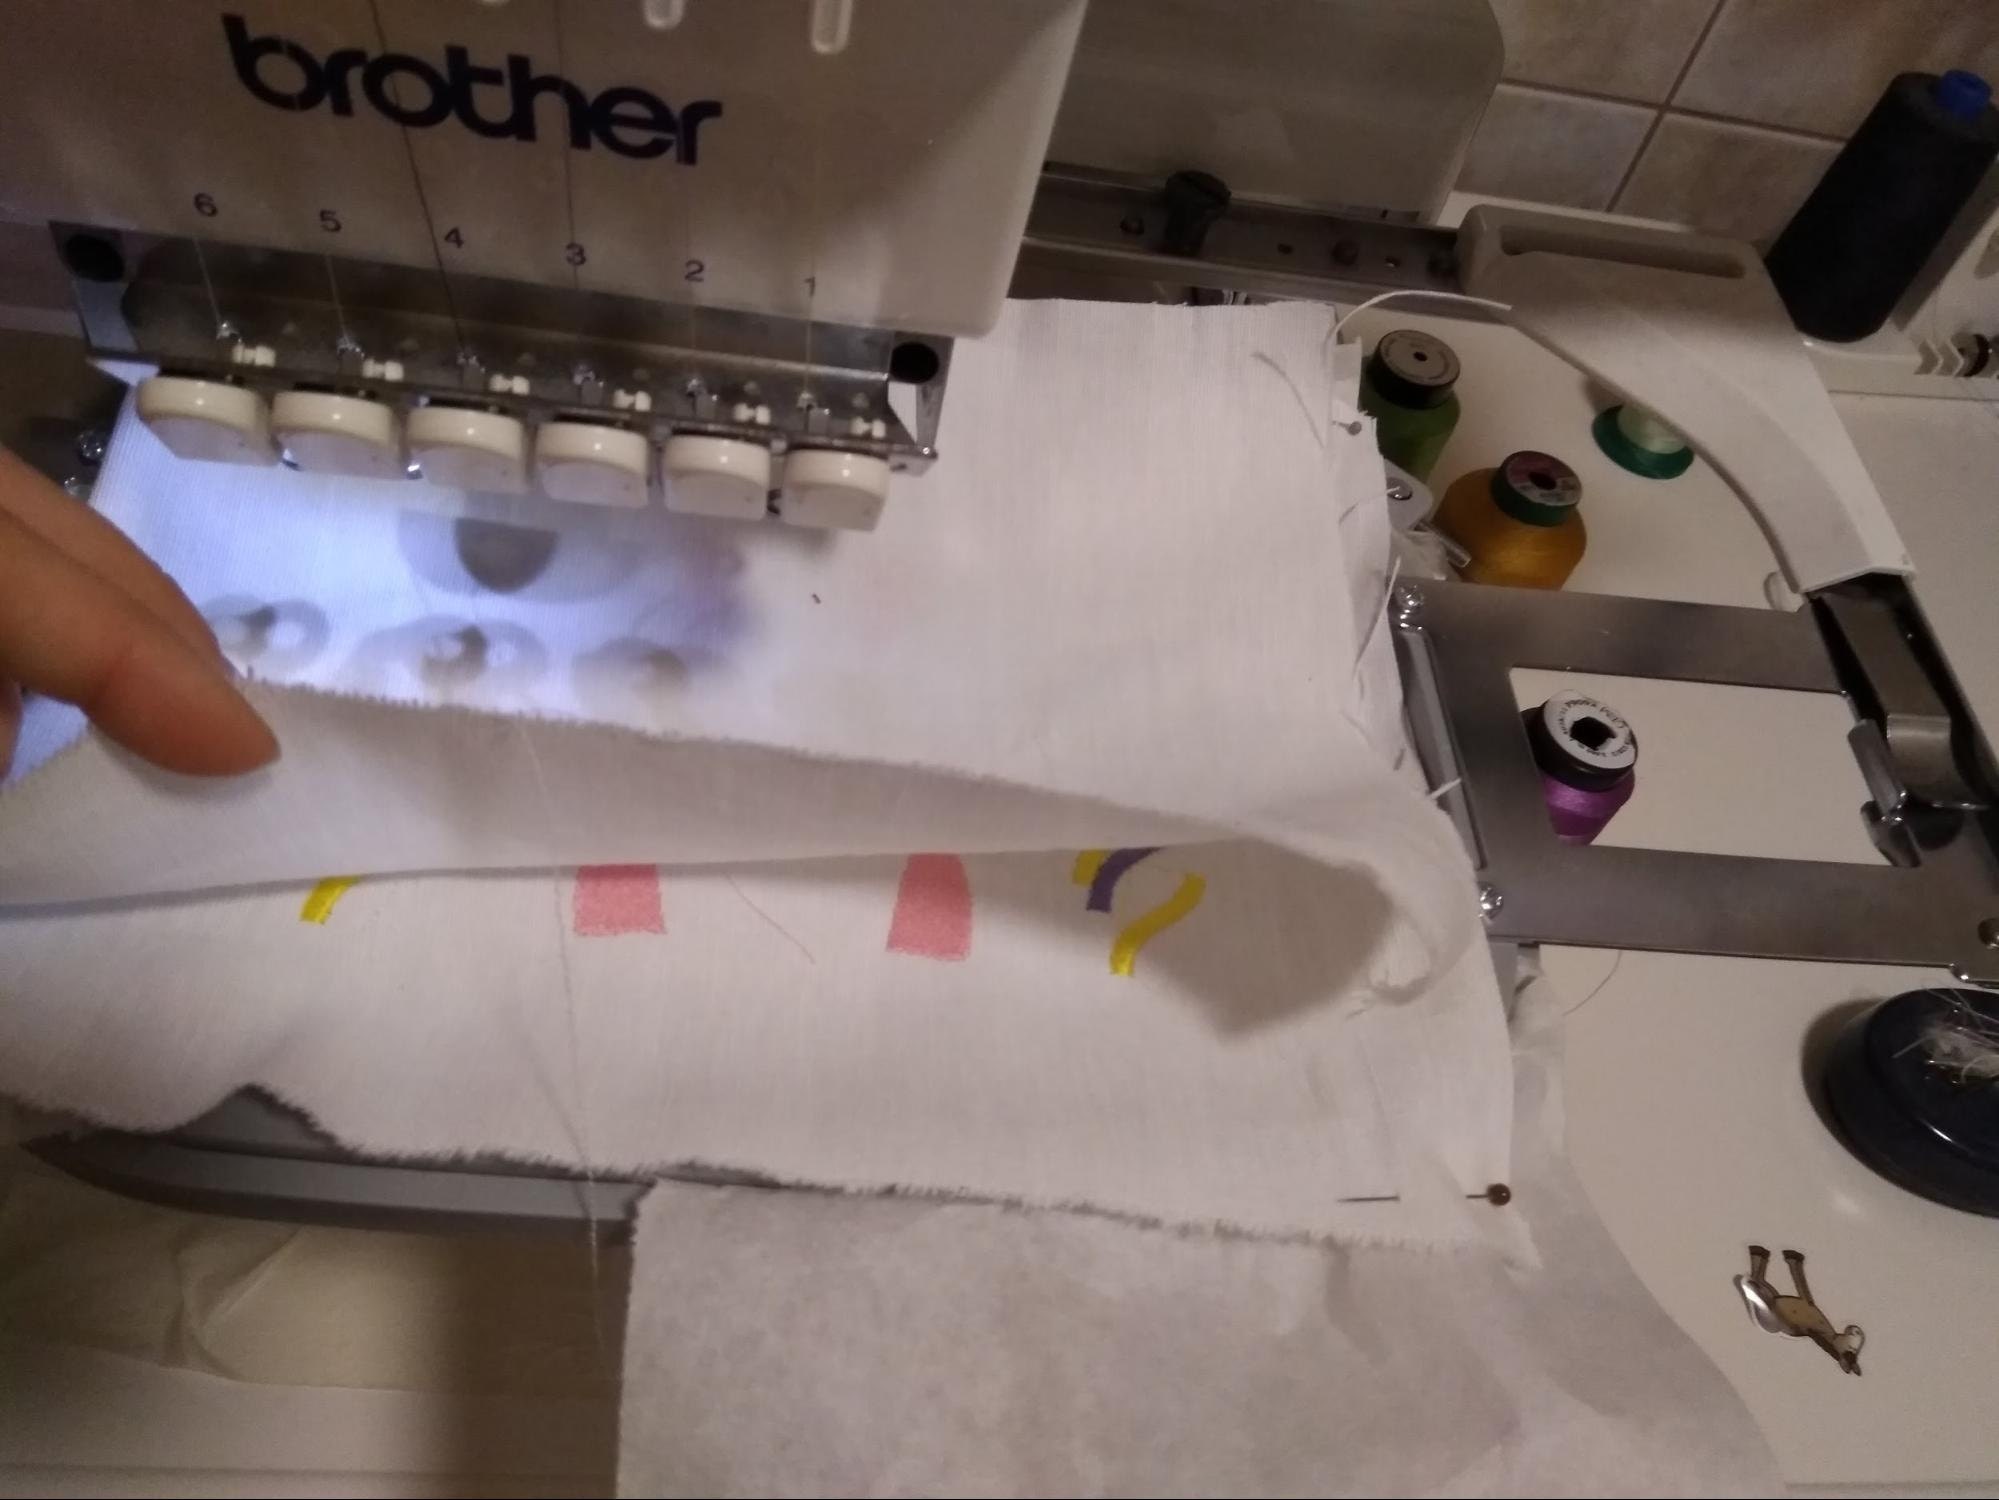
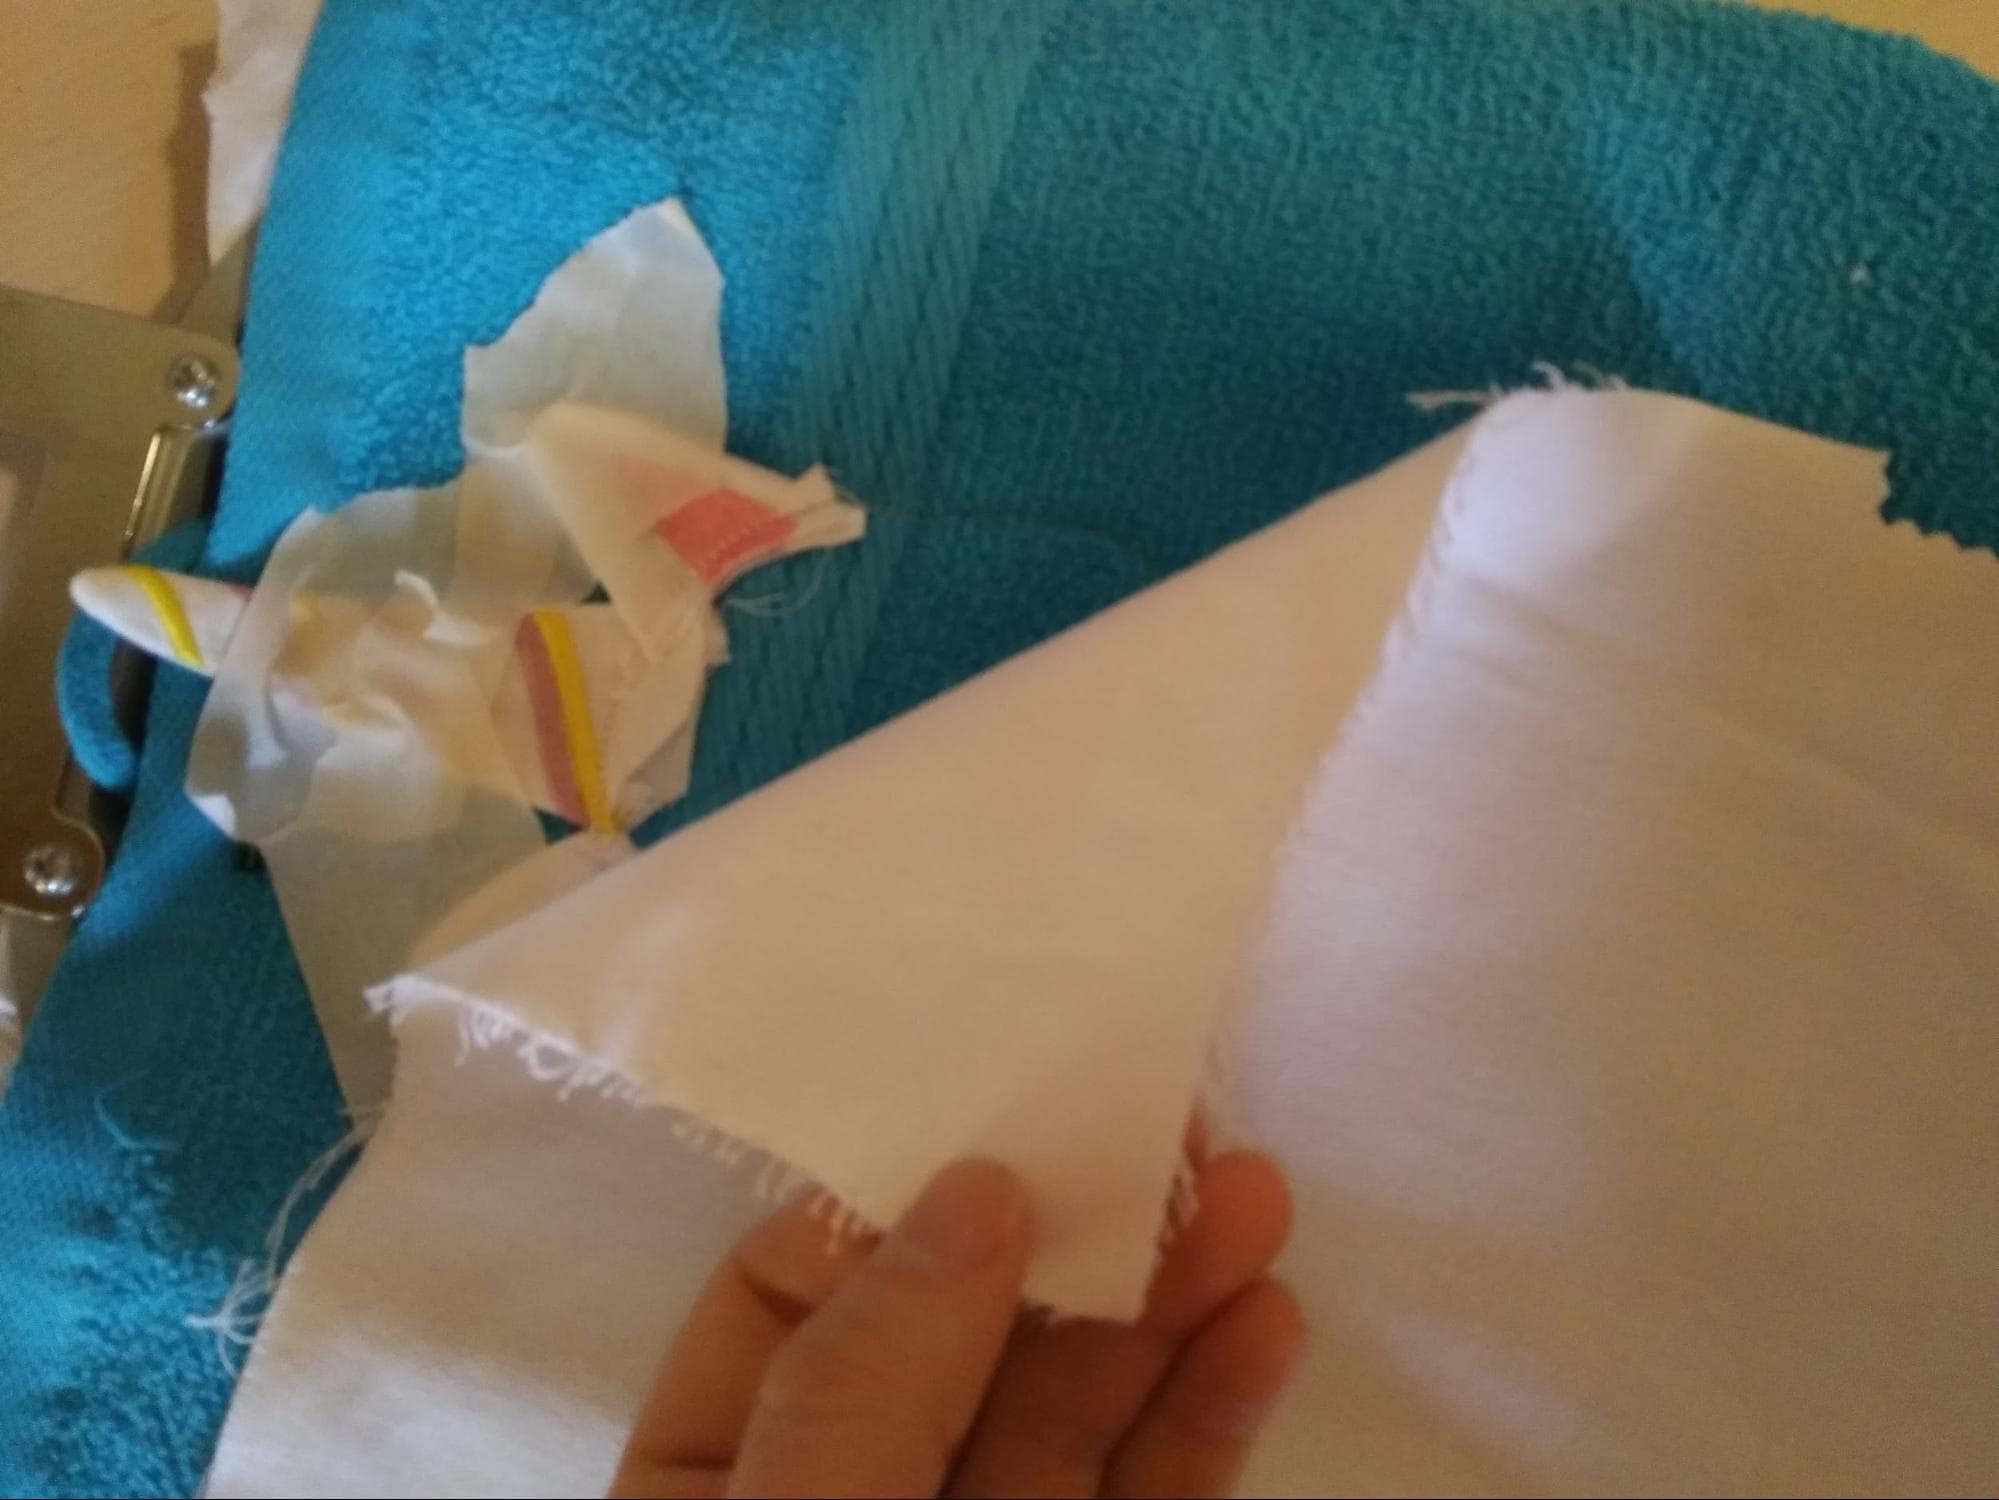
When the design has finished, unhoop your project. Gently tear away the excess stabilizer and cut out the shapes.
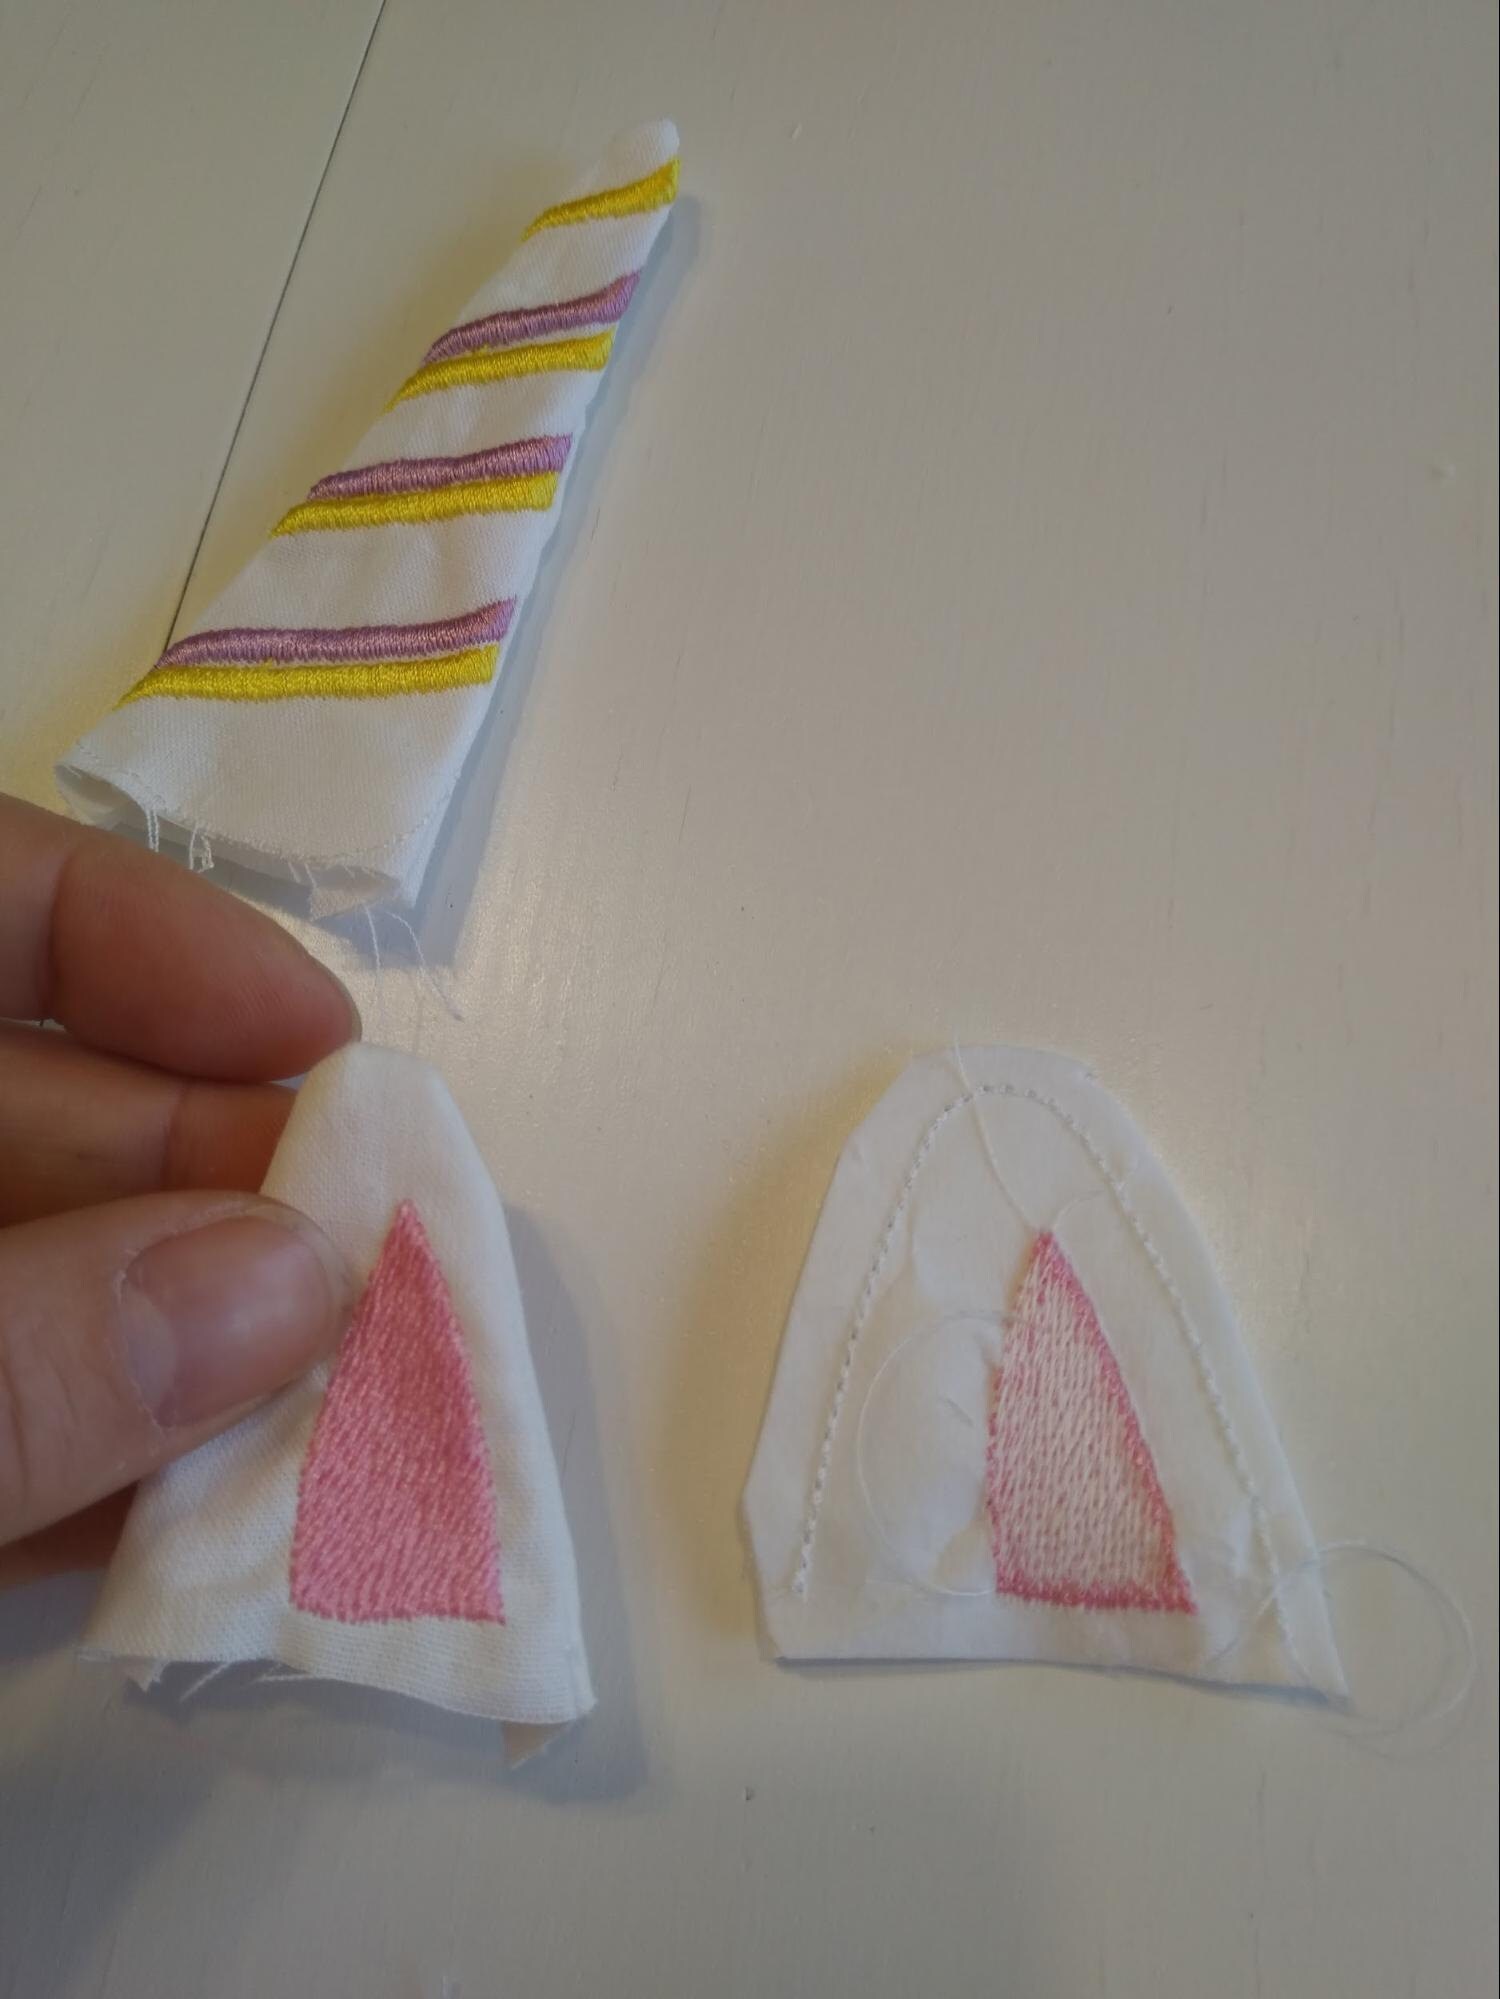
Trim and clip the seam allowances to reduce bulk, especially on the curved edges. Be careful not to cut the seam! Turn the pieces right side out; this may require some patience and skill.
Part 2: Embroidering the Unicorn Head on the Towel
Load the second file, which contains the unicorn head.
Color Steps for Unicorn Head:
- Unicorn head, ears, and horn position seams
- Unicorn head, ears, and horn details tack-down seams
- Rose 1 appliqué position seam
- Rose 1 appliqué fabric tack-down seam
- Rose 2 appliqué position seam
- Rose 2 appliqué fabric tack-down seam
- Rose 3 appliqué position seam
- Rose 3 appliqué fabric tack-down seam
- Unicorn face outline
- Unicorn nose
- Leaves
- Rose 1 appliqué satin stitch
- Rose 2 appliqué satin stitch
- Rose 3 appliqué satin stitch
- Decoration curls
- Decoration blue dots
- Unicorn eyes
Hoop a tear-away stabilizer. Stitch the unicorn outline, then lay the towel right inside the shape. It is helpful to use tape or pins to make sure it stays flat while stitching.
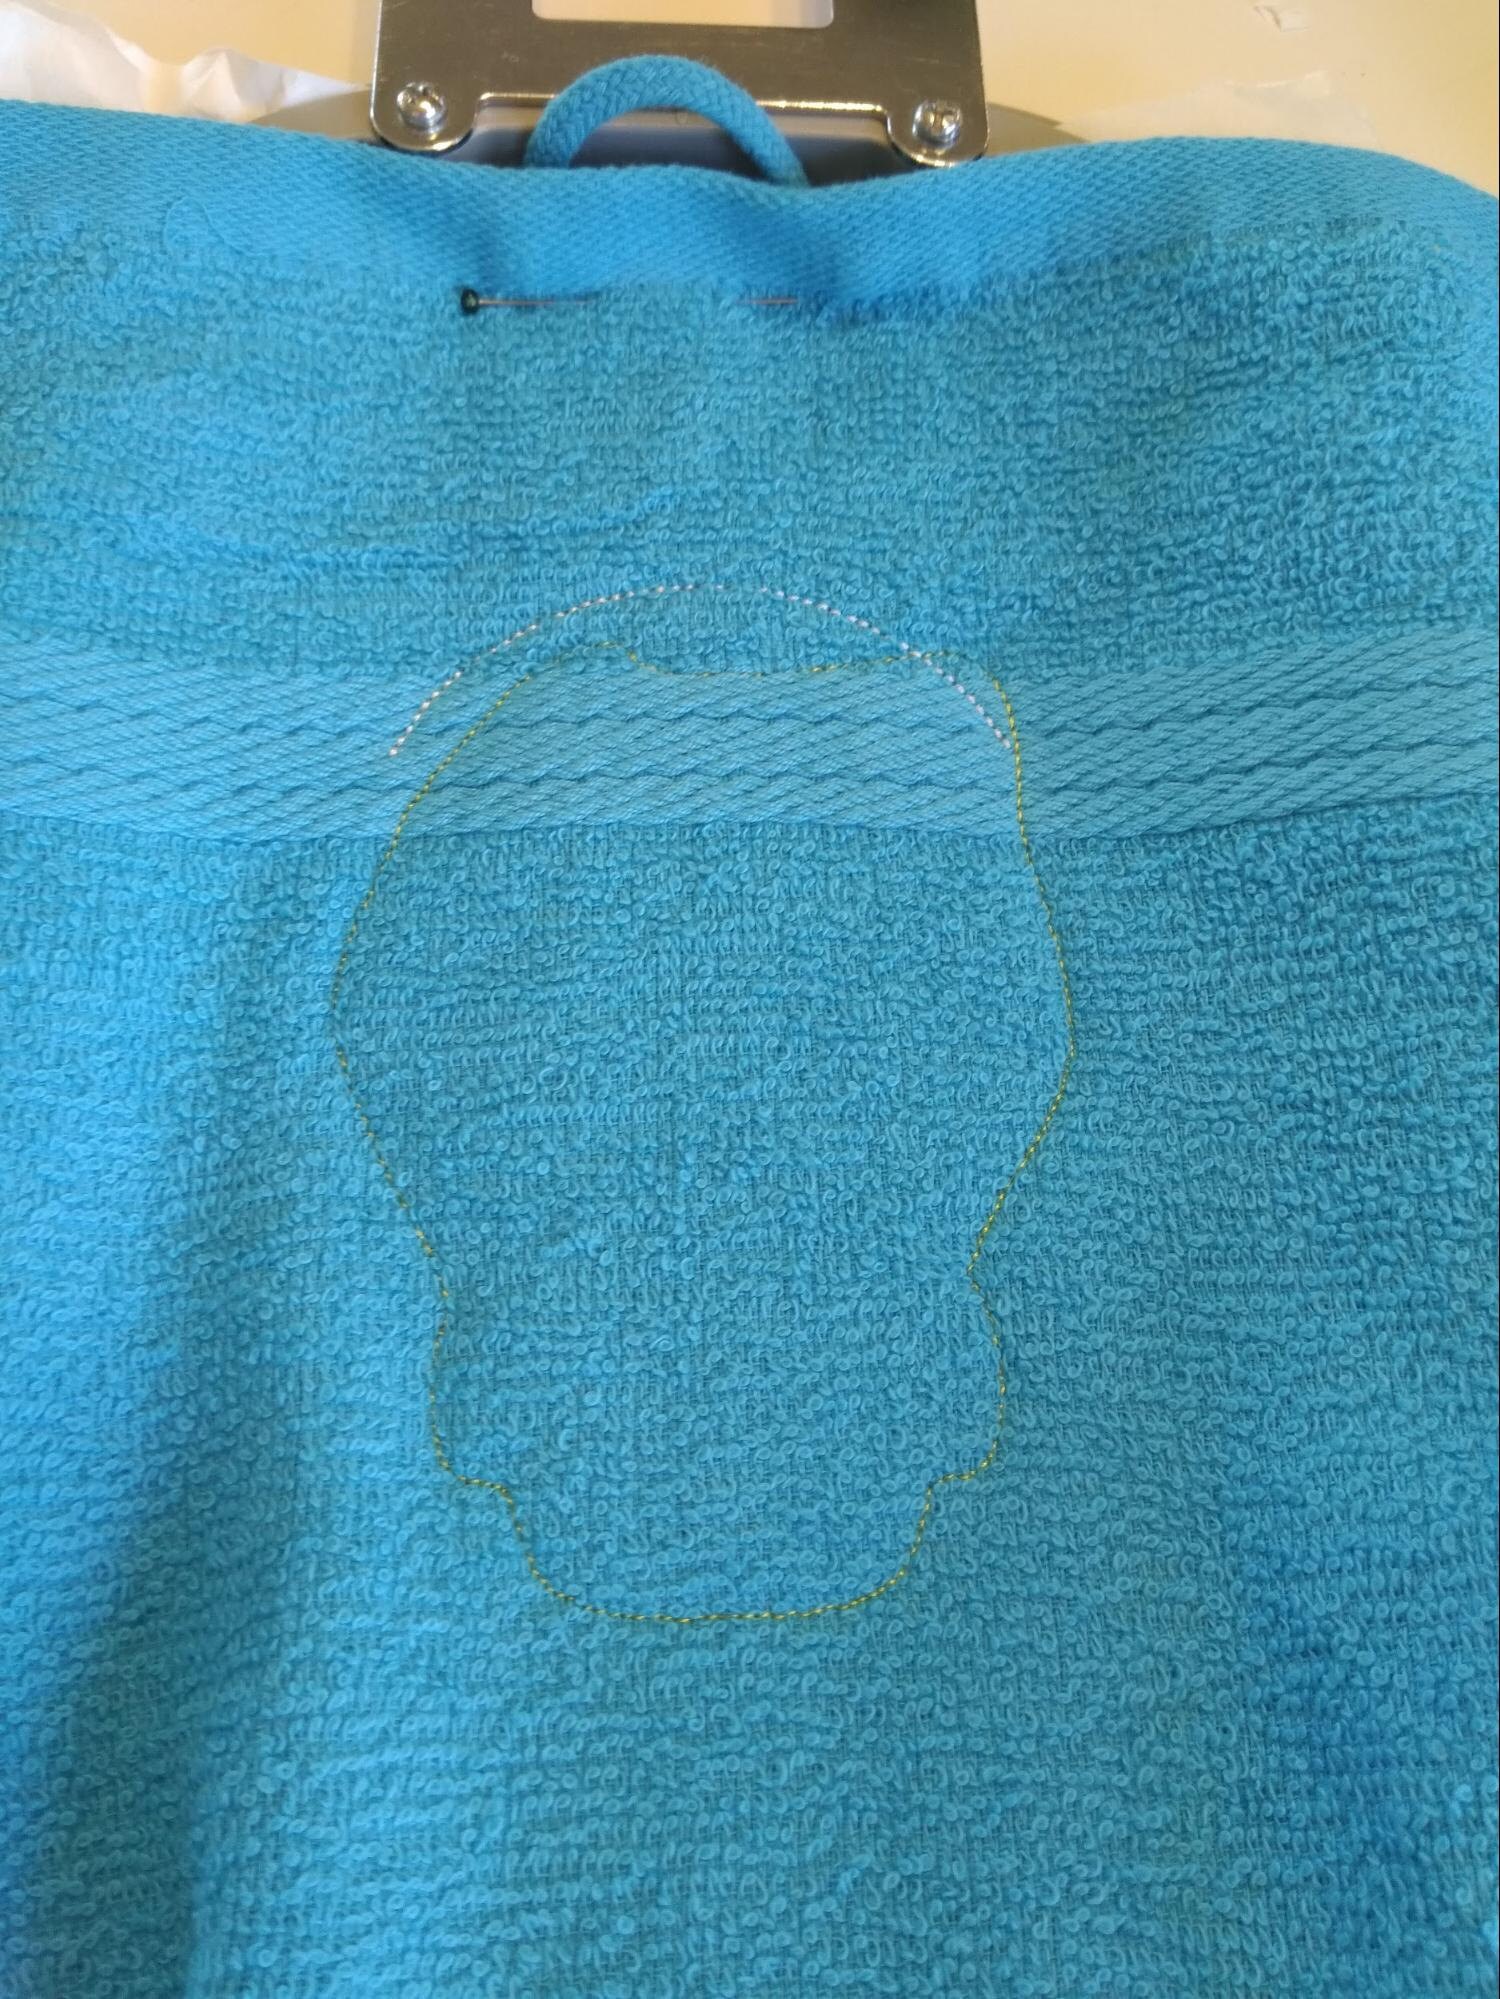
Navigate back to Color 1 on your machine and sew the unicorn outline and the positions for the ears and horn once again (Colors 1 and 2).
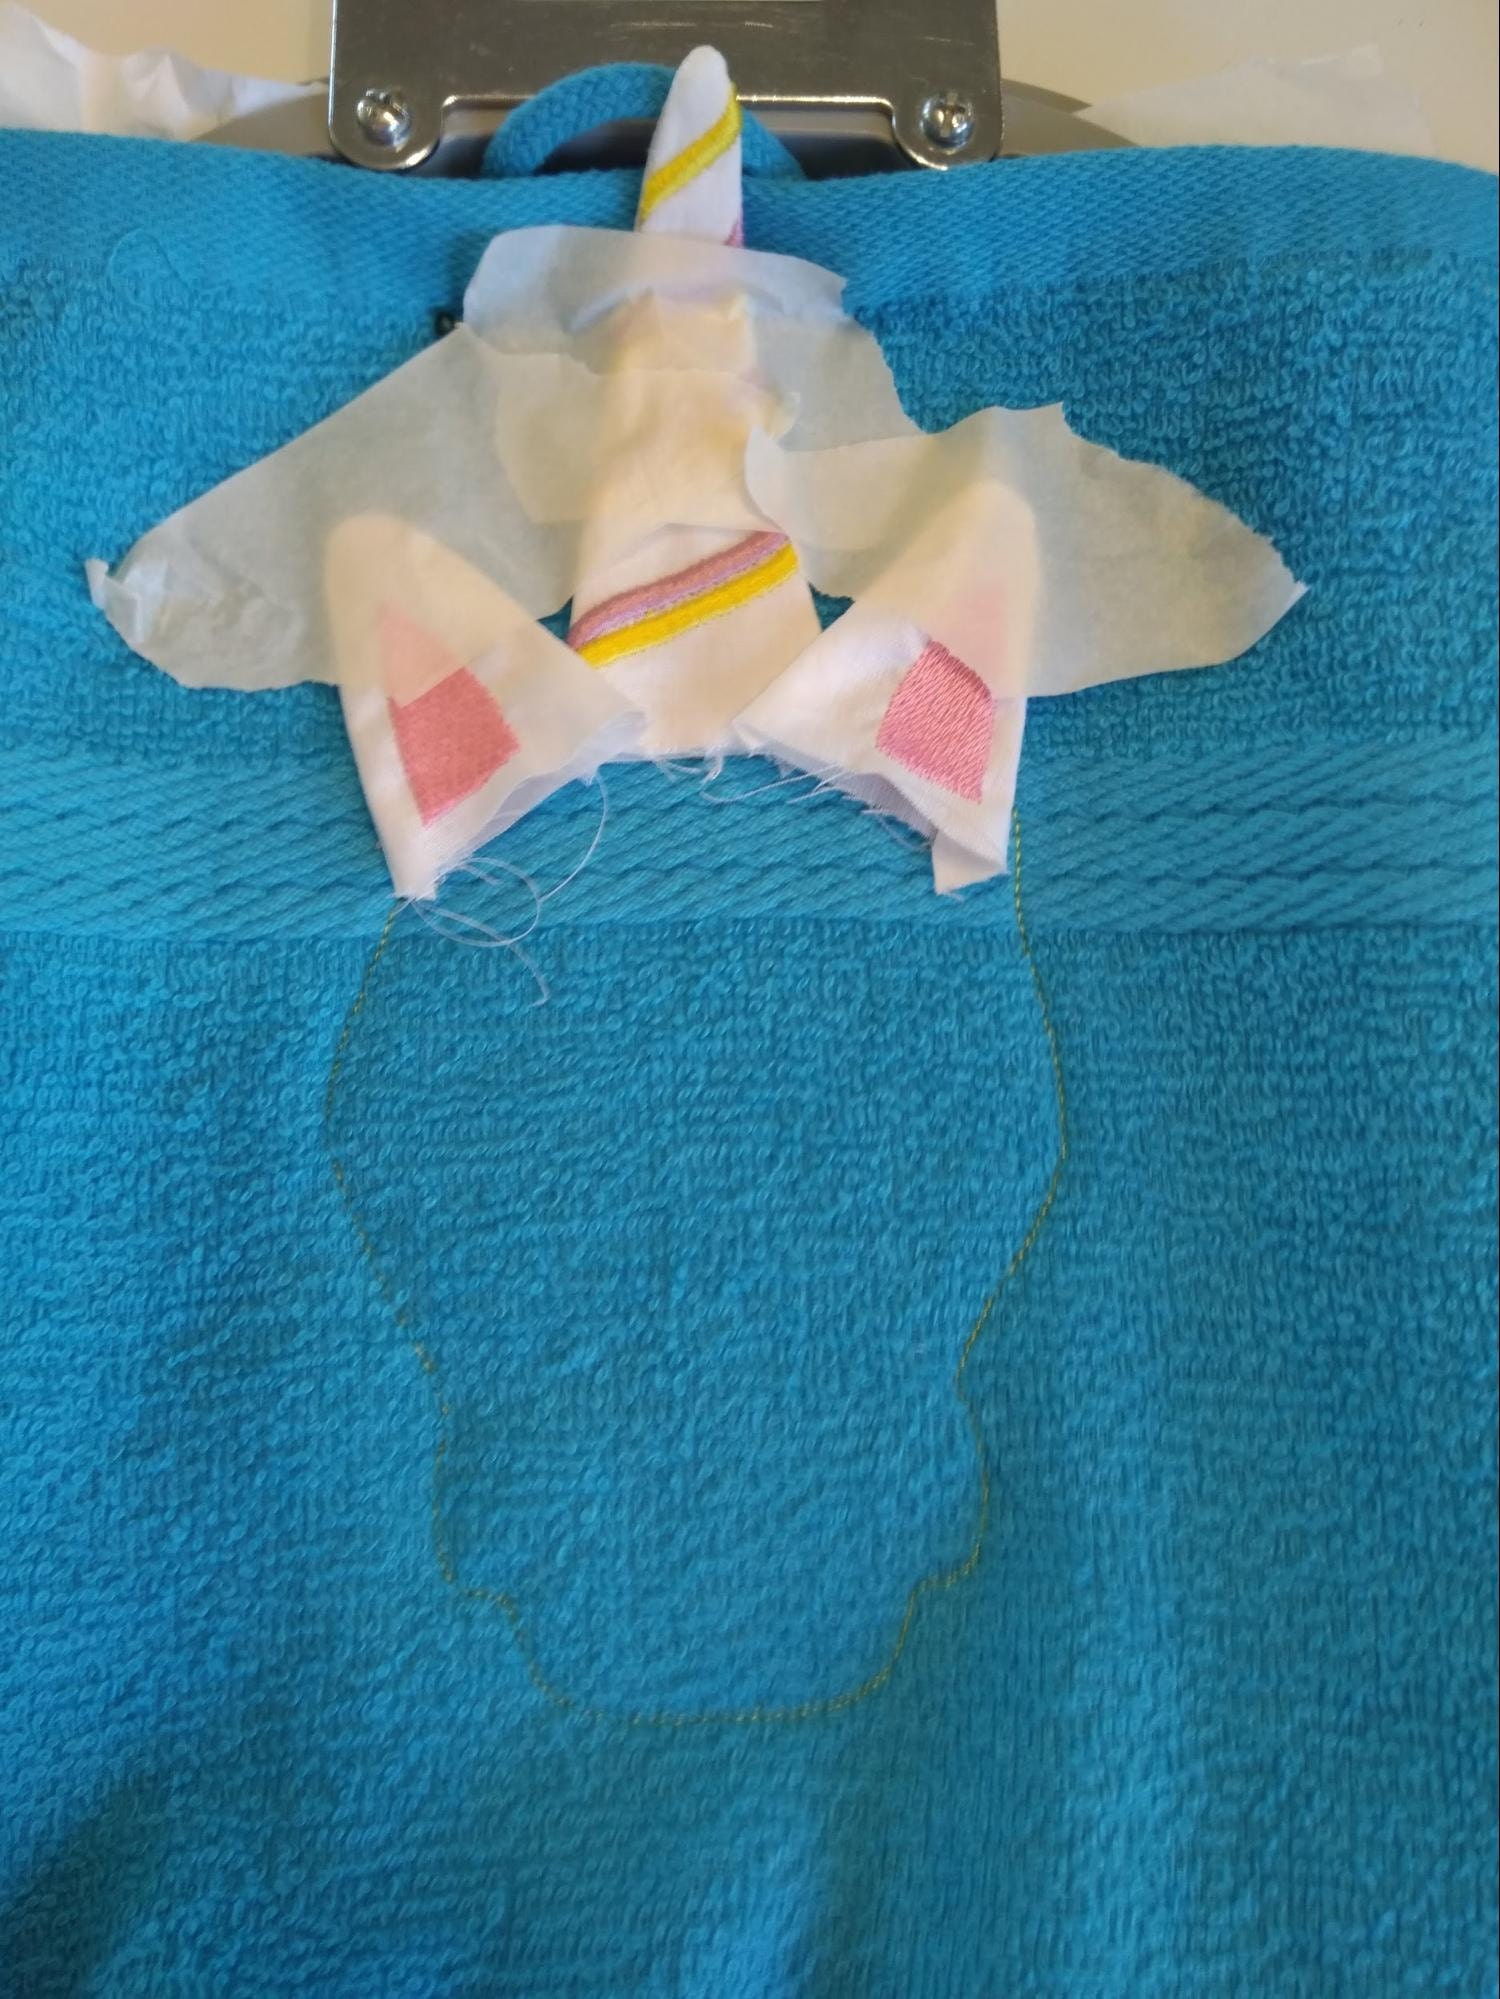
Now it is time to use your prepared ears and horn. Lay them right inside their respective placement shapes. This is the most complicated step; lay them one by one and secure them with tape. I am impatient and laid them all at once and taped them.
It is helpful to use tape to ensure the pieces stay flat while stitching.
Next, lay the unicorn face fabric right inside the shape and stitch the outline (part of Color 2).
Continue embroidering as you would with a typical appliqué design. Trim the unicorn face fabric, then continue with the appliqué steps for Roses 1, 2, and 3 (Colors 3-8).
- Stitch the placement outline for the appliqué.
- Stop the machine, do not unhoop, and place the appliqué fabric inside the shape. Use tape to keep it flat. Stitch the tack-down seam.
- Stop the machine, do not unhoop, and carefully cut out the shape of the appliqué fabric.

Attach the hoop back on the machine and continue with the design. The satin stitch outline for the unicorn face will be next (Color 9). Complete the rest of the design, which includes the satin stitches for the roses, the unicorn's eyes, and other decorative elements (Colors 10-17).
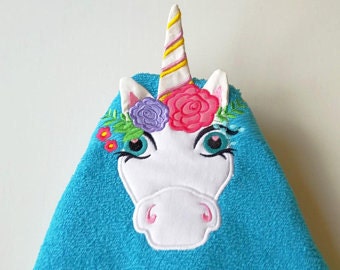
You can find this design in the Artapli store.
