Pineapple Zipped Bag in the hoop instructions
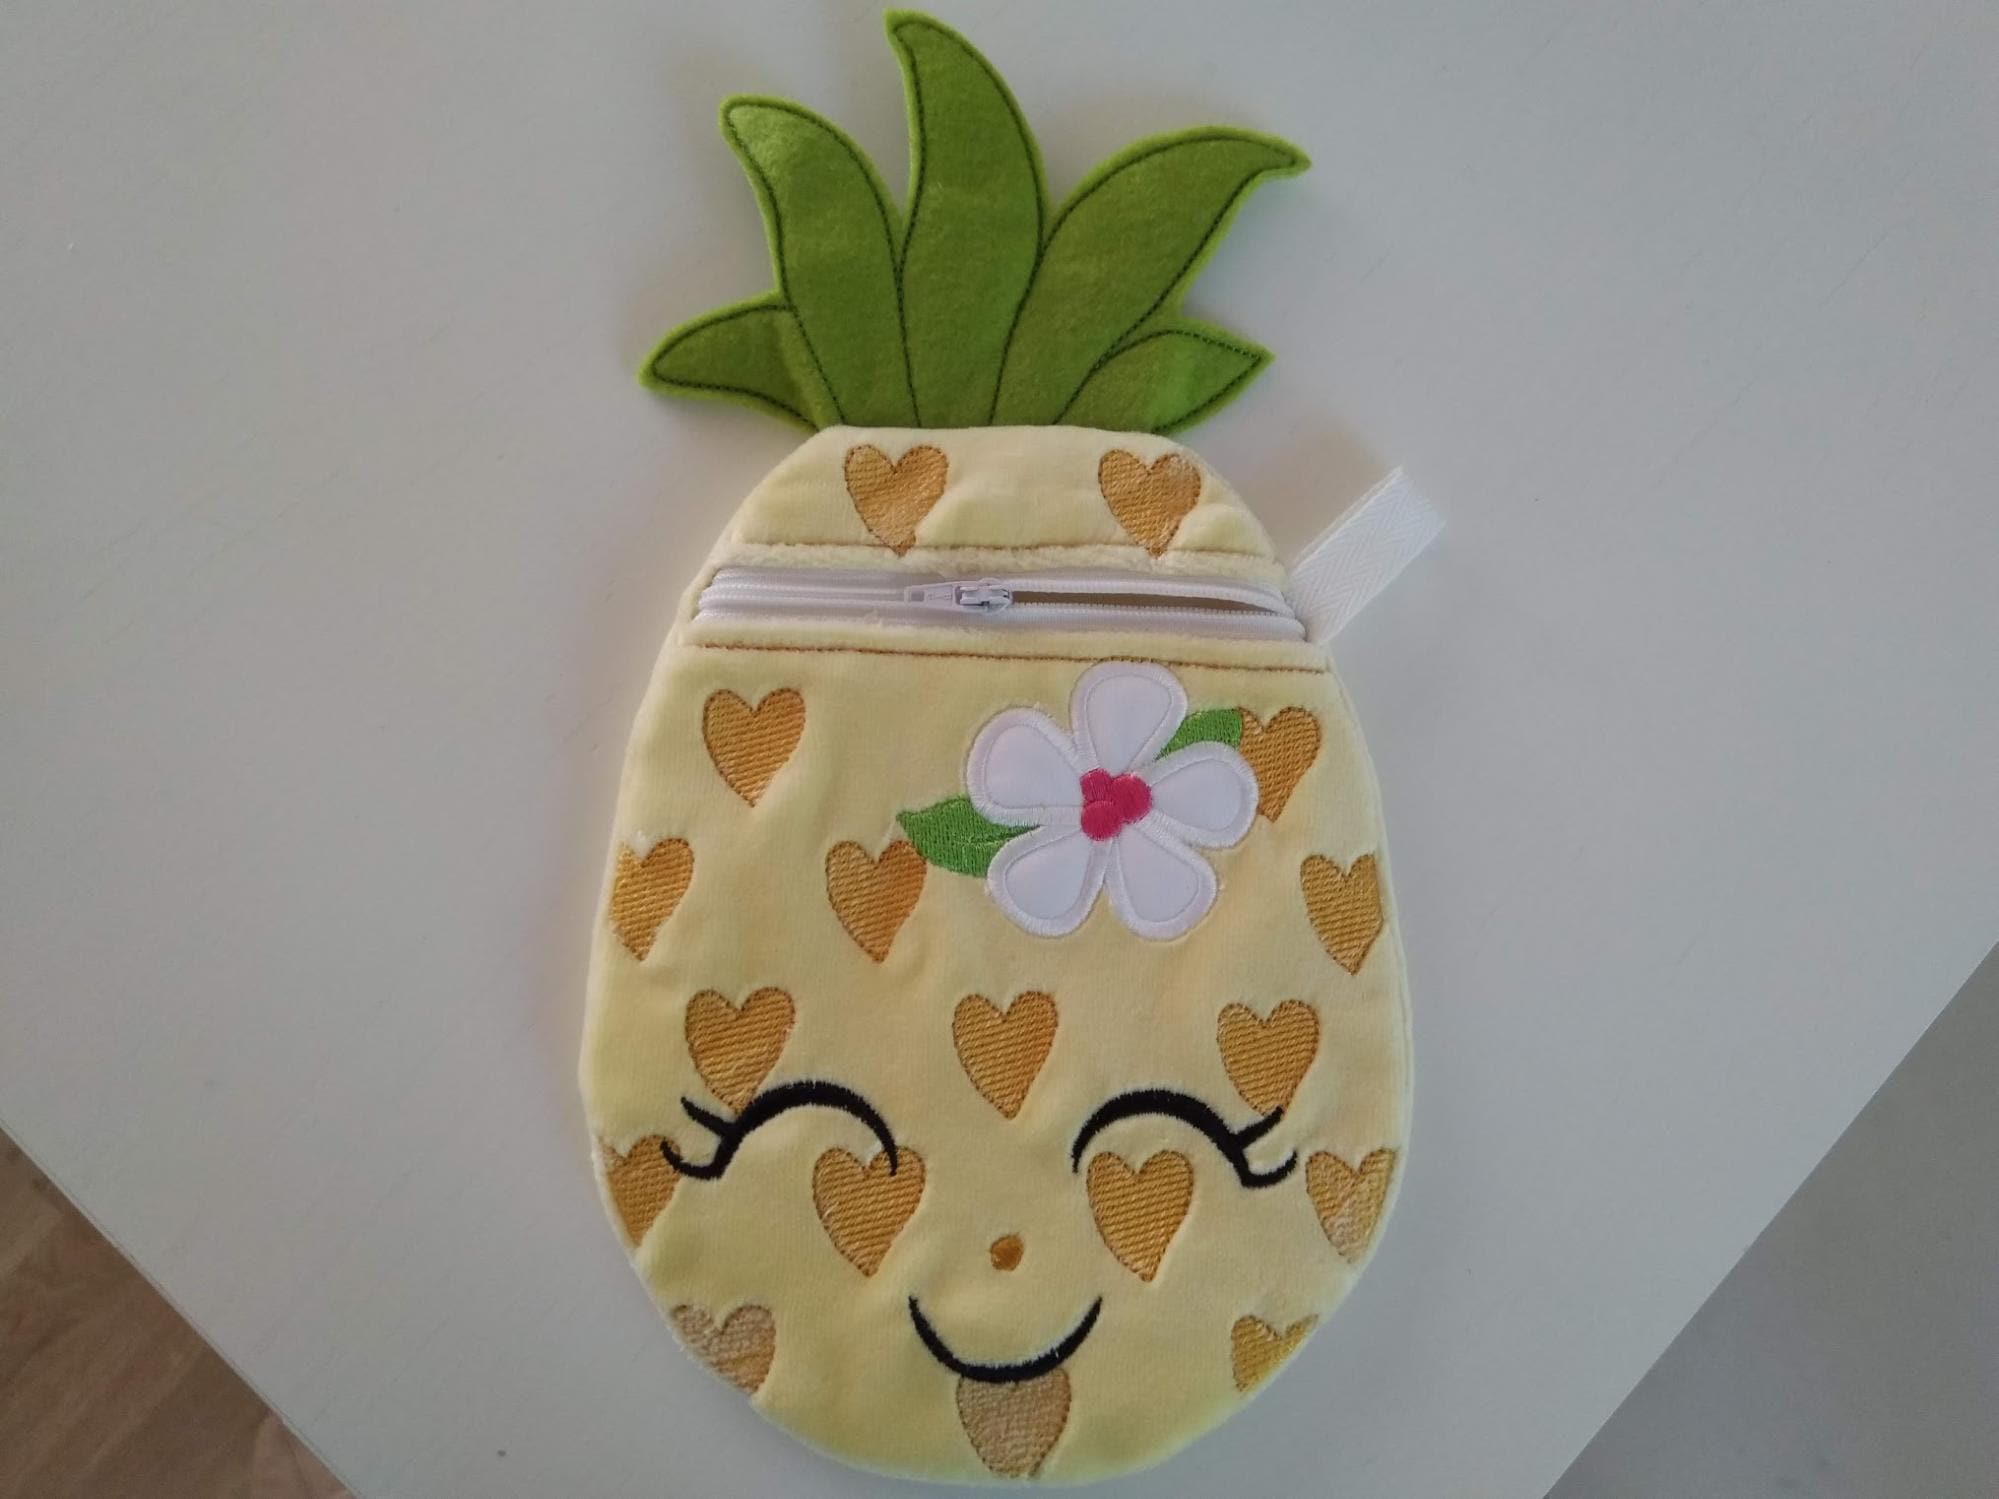
In-the-Hoop Pineapple Zipped Bag Tutorial
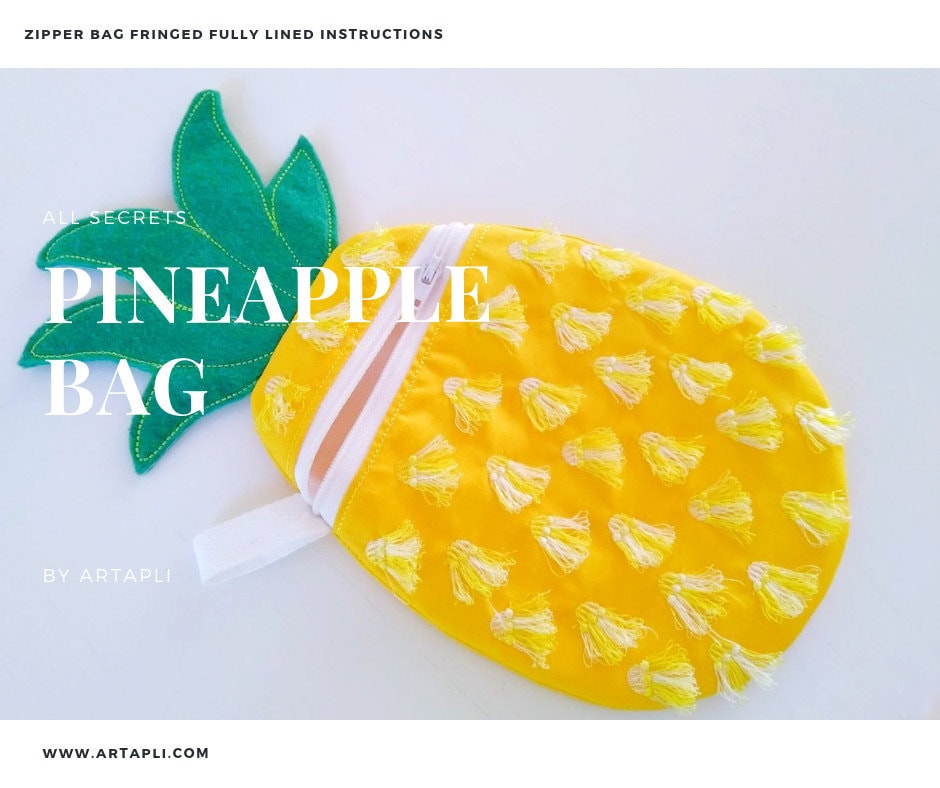
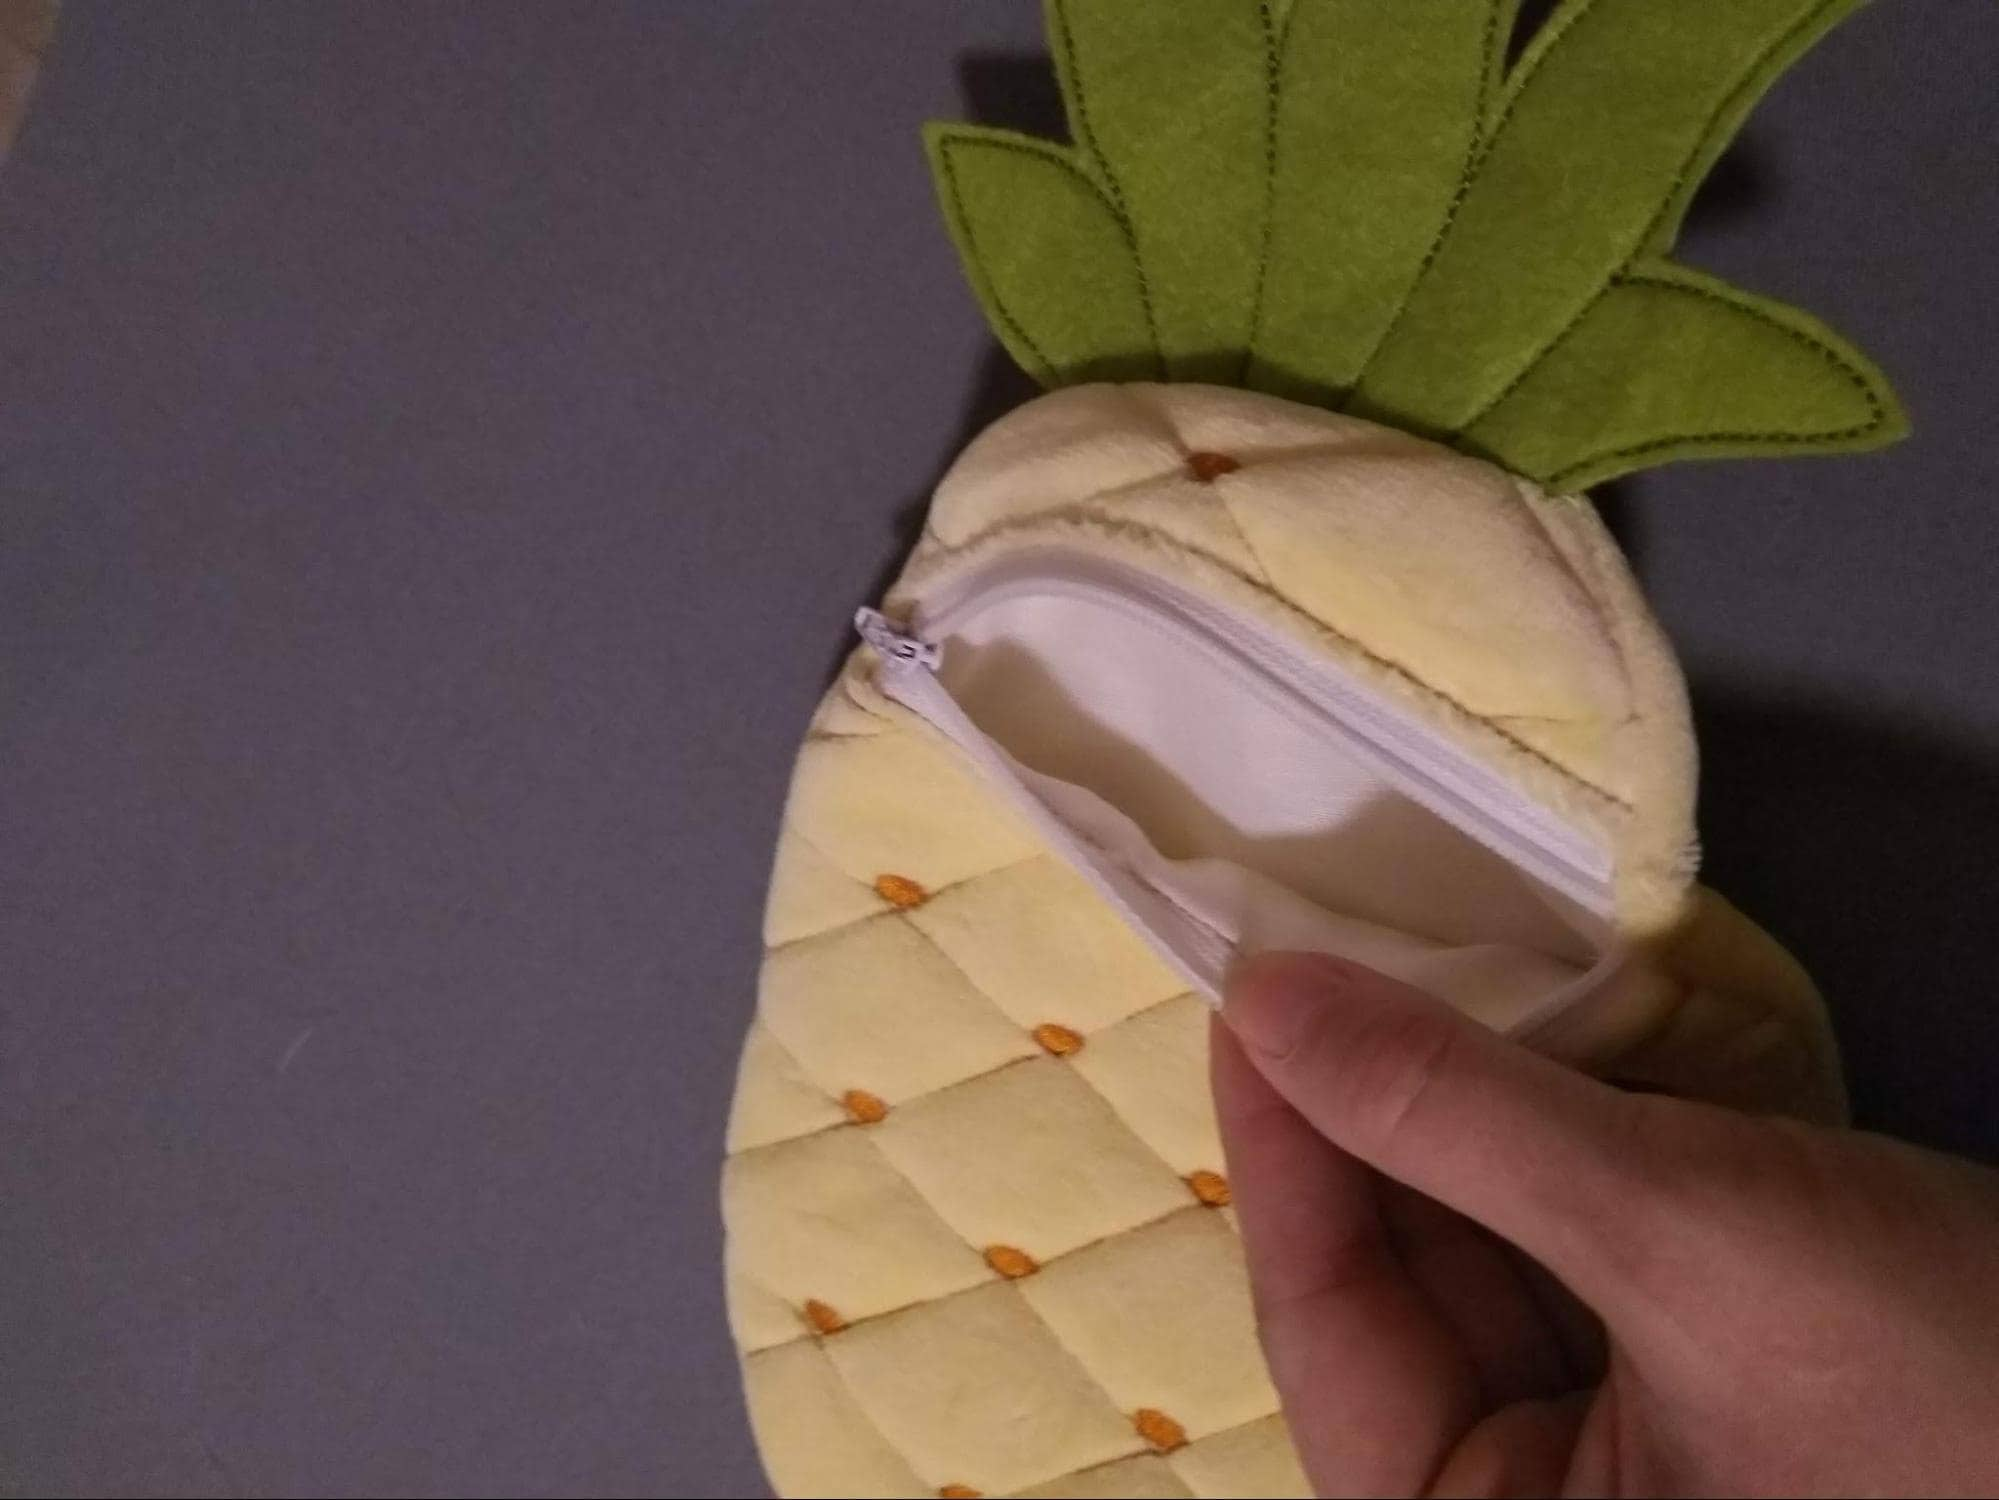
This design makes a fabulous last-minute gift! It is sized for the 6x10 hoop and creates a fully lined bag that looks like it was bought from a shop, with no exposed seams. The project is completed 100% in the hoop, and there is no stitching over any metal parts of the zipper.
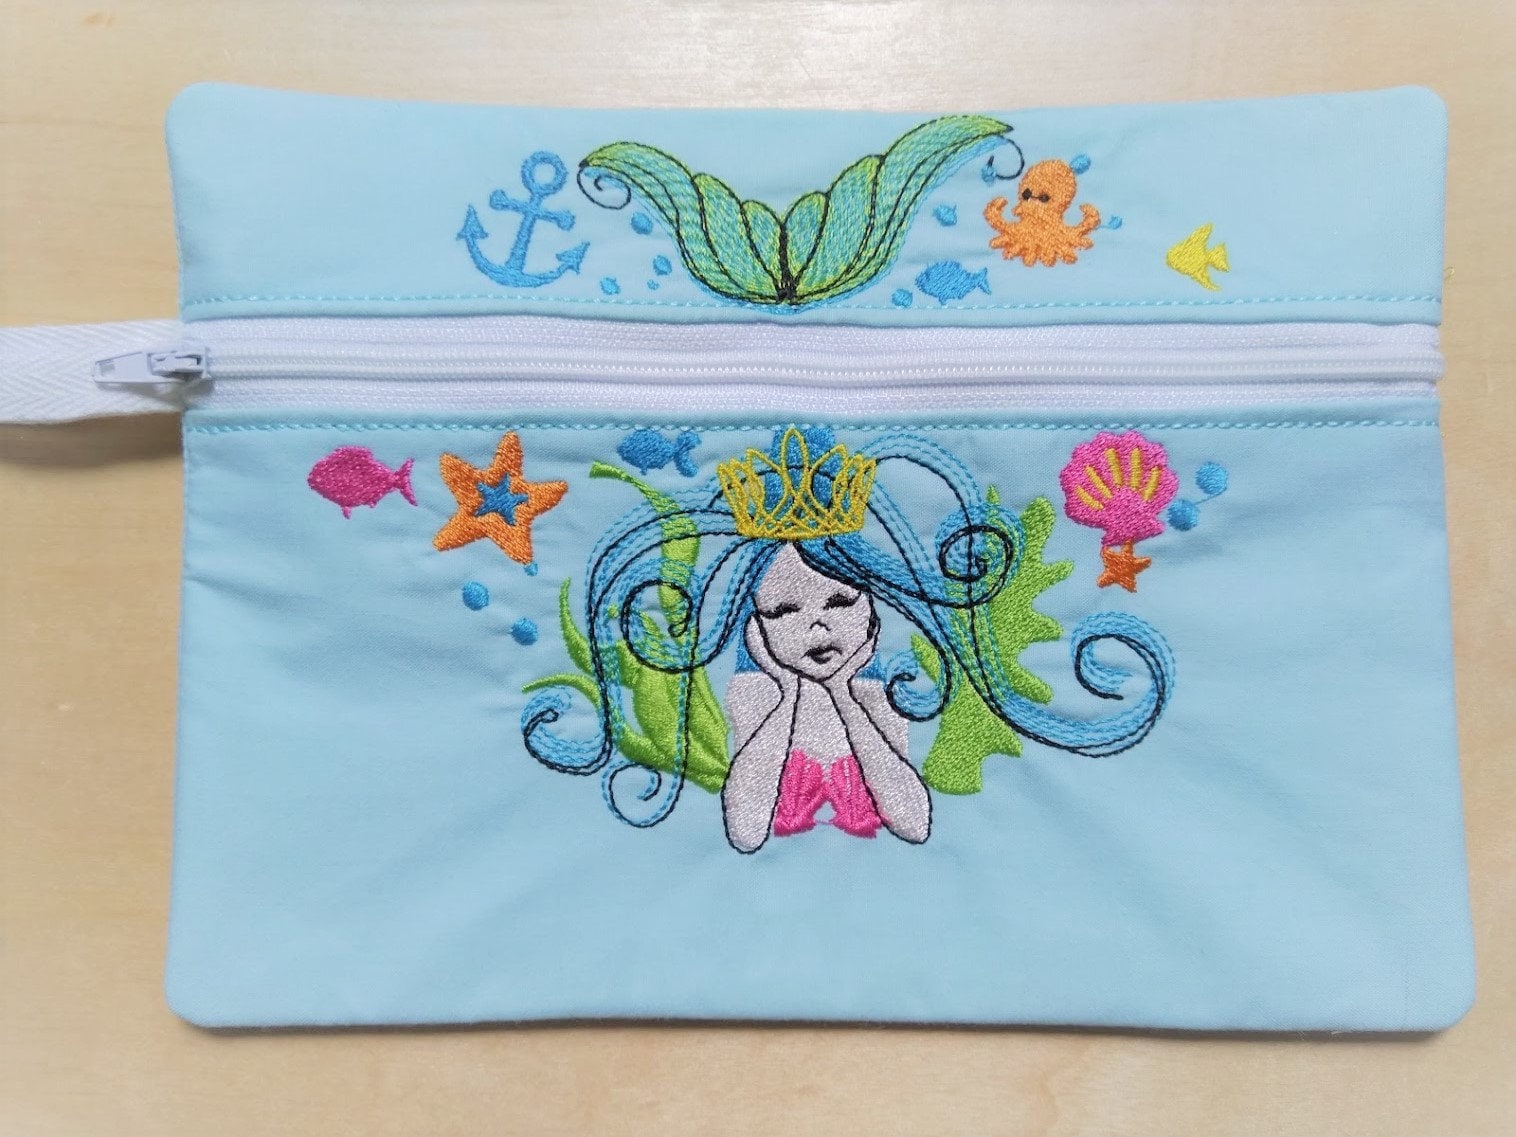
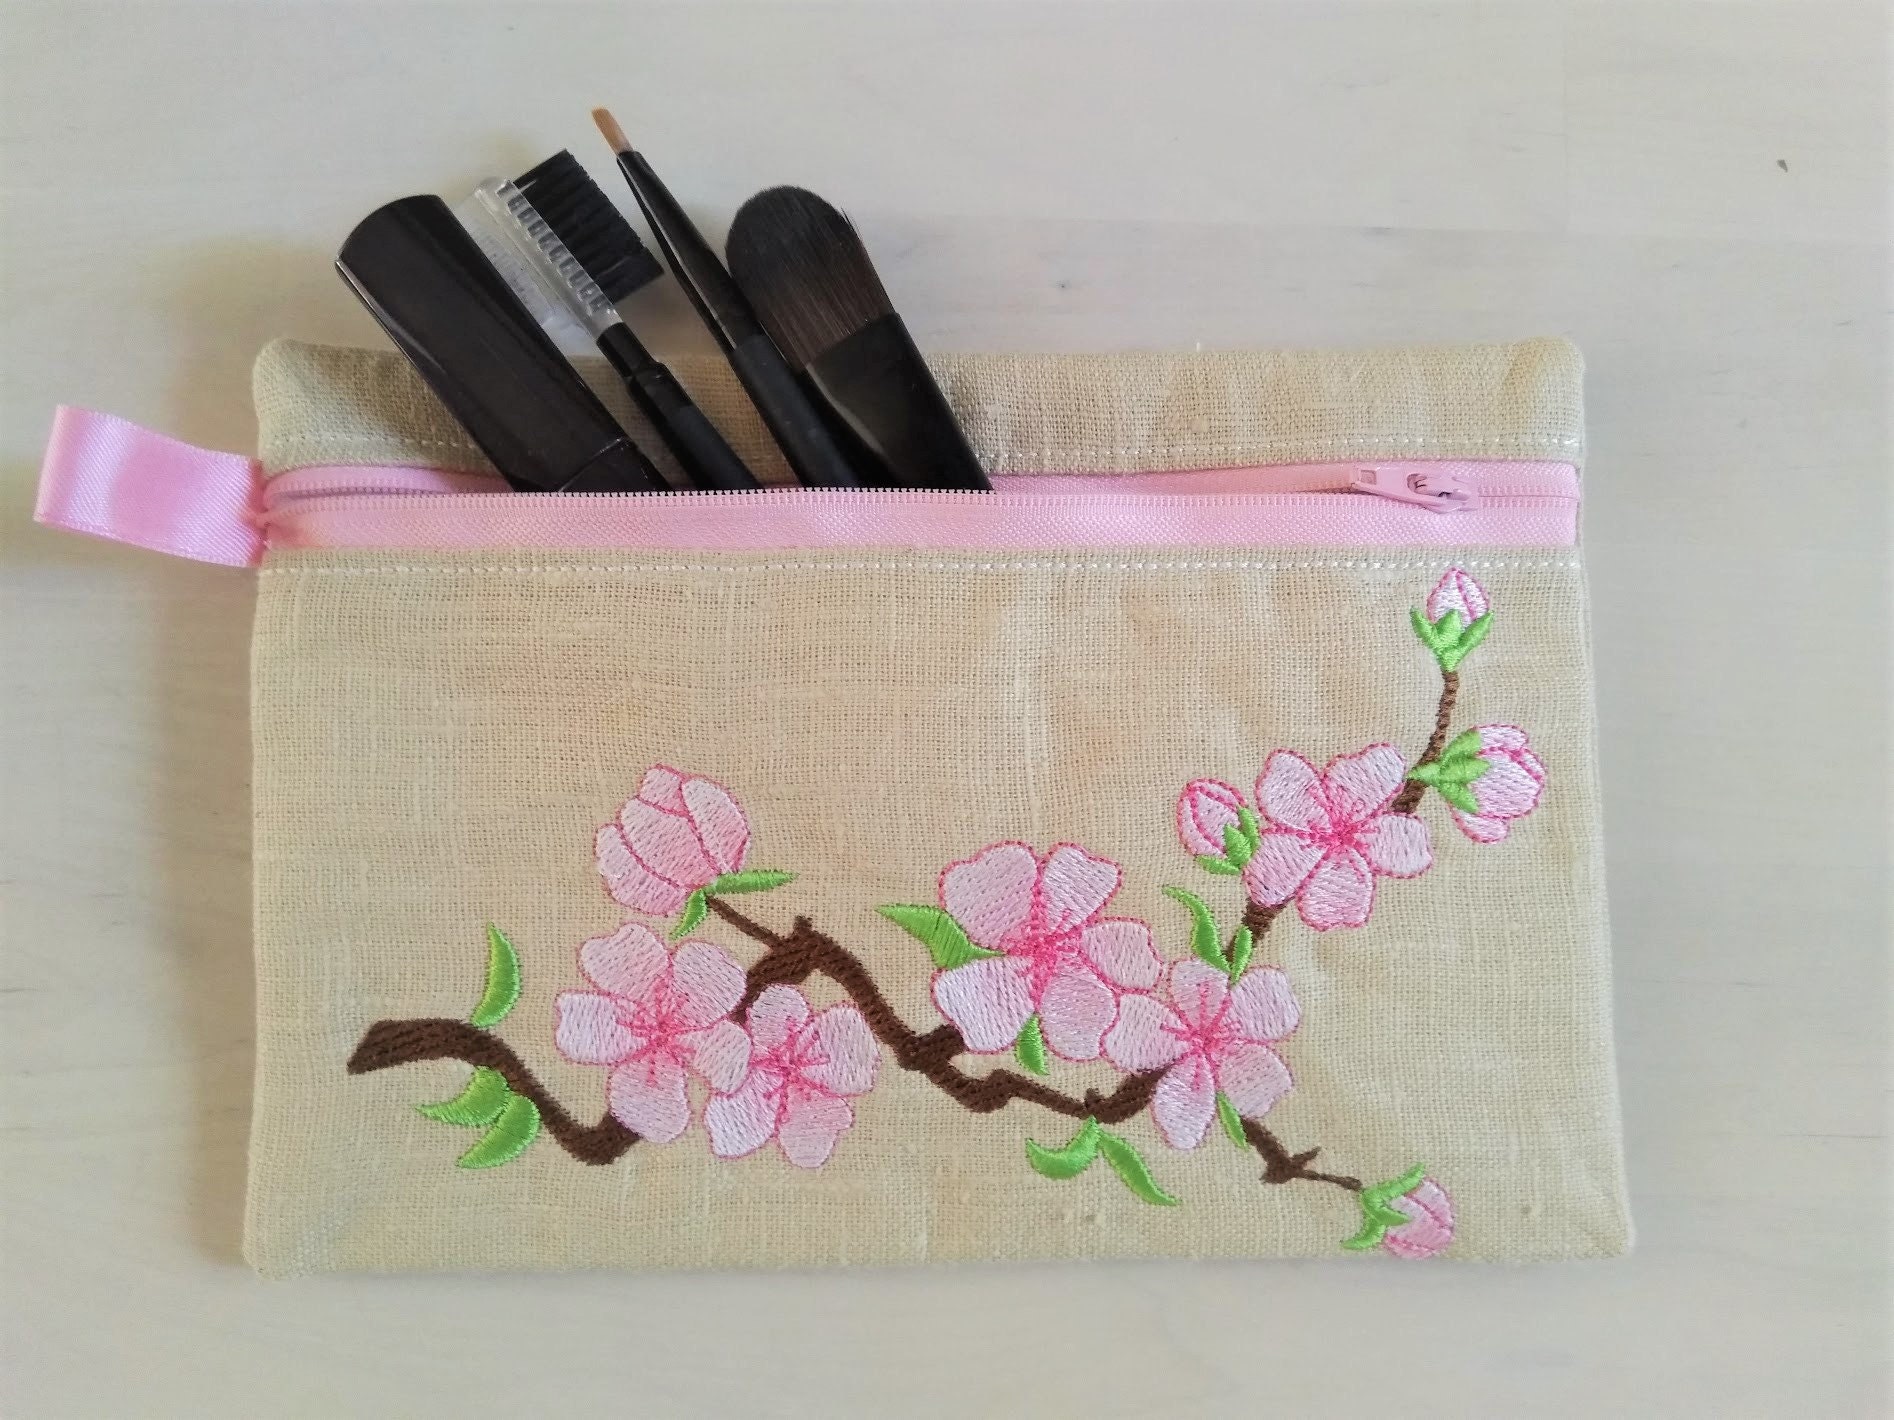
Most Popular Zipped Bag Designs
Important Note
You may need to pause the machine and take the hoop out, but please do not unhoop your project! The backing is taped behind the hoop.
Materials You Will Need
Leaves:
- Two pieces of green felt fabric, 4.5 x 5.5 inches each.
Main Fabric:
- Two pieces of main fabric, each 8x10 inches.
- One piece of main fabric cut to 2.5 x 8 inches.
Lining Fabric:
- Two pieces of lining fabric, each 8x10 inches.
- One piece of lining fabric cut to 2.5 x 8 inches.
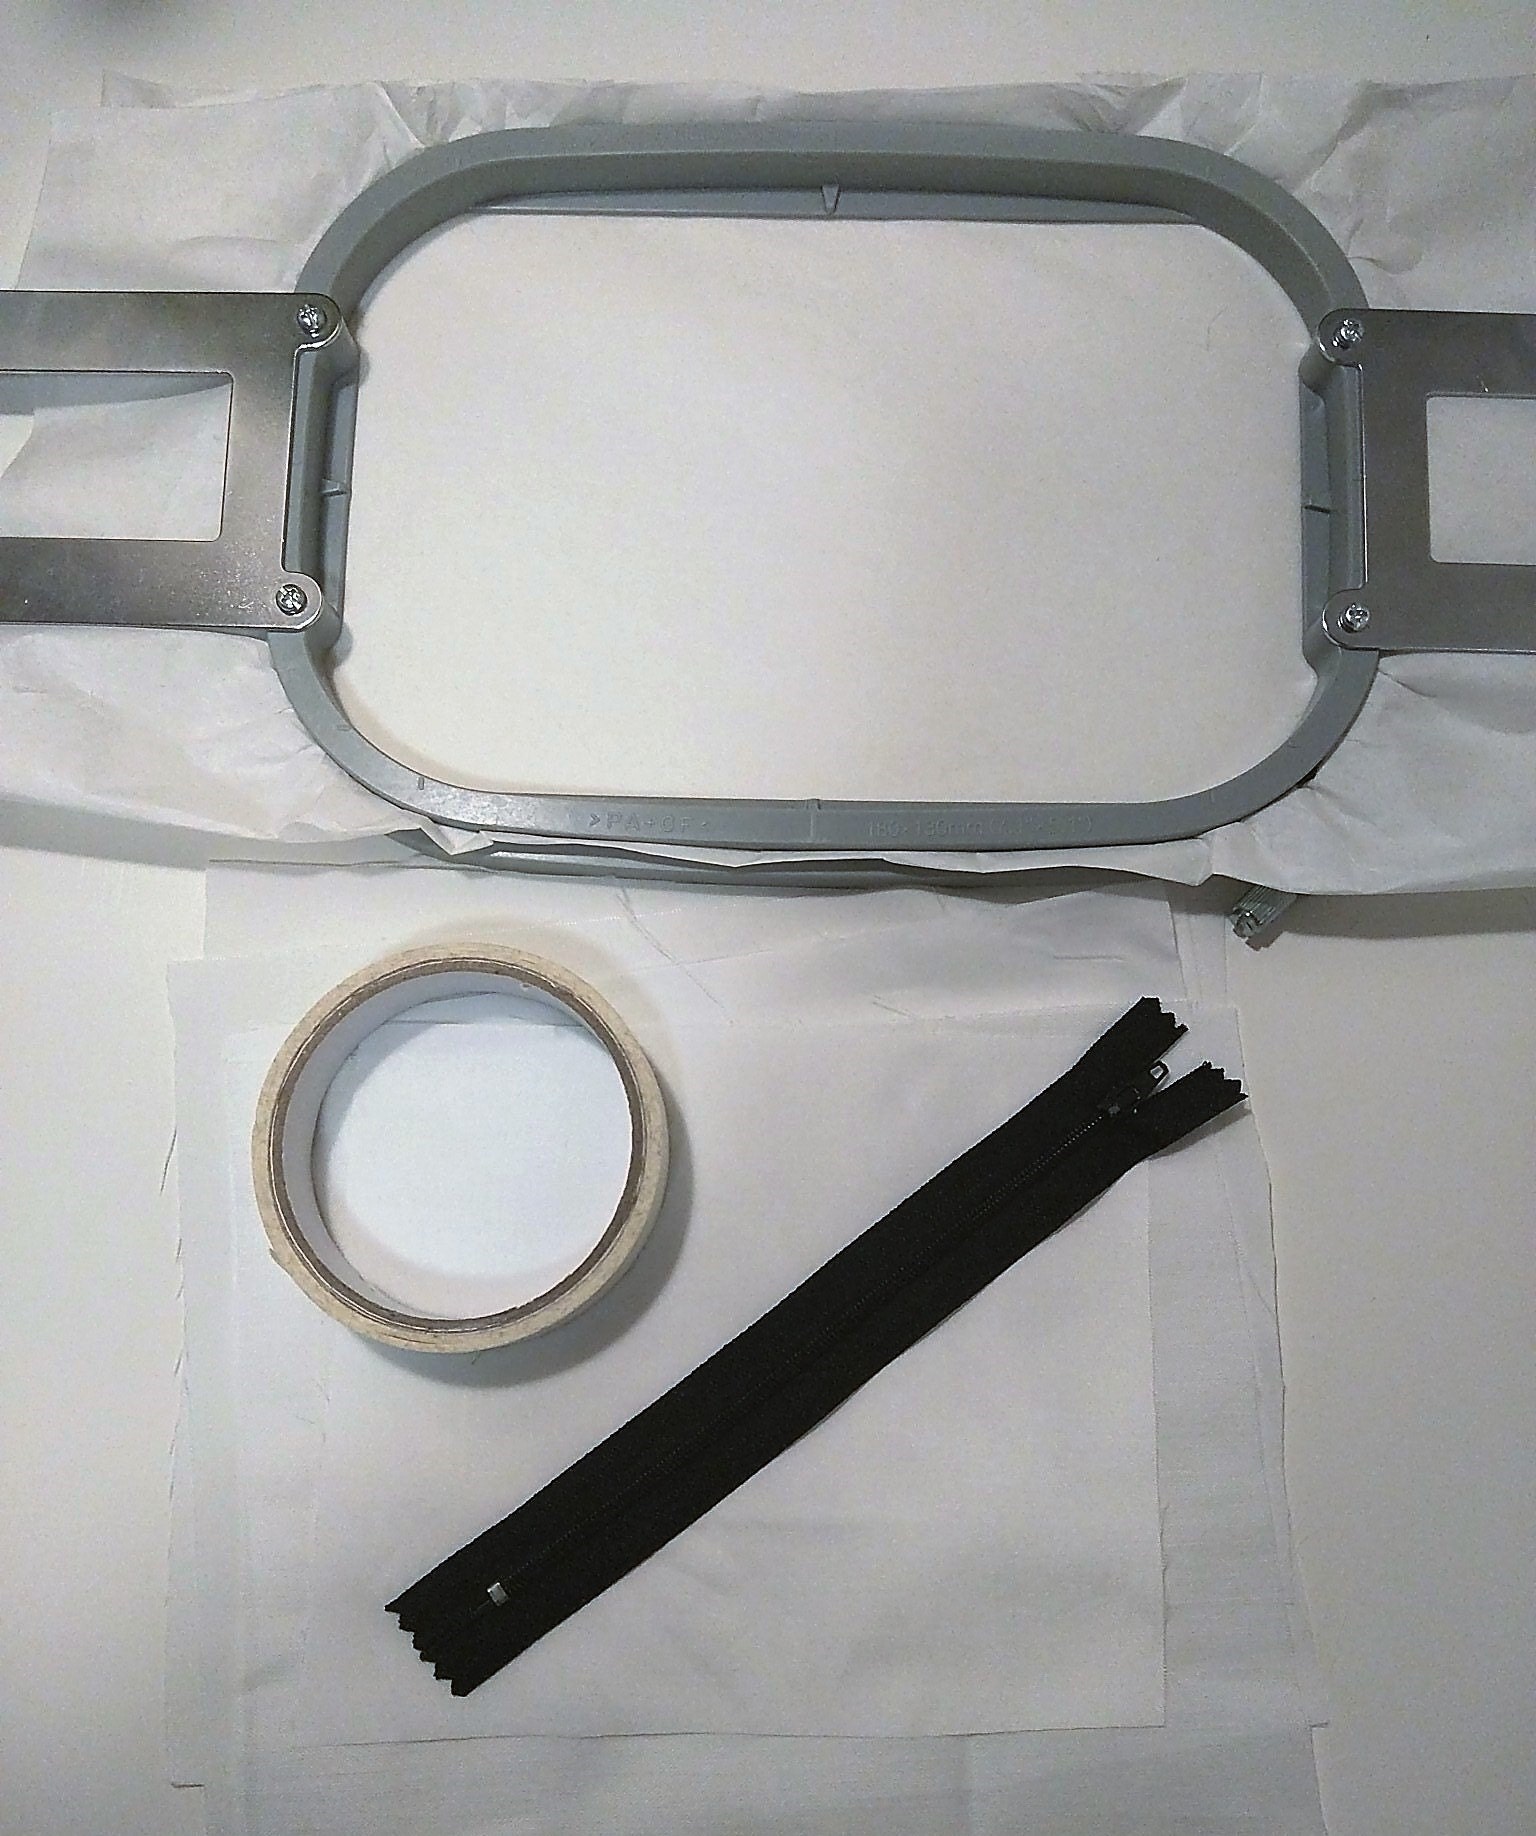
Supplies:
- A zipper, 9 inches is the preferred length.
- A 4-inch length of ribbon.
- Medium-weight tear-away stabilizer.
- Clear tape.
Design Overview
Pineapple Leaves

Pineapple Bag
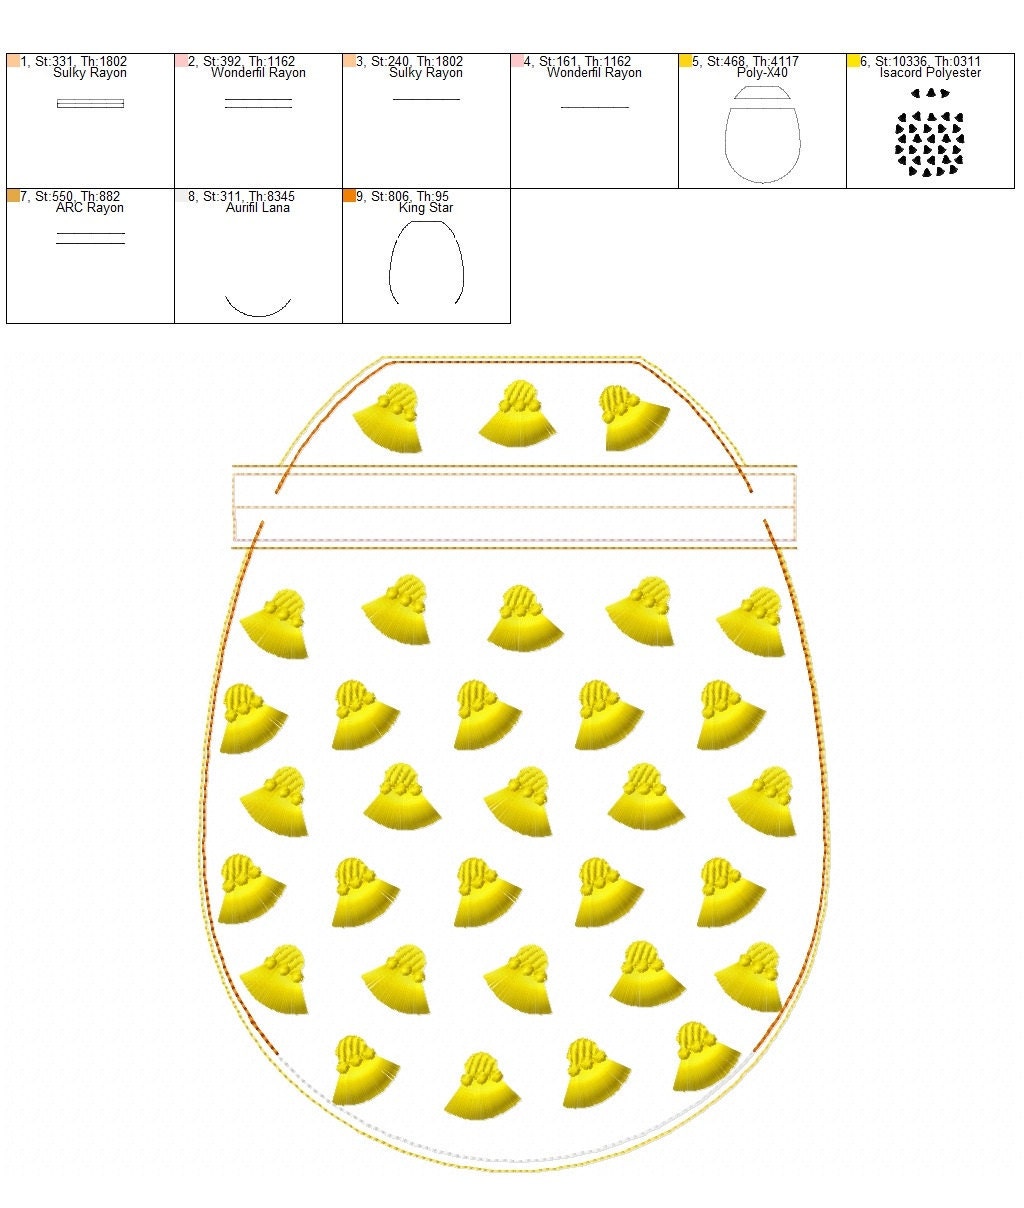
Color Sequence
You can ignore the thread colors shown in the design. They are only there to program stops in the machine. You can use the same color thread throughout if you prefer.
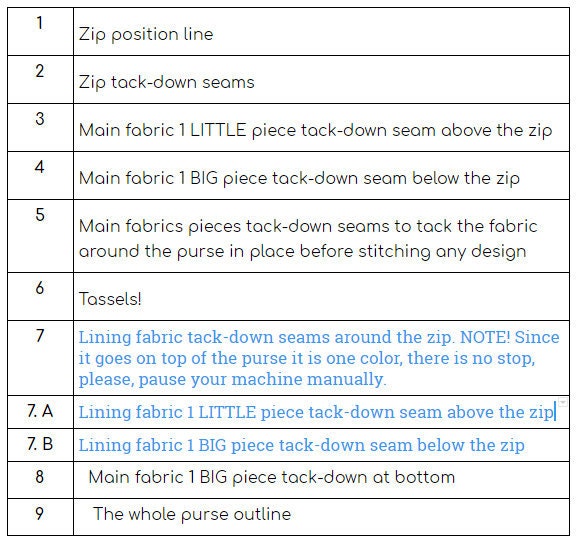
Part 1: Preparing the Leaves
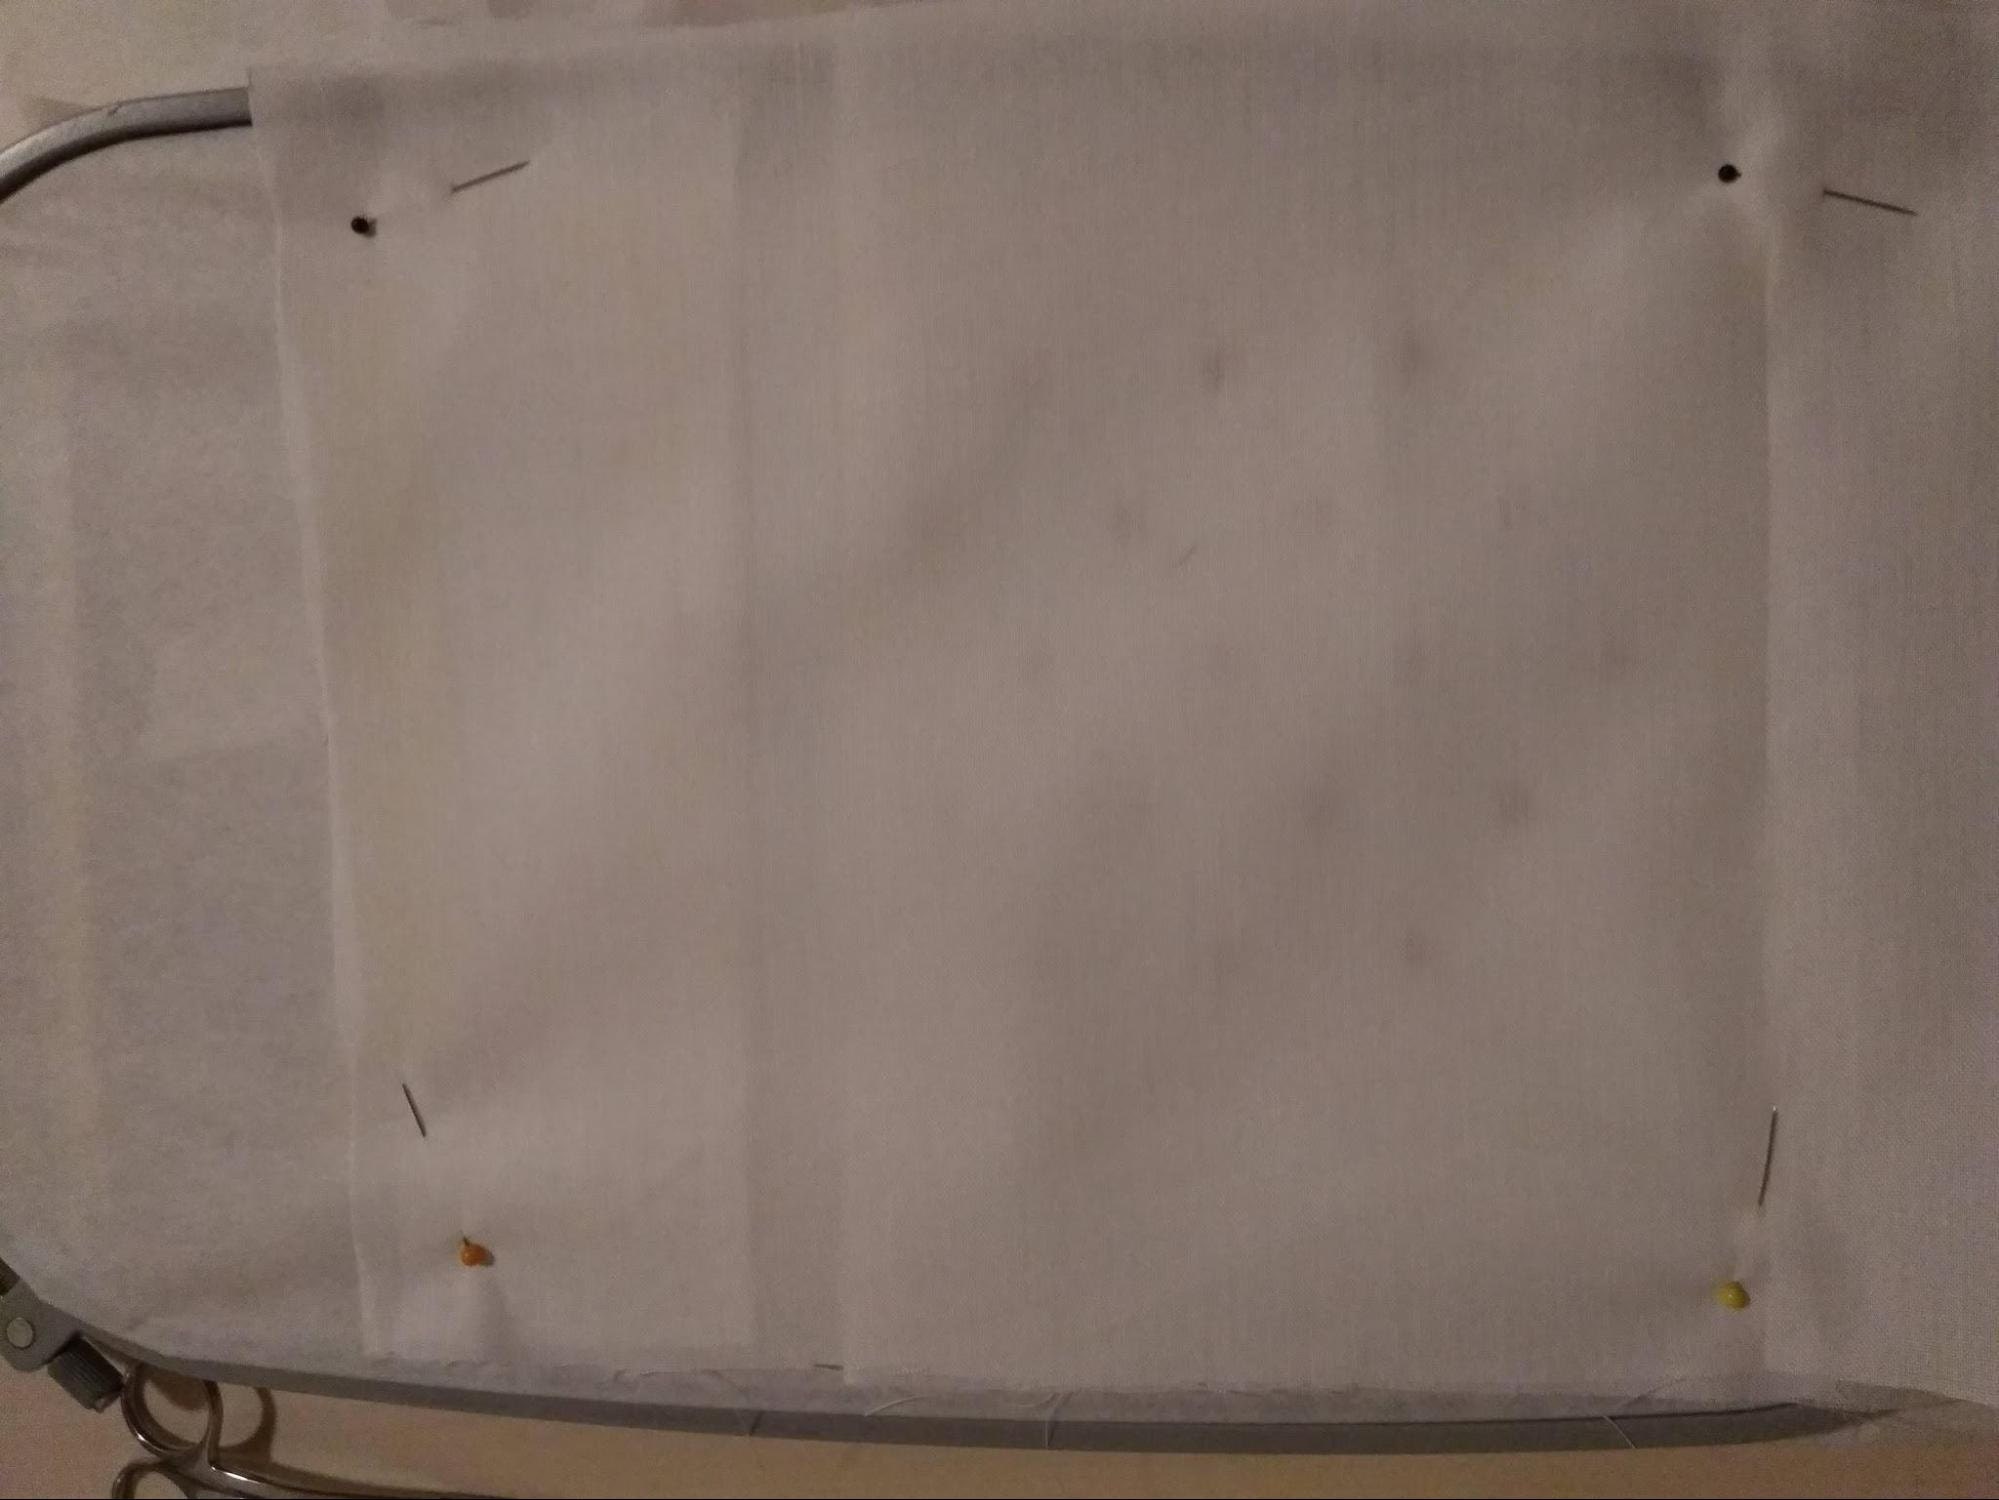
Hoop a tear-away stabilizer and lay one piece of felt inside the hoop.
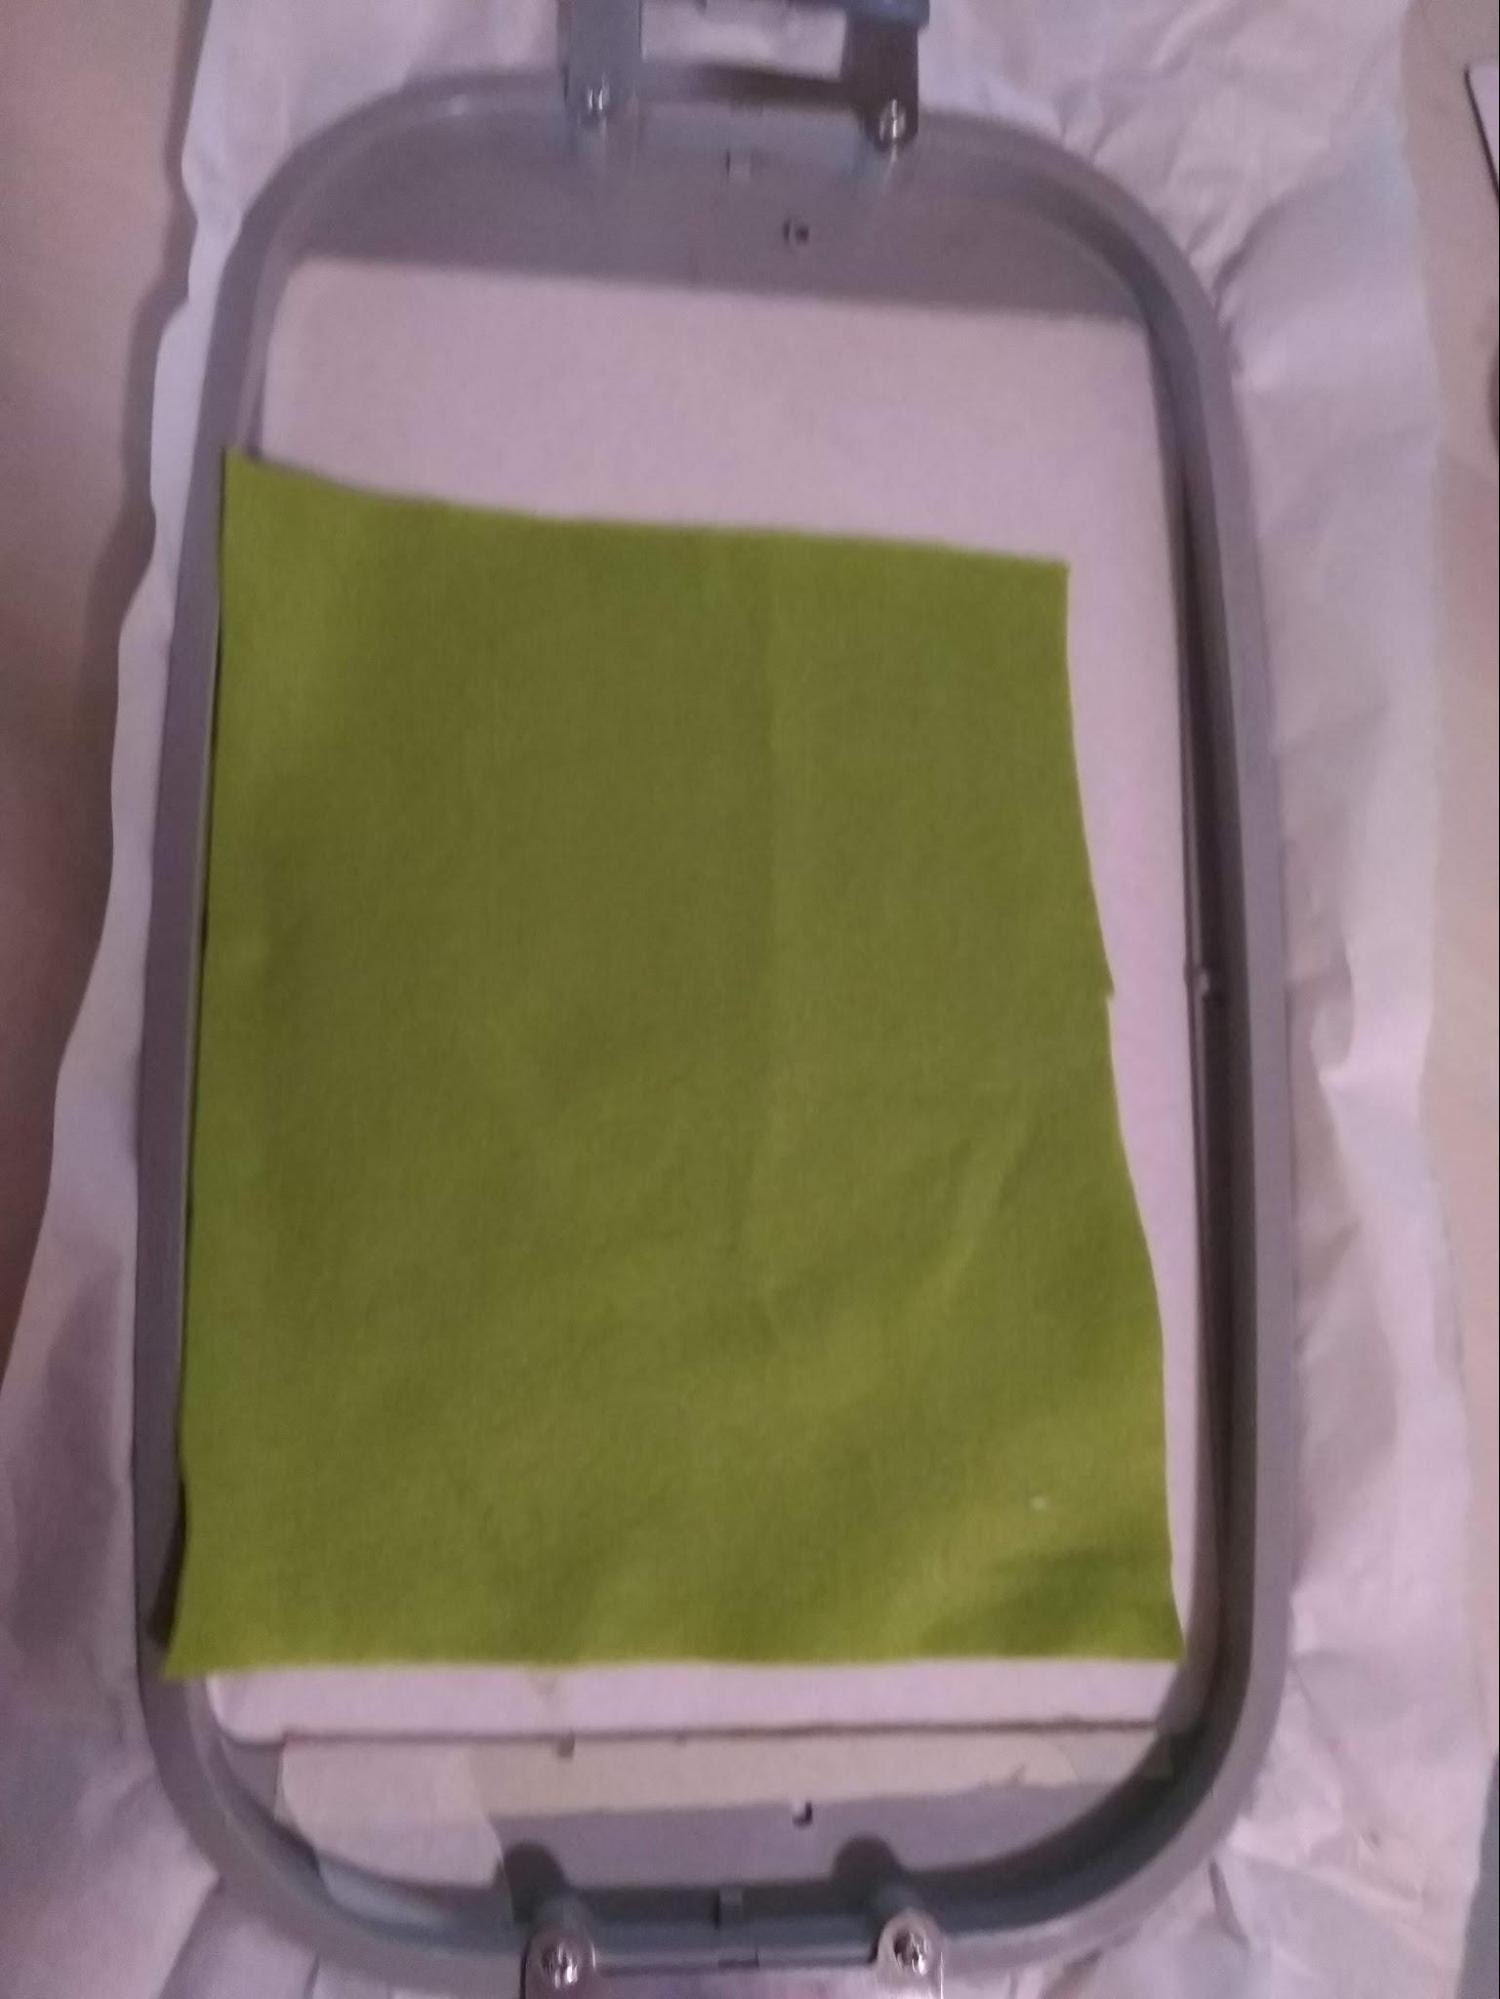
Stitch the design. It is helpful to use tape to keep the fabric flat.

Turn the hoop over to the back side.
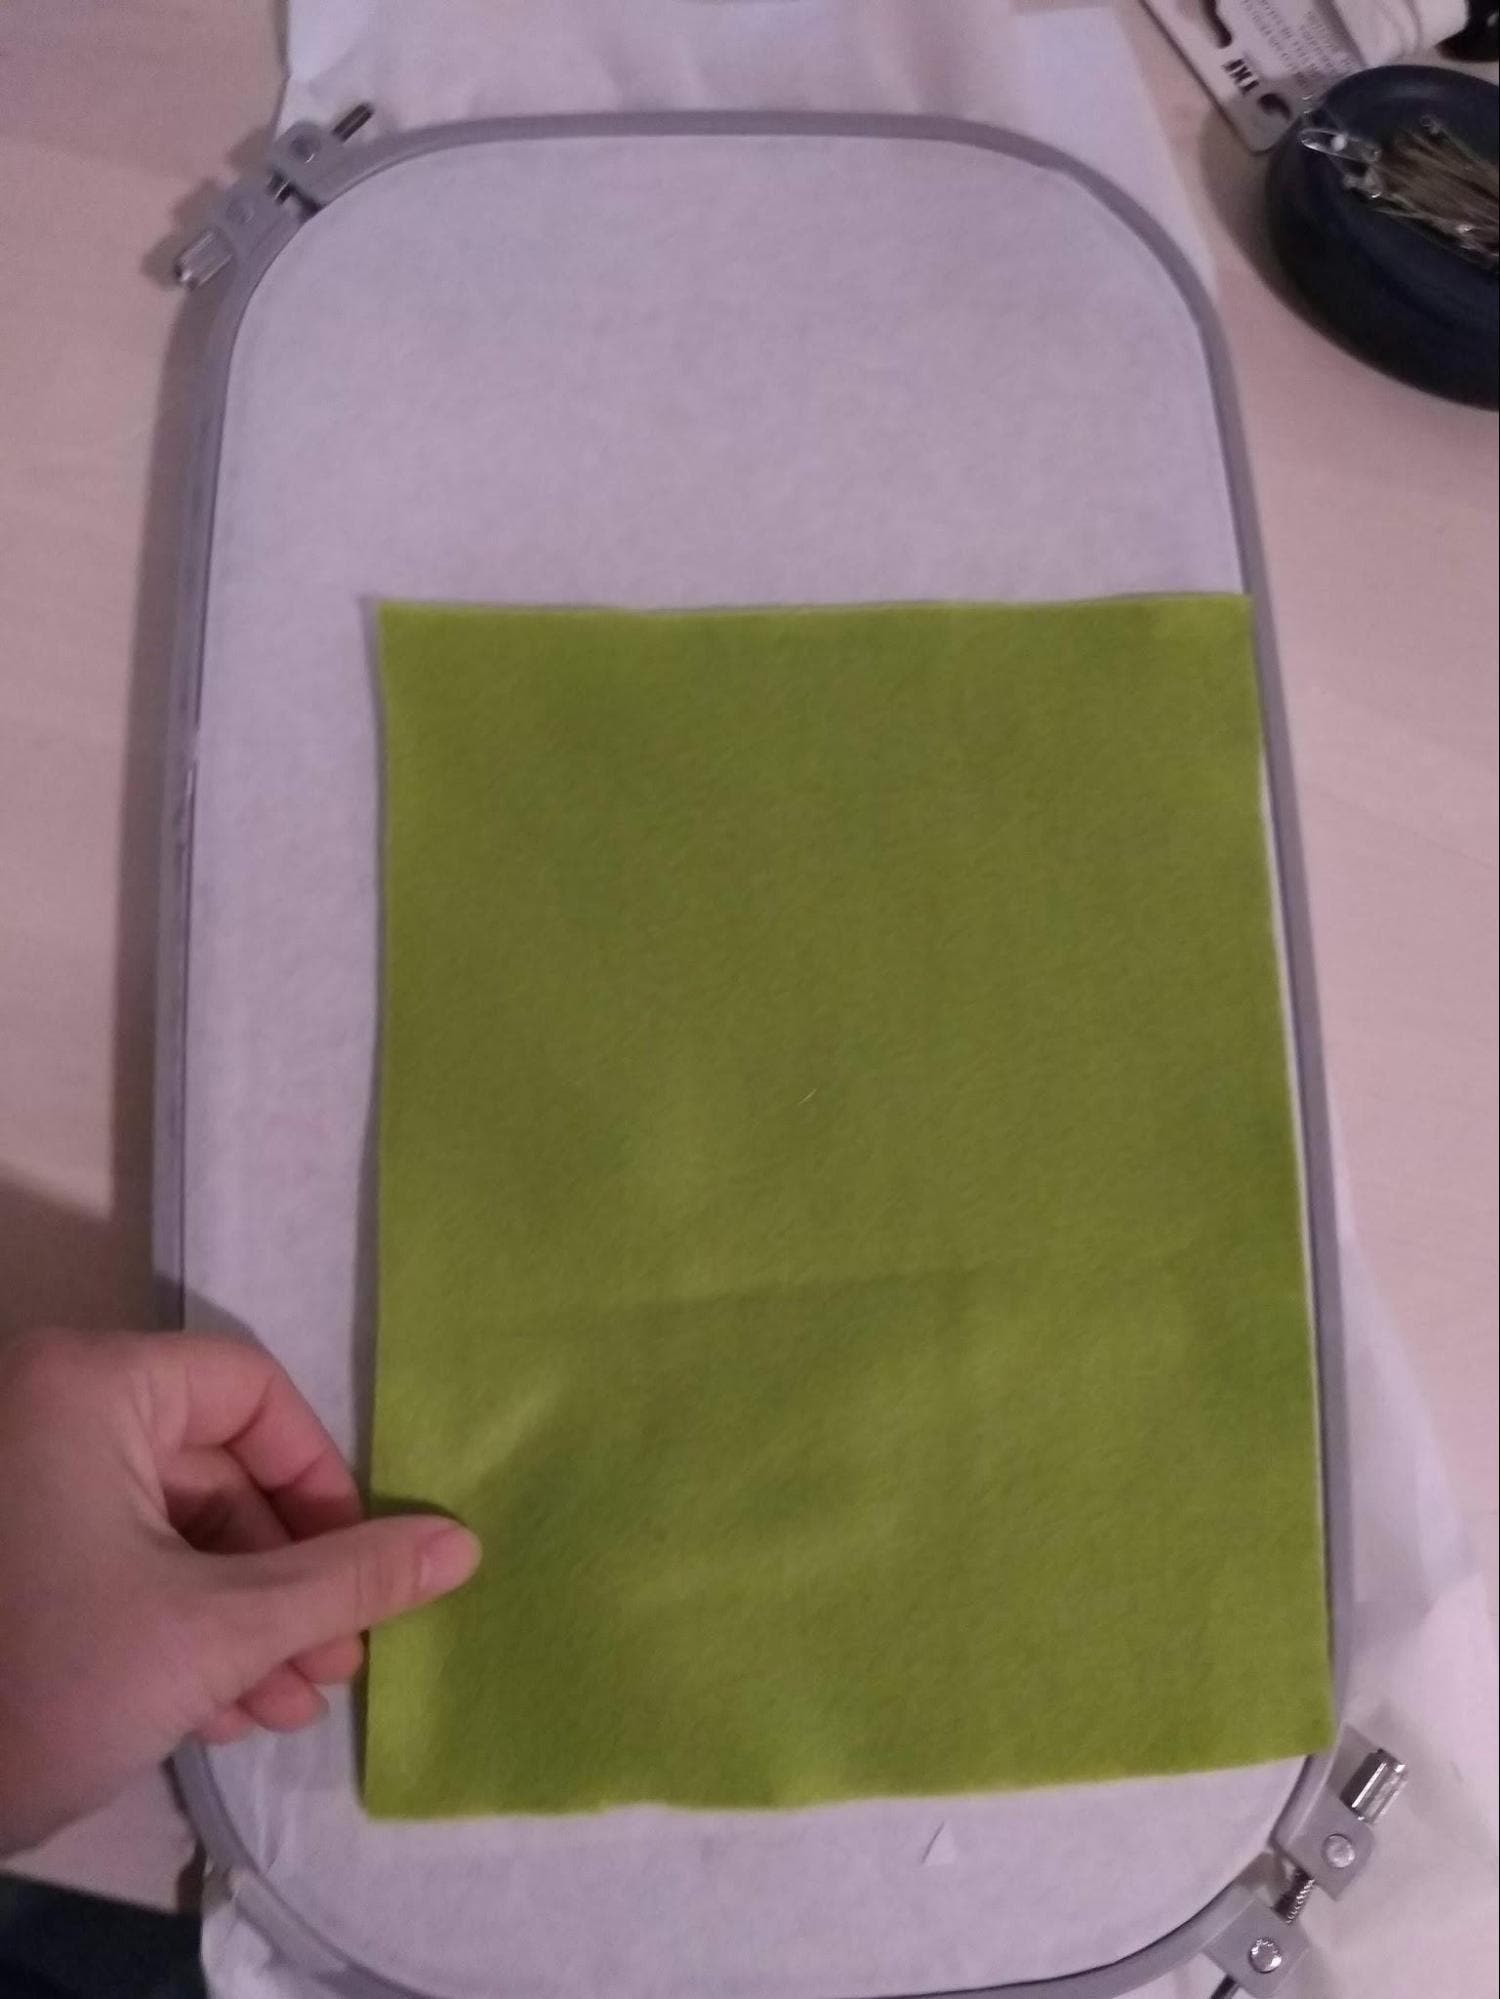
Attach the second piece of felt (the lining) behind the hoop.
Please ensure there is plenty of excess fabric. Secure it with tape or pins.

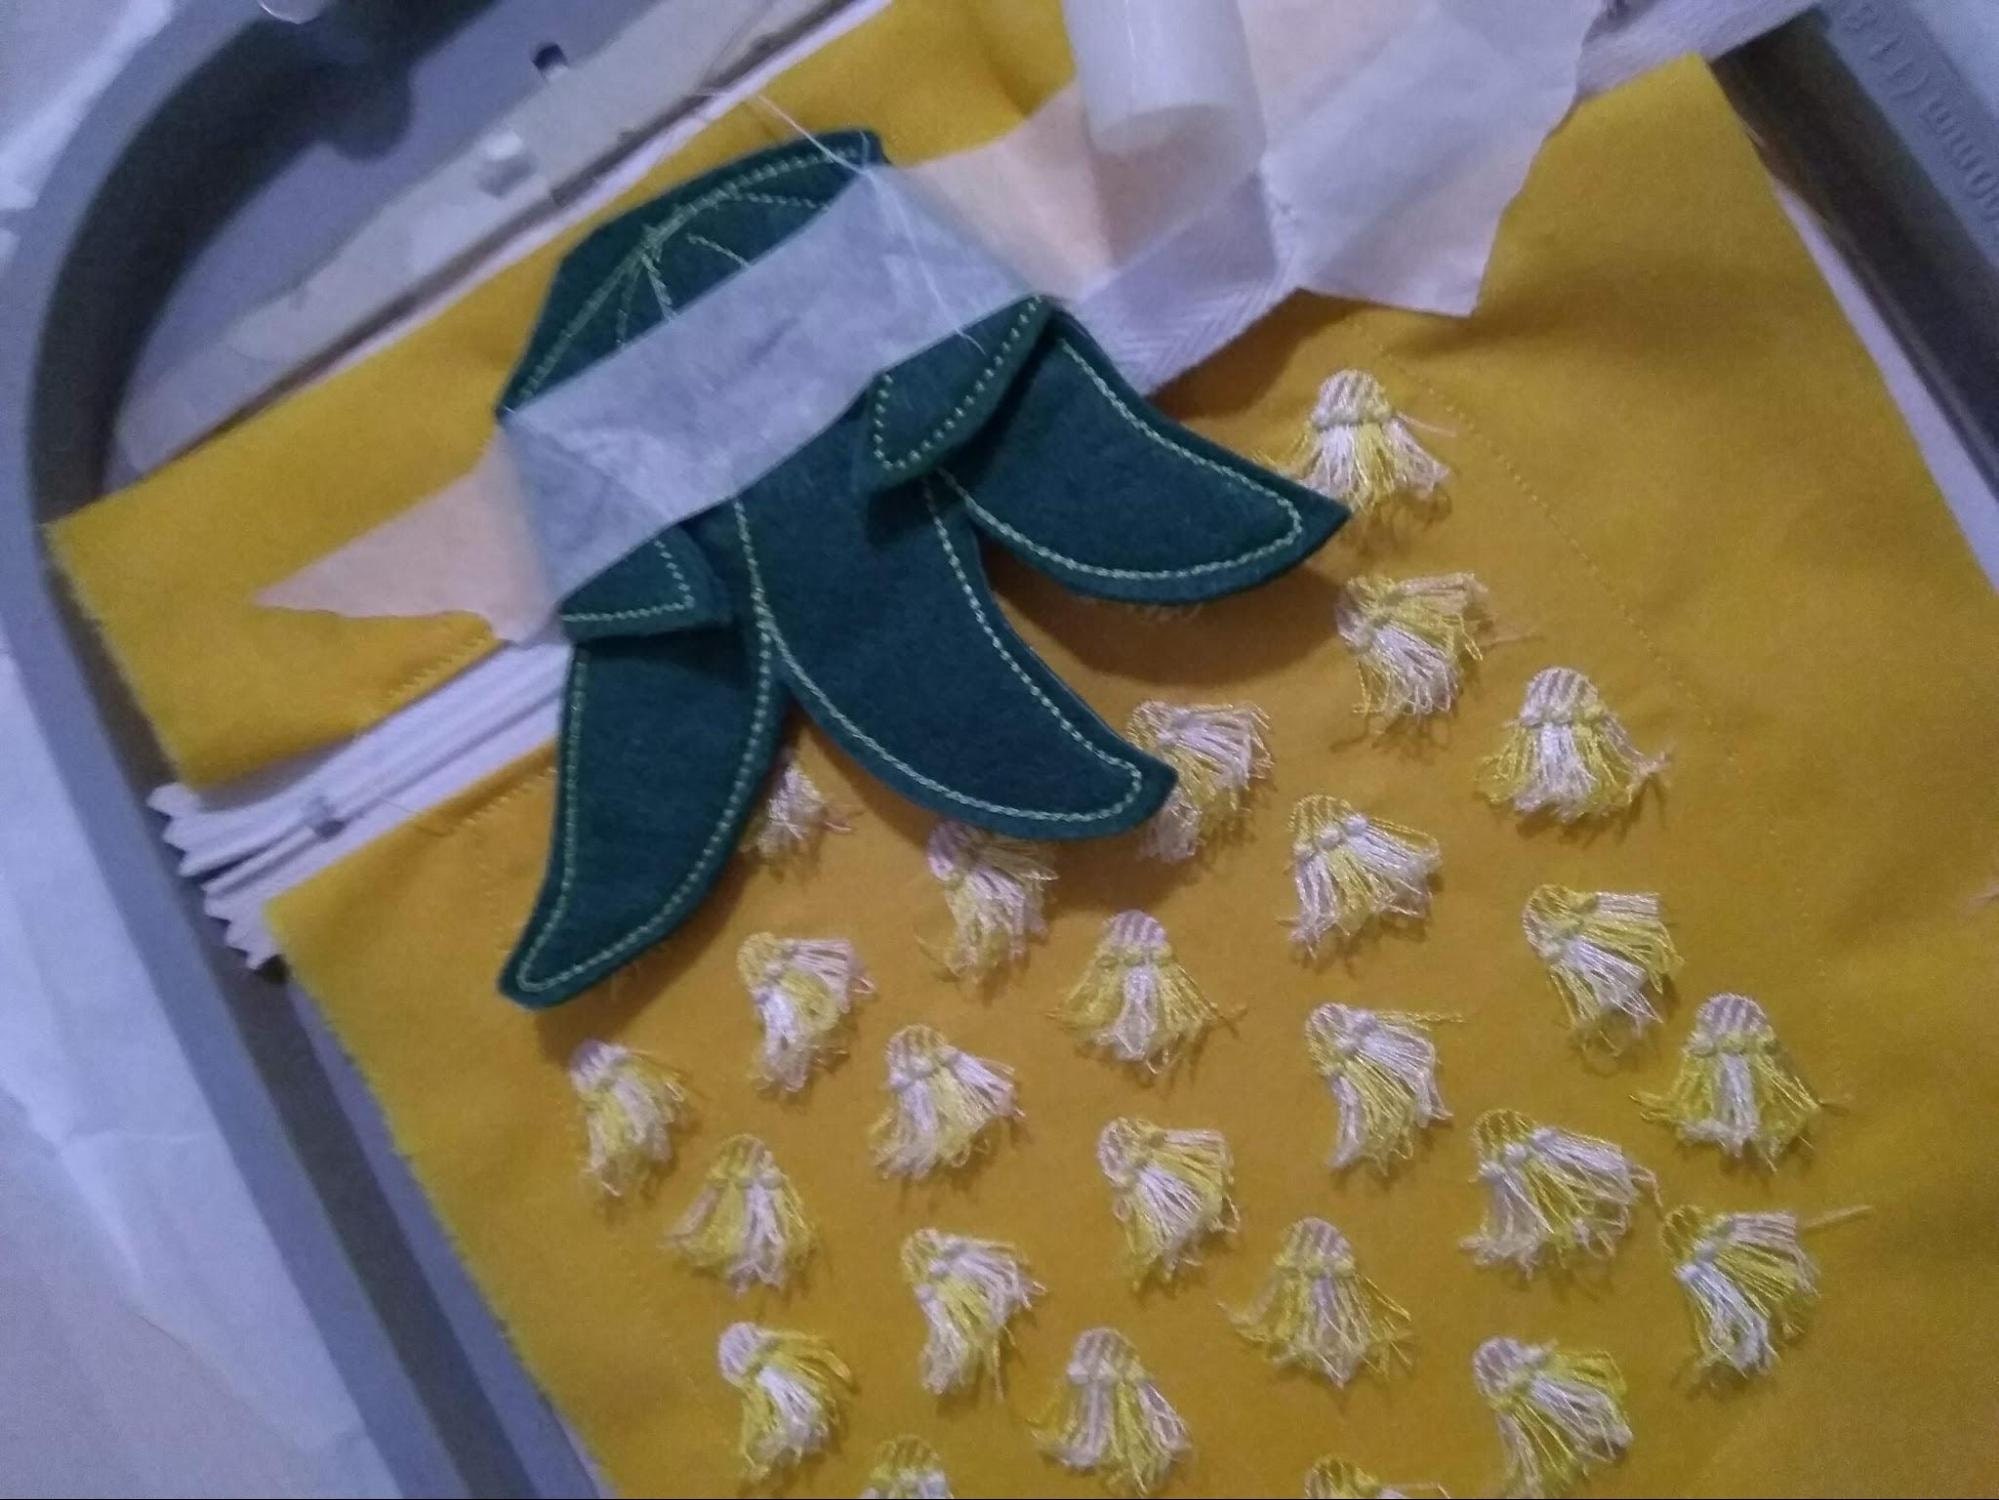
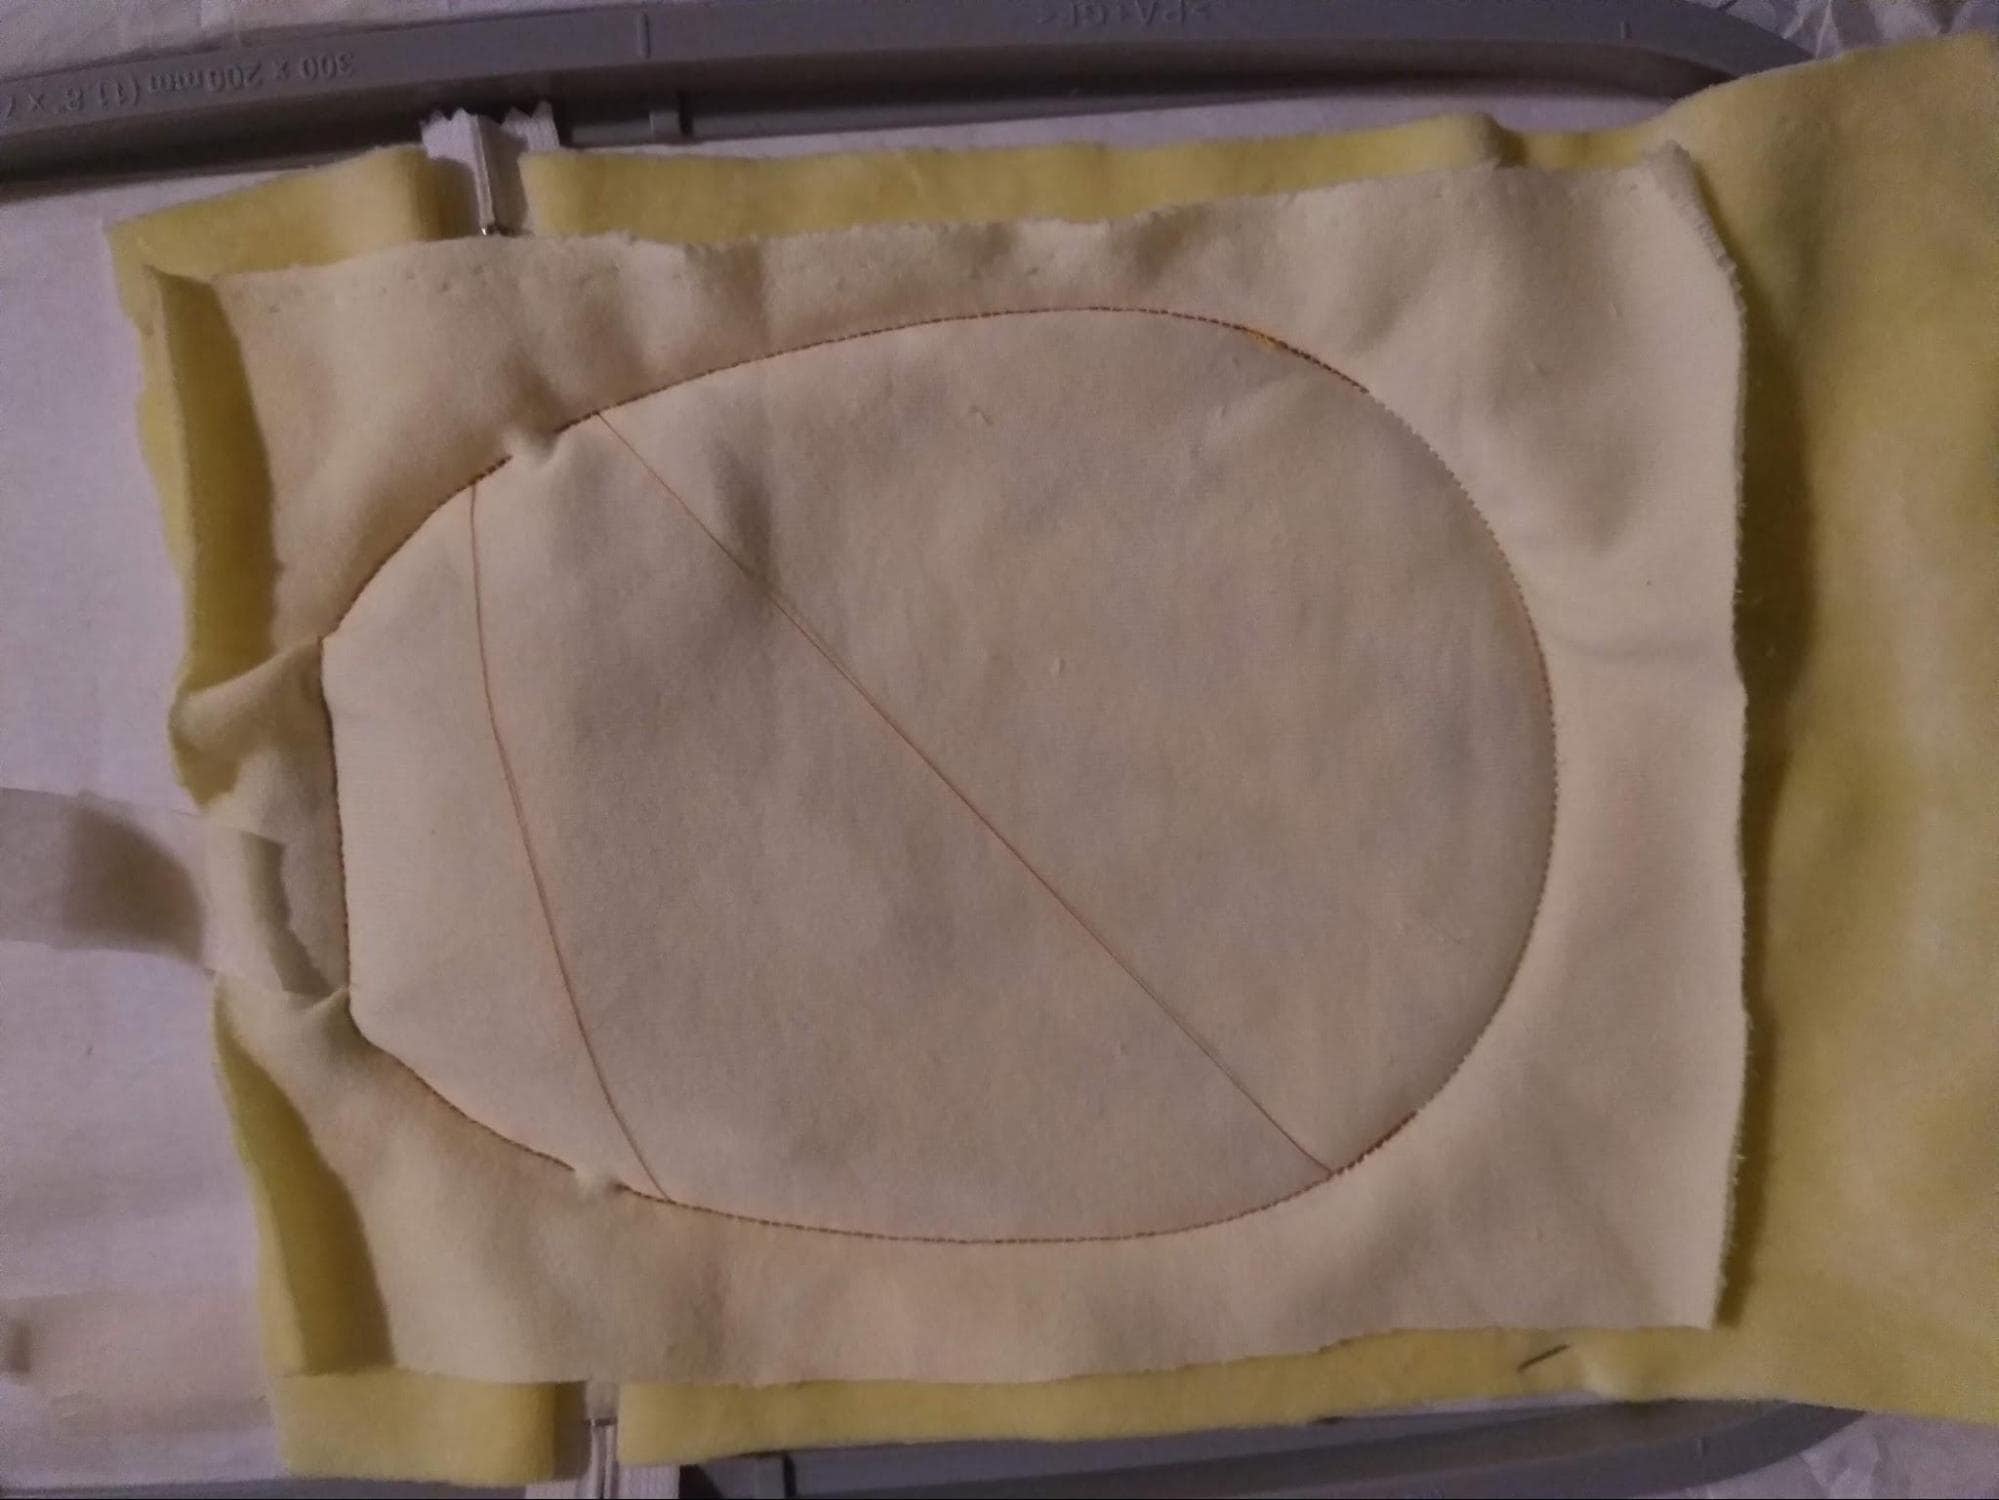
Sew the final outline seam to tack down the appliqué fabric and the lining.
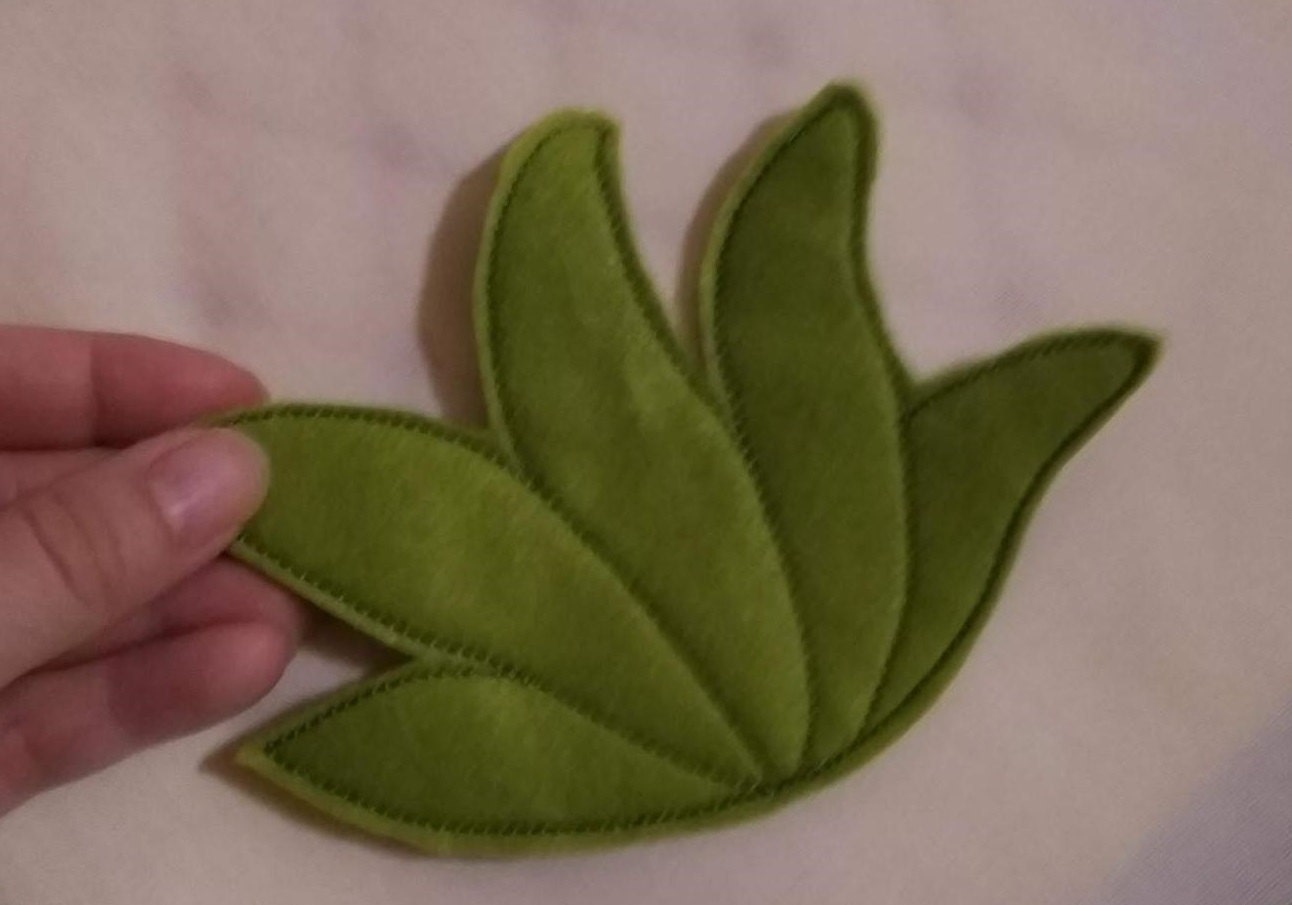
Unhoop the project and cut out the pineapple leaves.
Part 2: Stitching the Zipped Bag
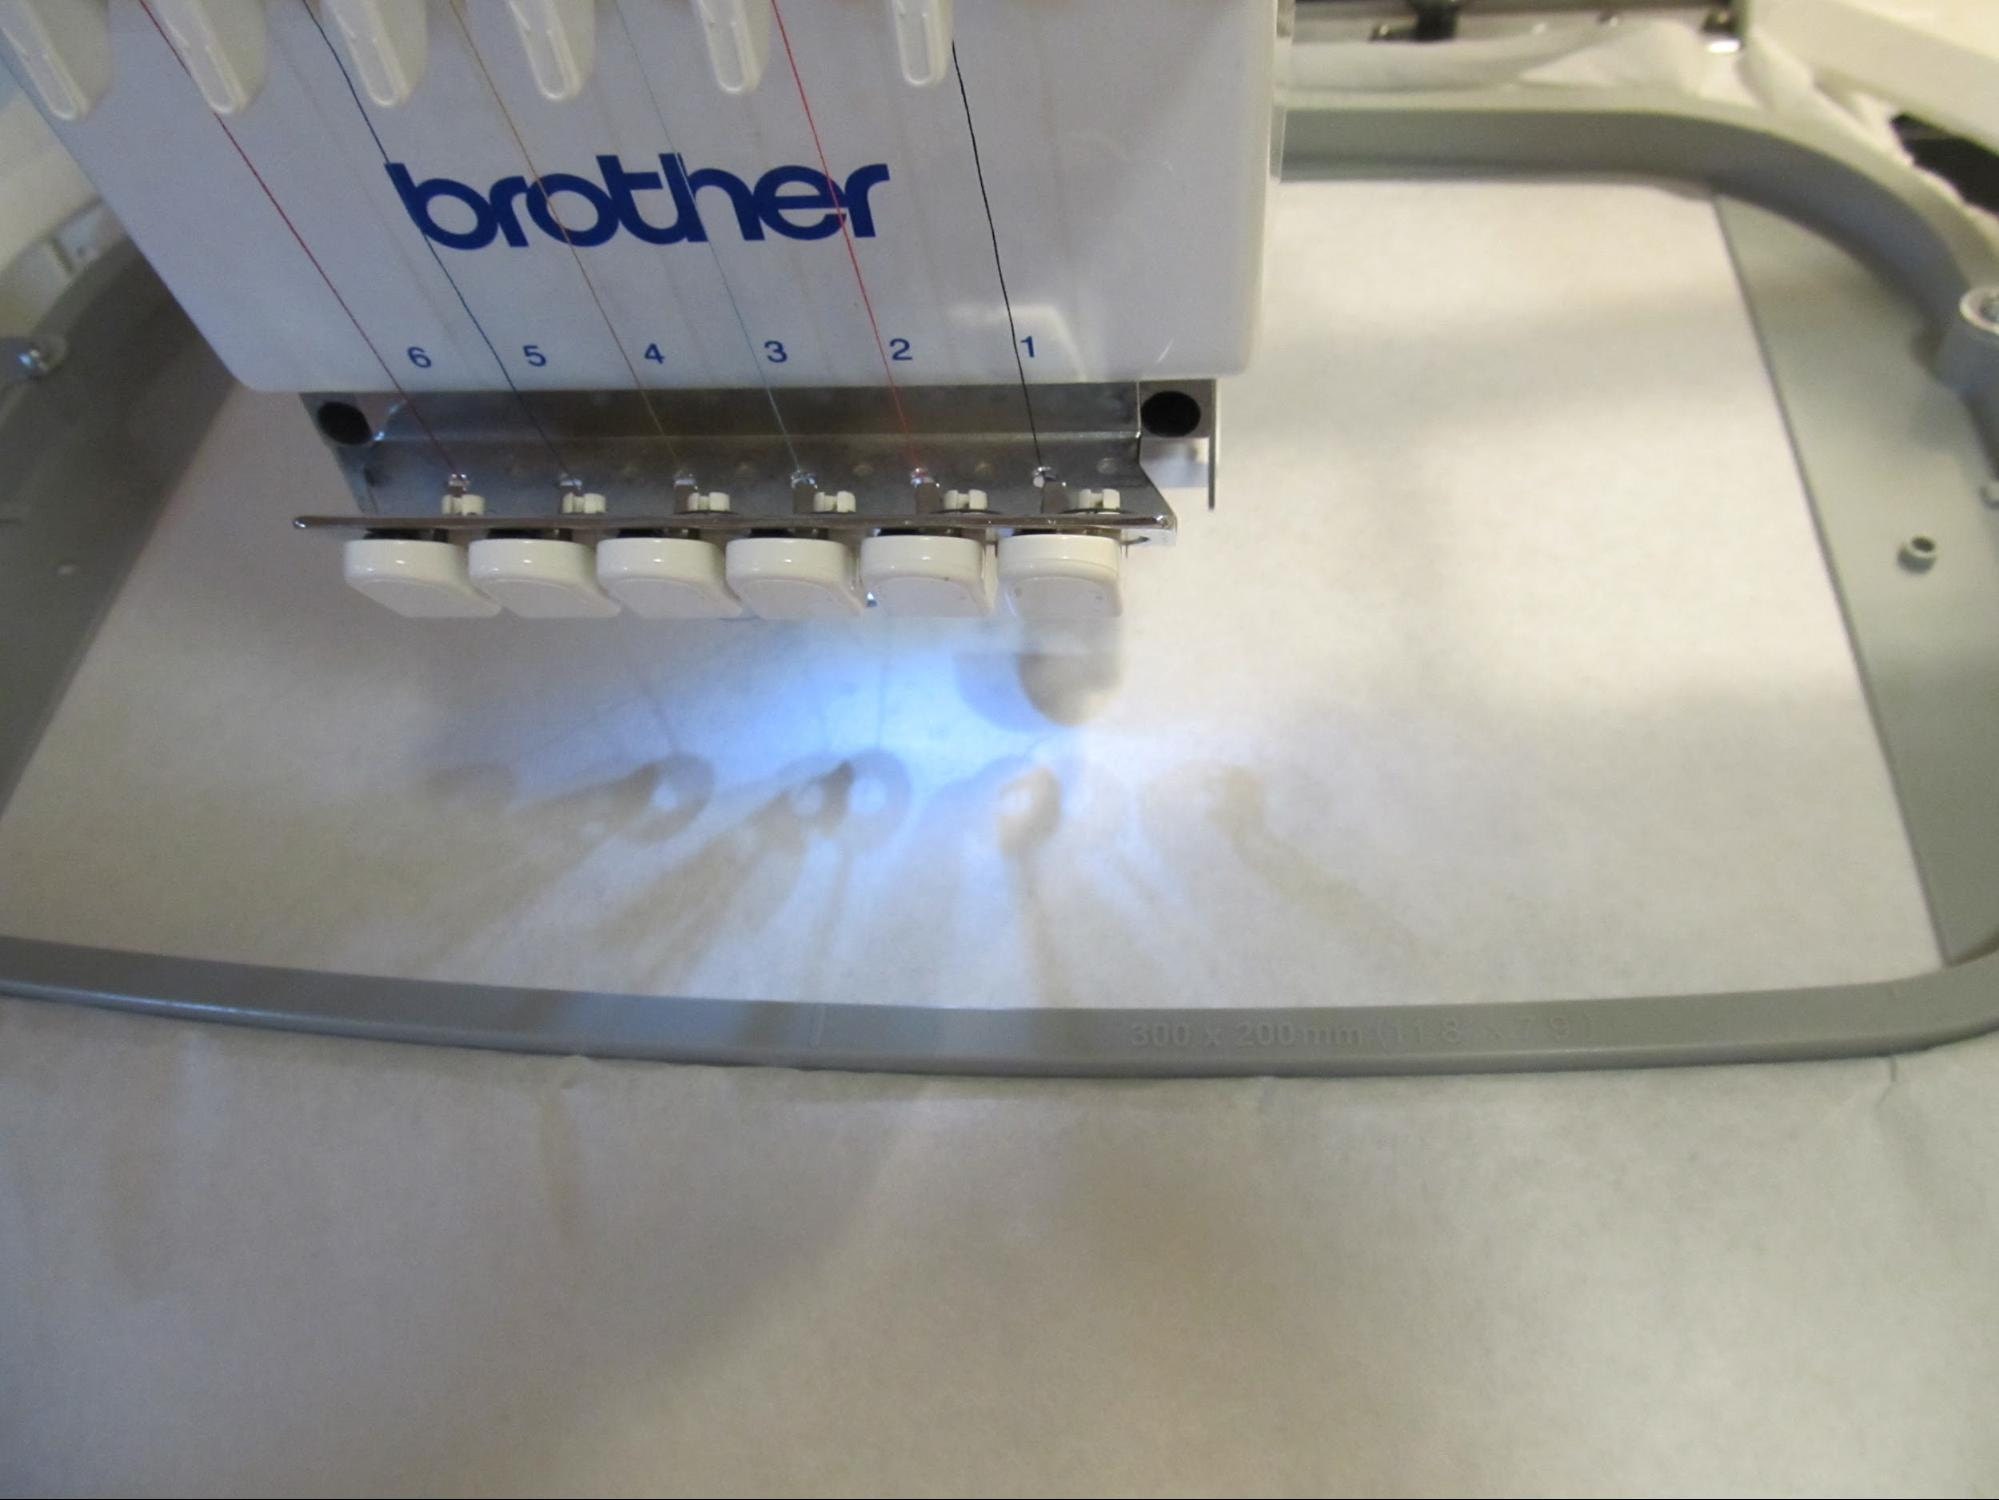
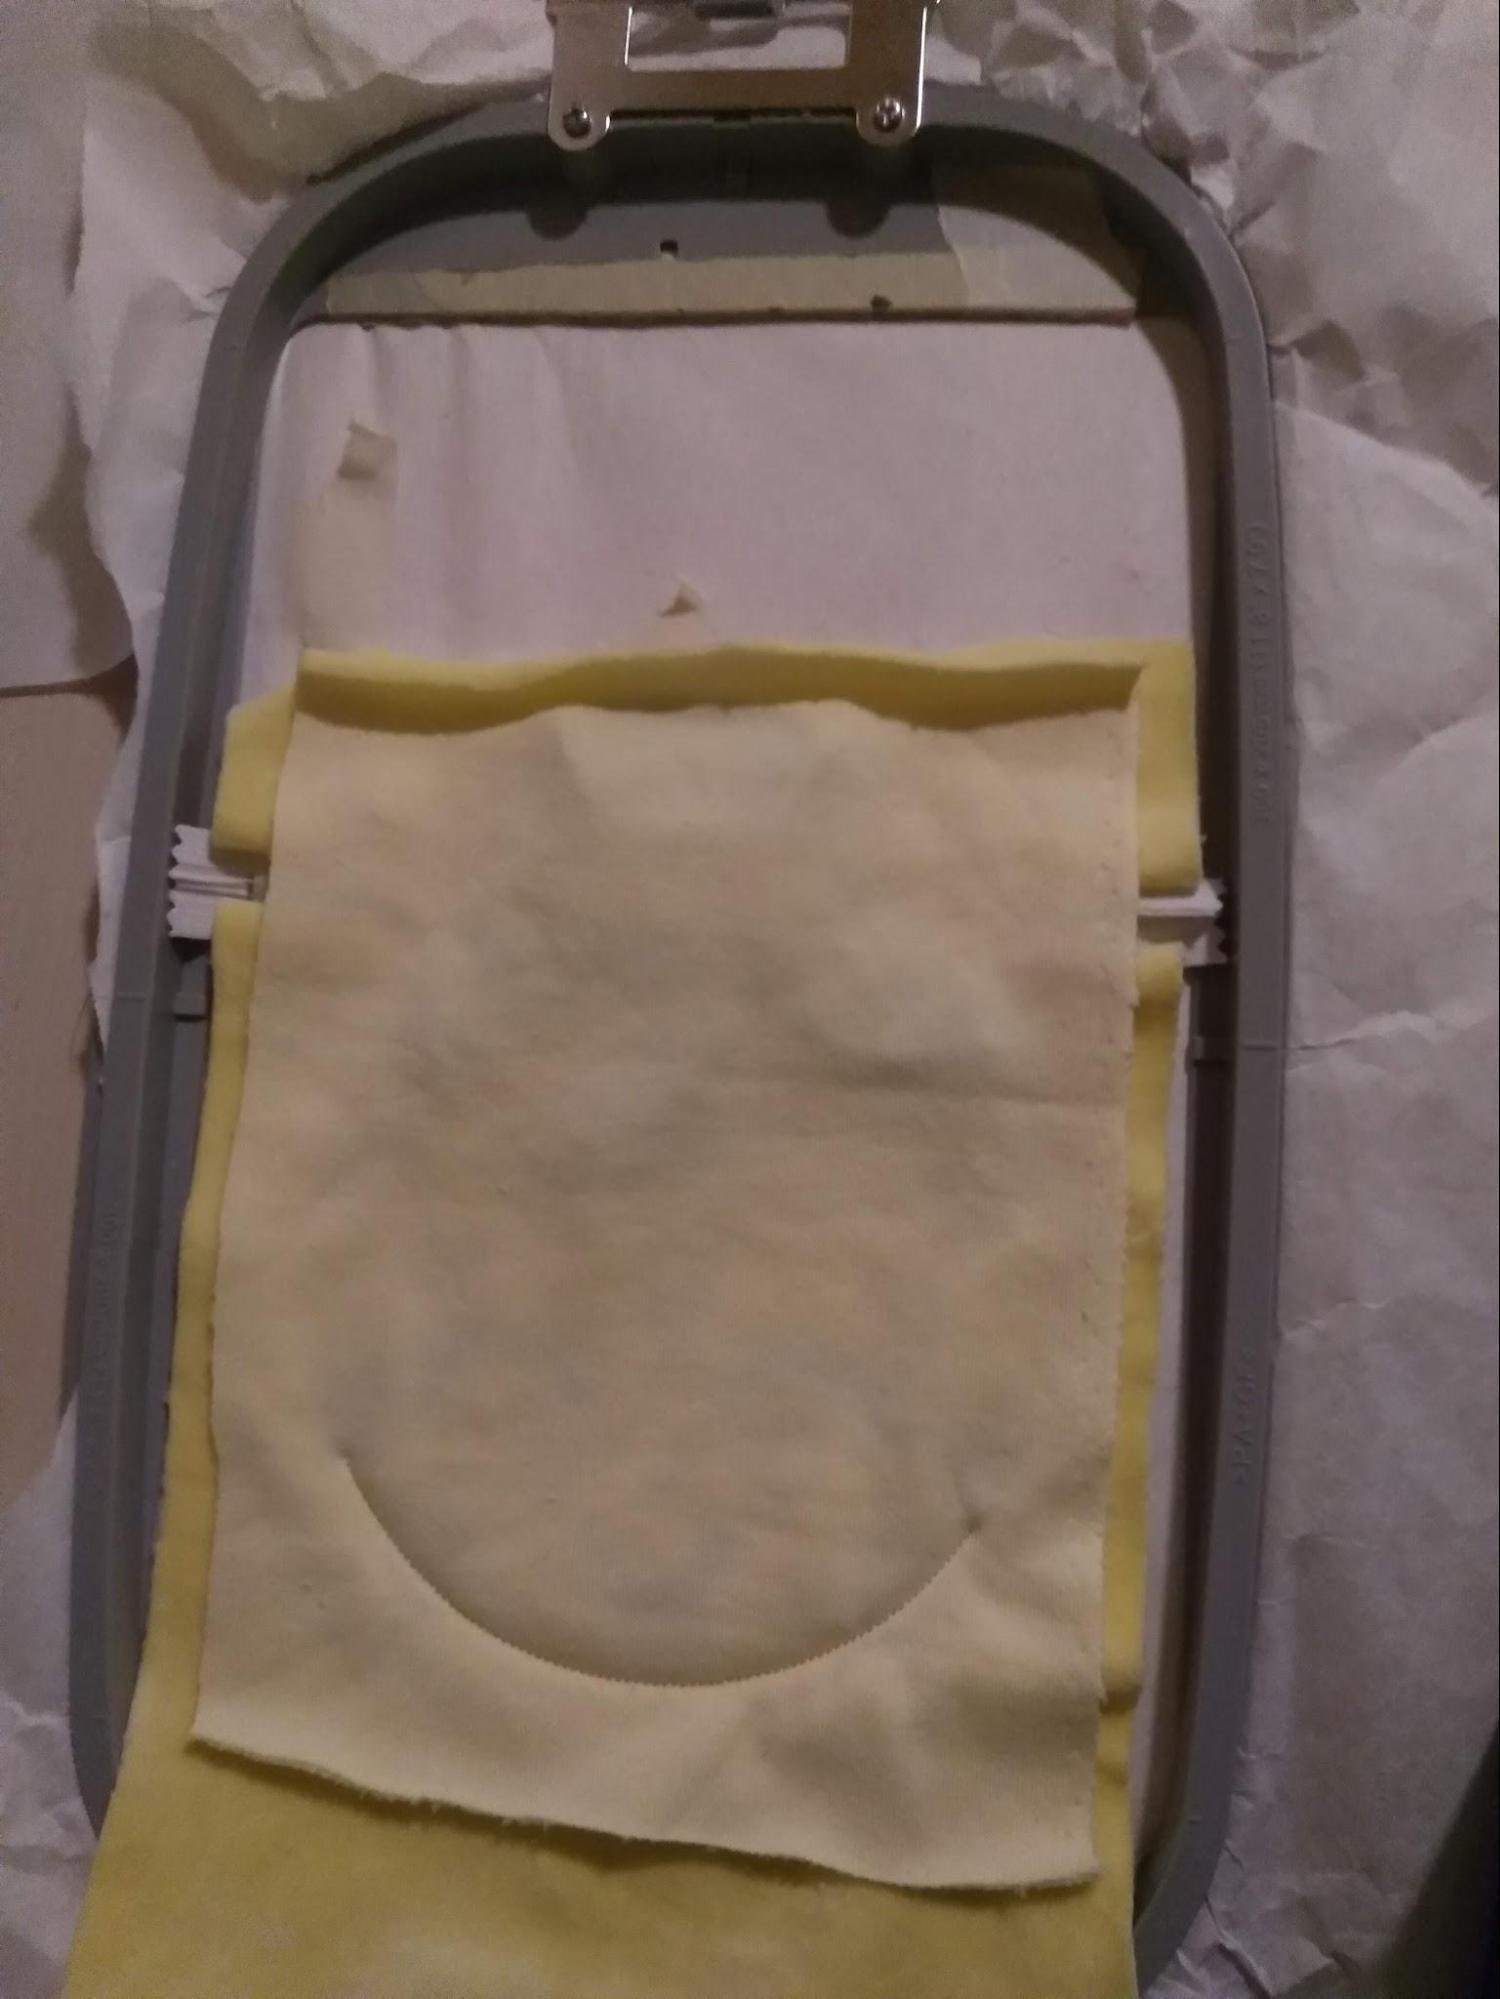
Hoop only the tear-away stabilizer. If the decoration on the bag is dense, I recommend using a double layer of stabilizer. Attach the hoop to the machine.
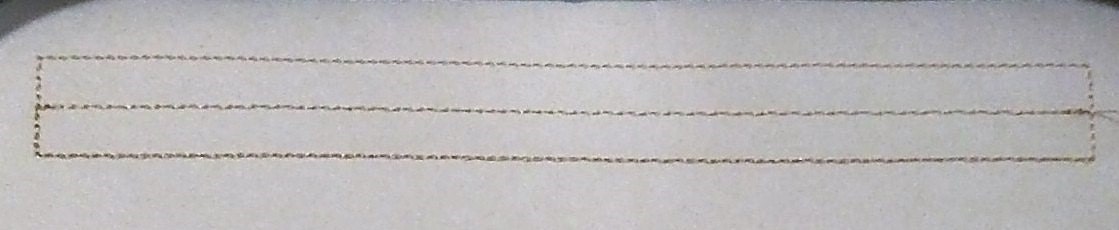
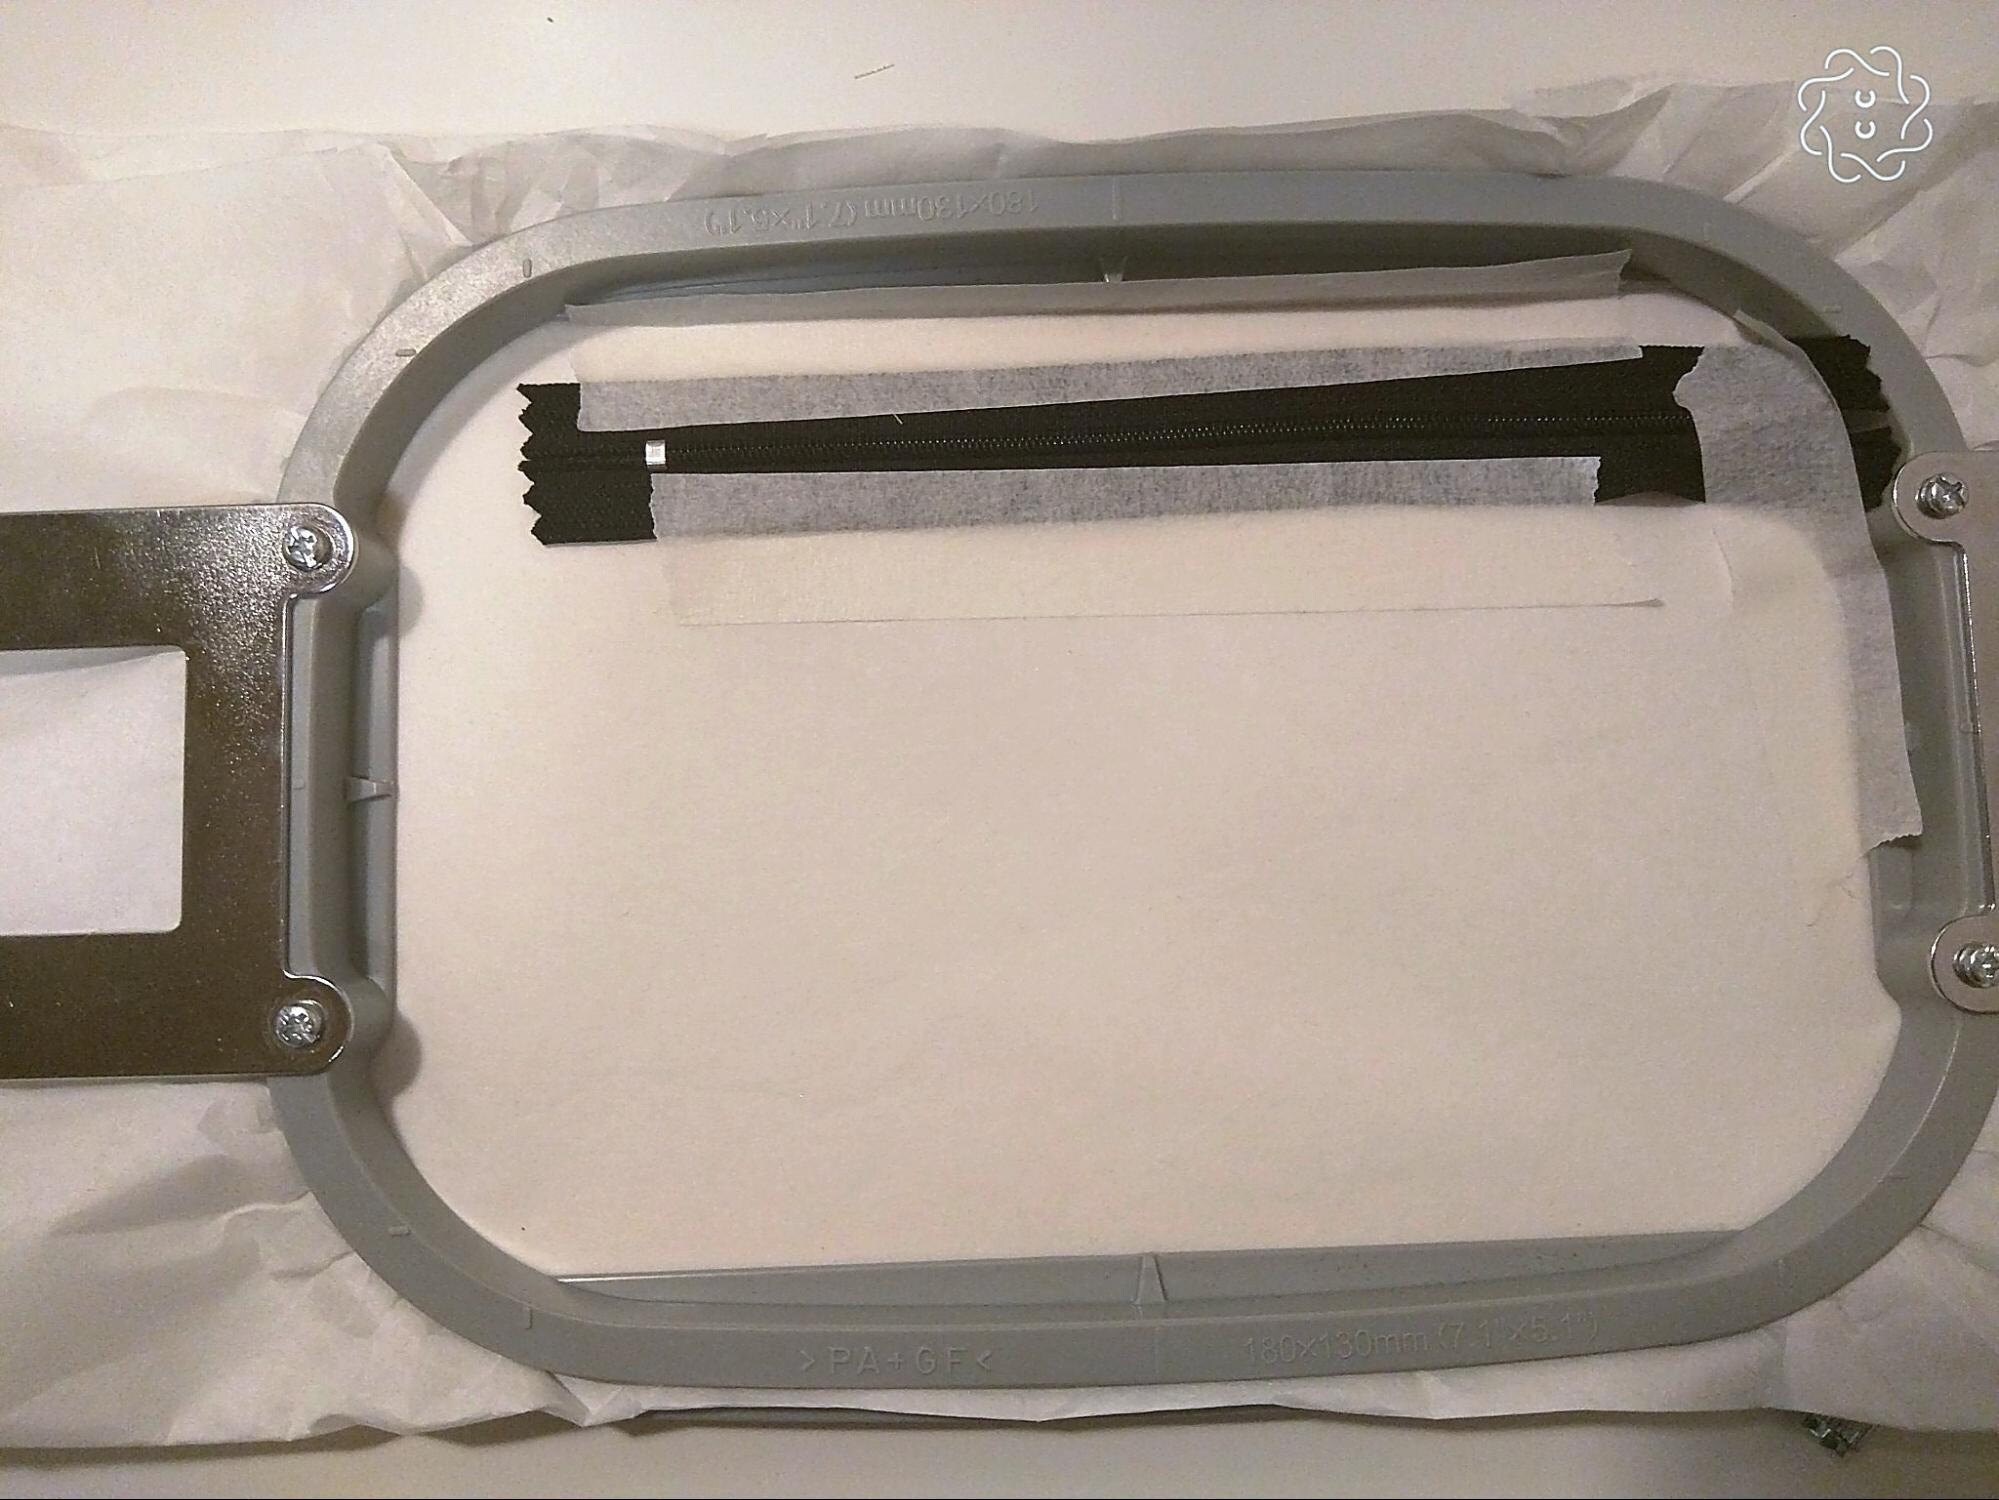
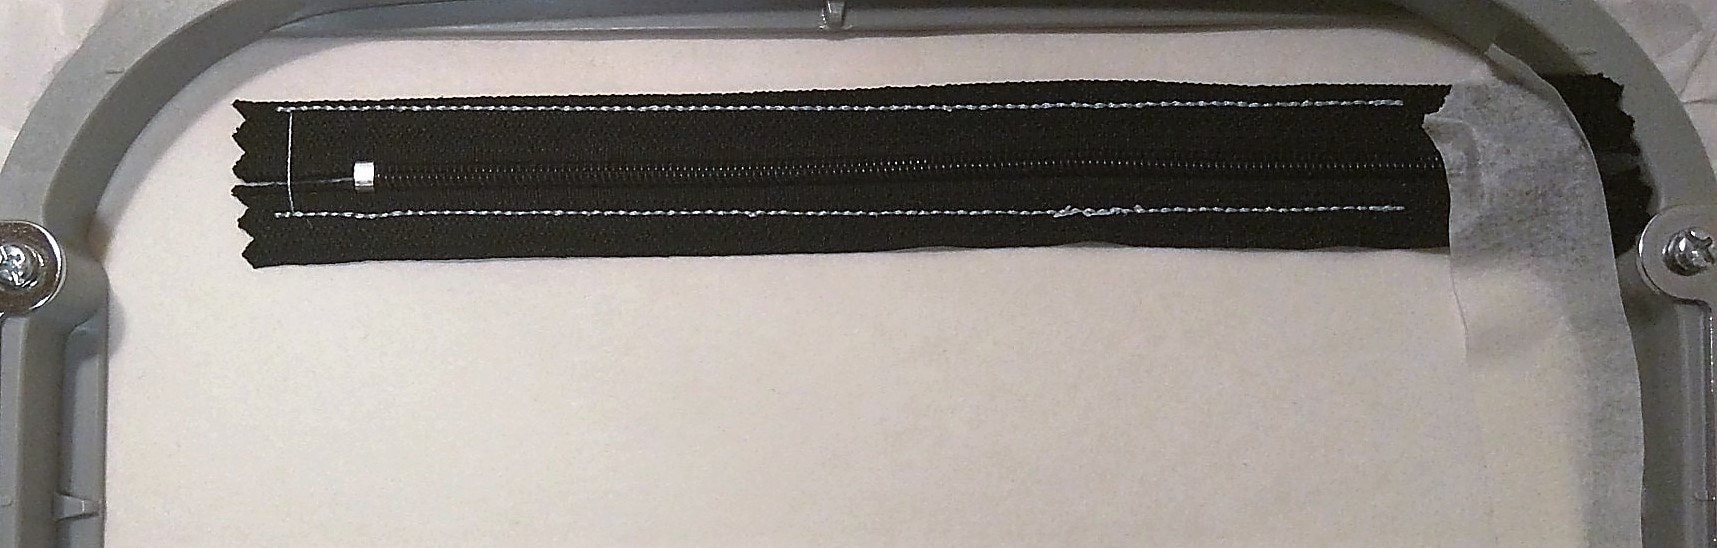
Embroider the zipper placement outline directly onto the stabilizer. The photo below is illustrative; in the current project, I stitched with a white thread.
Stop the machine, but do not unhoop your project.
Center and place the zipper over the stitching lines. The zipper should be longer than the area and will be trimmed later.
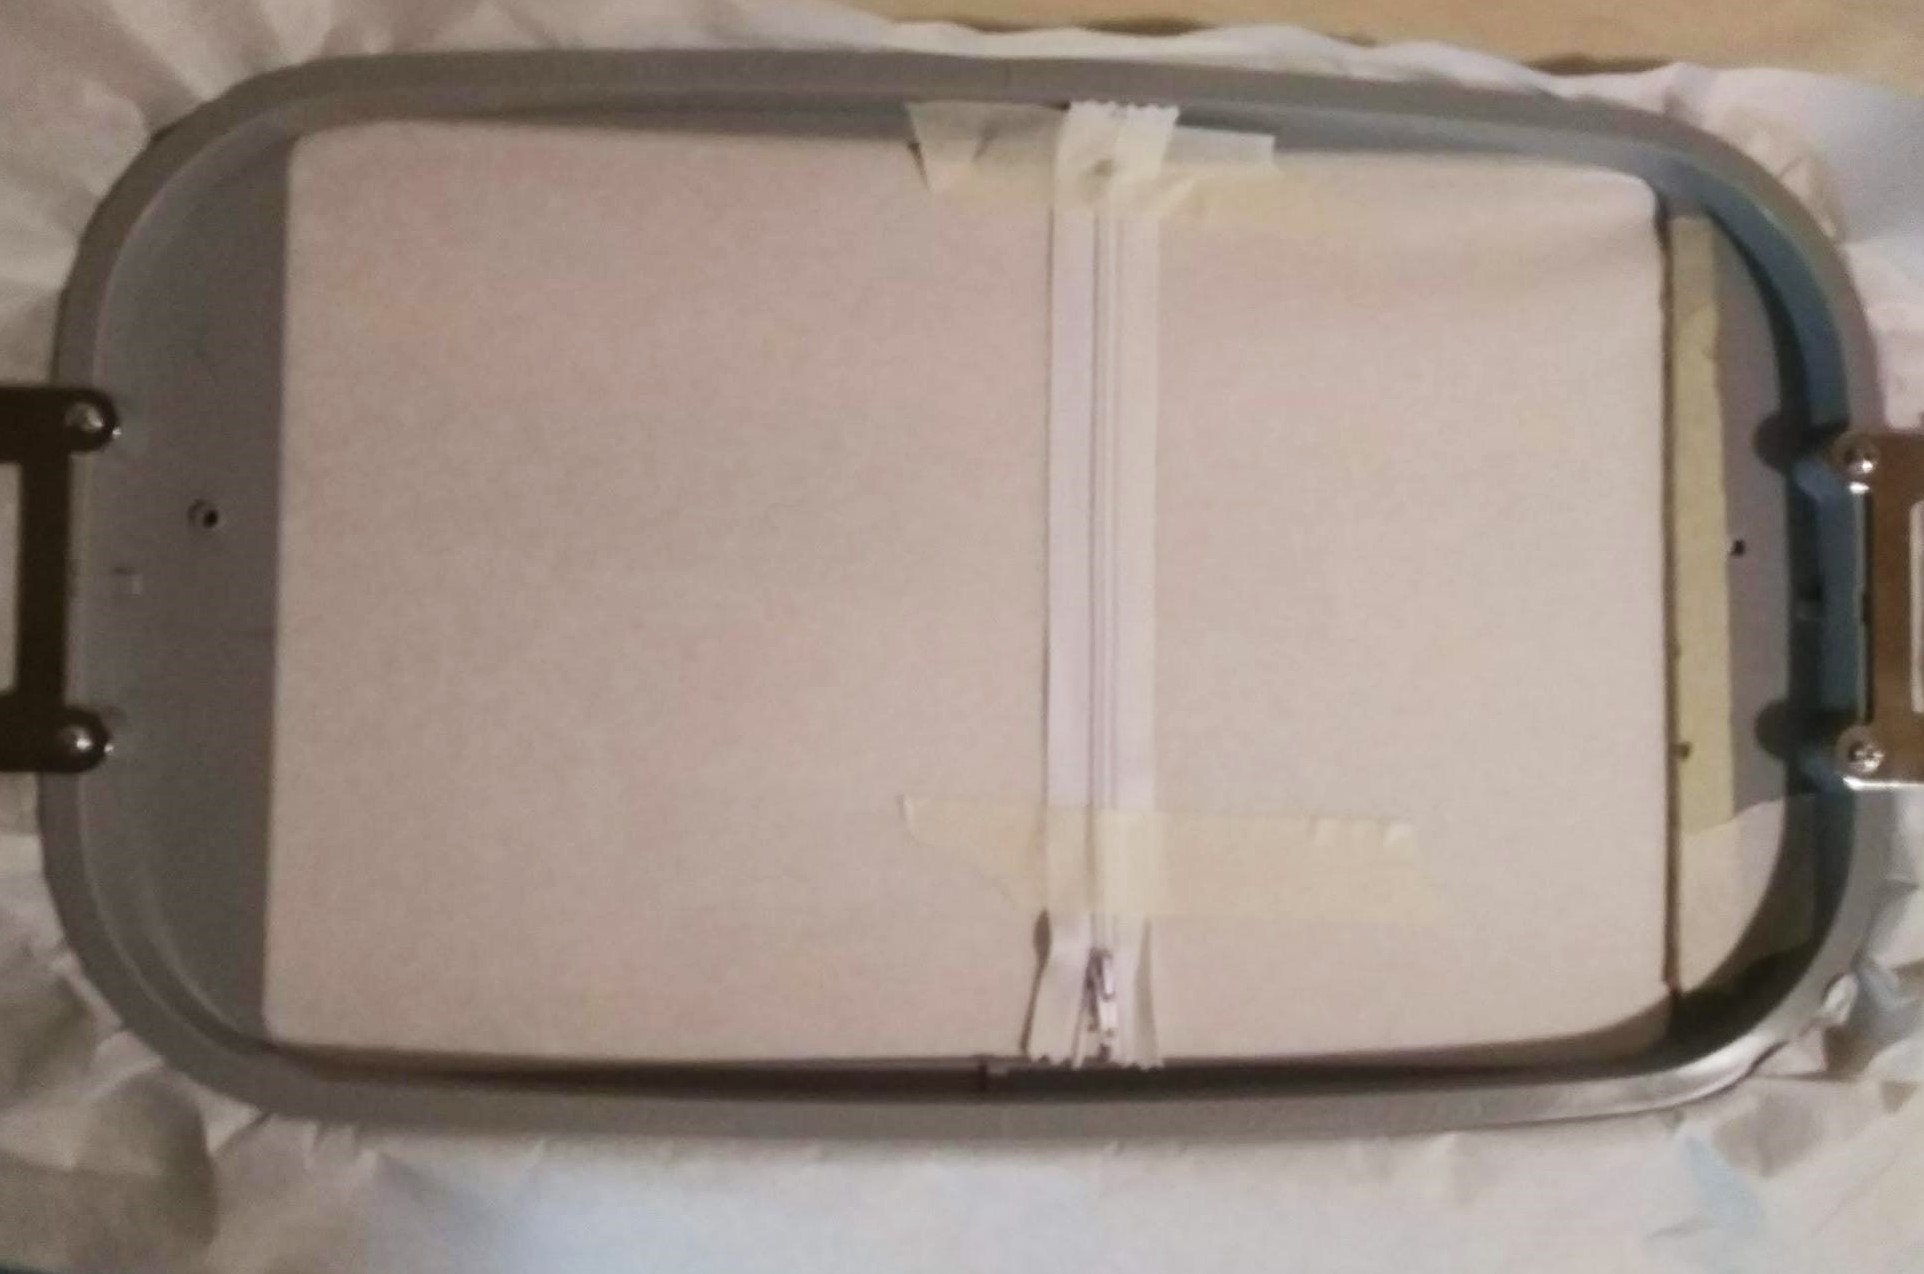
There are a few important things to remember:
- Lay the zipper exactly in the center.
- Position it so the metal zipper parts are outside of the stitching area.
- Ensure the zipper is securely taped.
- Set the zipper pull approximately ½ inch outside of the purse outline.
- Secure the zipper pull well with tape.
The photo below is illustrative to show how to secure the pull tab.
Stitch the second color change, the zipper tack-down seam.
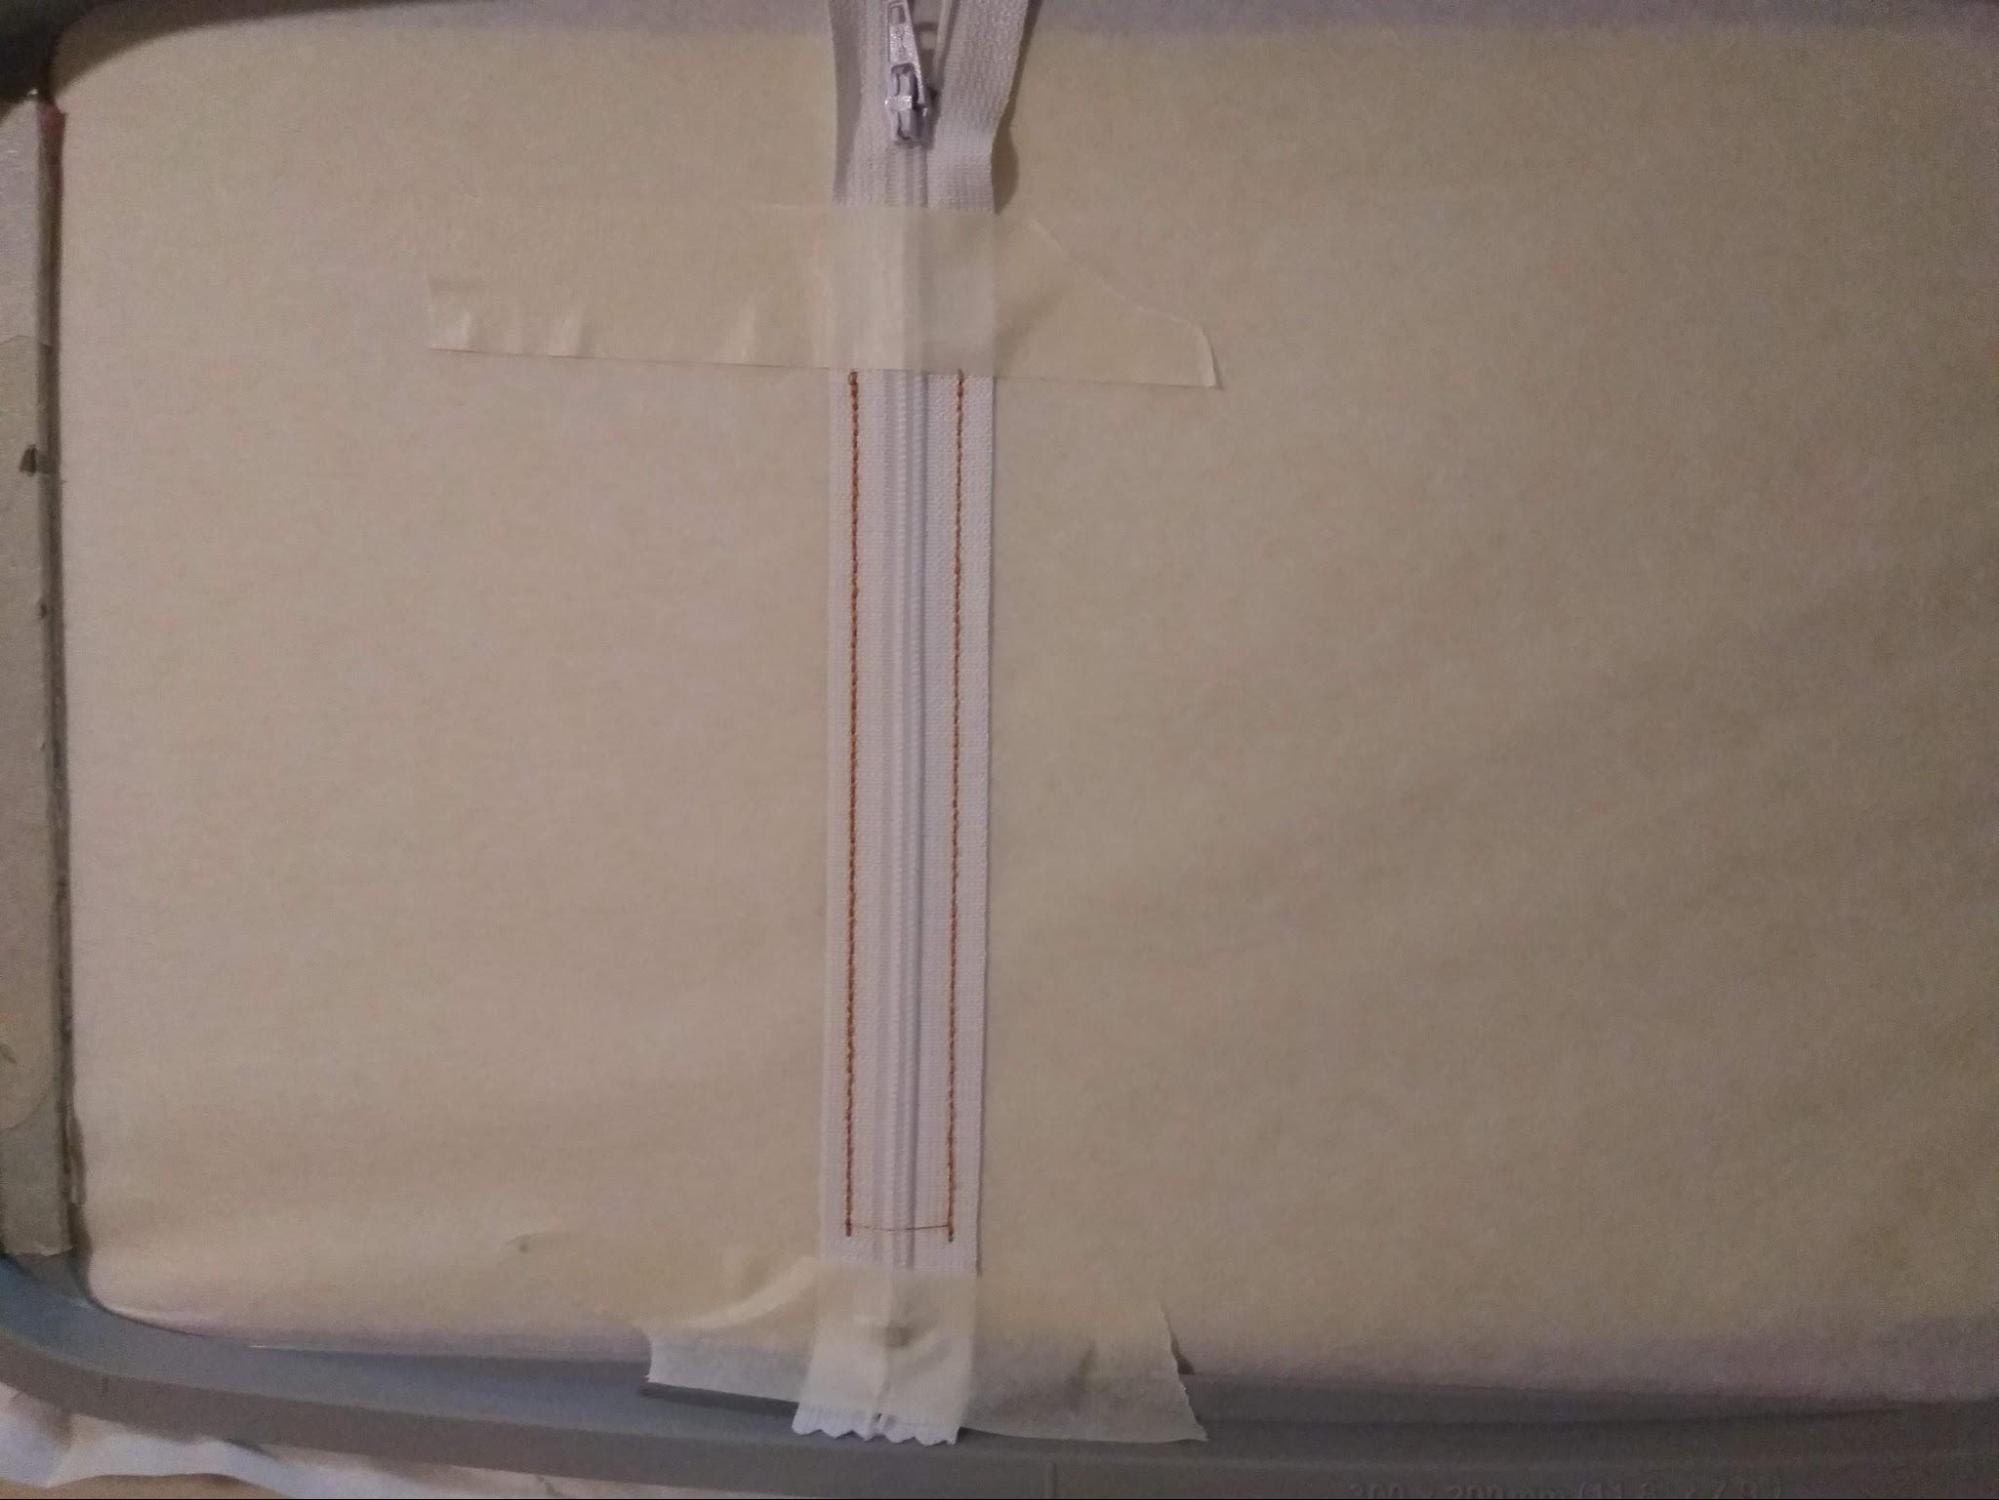
Remove the tape from the main part of the zipper, as it will be more difficult later. This photo is illustrative.
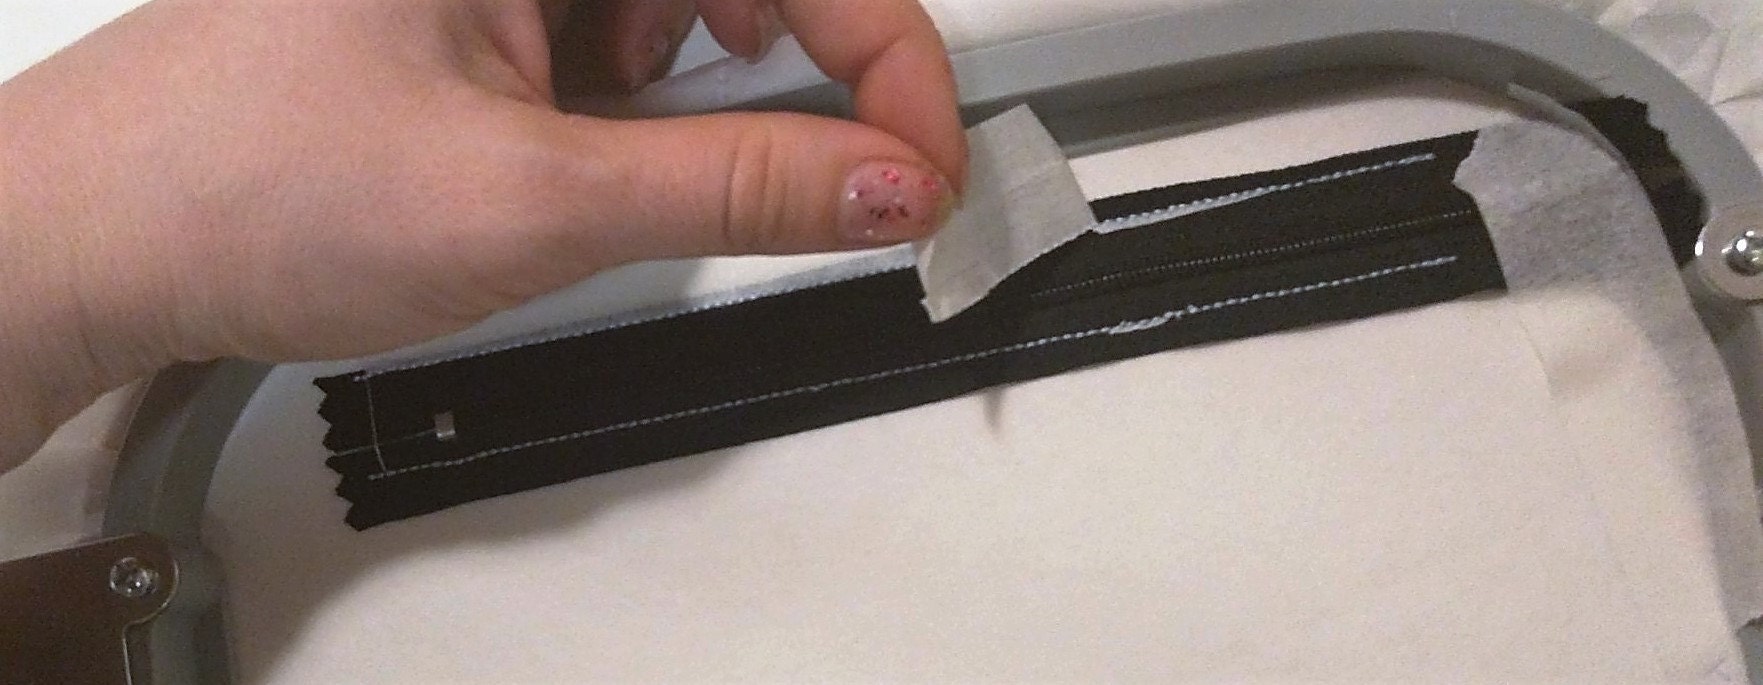
However, it is important to leave the zipper pull taped down. This photo is illustrative.
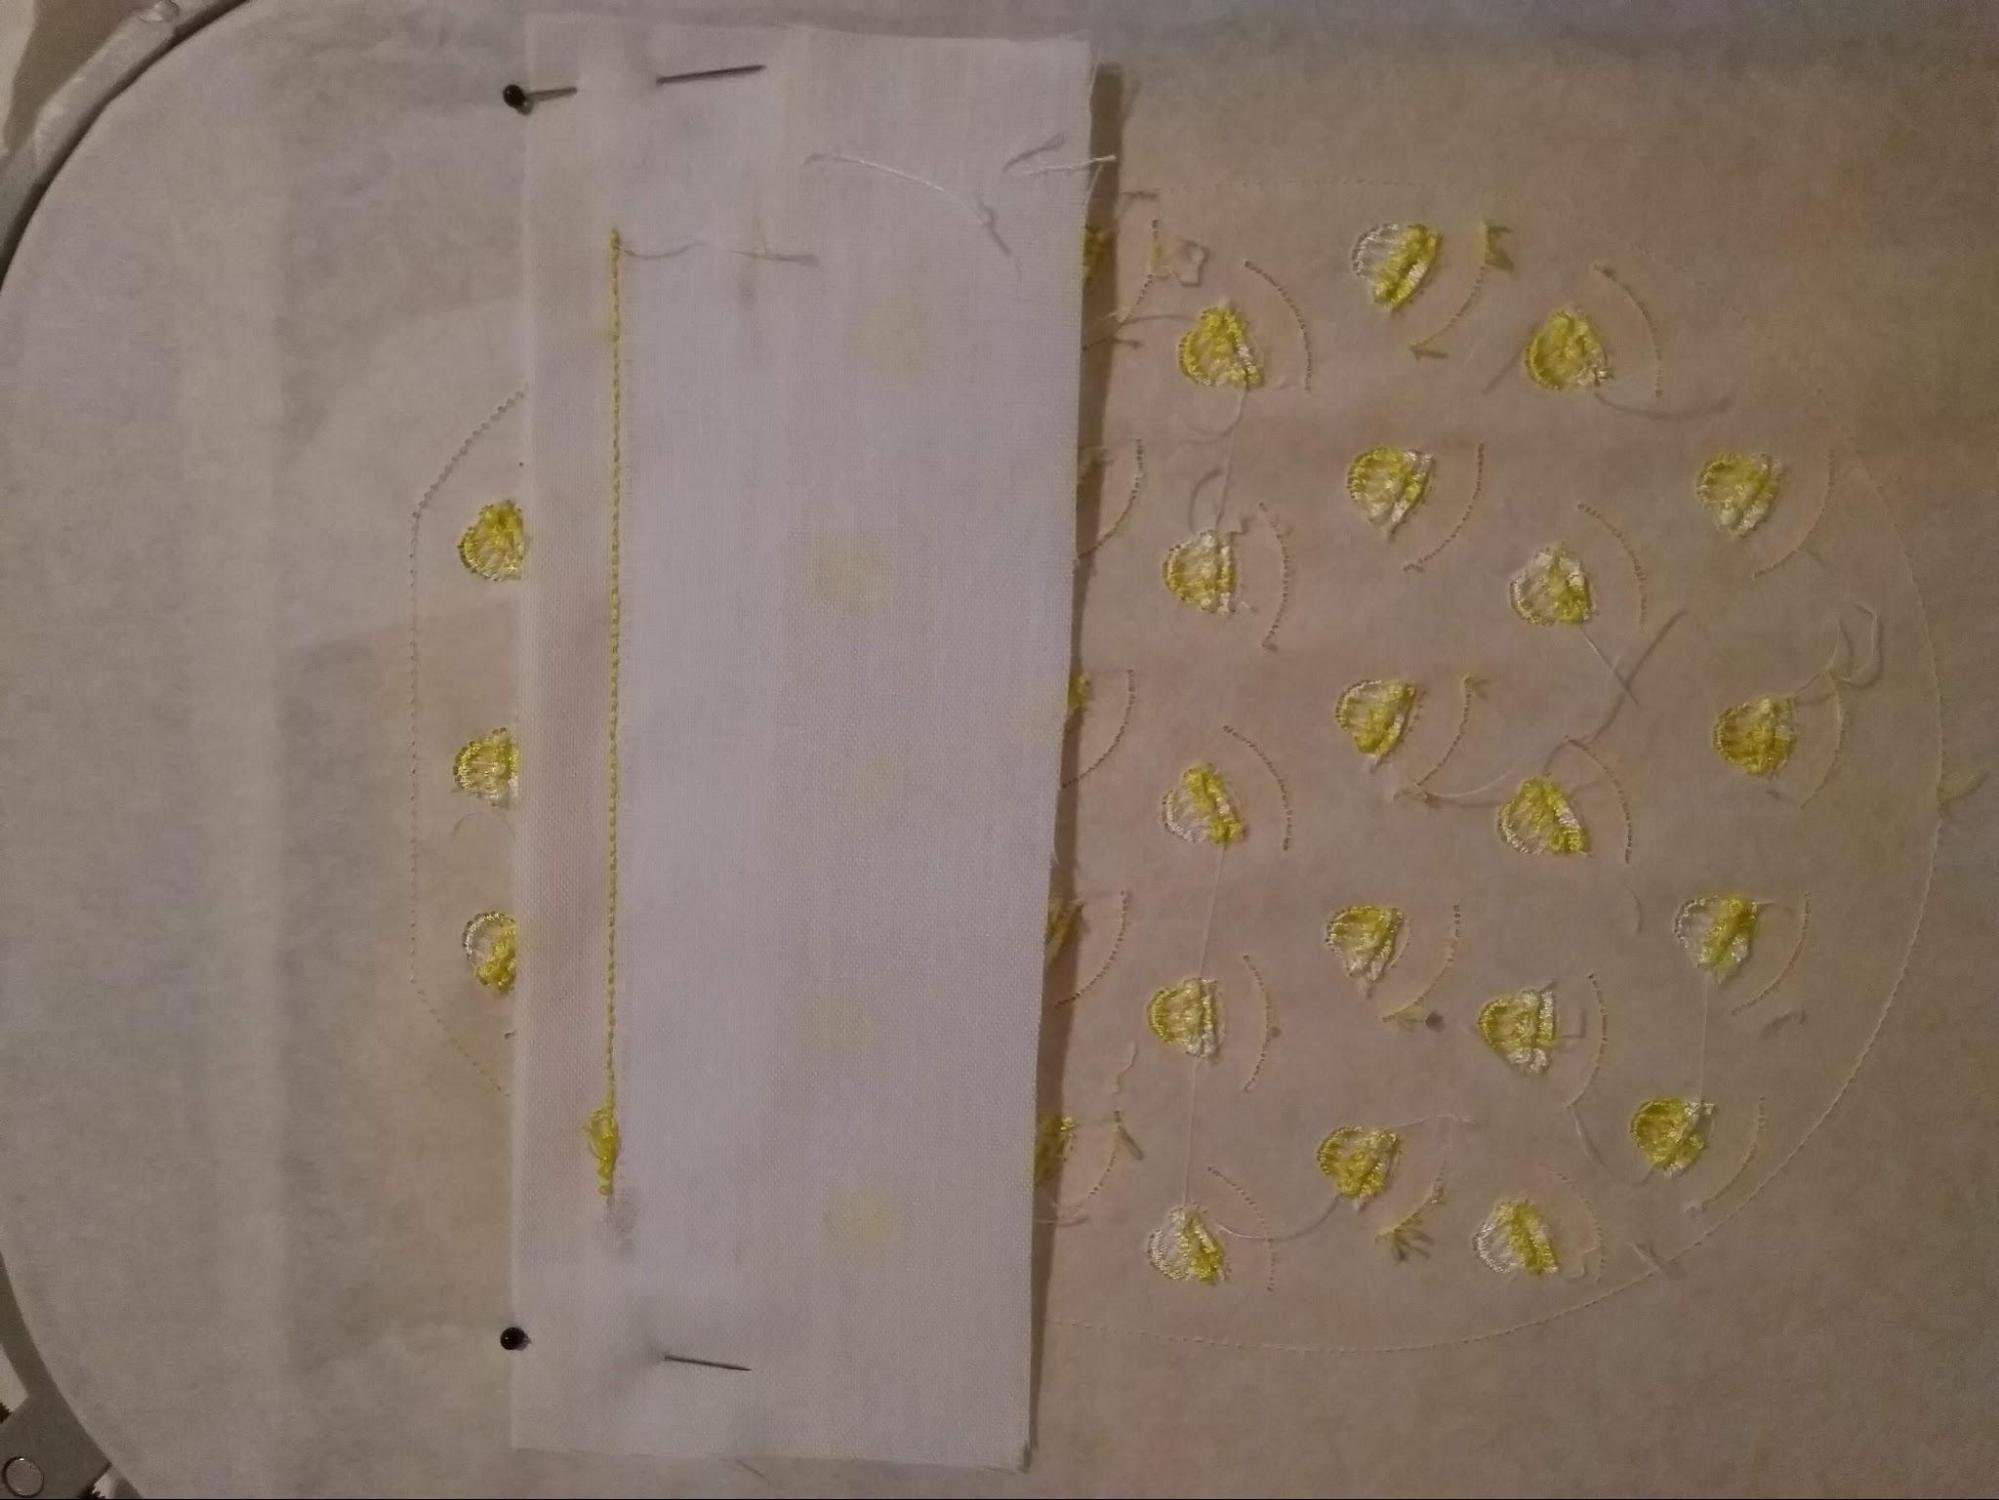
Place the small piece of main fabric right side down, so its edge lines up with the upper stitch and covers it by approximately ½ inch, as shown in the photo below.
Use tape to keep the fabric flat and sew the next seam (Color 3).
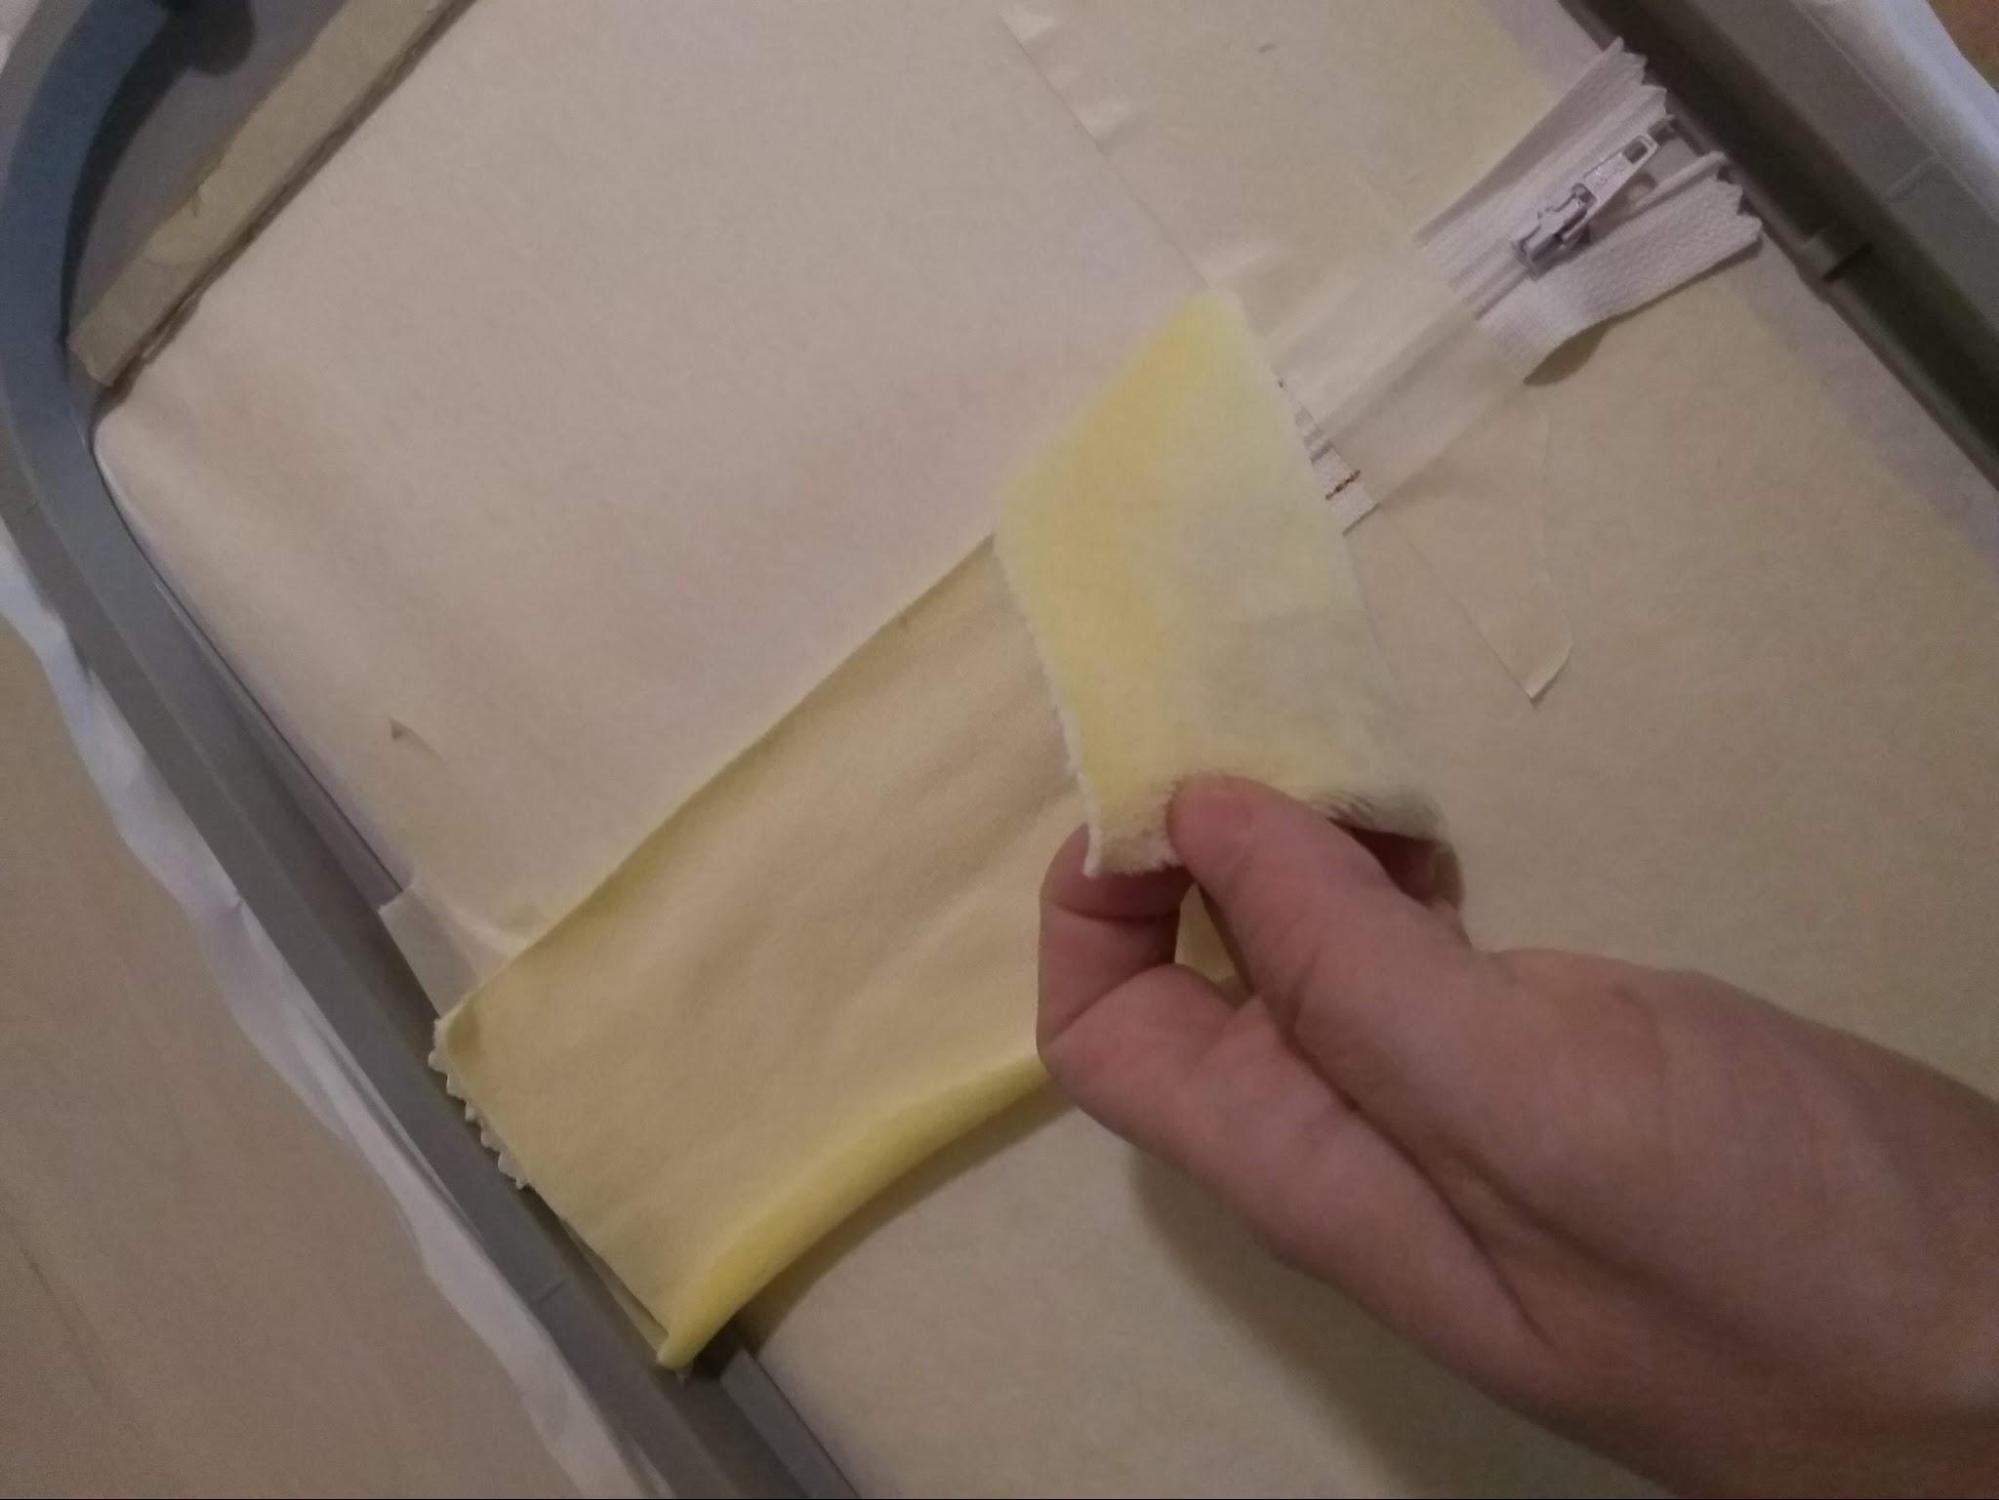
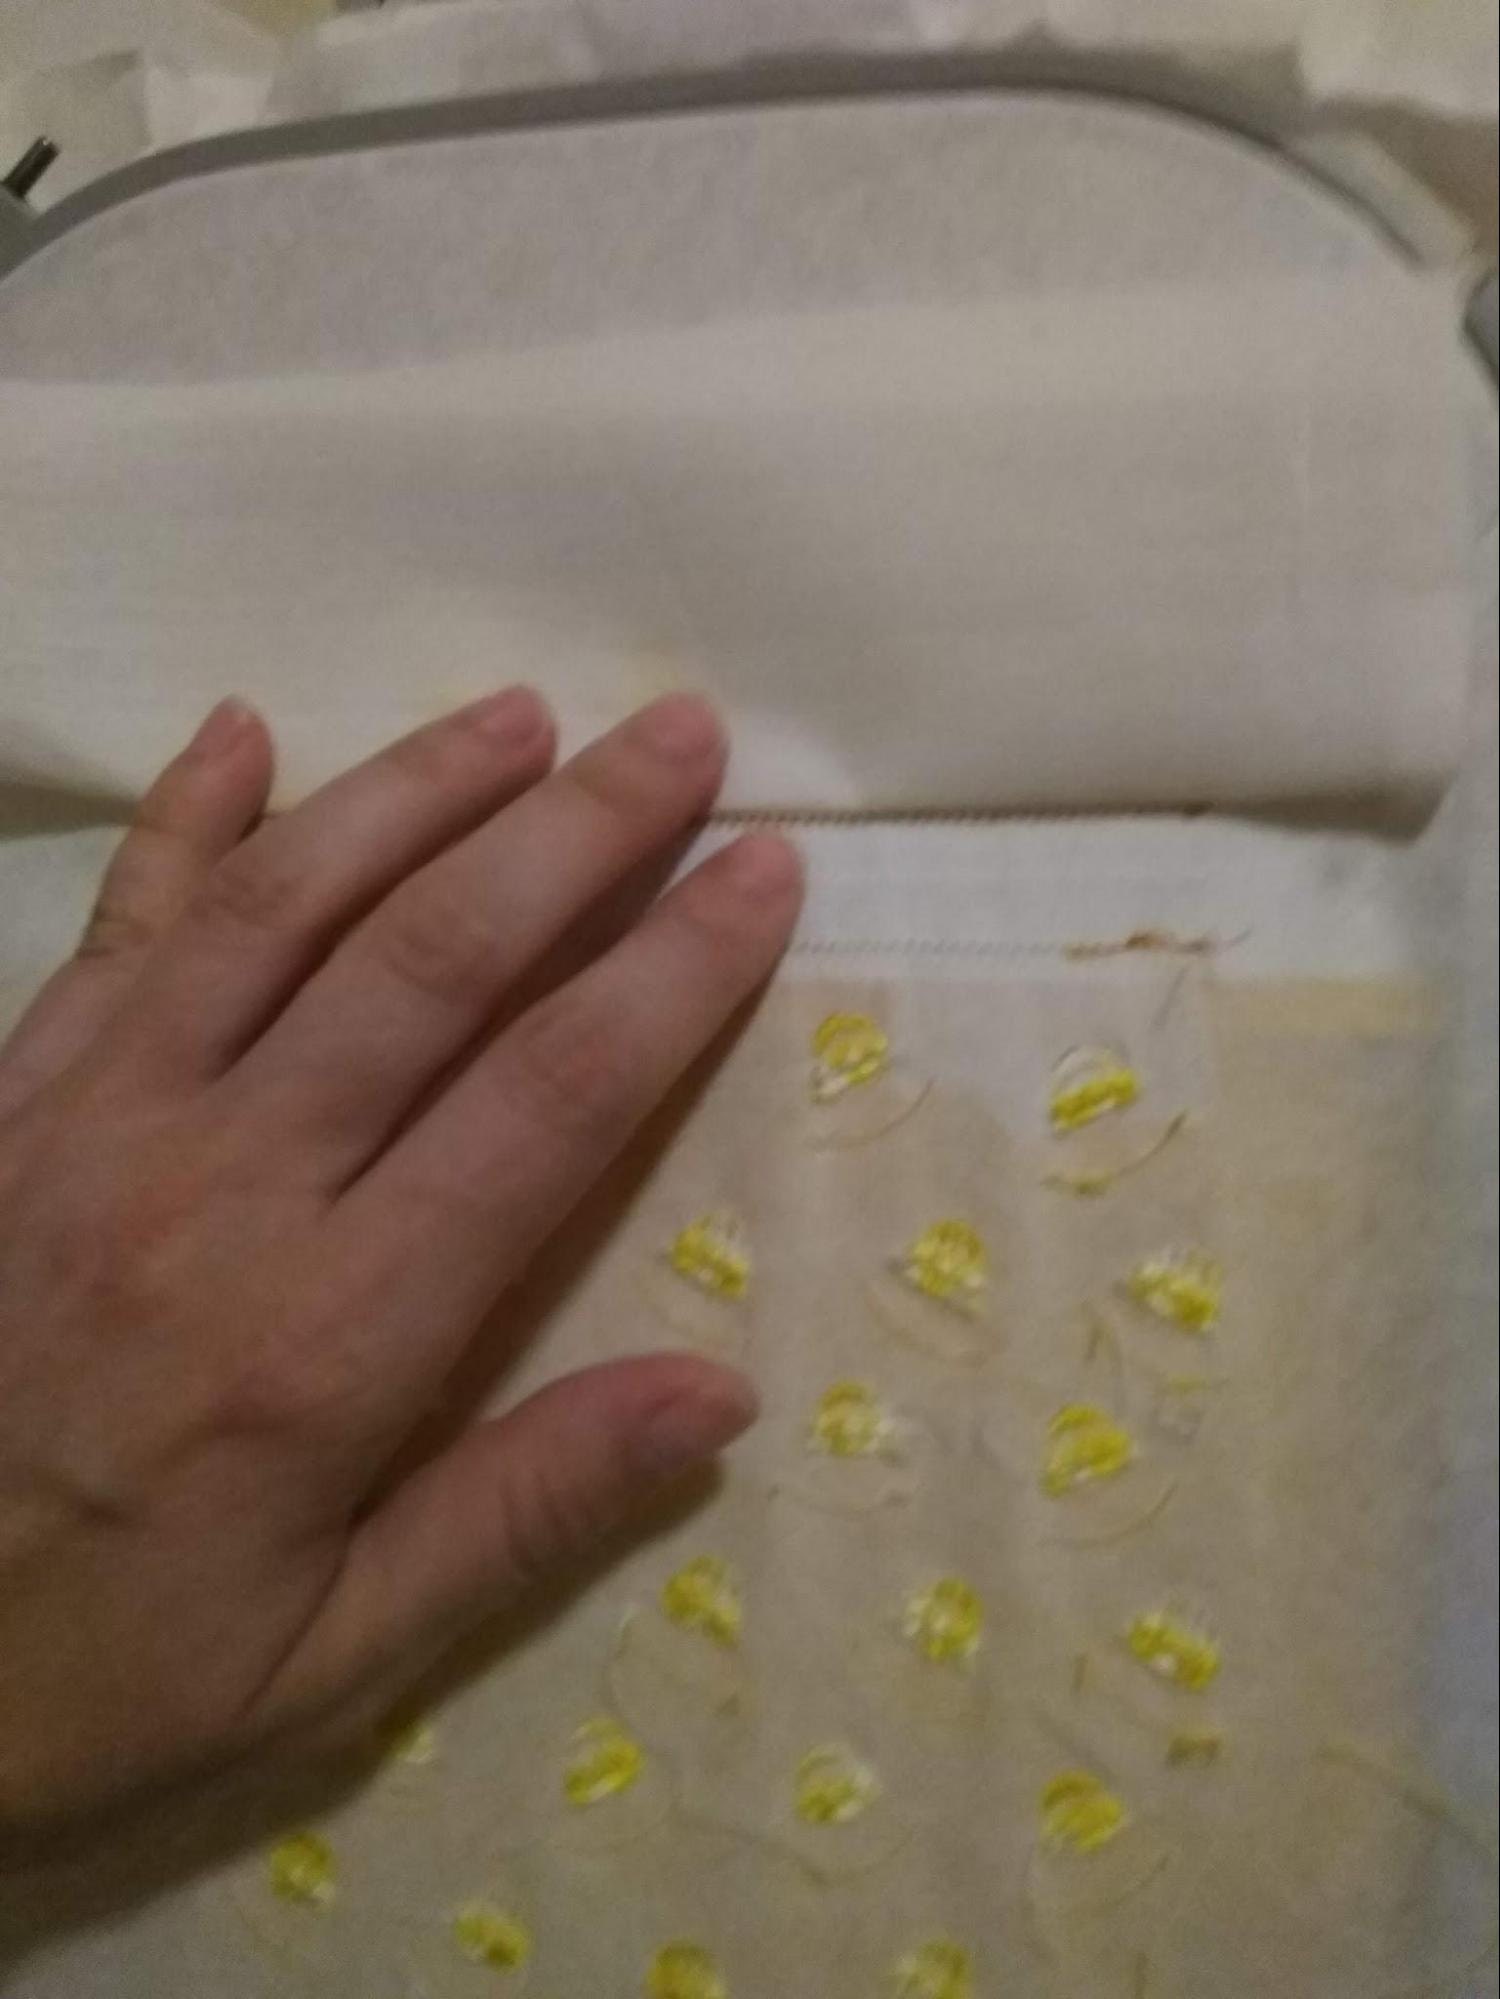
Stop the machine, do not unhoop, and fold the tacked-down piece up, as shown in the photo below.
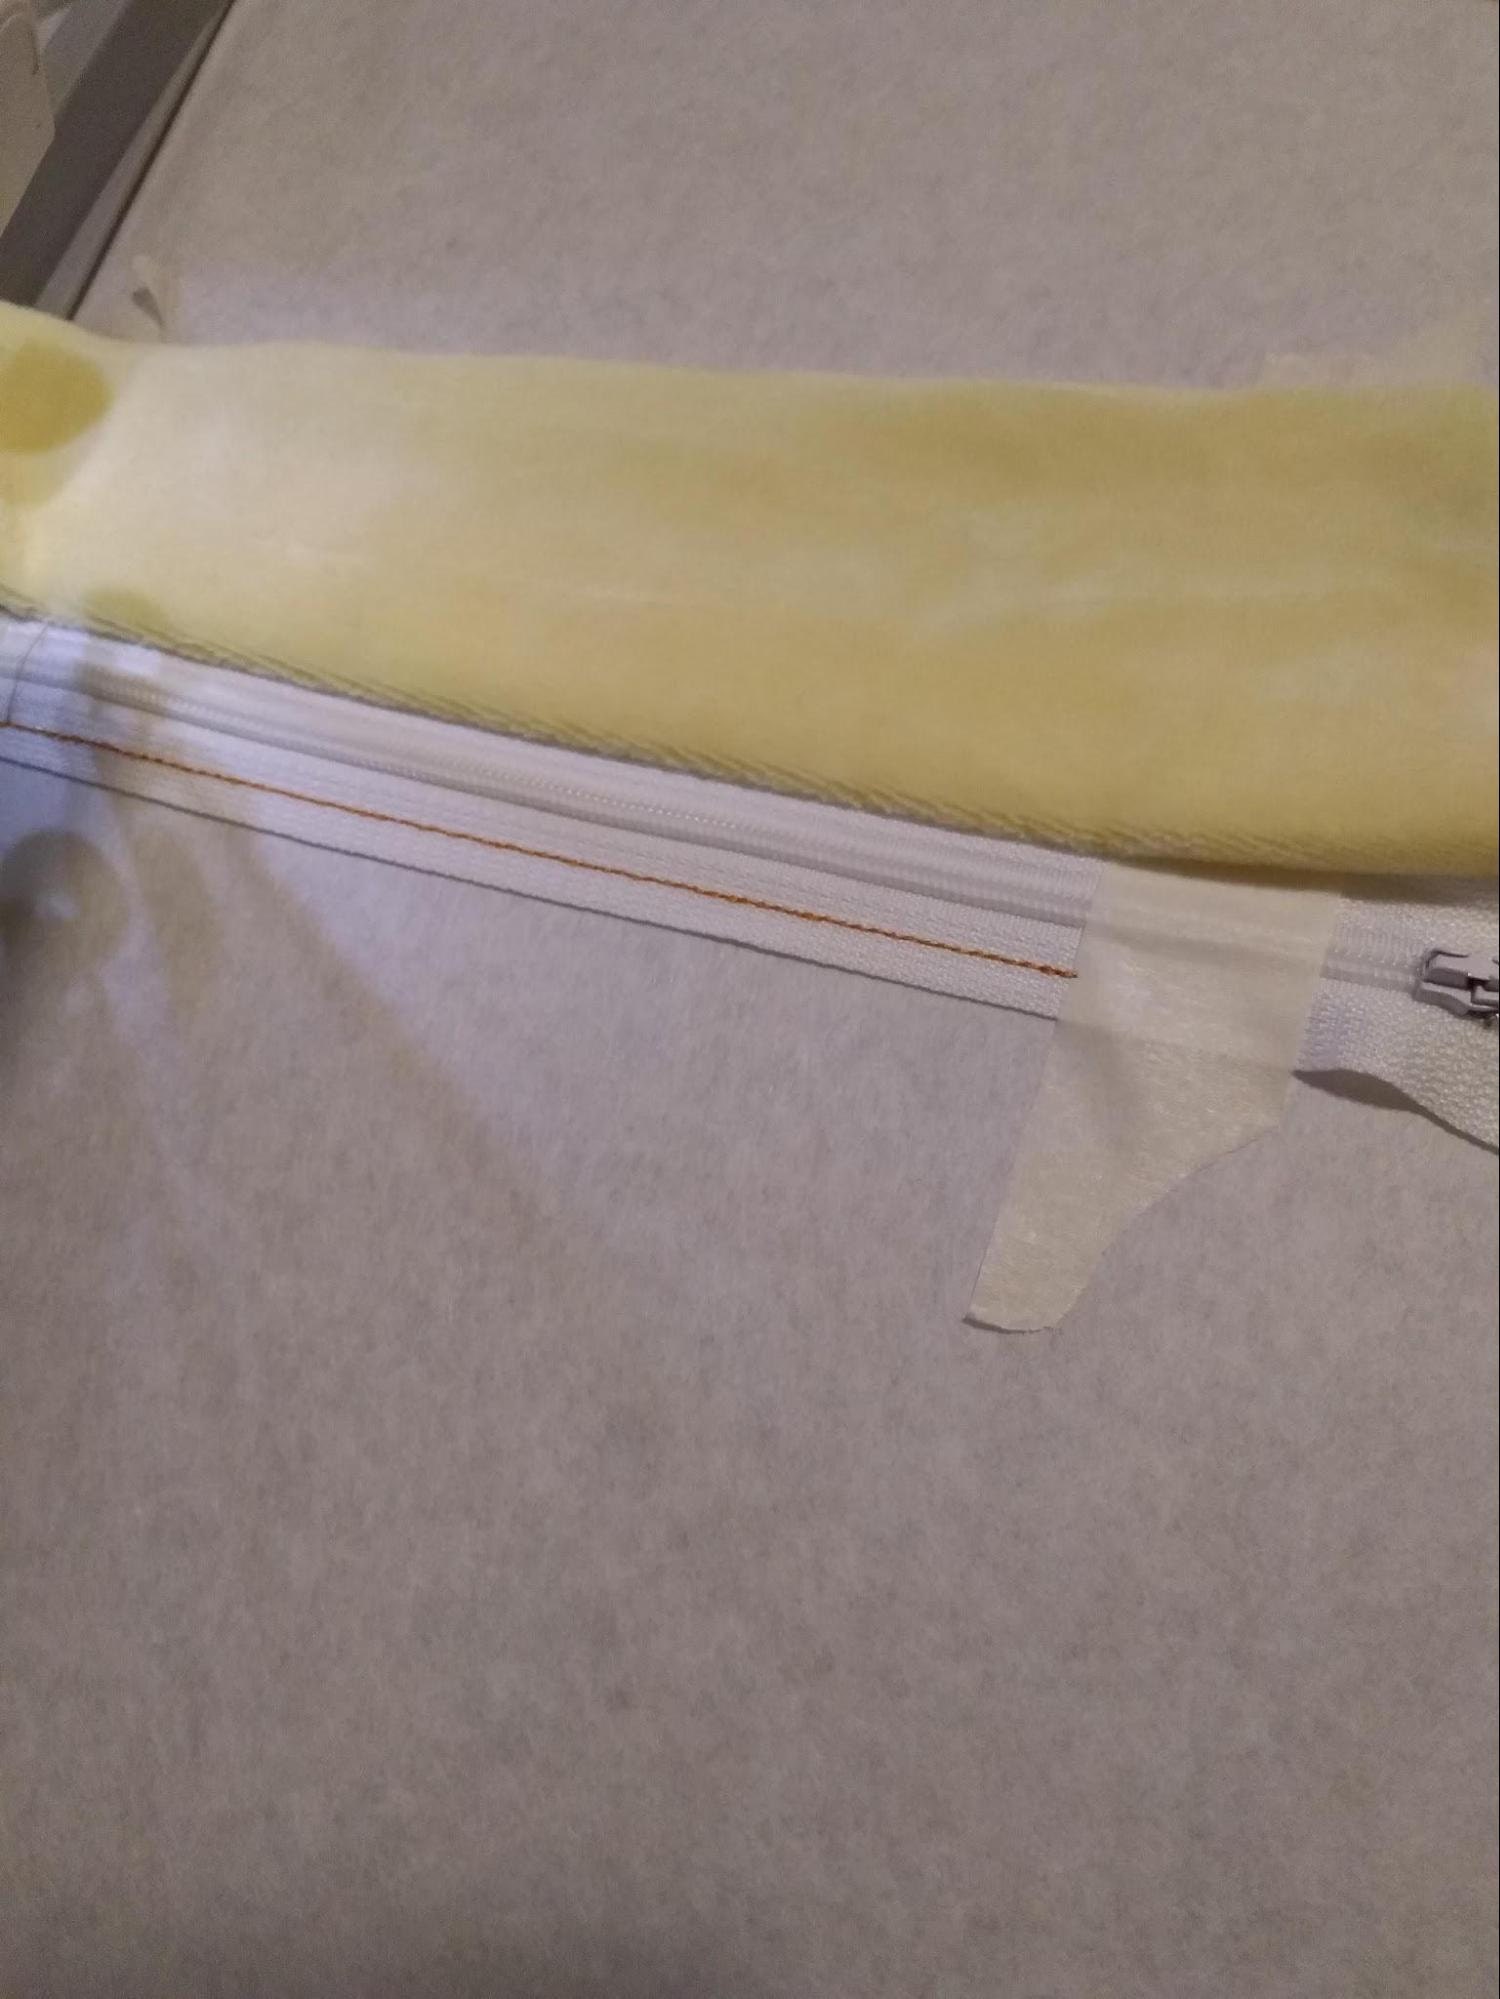
Repeat the same process for the bottom part of the purse. Place the large piece of main fabric right side down, aligning its edge with the bottom stitch and covering it by approximately ½ inch.

Use tape or pins to keep the fabric flat and sew the tack-down seam (Color 4).
Stop the machine, do not unhoop, and fold the tacked-down main piece down, as shown on the illustrative photo below.
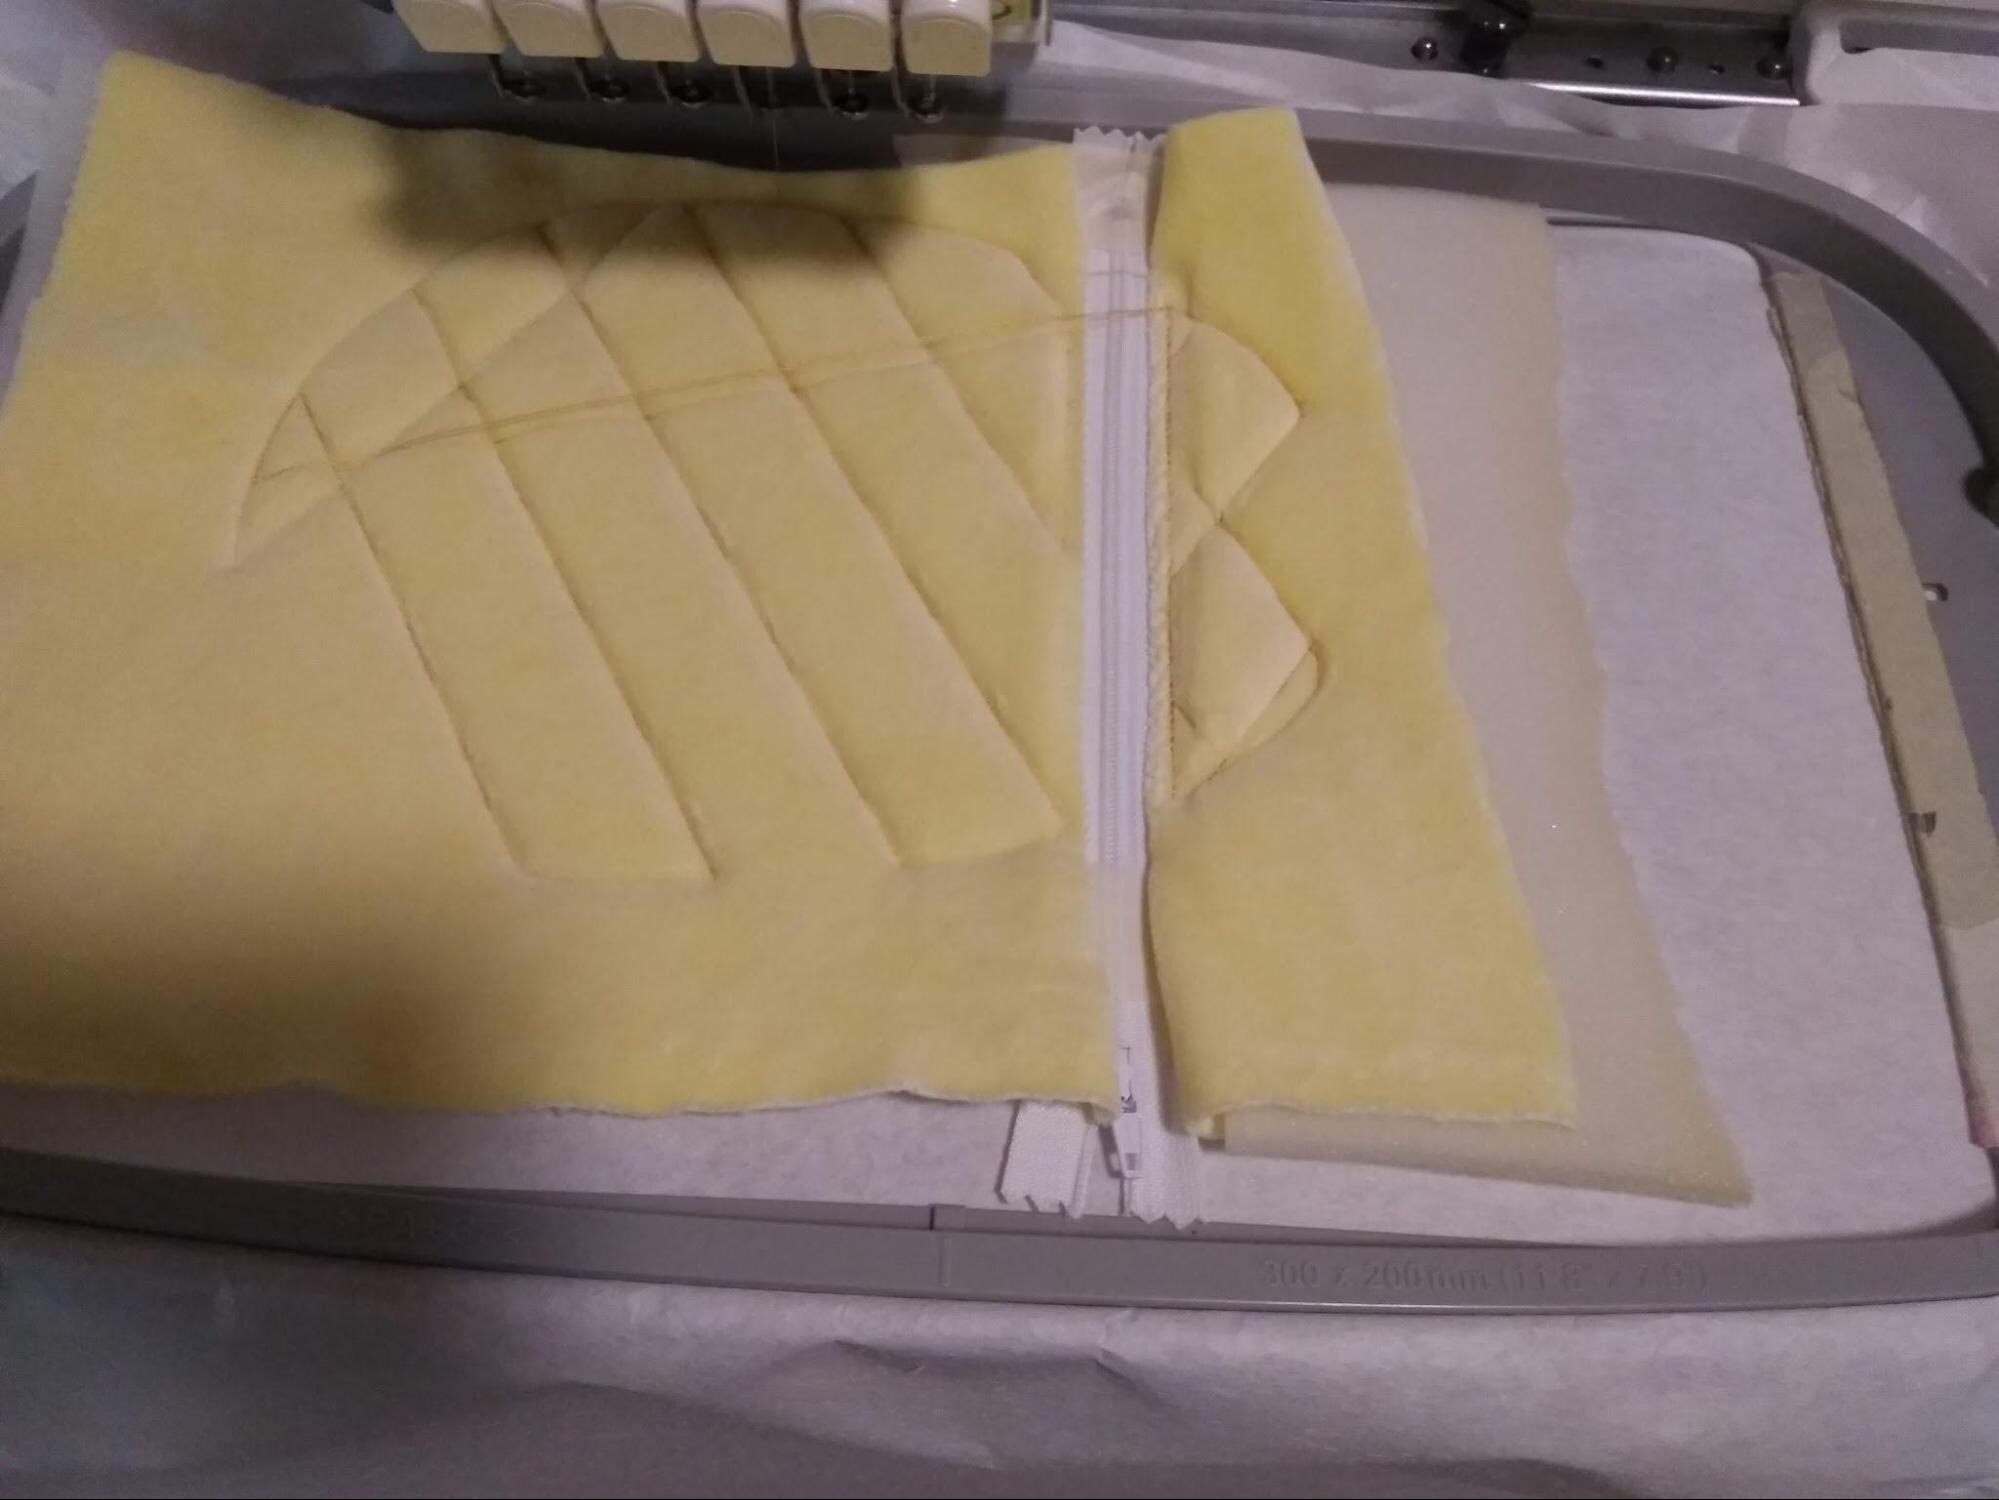
The outline and decoration will be next (Colors 5 and 6).

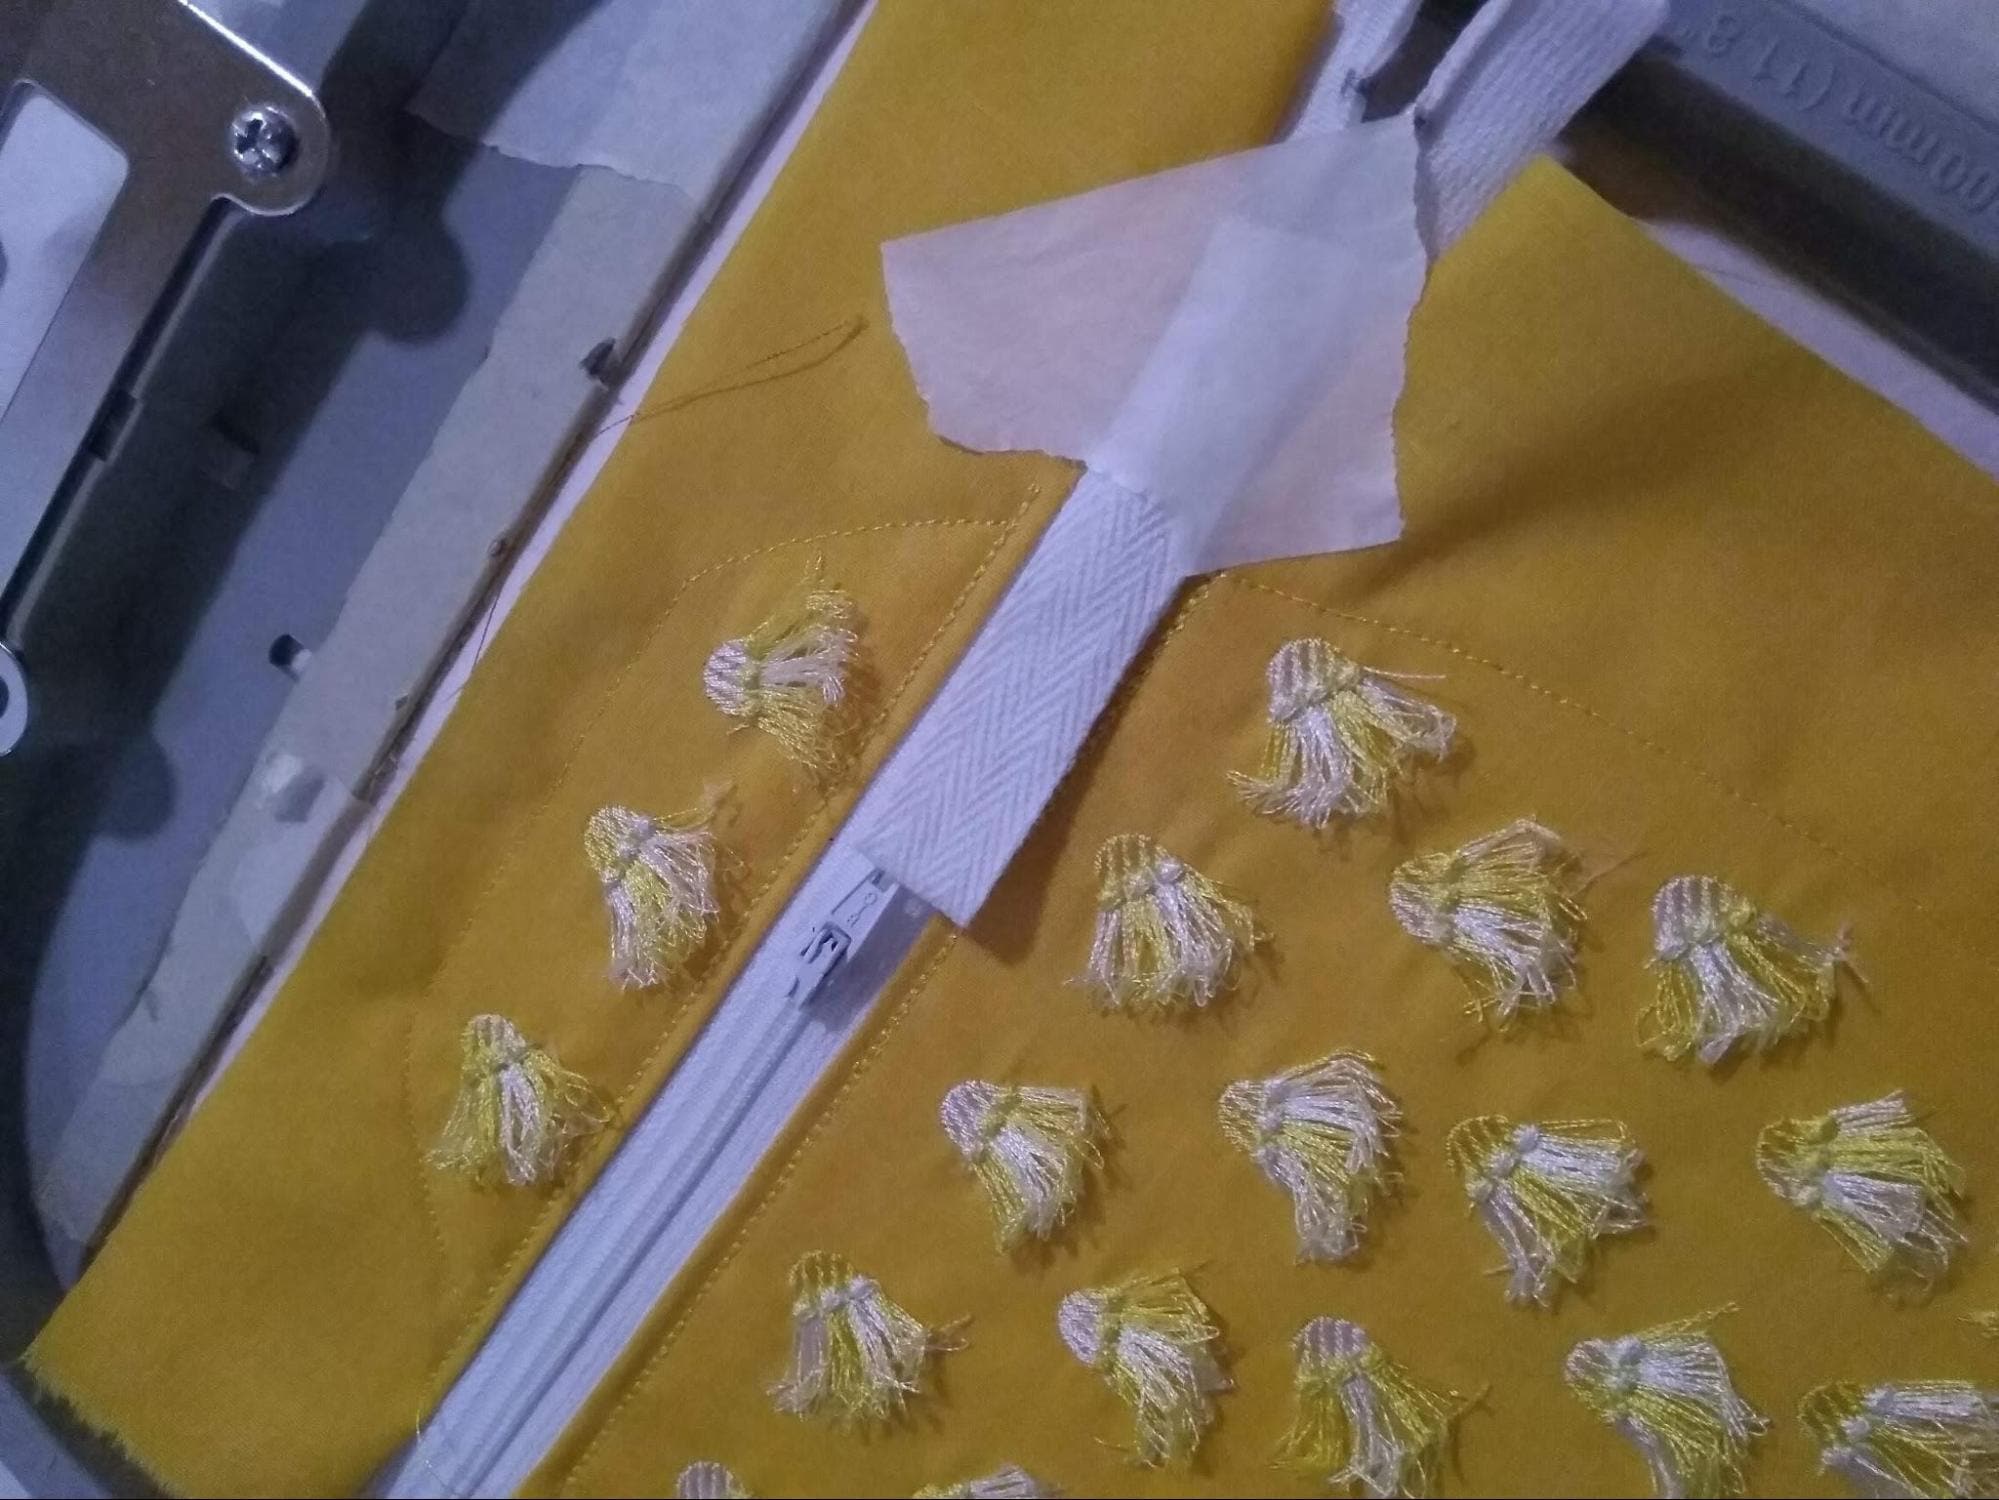
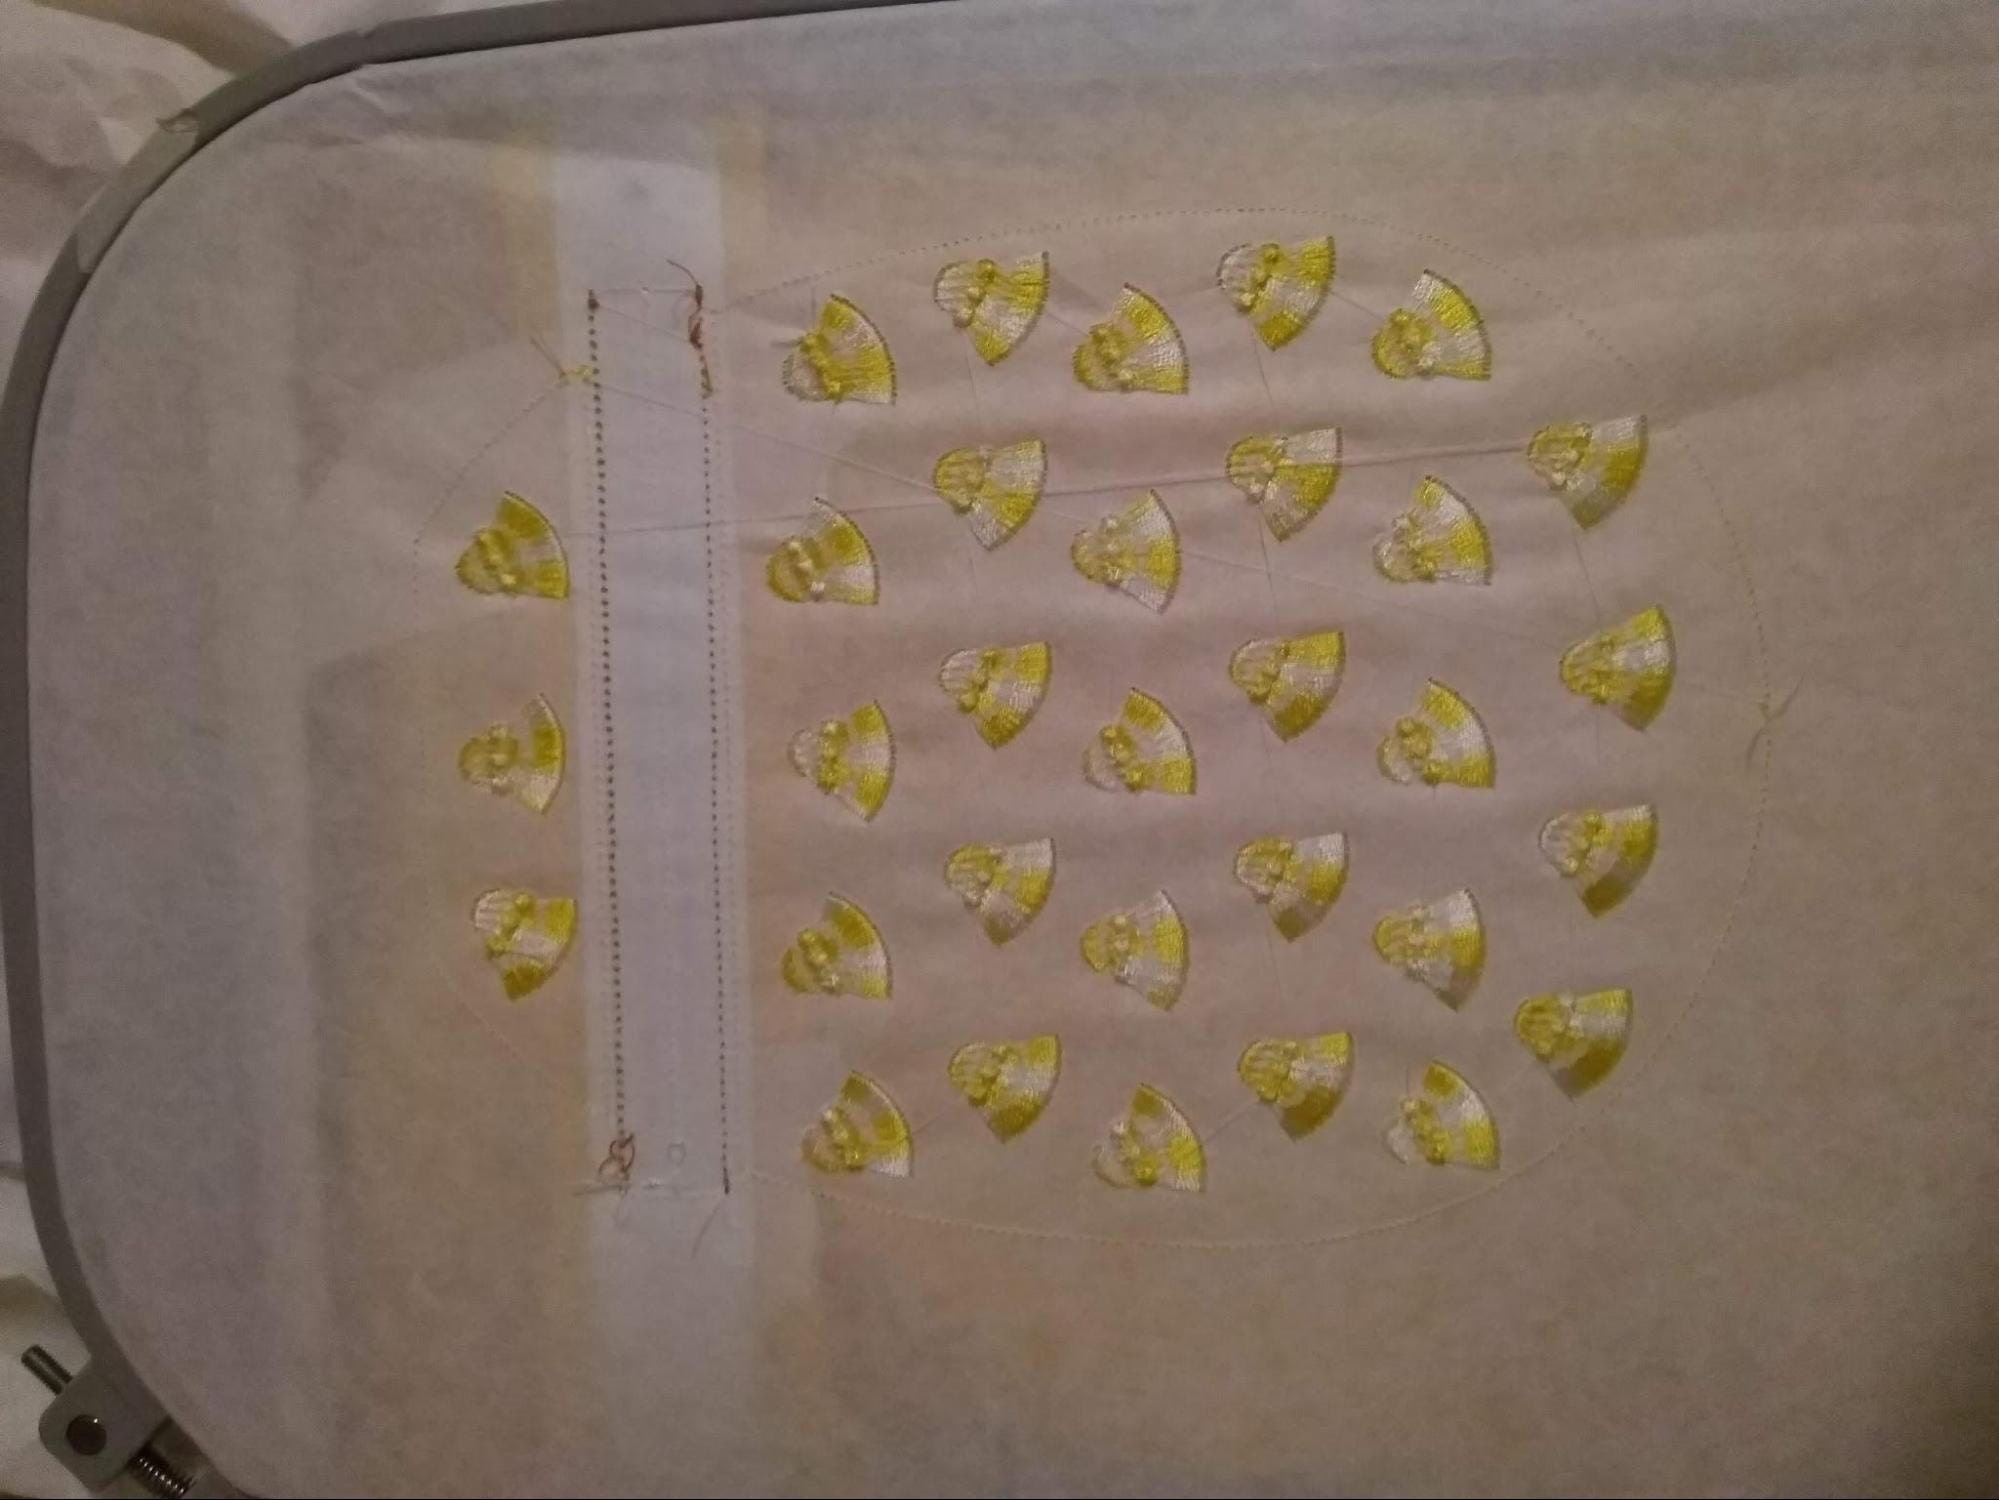
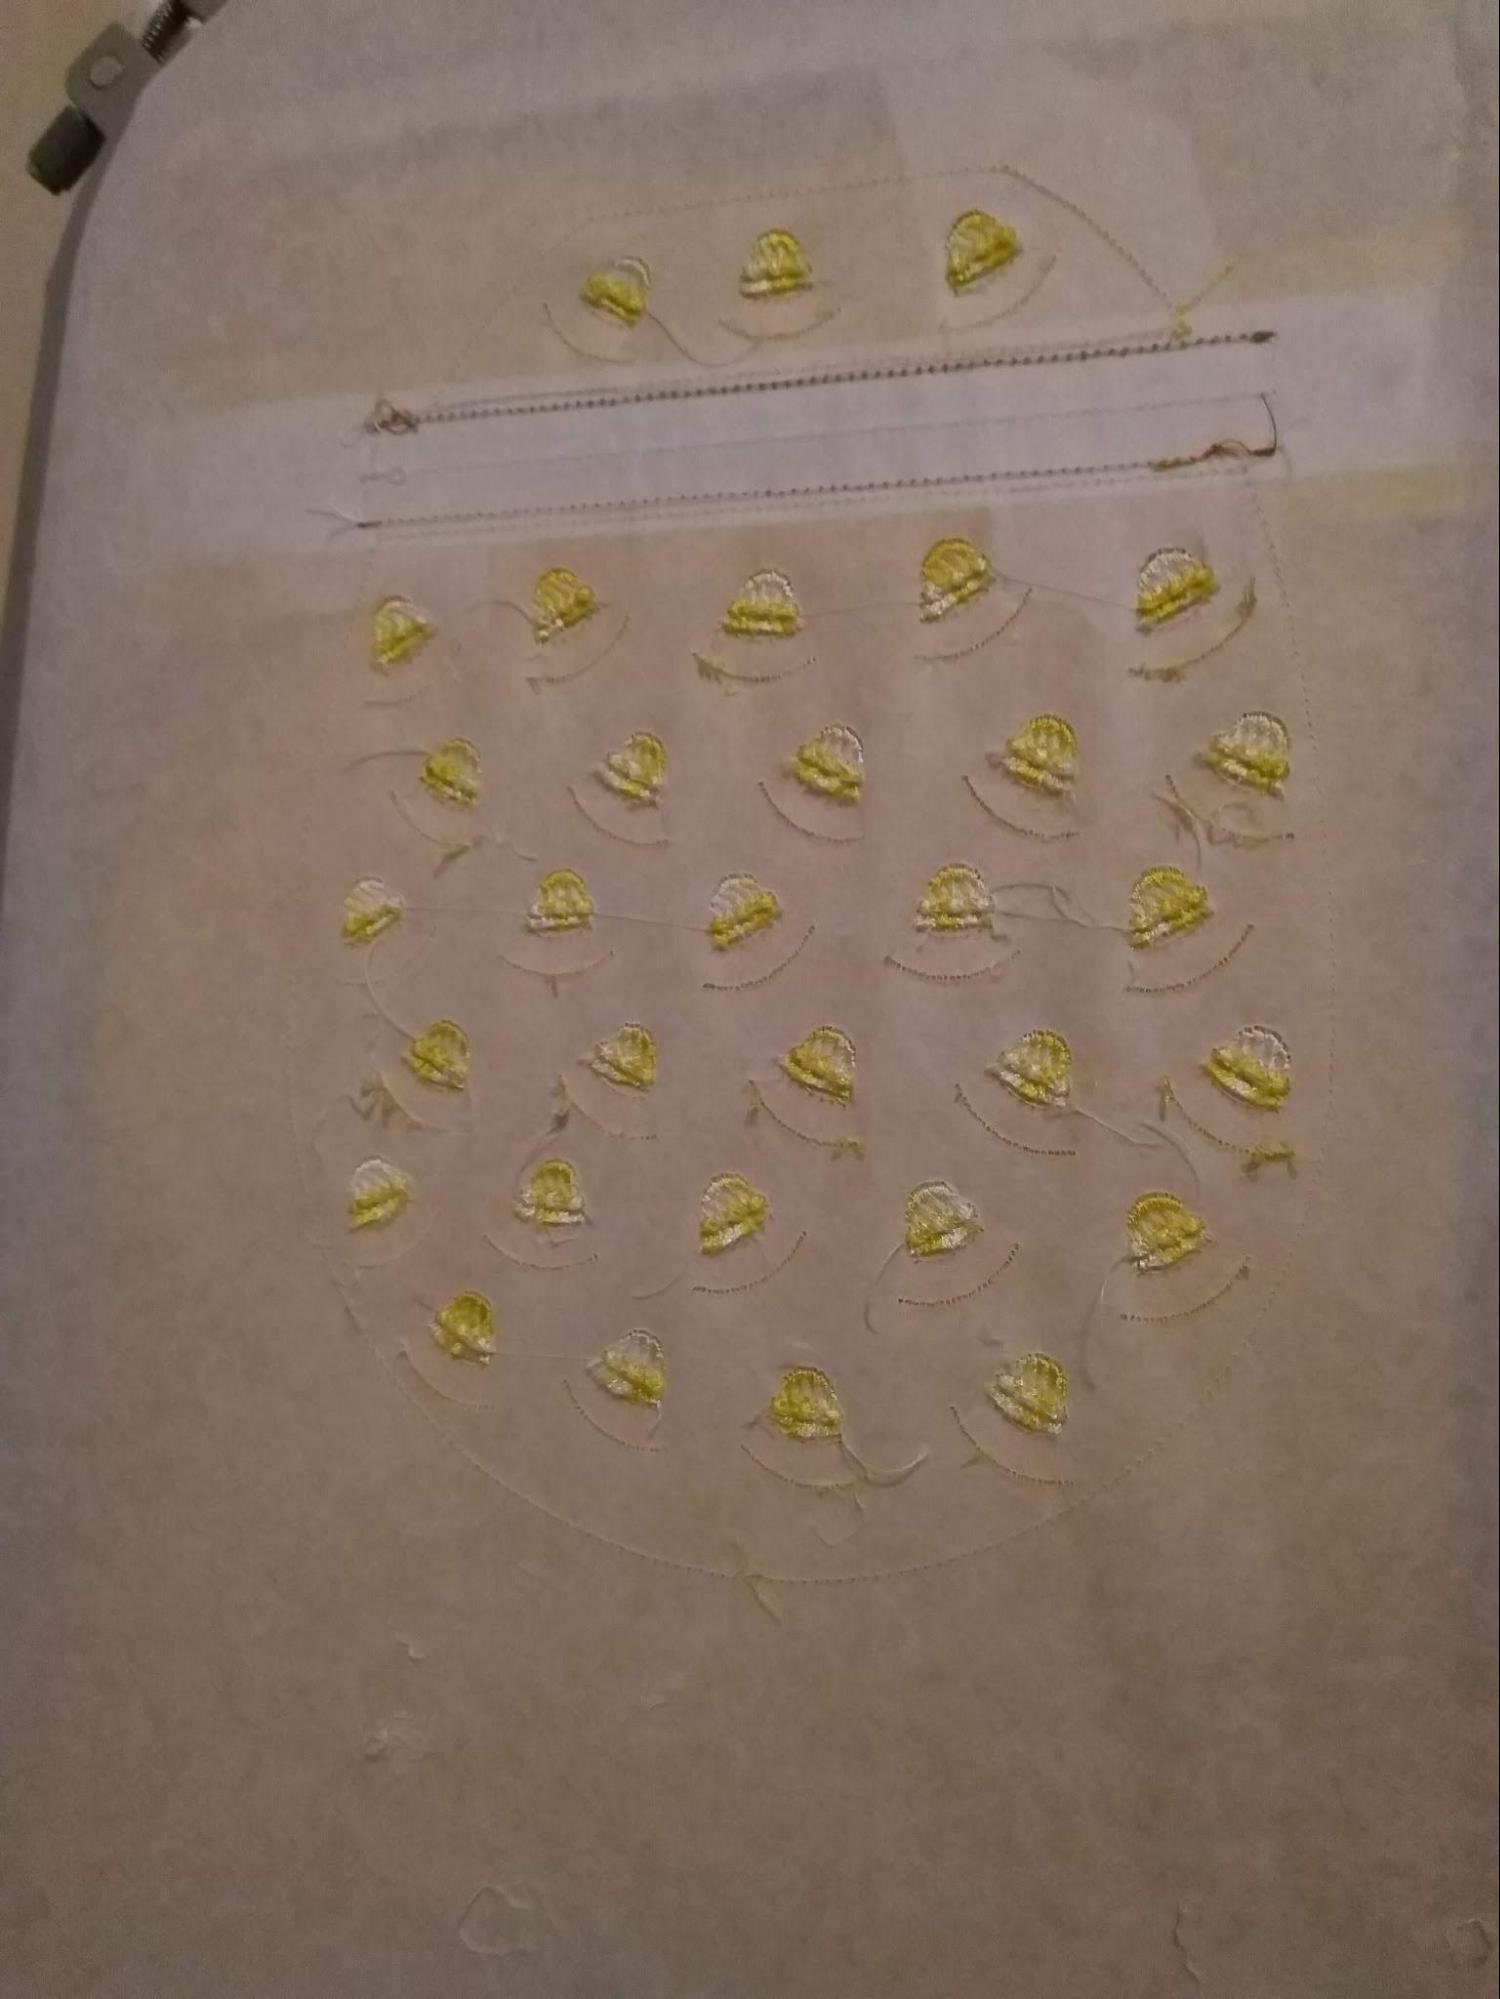
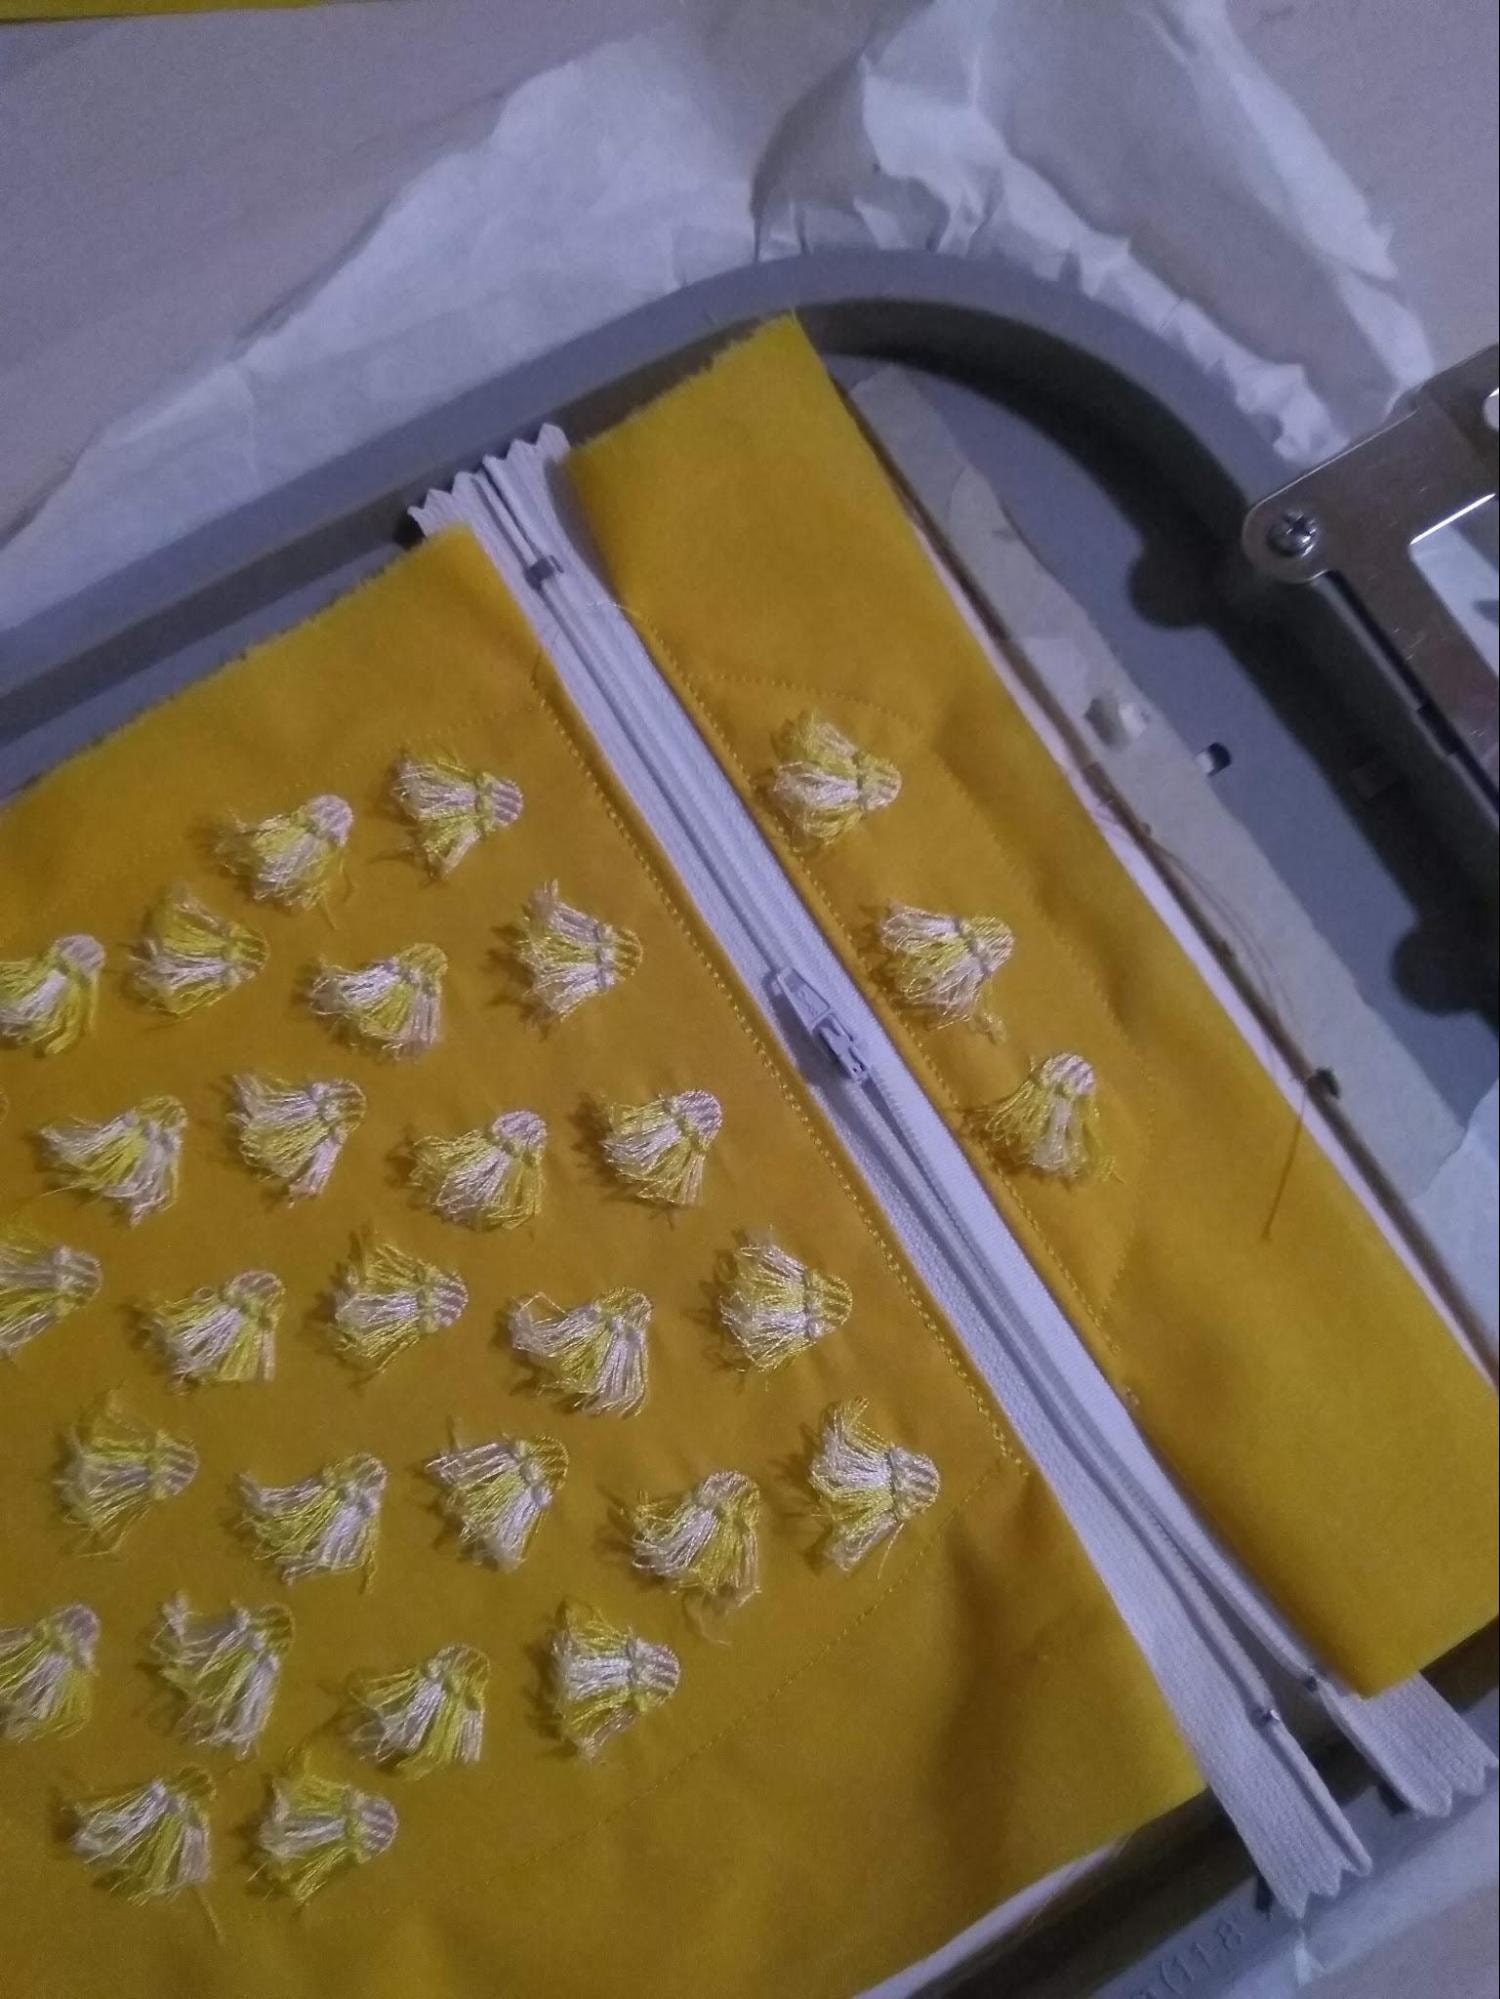
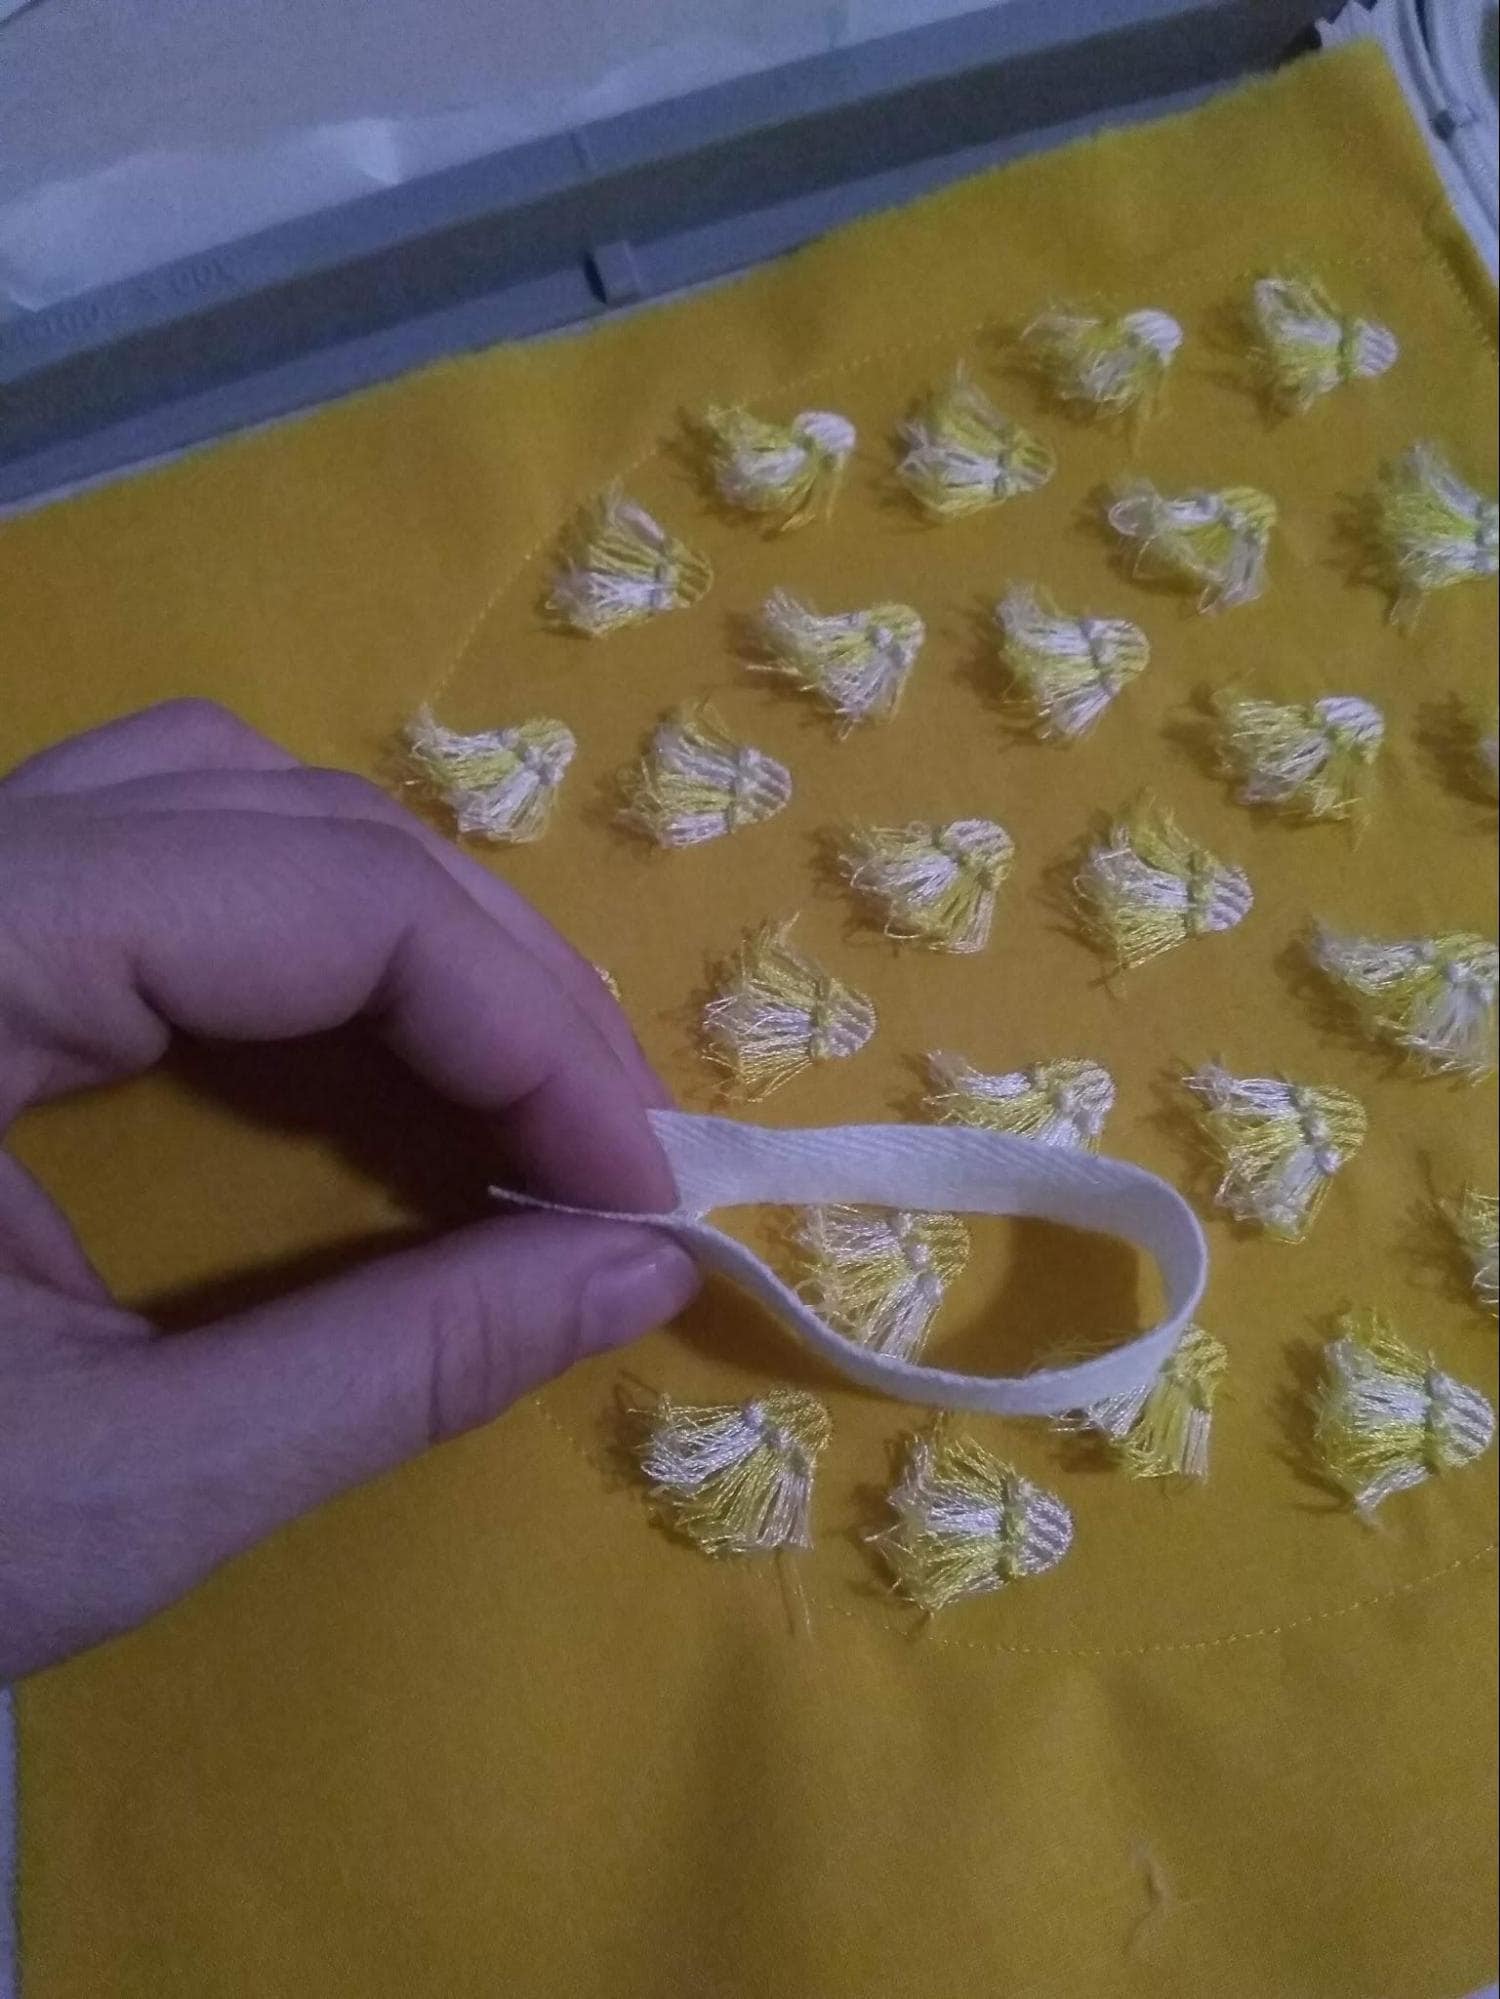
Creating the Fringe
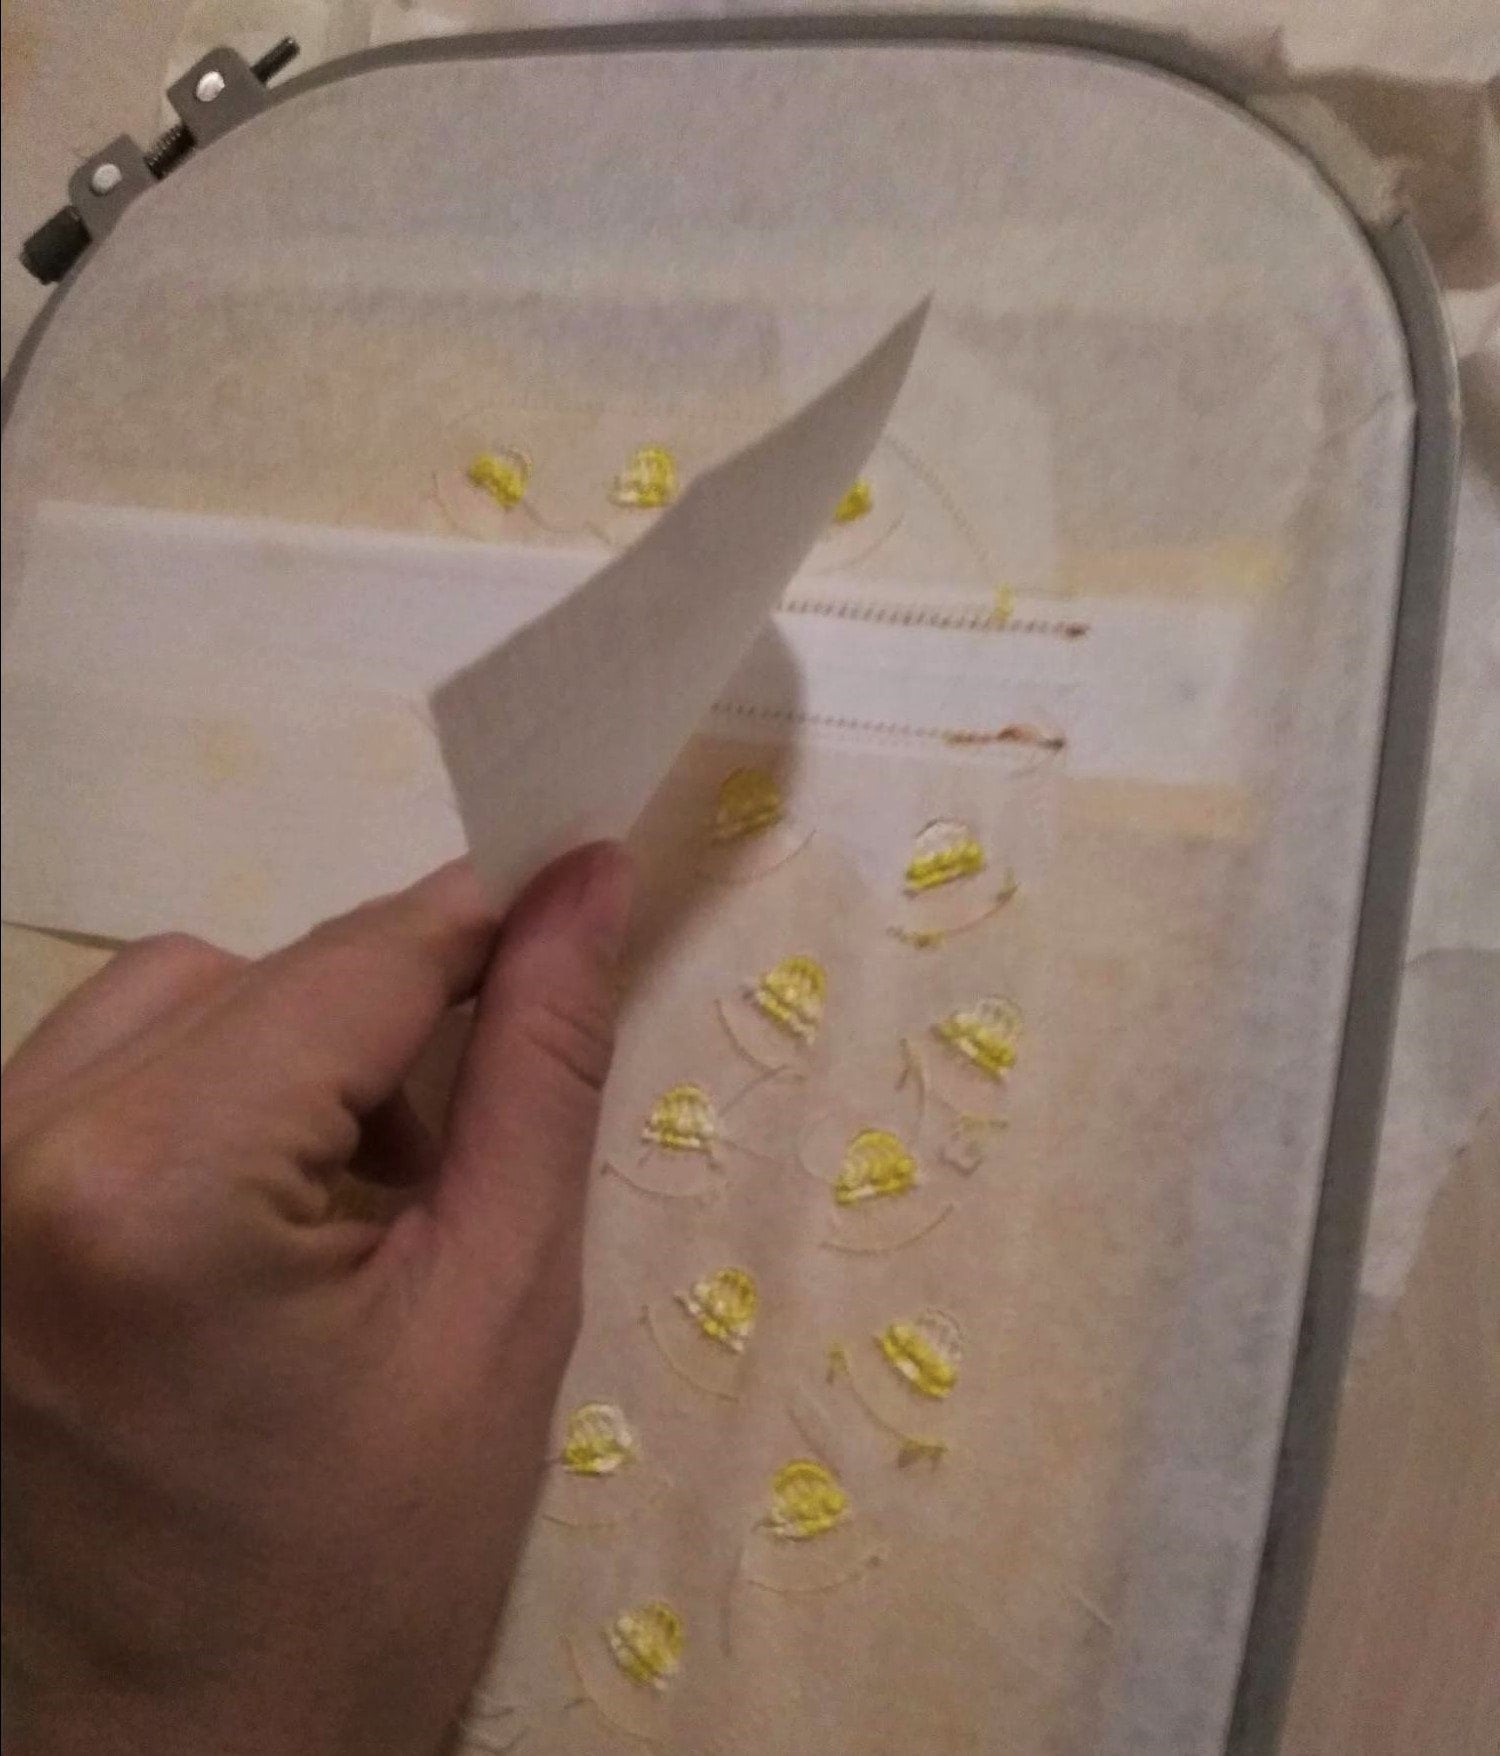
Turn the embroidery to the back side. The fringe designs have rows of satin columns—these are the stitches you will work with to make the fringe.
Cut the bobbin stitch.
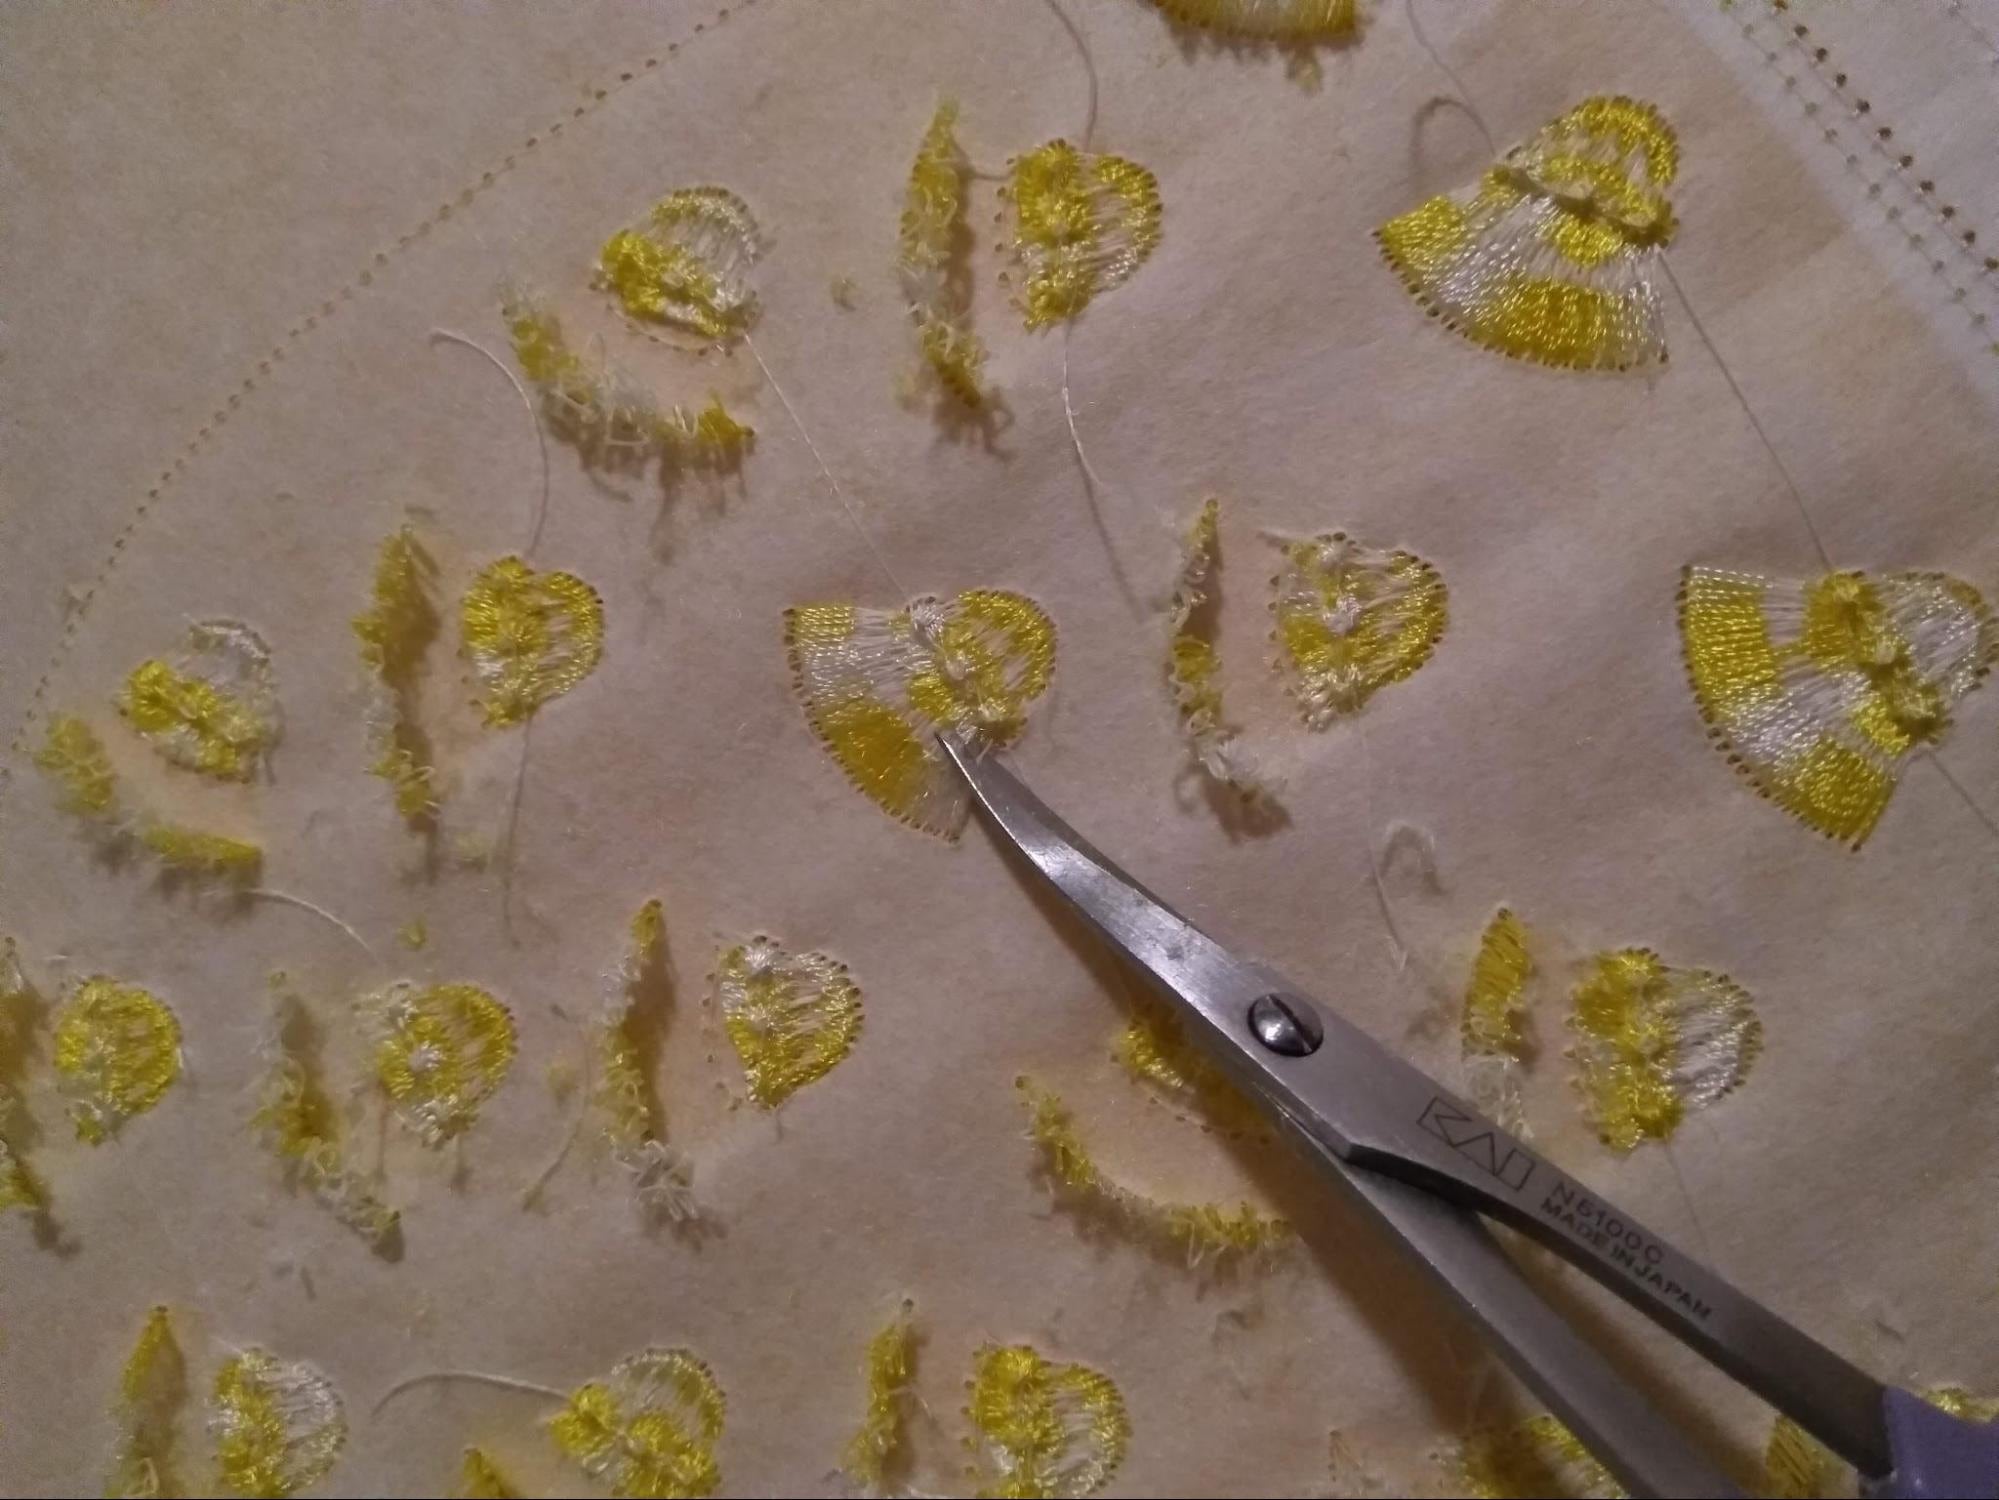
Turn the embroidery back to the front side and fluff the fringe with the point of a small pair of scissors.
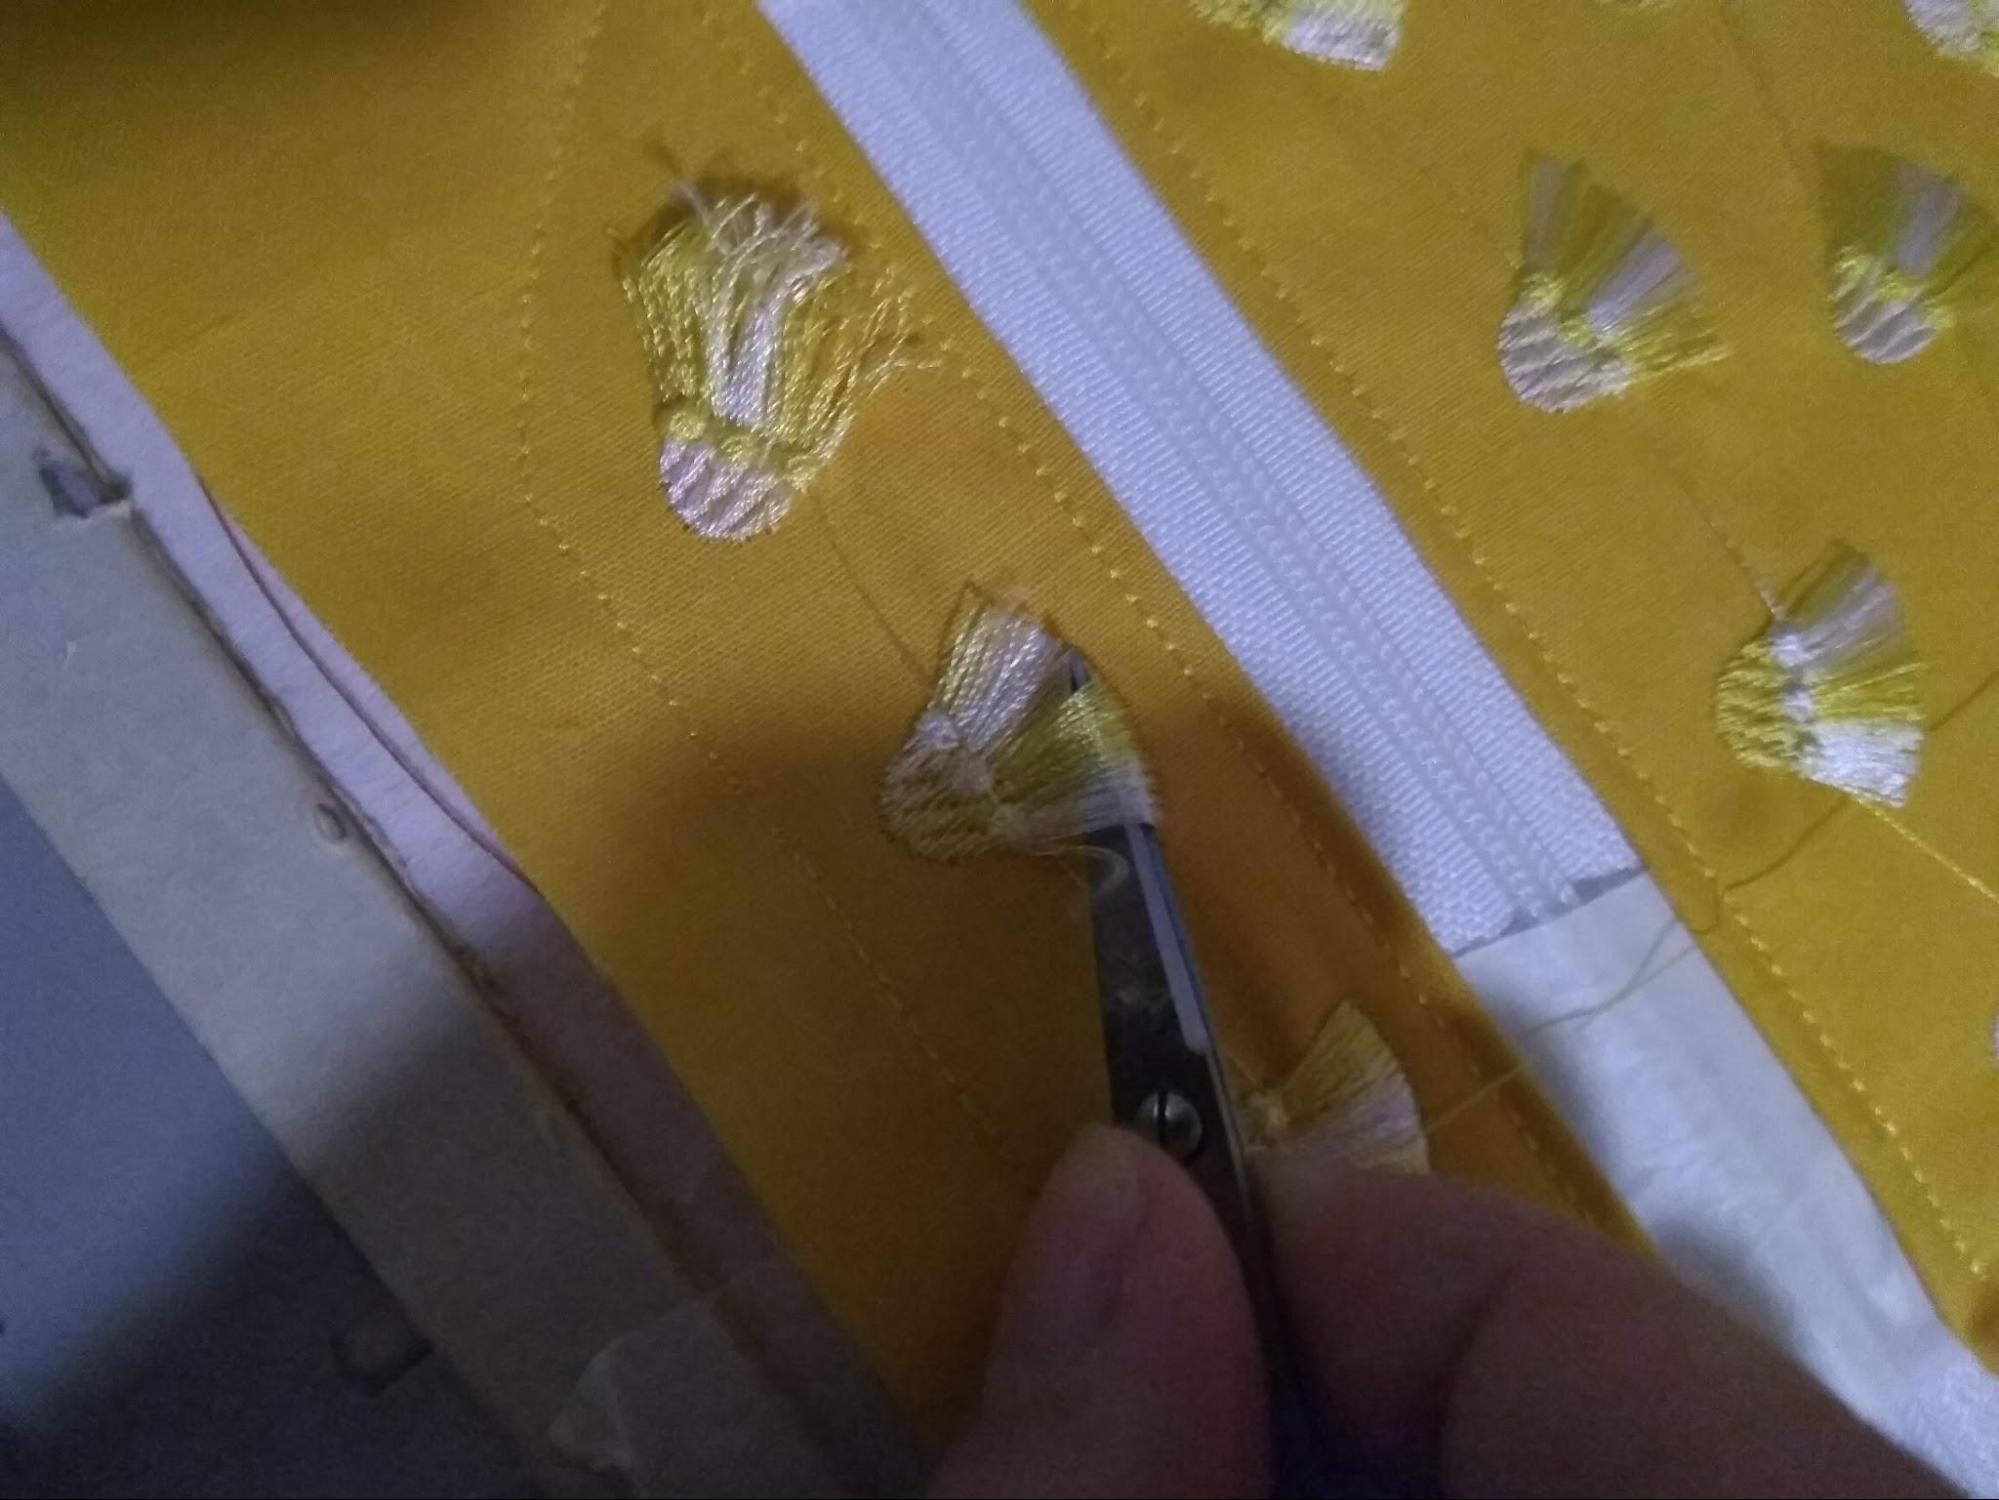
Optional: If the tassels are too long, you can give them a "hairstyle" to shorten them.
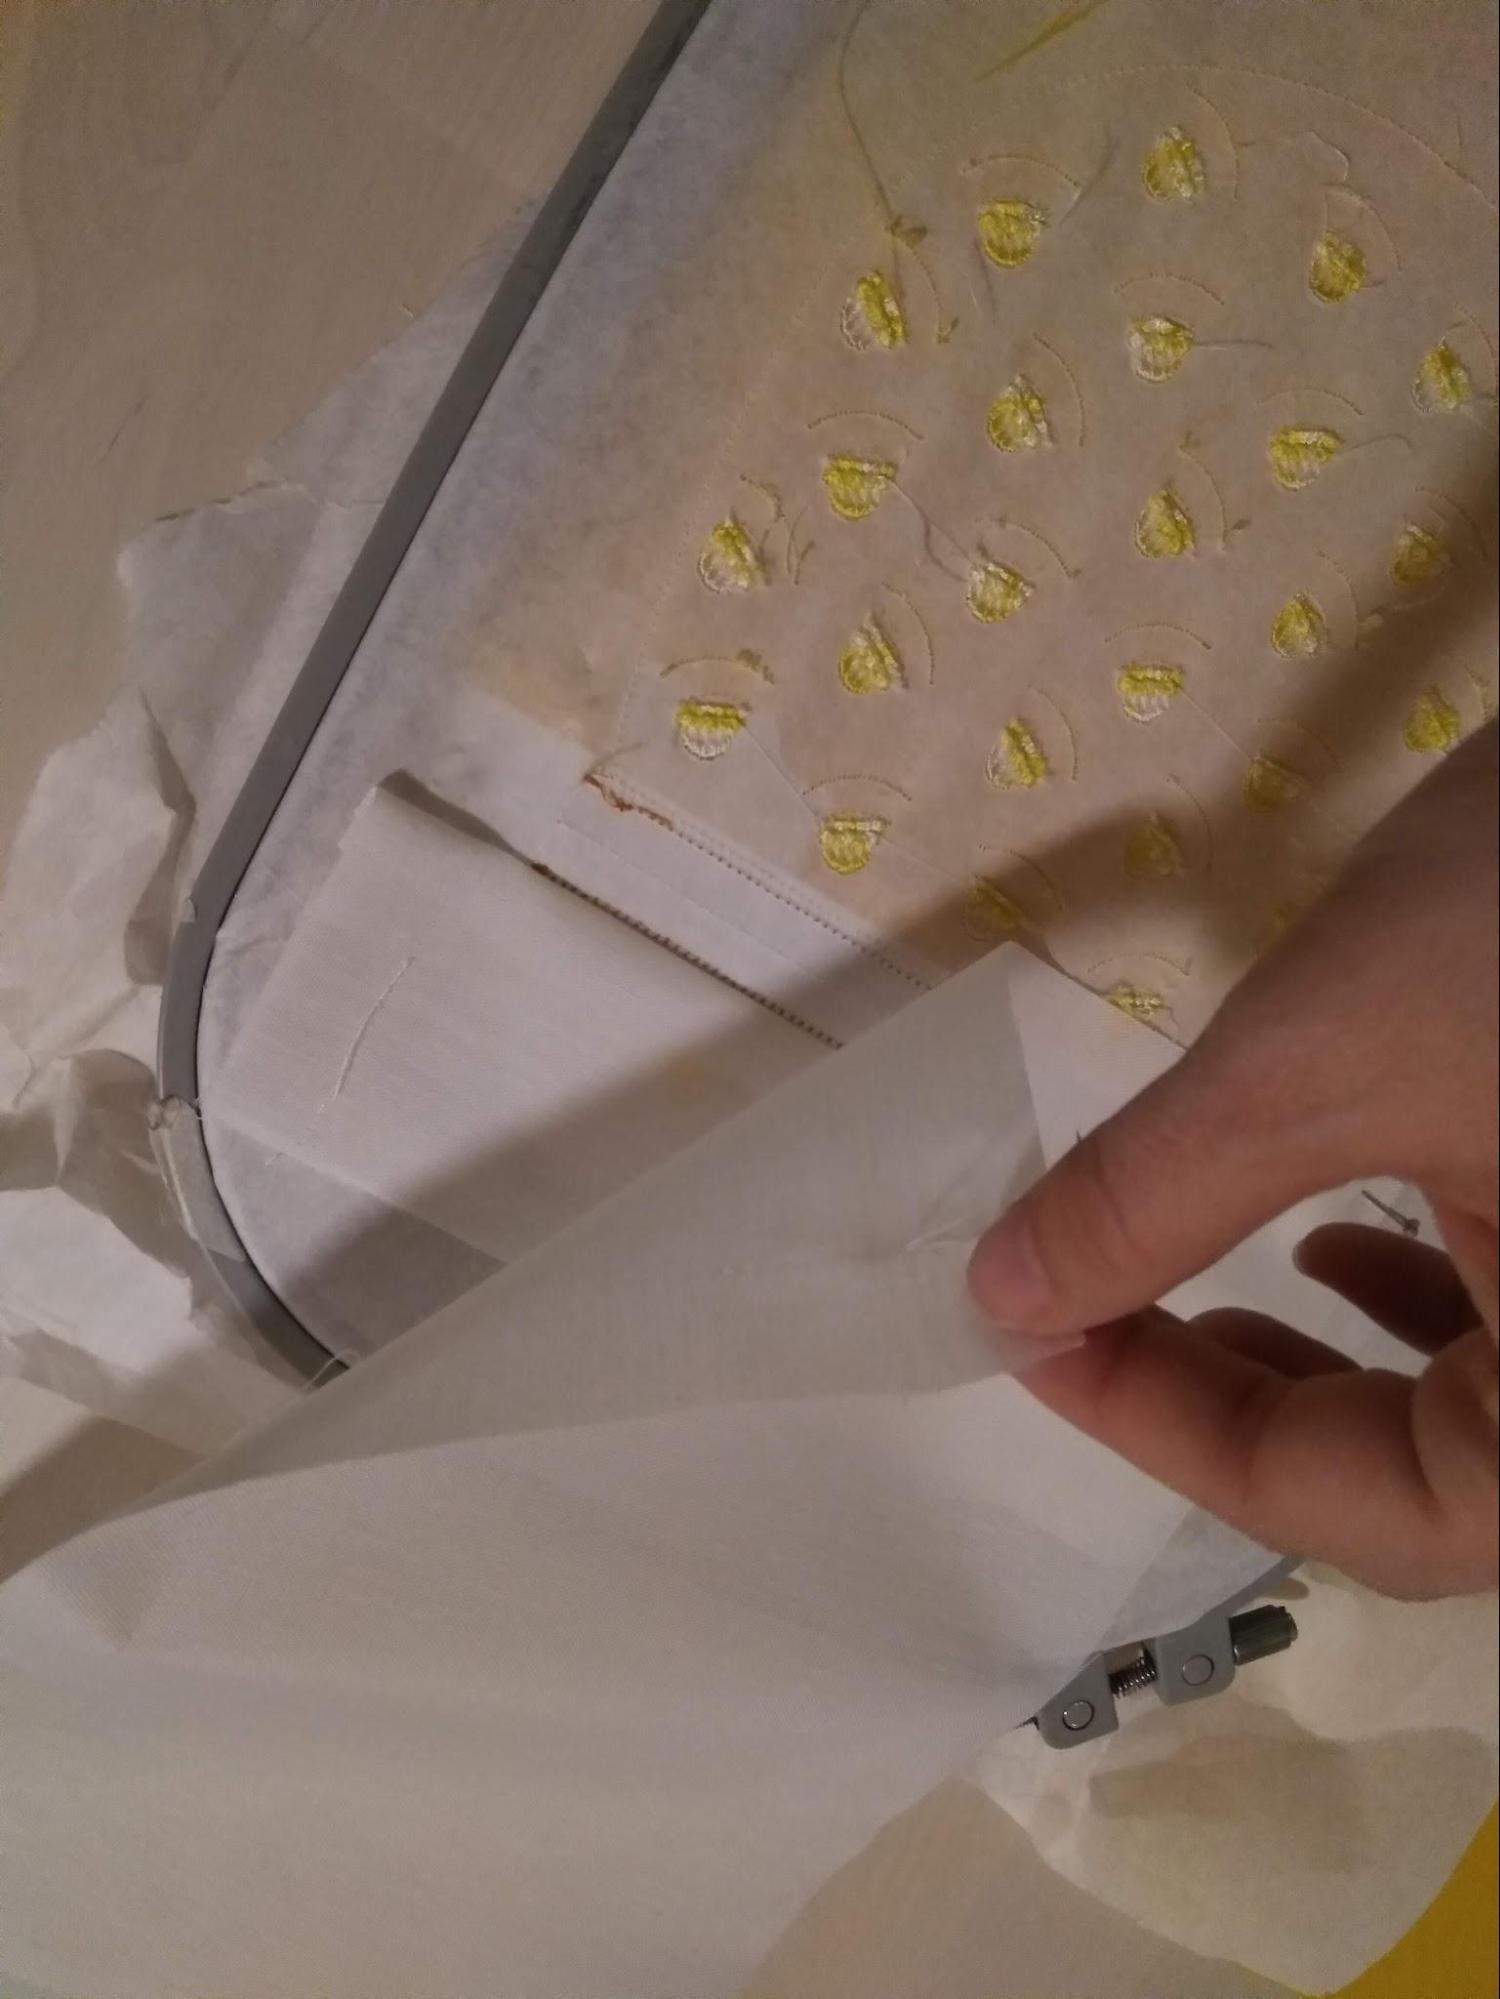
Part 3: Attaching the Lining
Take the hoop out of the machine, but do not unhoop your project.

Turn the hoop over to see the back side of the project.
The process is the same as it was for the main fabric. Place the small piece of lining fabric right side down, so its edge lines up with the upper stitch line and covers it by about ½ inch.
Use tape to keep the fabric flat.
Sew the next seam (part of Color 7) to secure the upper lining piece.
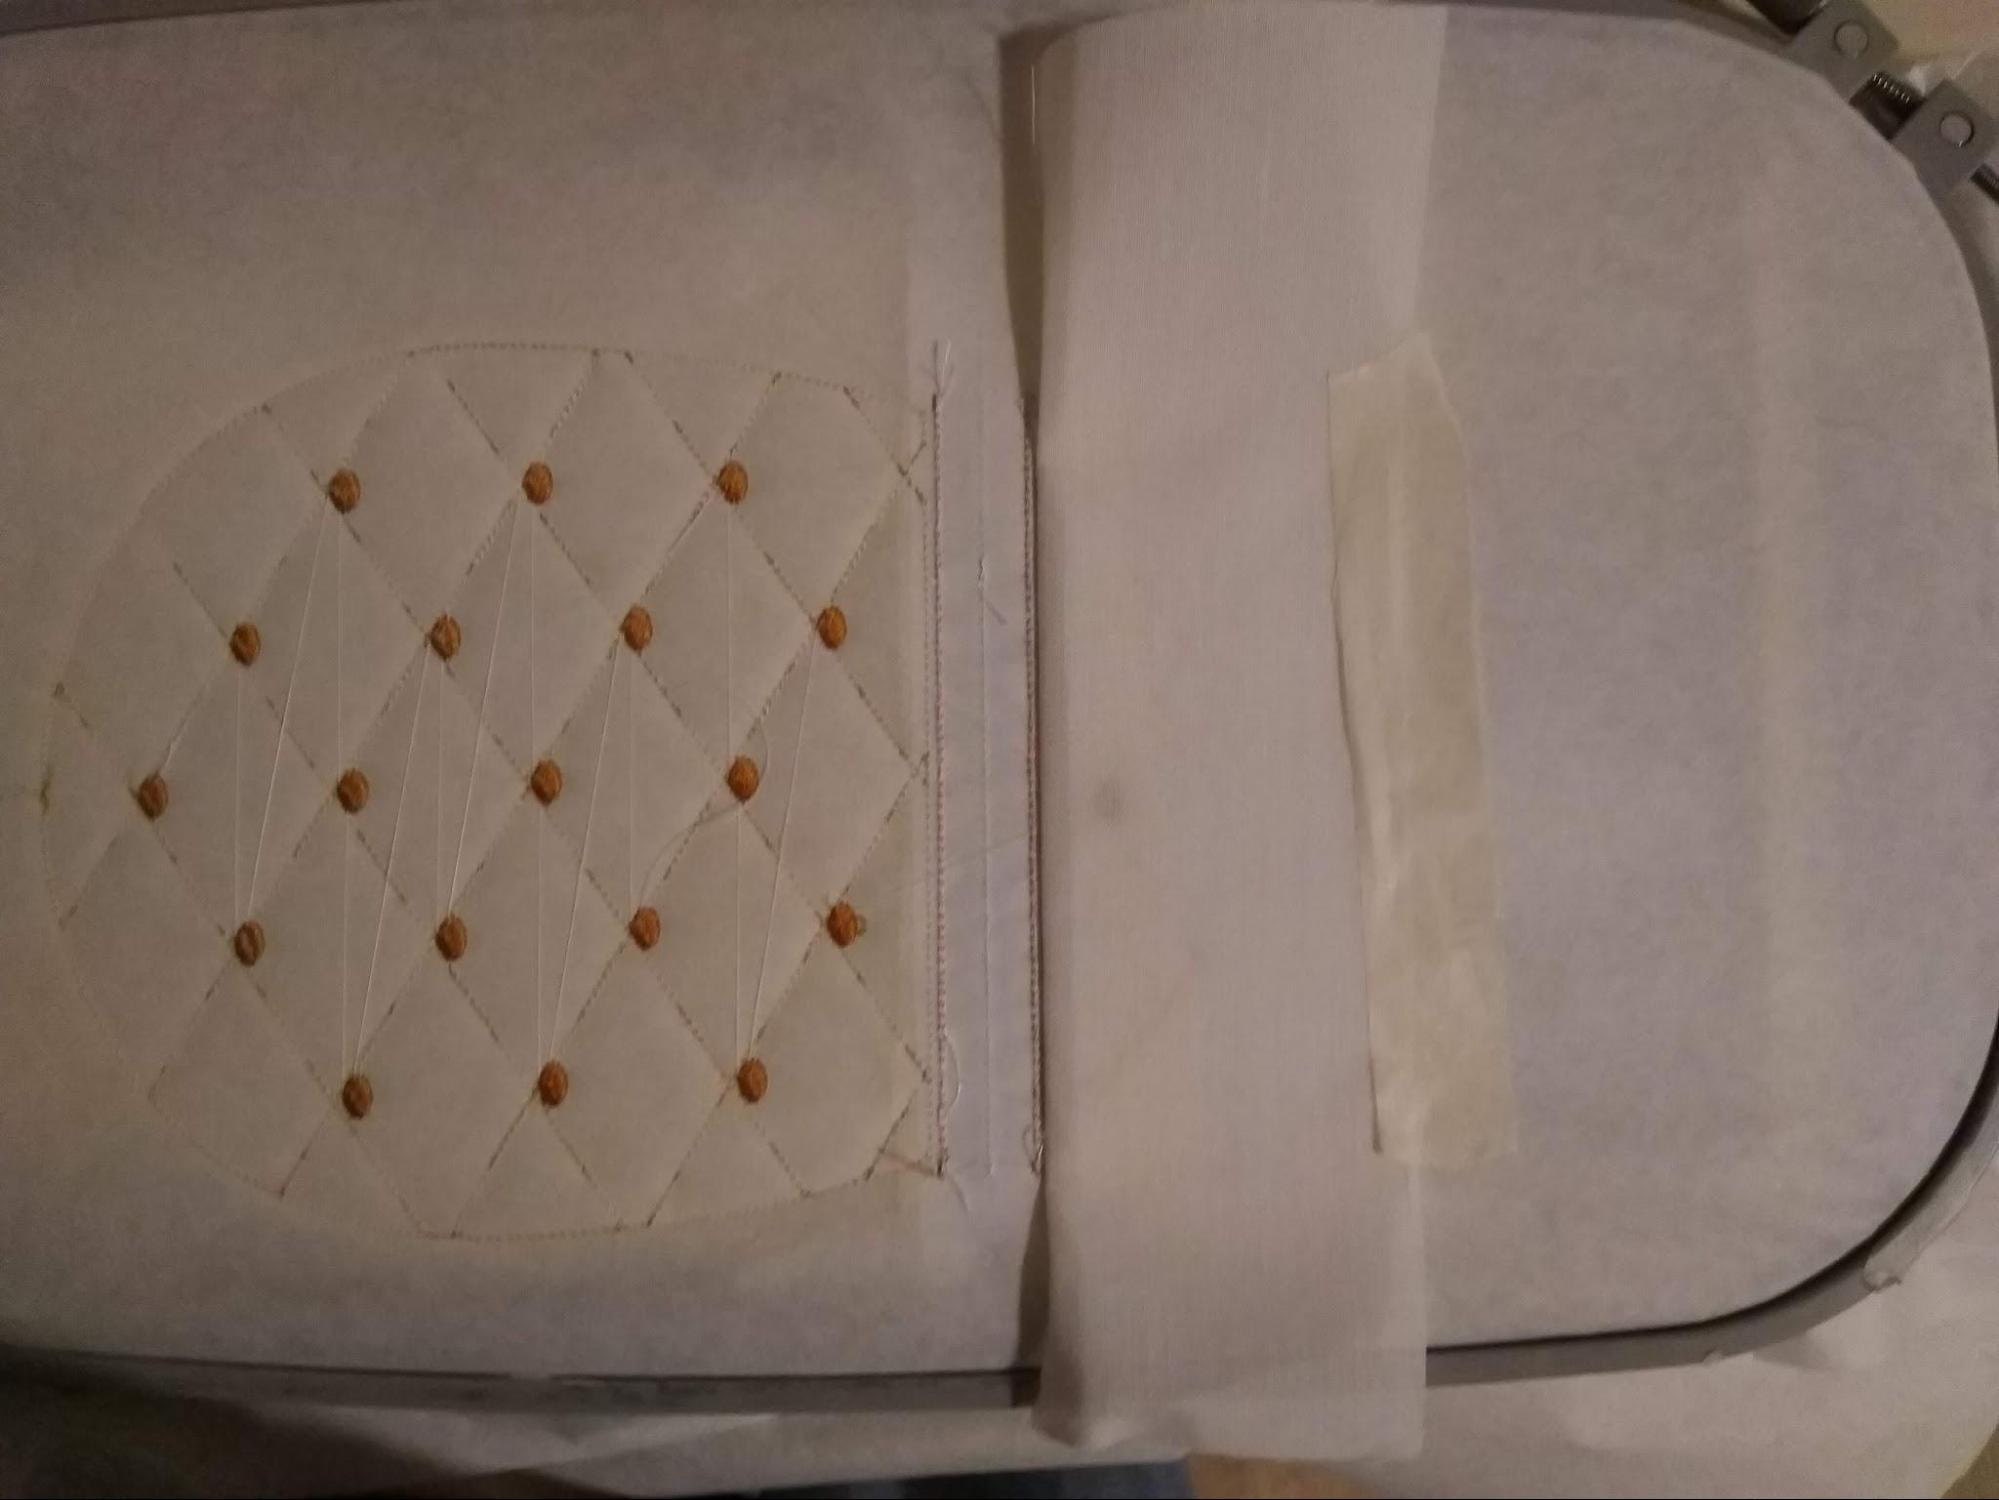
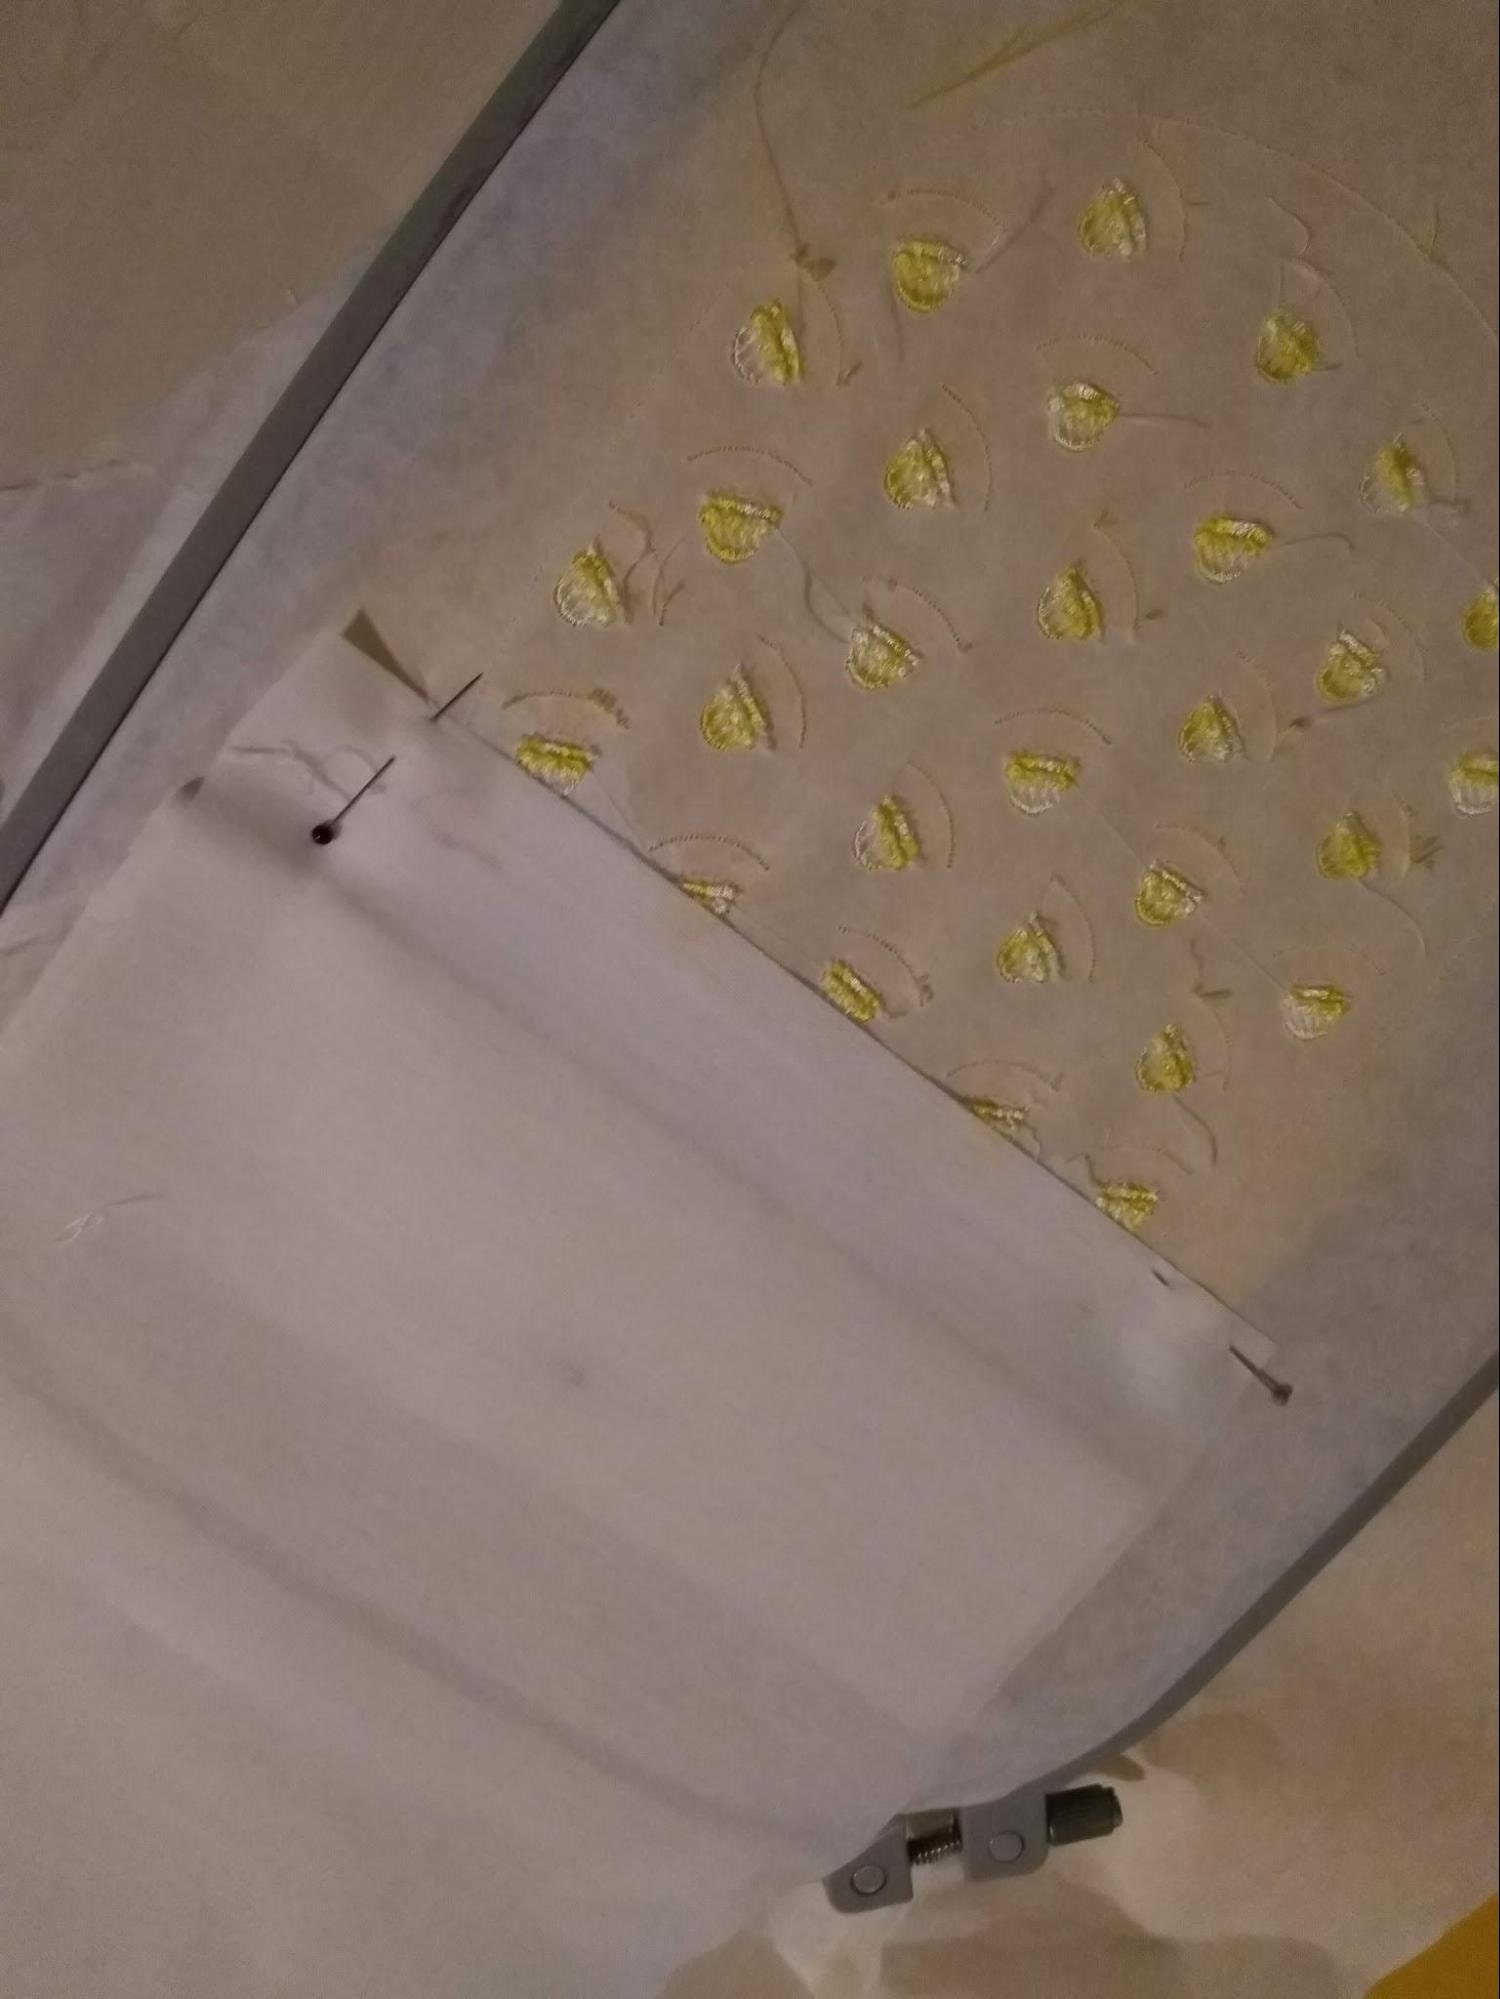
Stop the machine, do not unhoop, and fold the tacked-down piece up, as shown in the photo below.
It is helpful to use tape to keep the fabric flat, as shown in the illustrative photo below.
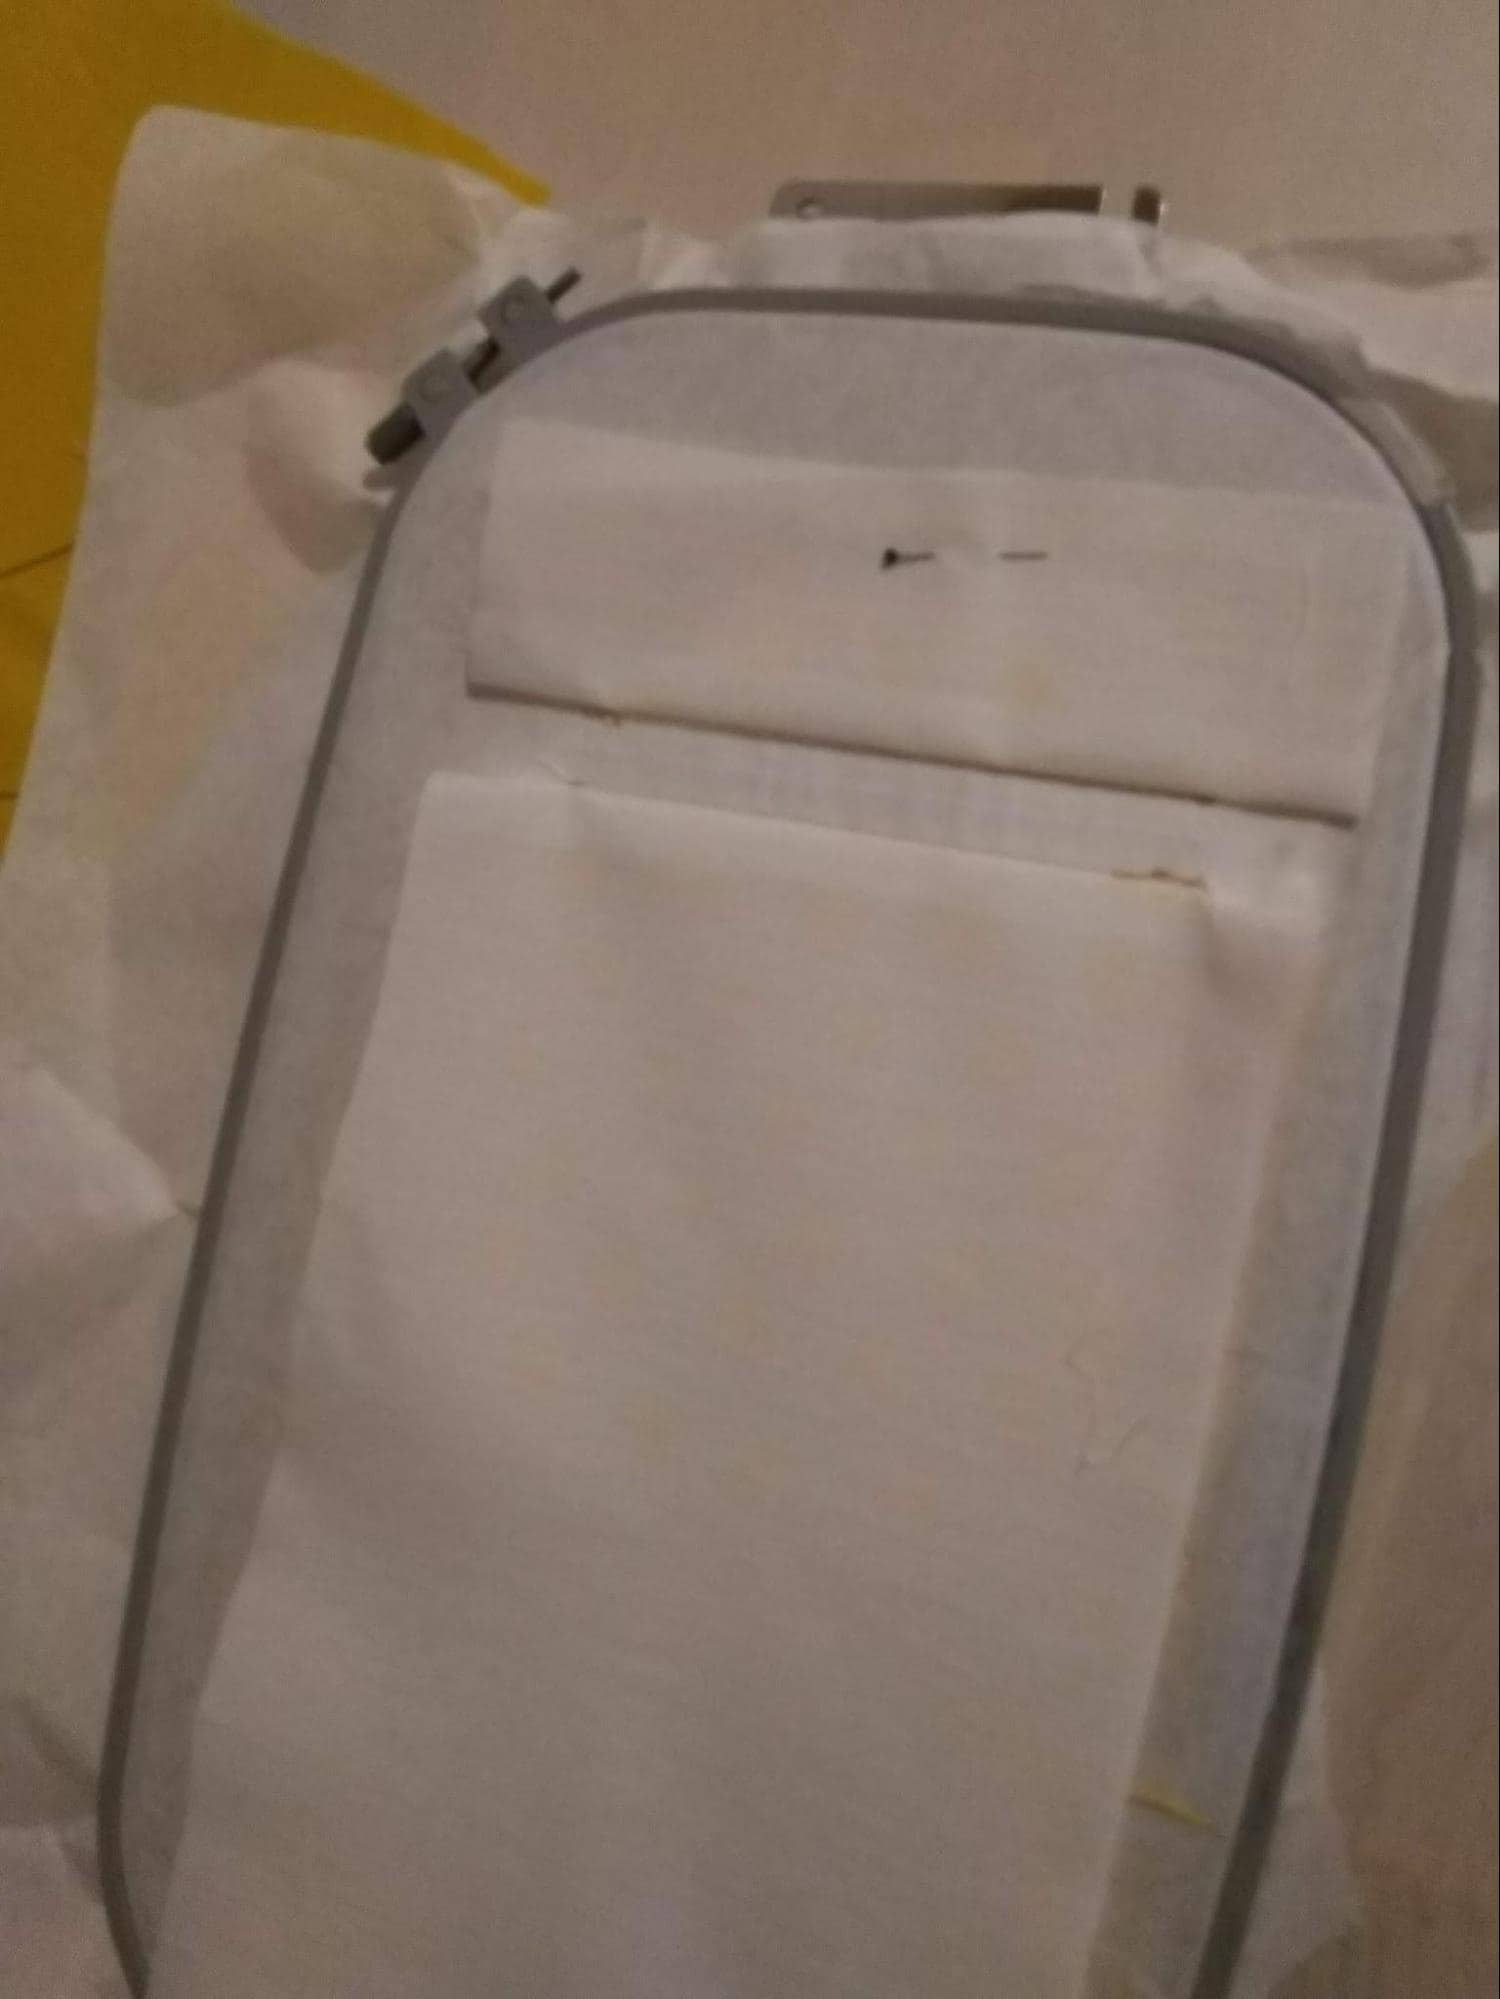
Repeat the same process for the bottom part of the purse. Place the large piece of lining fabric right side down over the bottom stitch line.
Use tape or pins to keep the fabric flat.
Sew the outline seam (the second part of Color 7) to secure the bottom lining piece.
Stop the machine, do not unhoop, and fold the tacked-down piece down, as shown in the photo below.
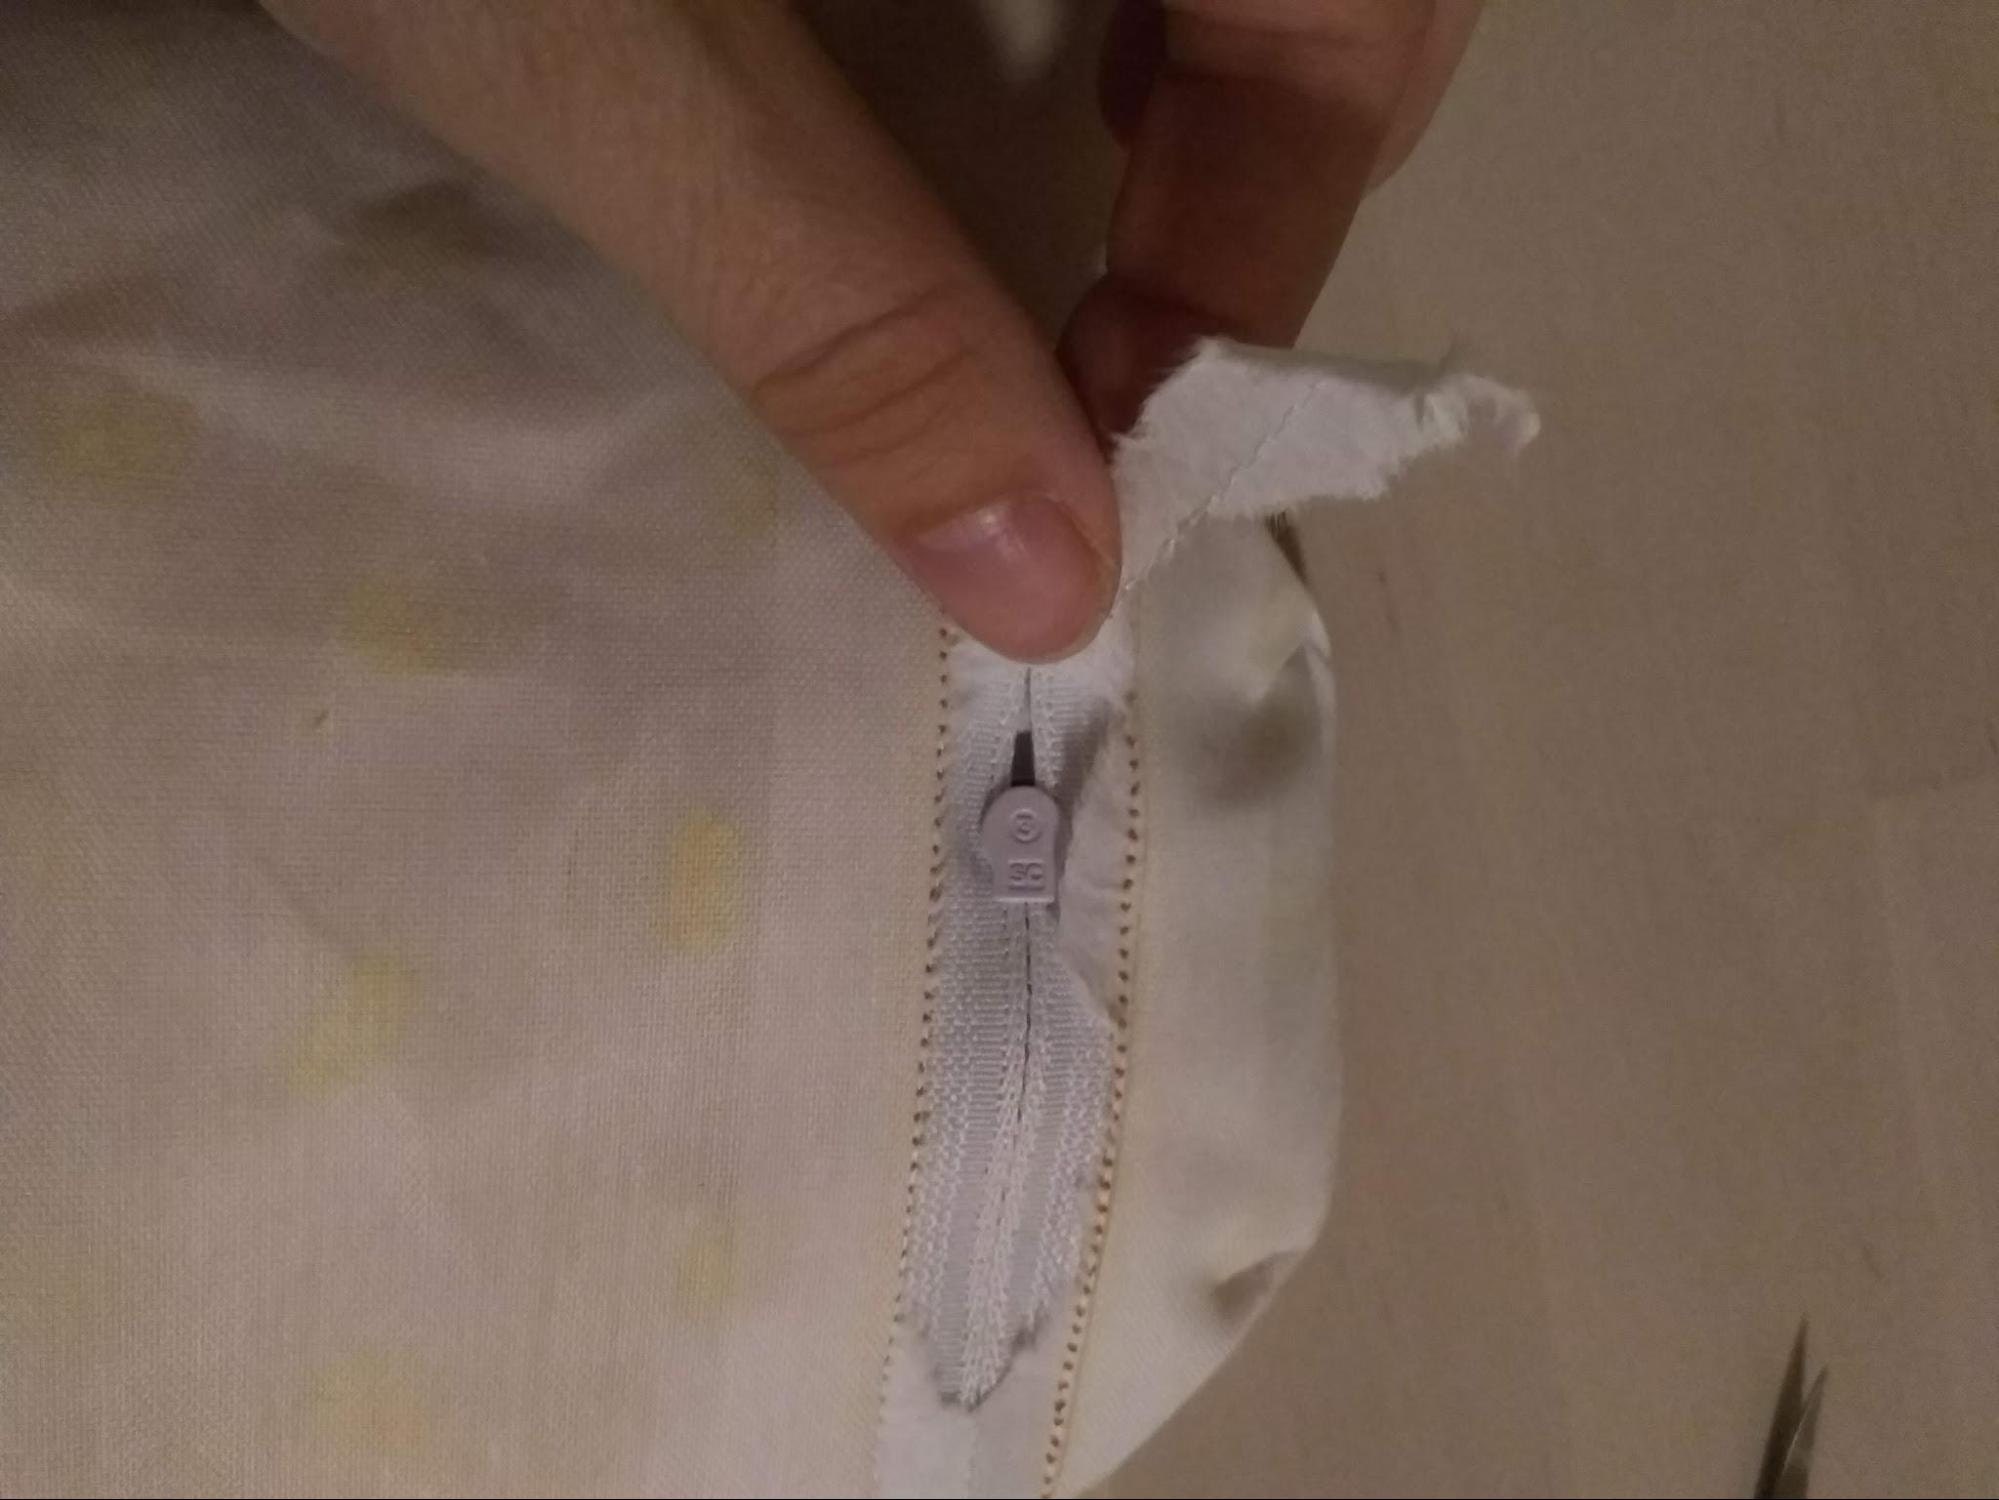
Turn the hoop to the front side and remove the tape from the zipper pull.
IMPORTANT: Unzip the zipper halfway!
Do not forget to do this, or you will not be able to turn the purse right side out later.
Part 4: Final Assembly
You may add a ribbon as shown in the photo below. Please see the "Optional Suggestions" at the end of these instructions for more details.
Decorating with Leaves
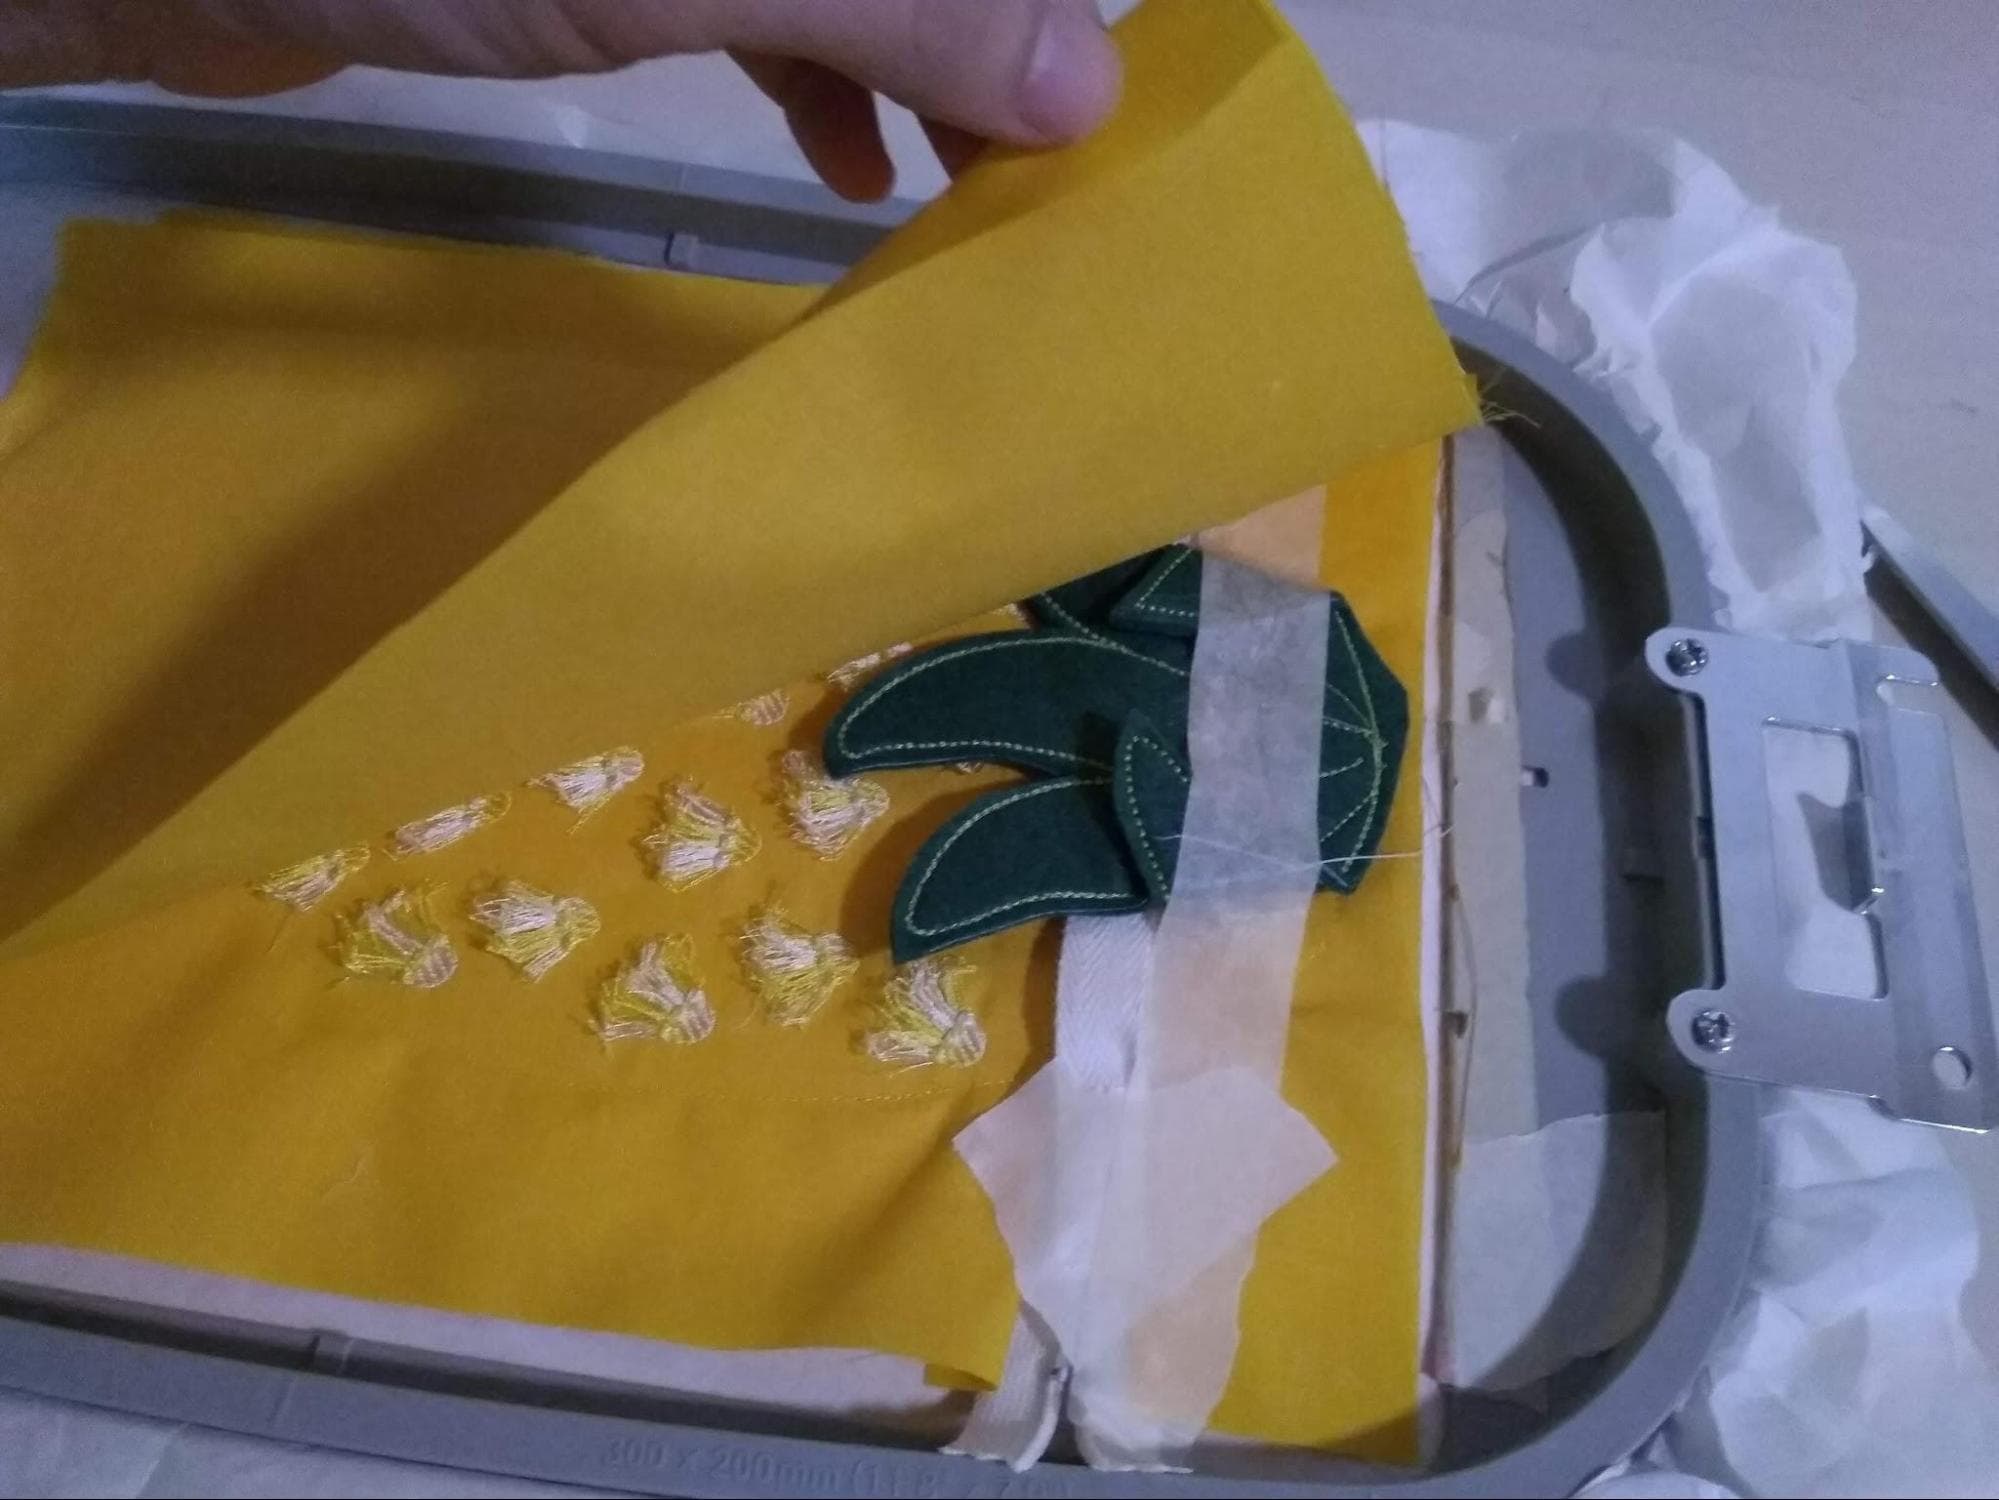
Lay the prepared felt leaves on top of the design.
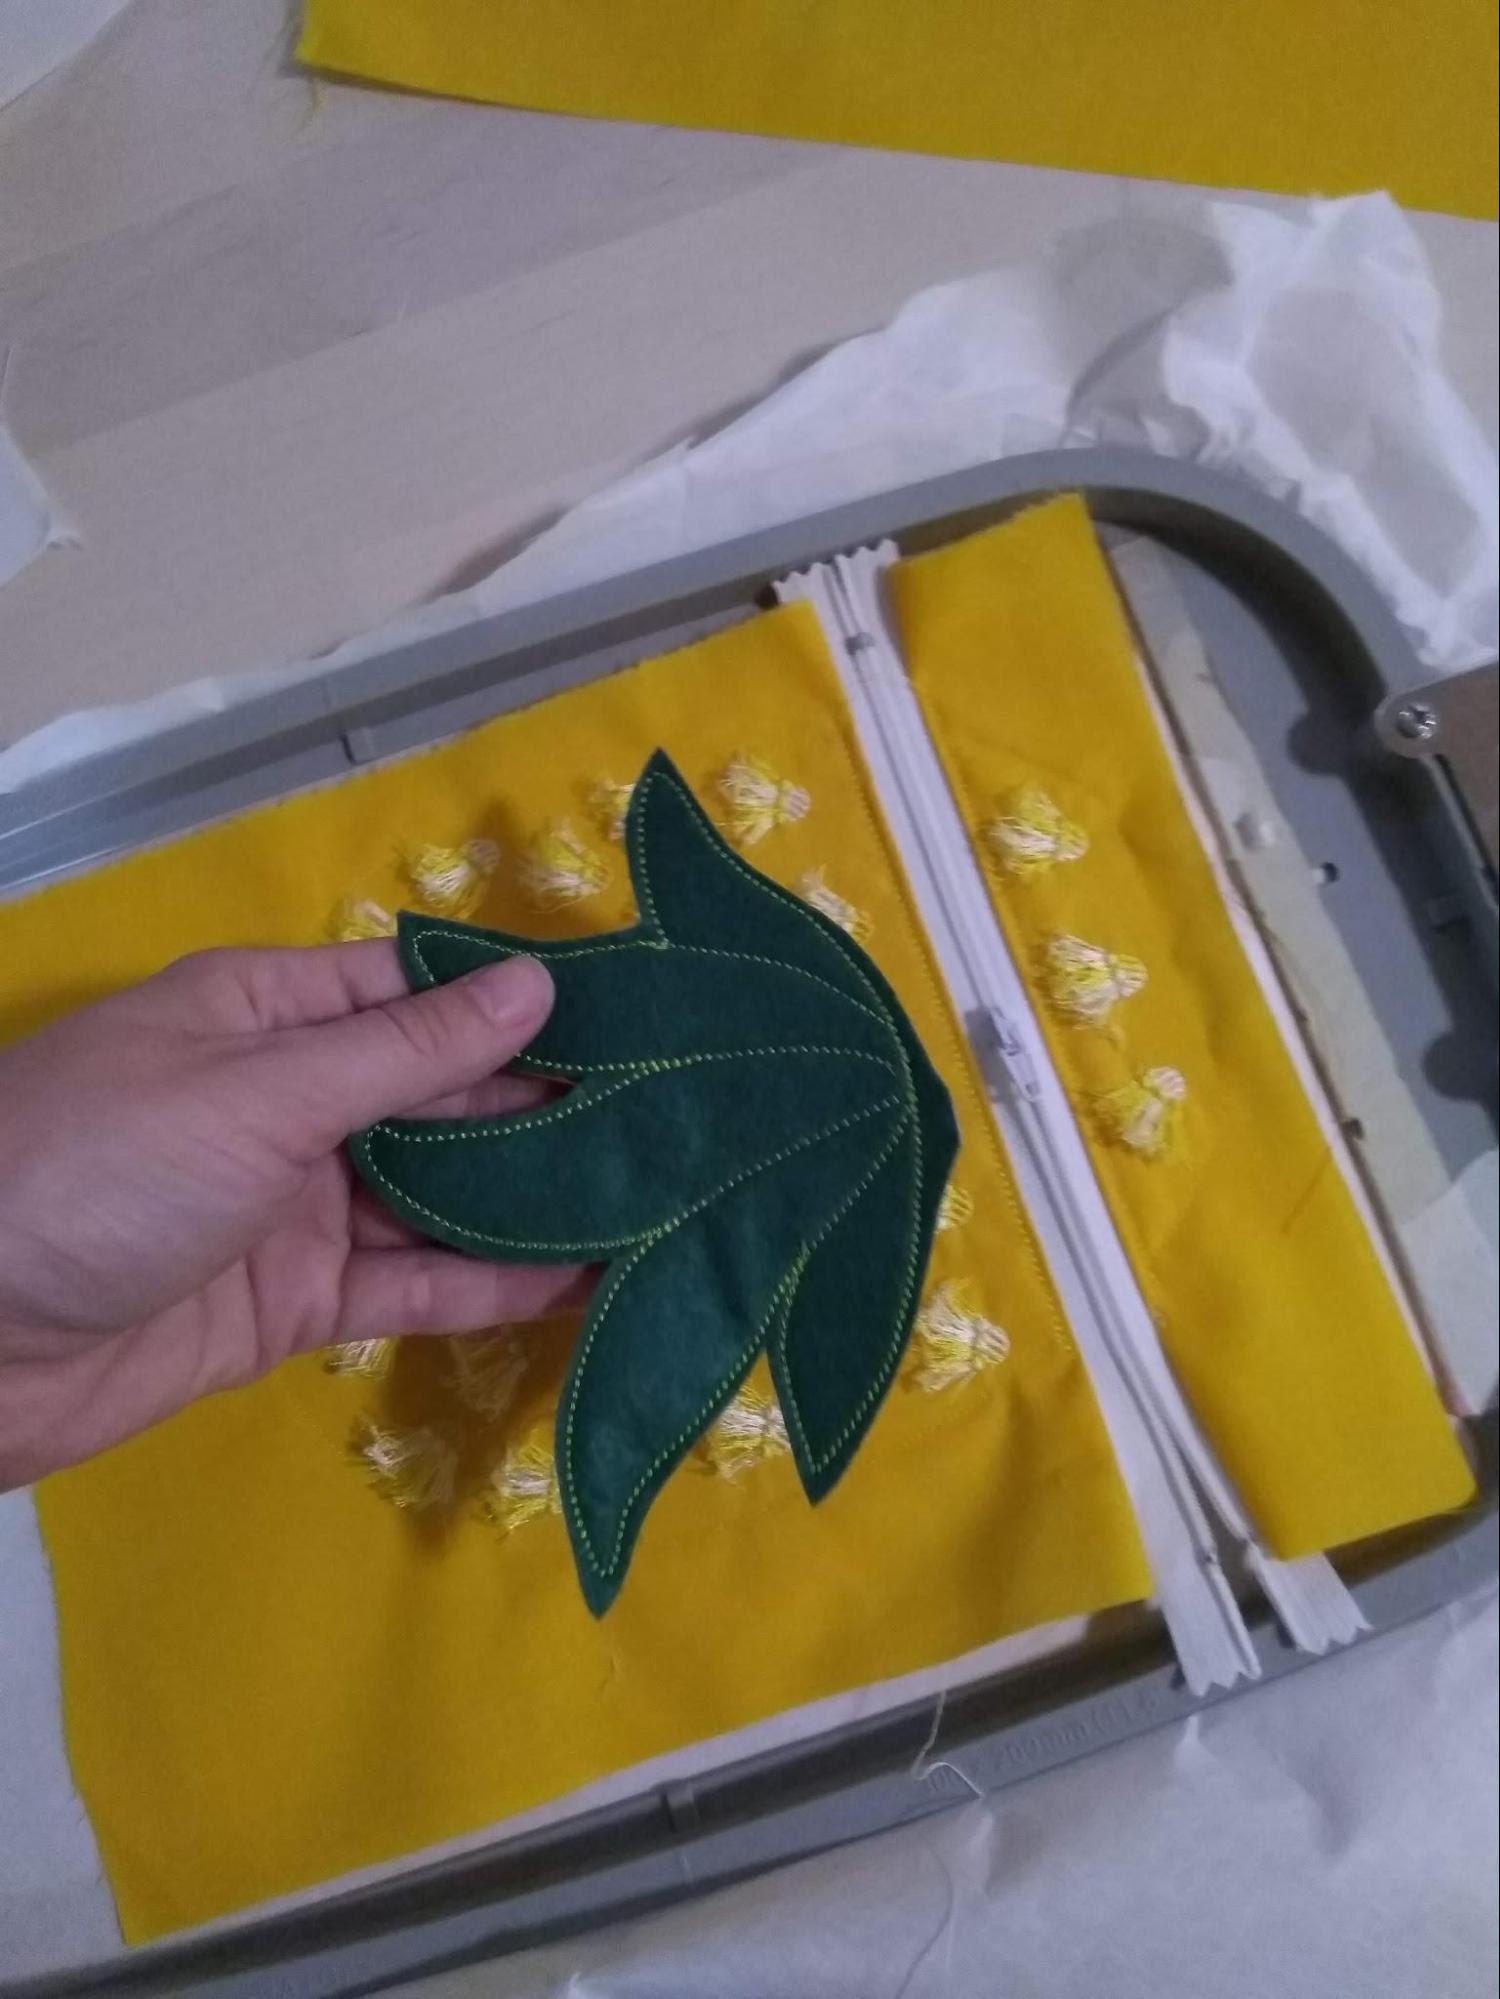
The leaves are a bit wider than the purse, so you will need to fold the side leaves inward to fit within the shape.
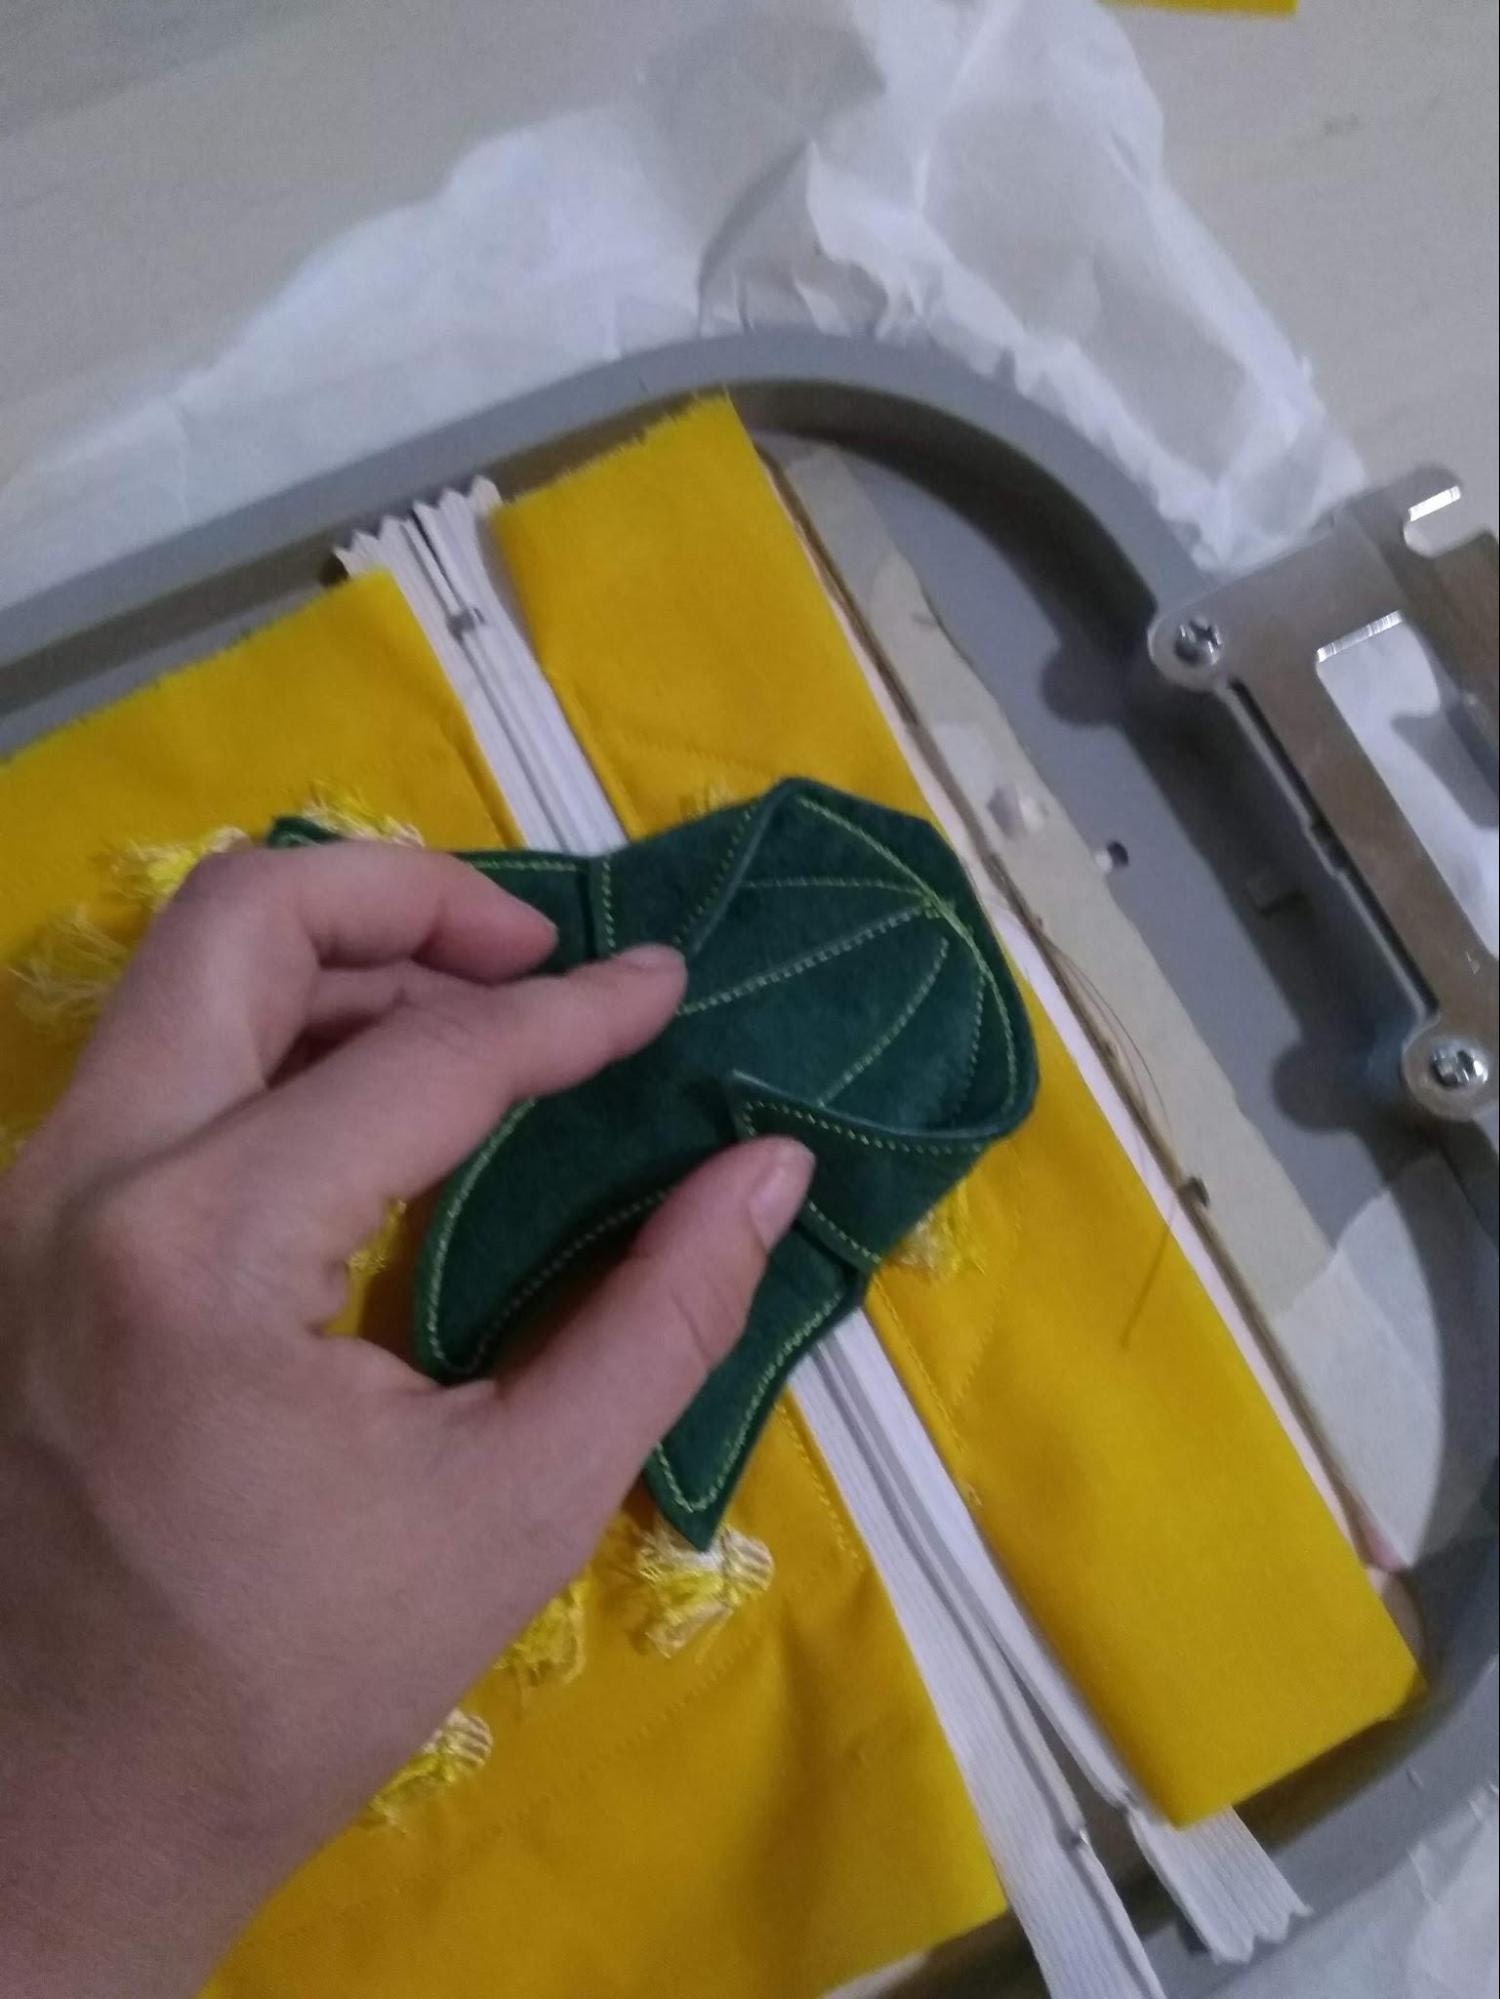
Secure them with tape again.
There are a few steps left. Lay the third large piece of main fabric right inside the shape.
Please ensure there is plenty of excess fabric around the perimeter. Secure it with pins or tape. Sew the next tack-down seam (Color 8) to hold the fabric flat.
Take the hoop out of the machine, but do not unhoop your project.

Turn the hoop over to the back side.
Lay the final lining piece of fabric right inside the shape.
Please ensure there is plenty of excess fabric. Secure it with tape or pins.
Sew the last tack-down stitch outline (the final color).
Finishing
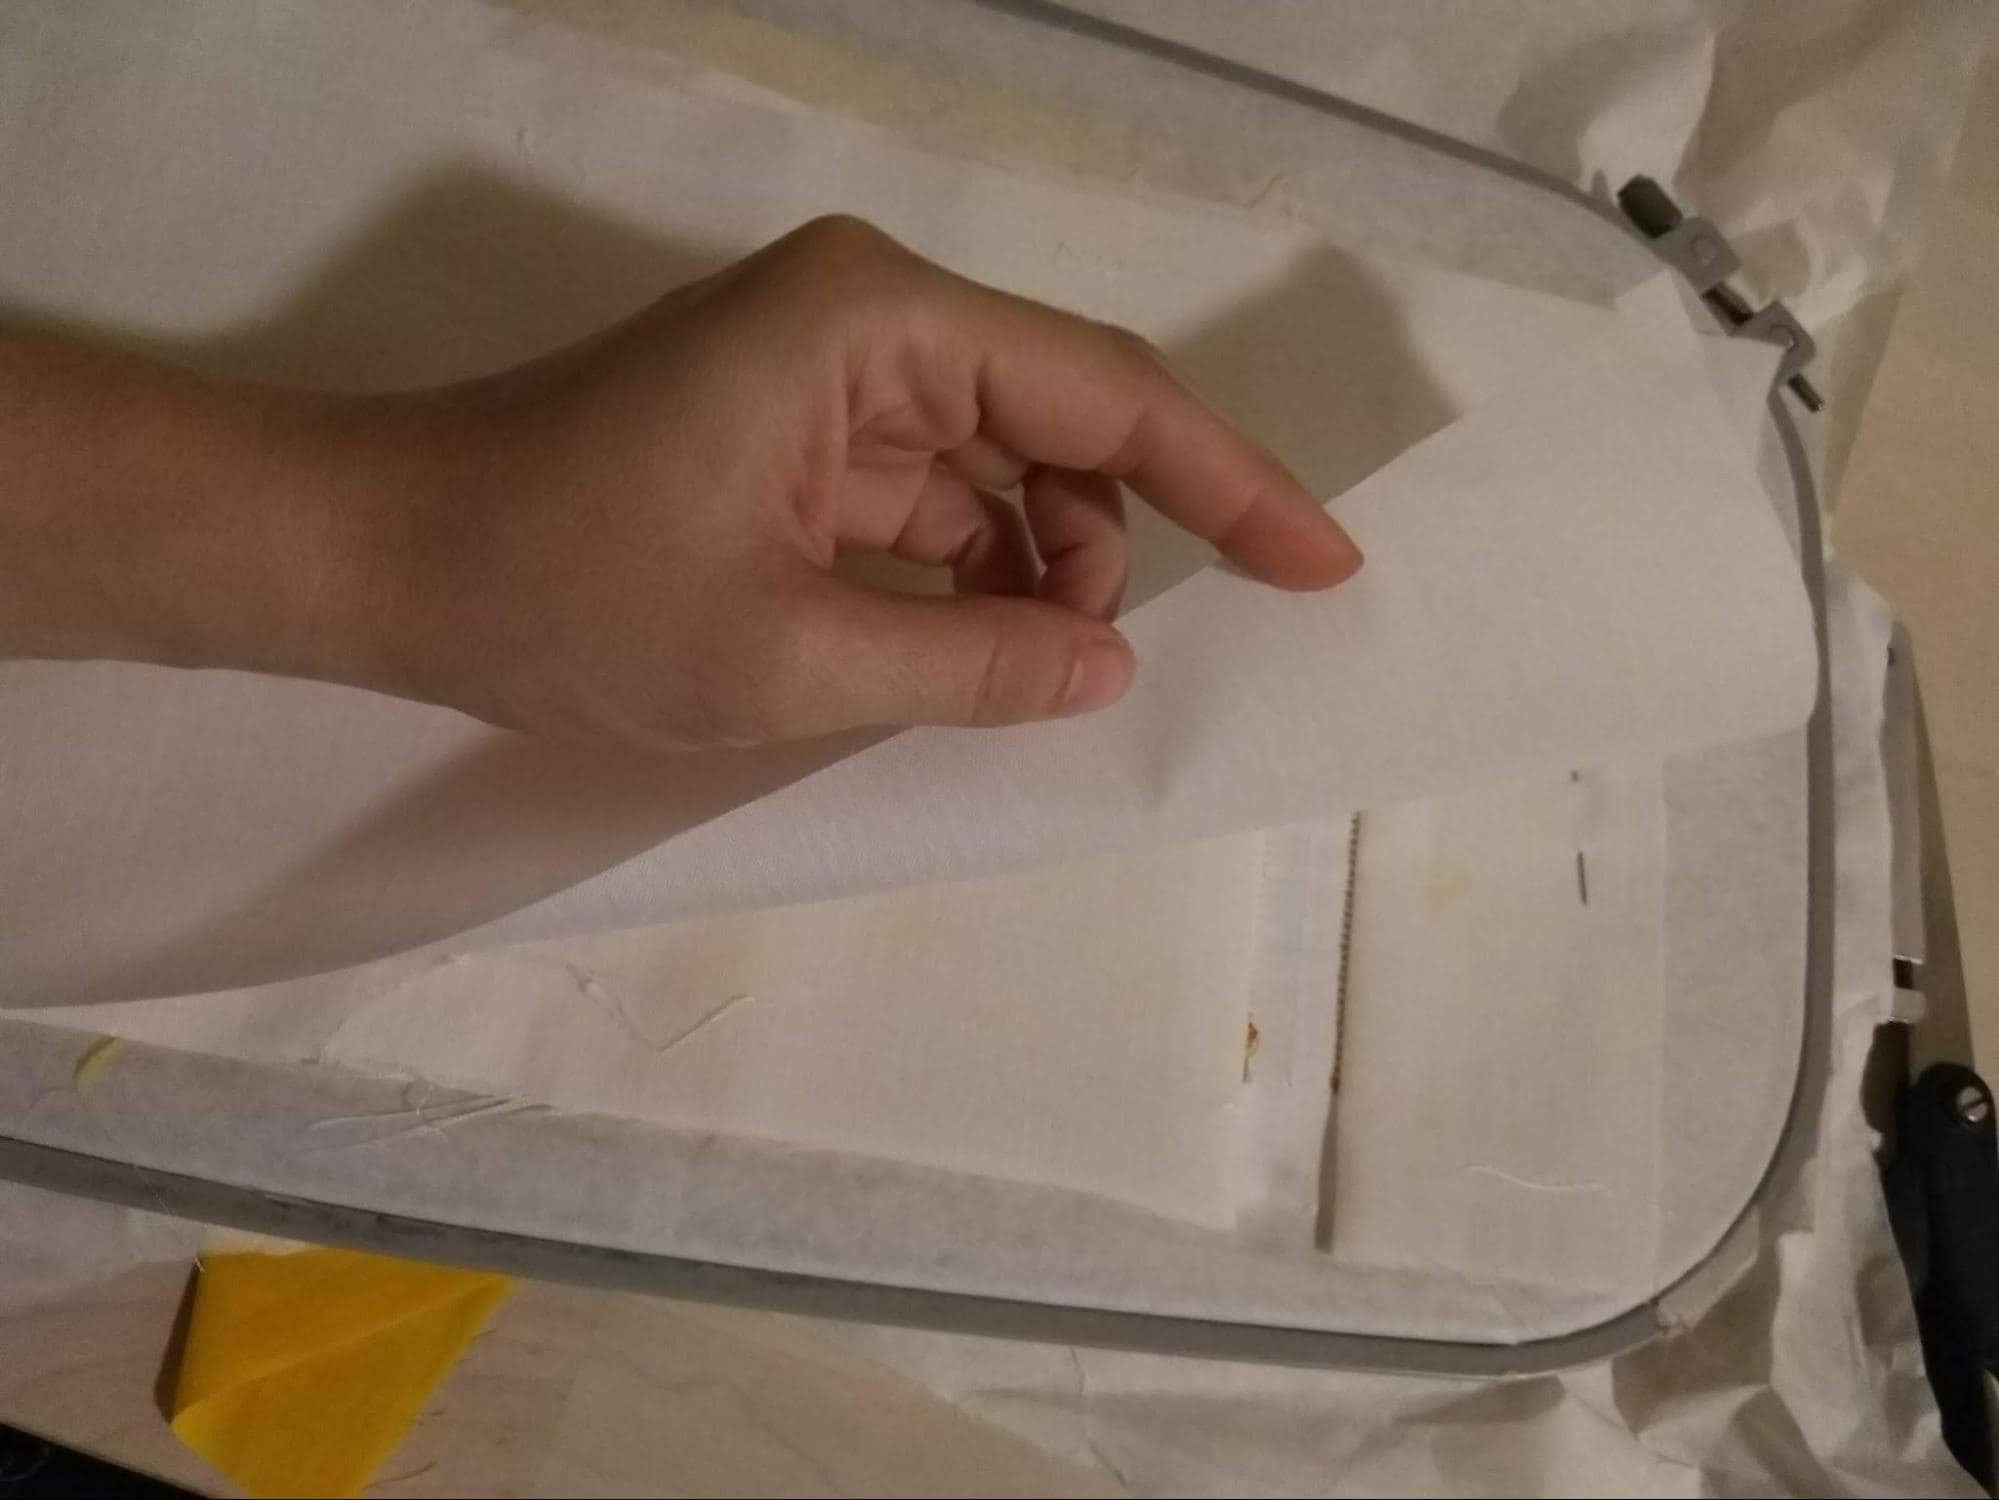
When the design has finished, remove the tape, unhoop, and gently tear away the excess stabilizer.
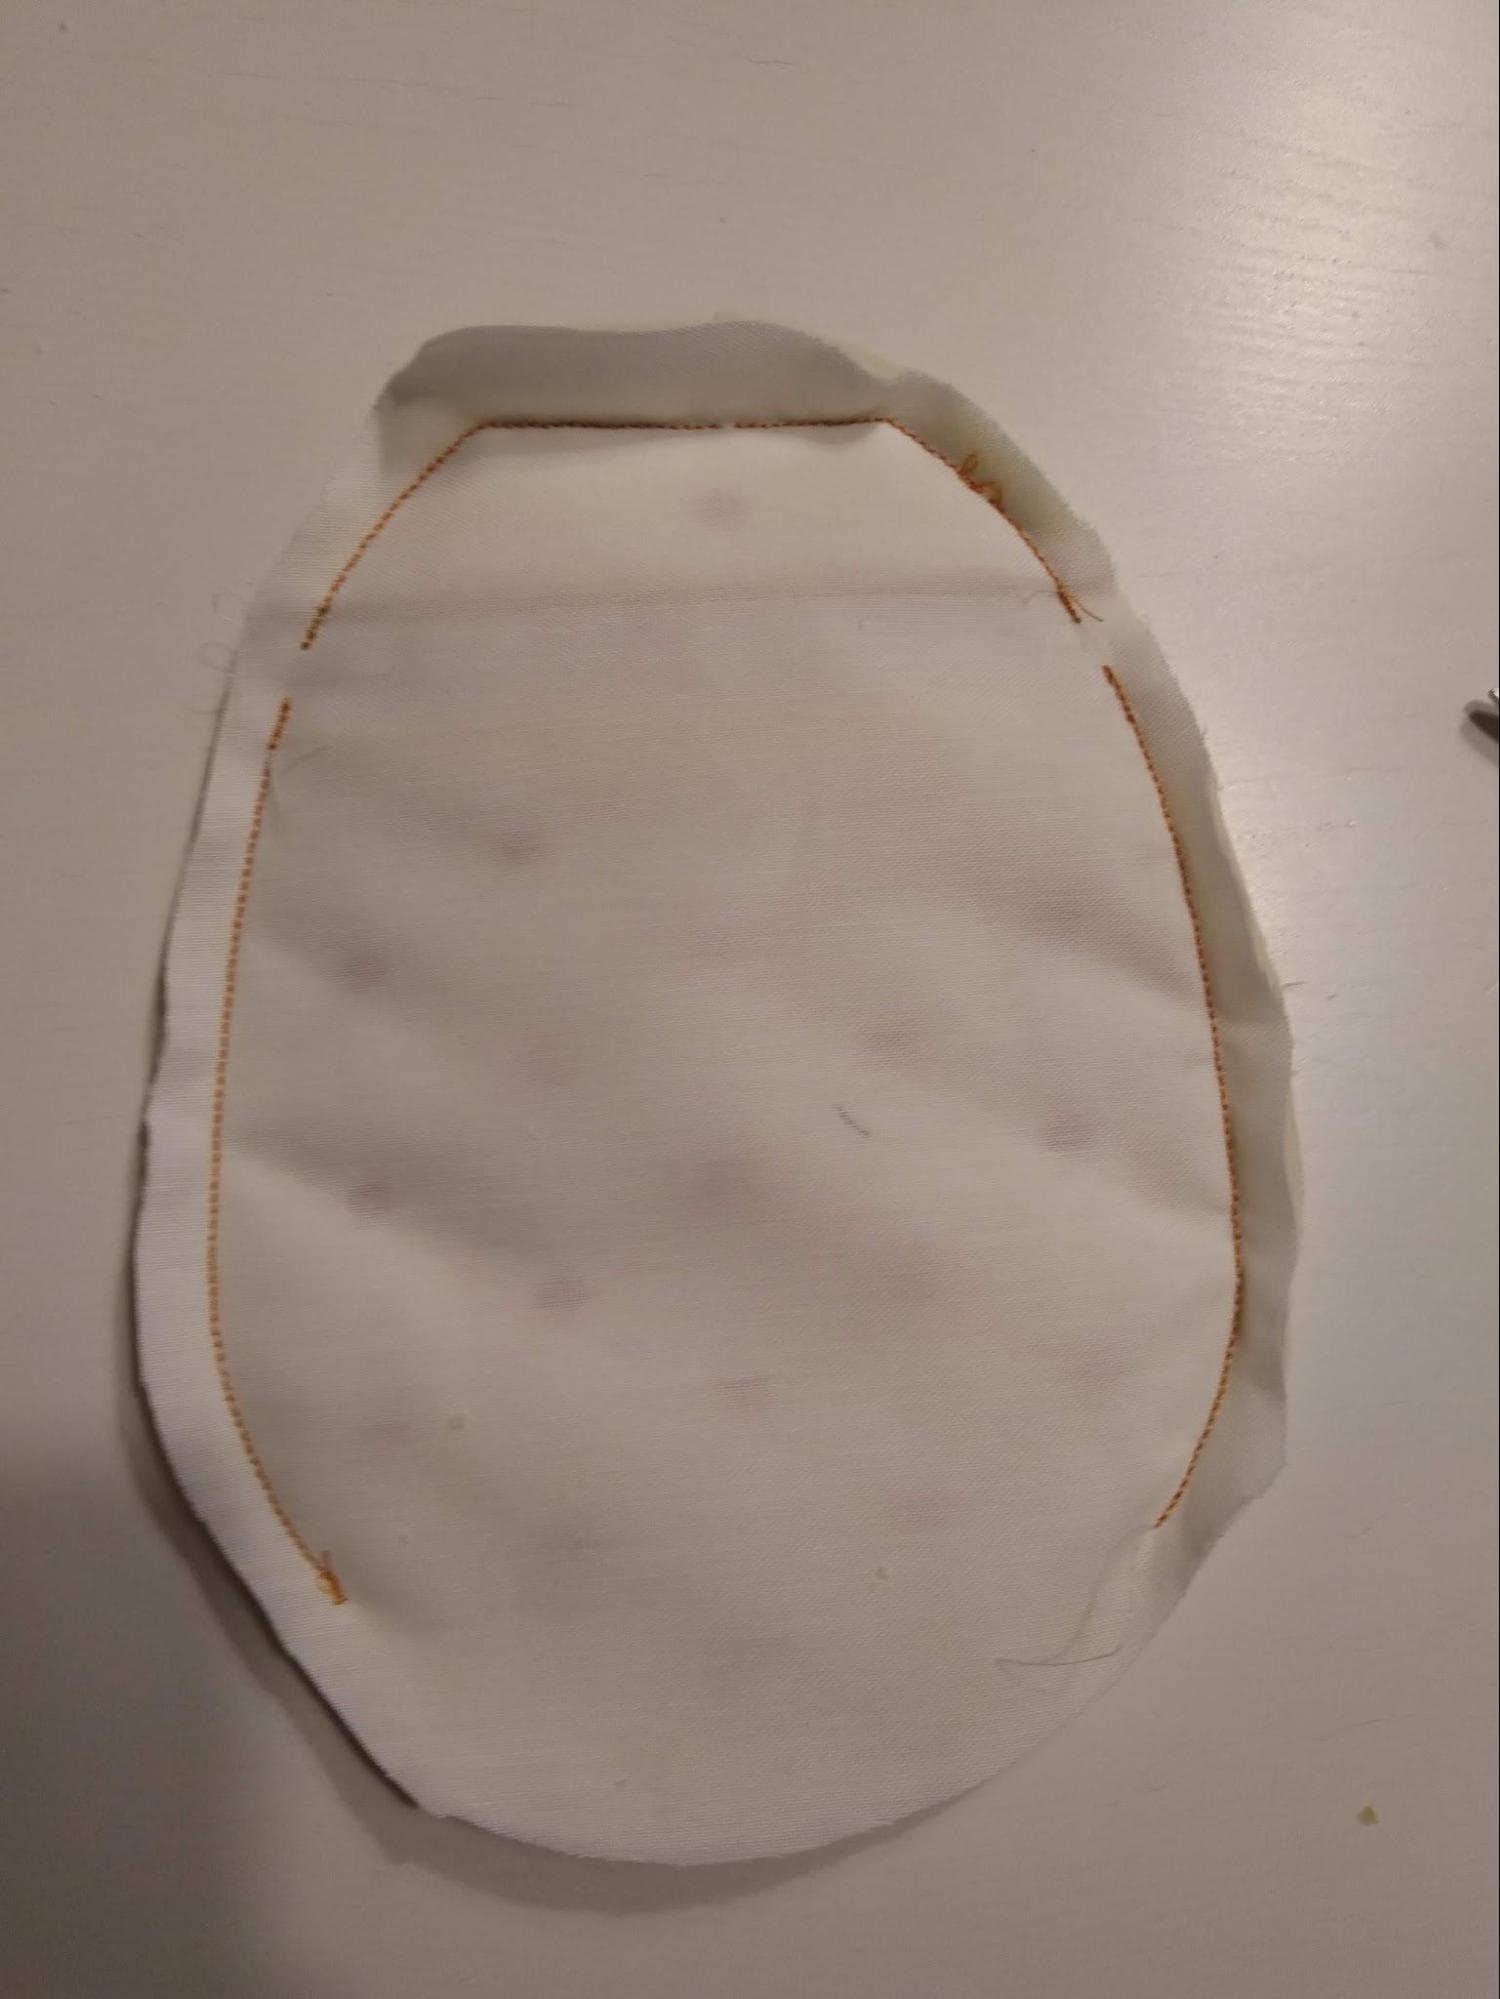
Cut out the shape and make clips in the curves.

Then, turn the project right side out. This is a two-step process.
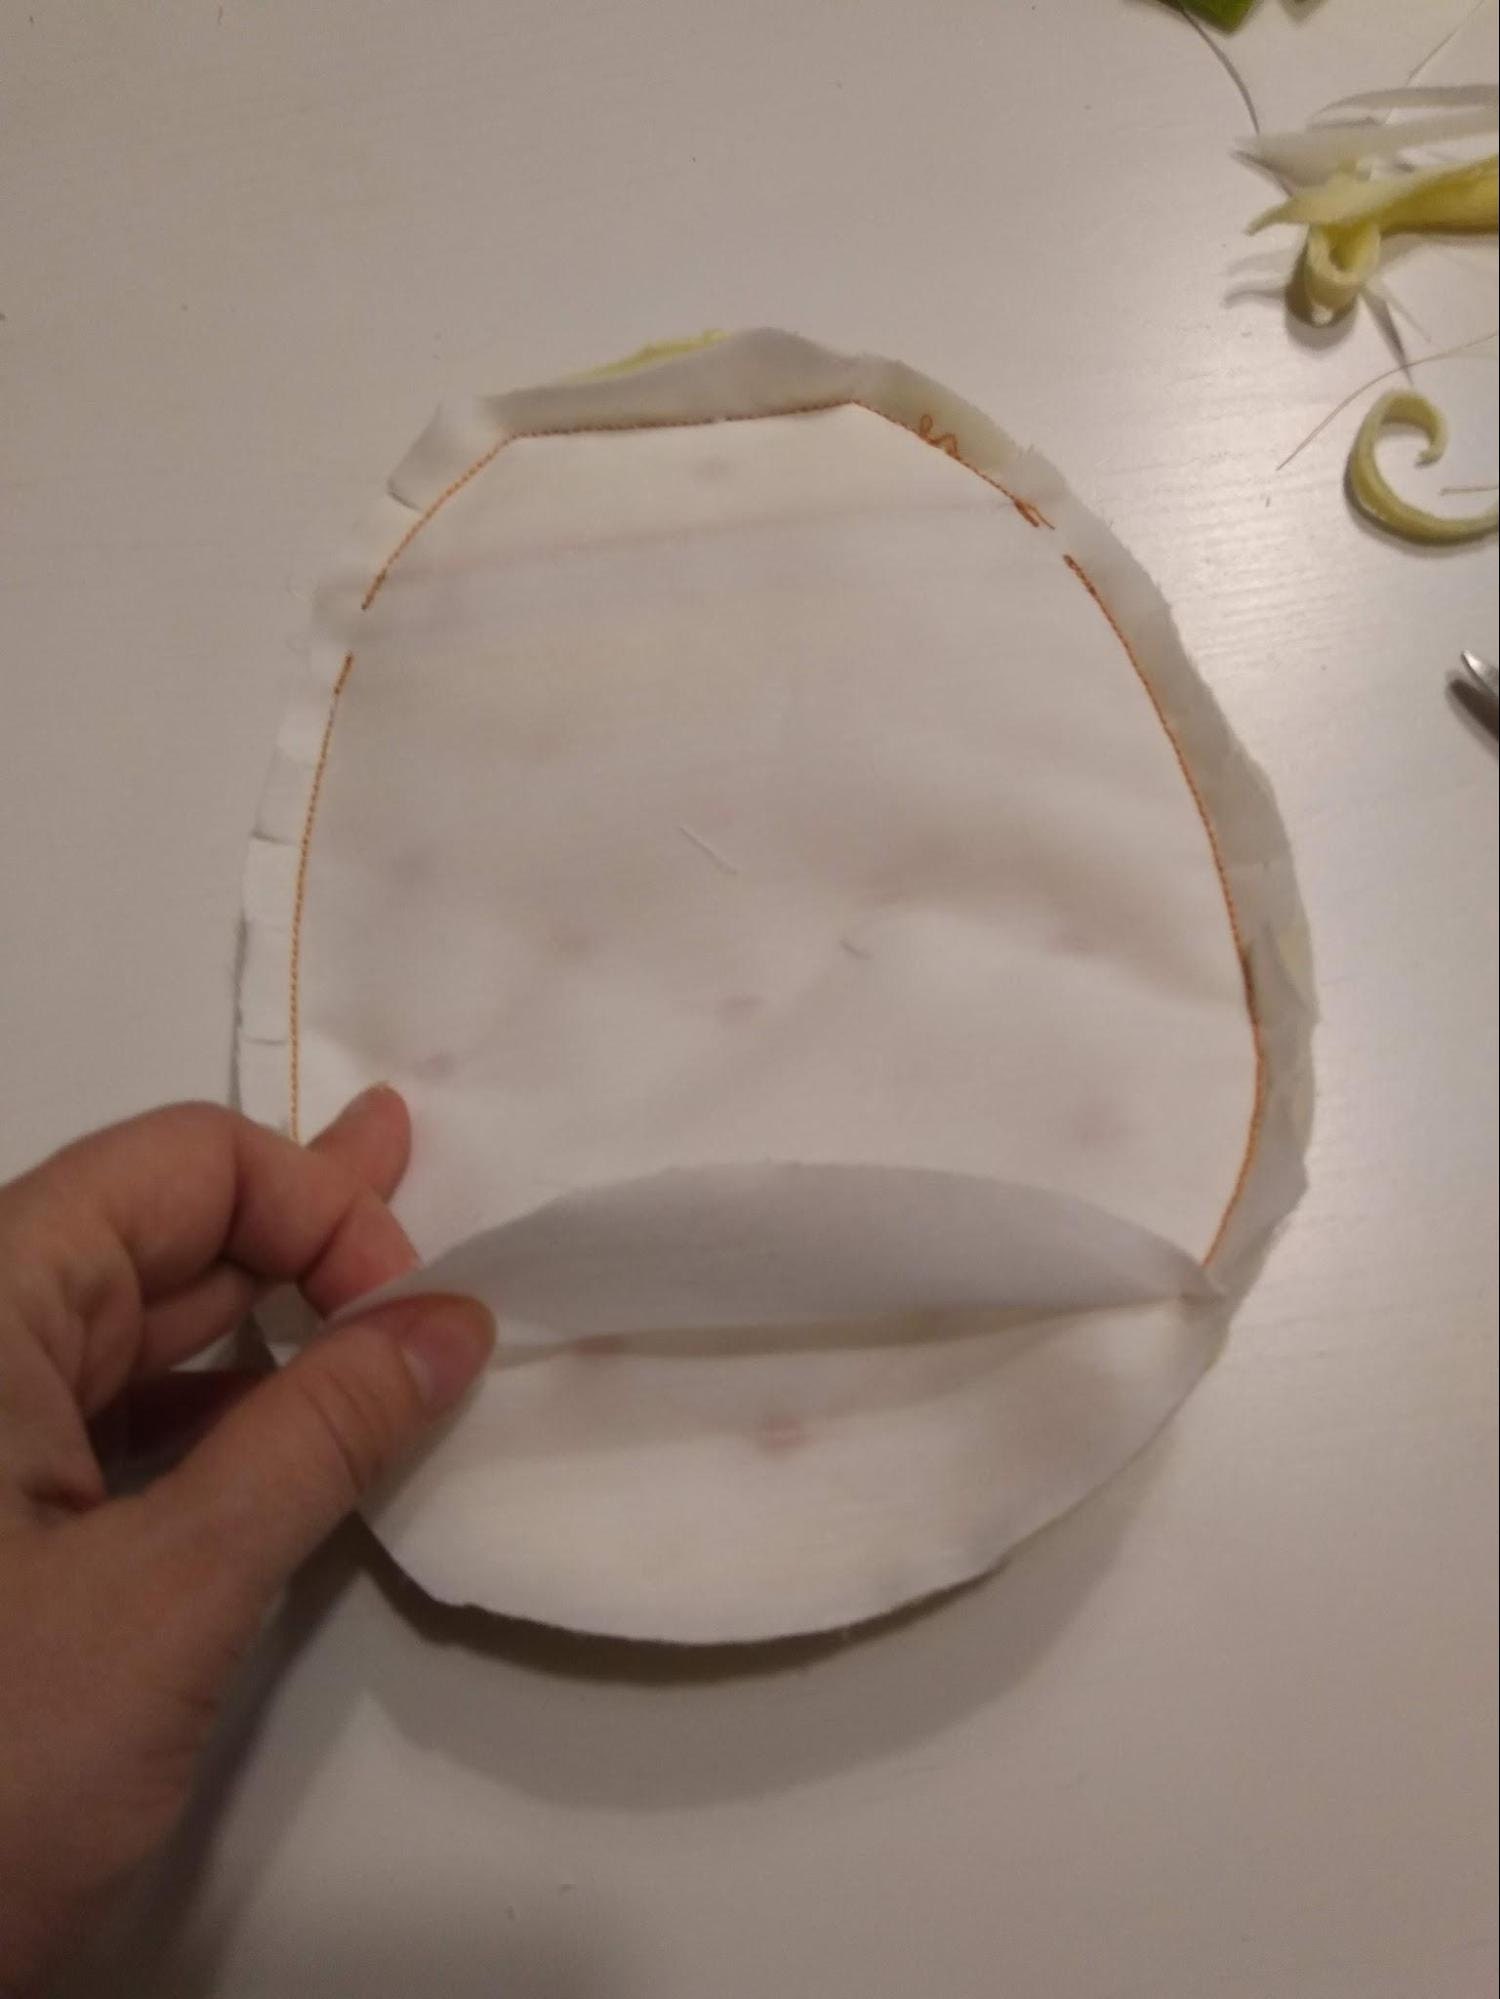
First, turn it through the opening in the lining. Sew the opening closed, as shown in the image below.
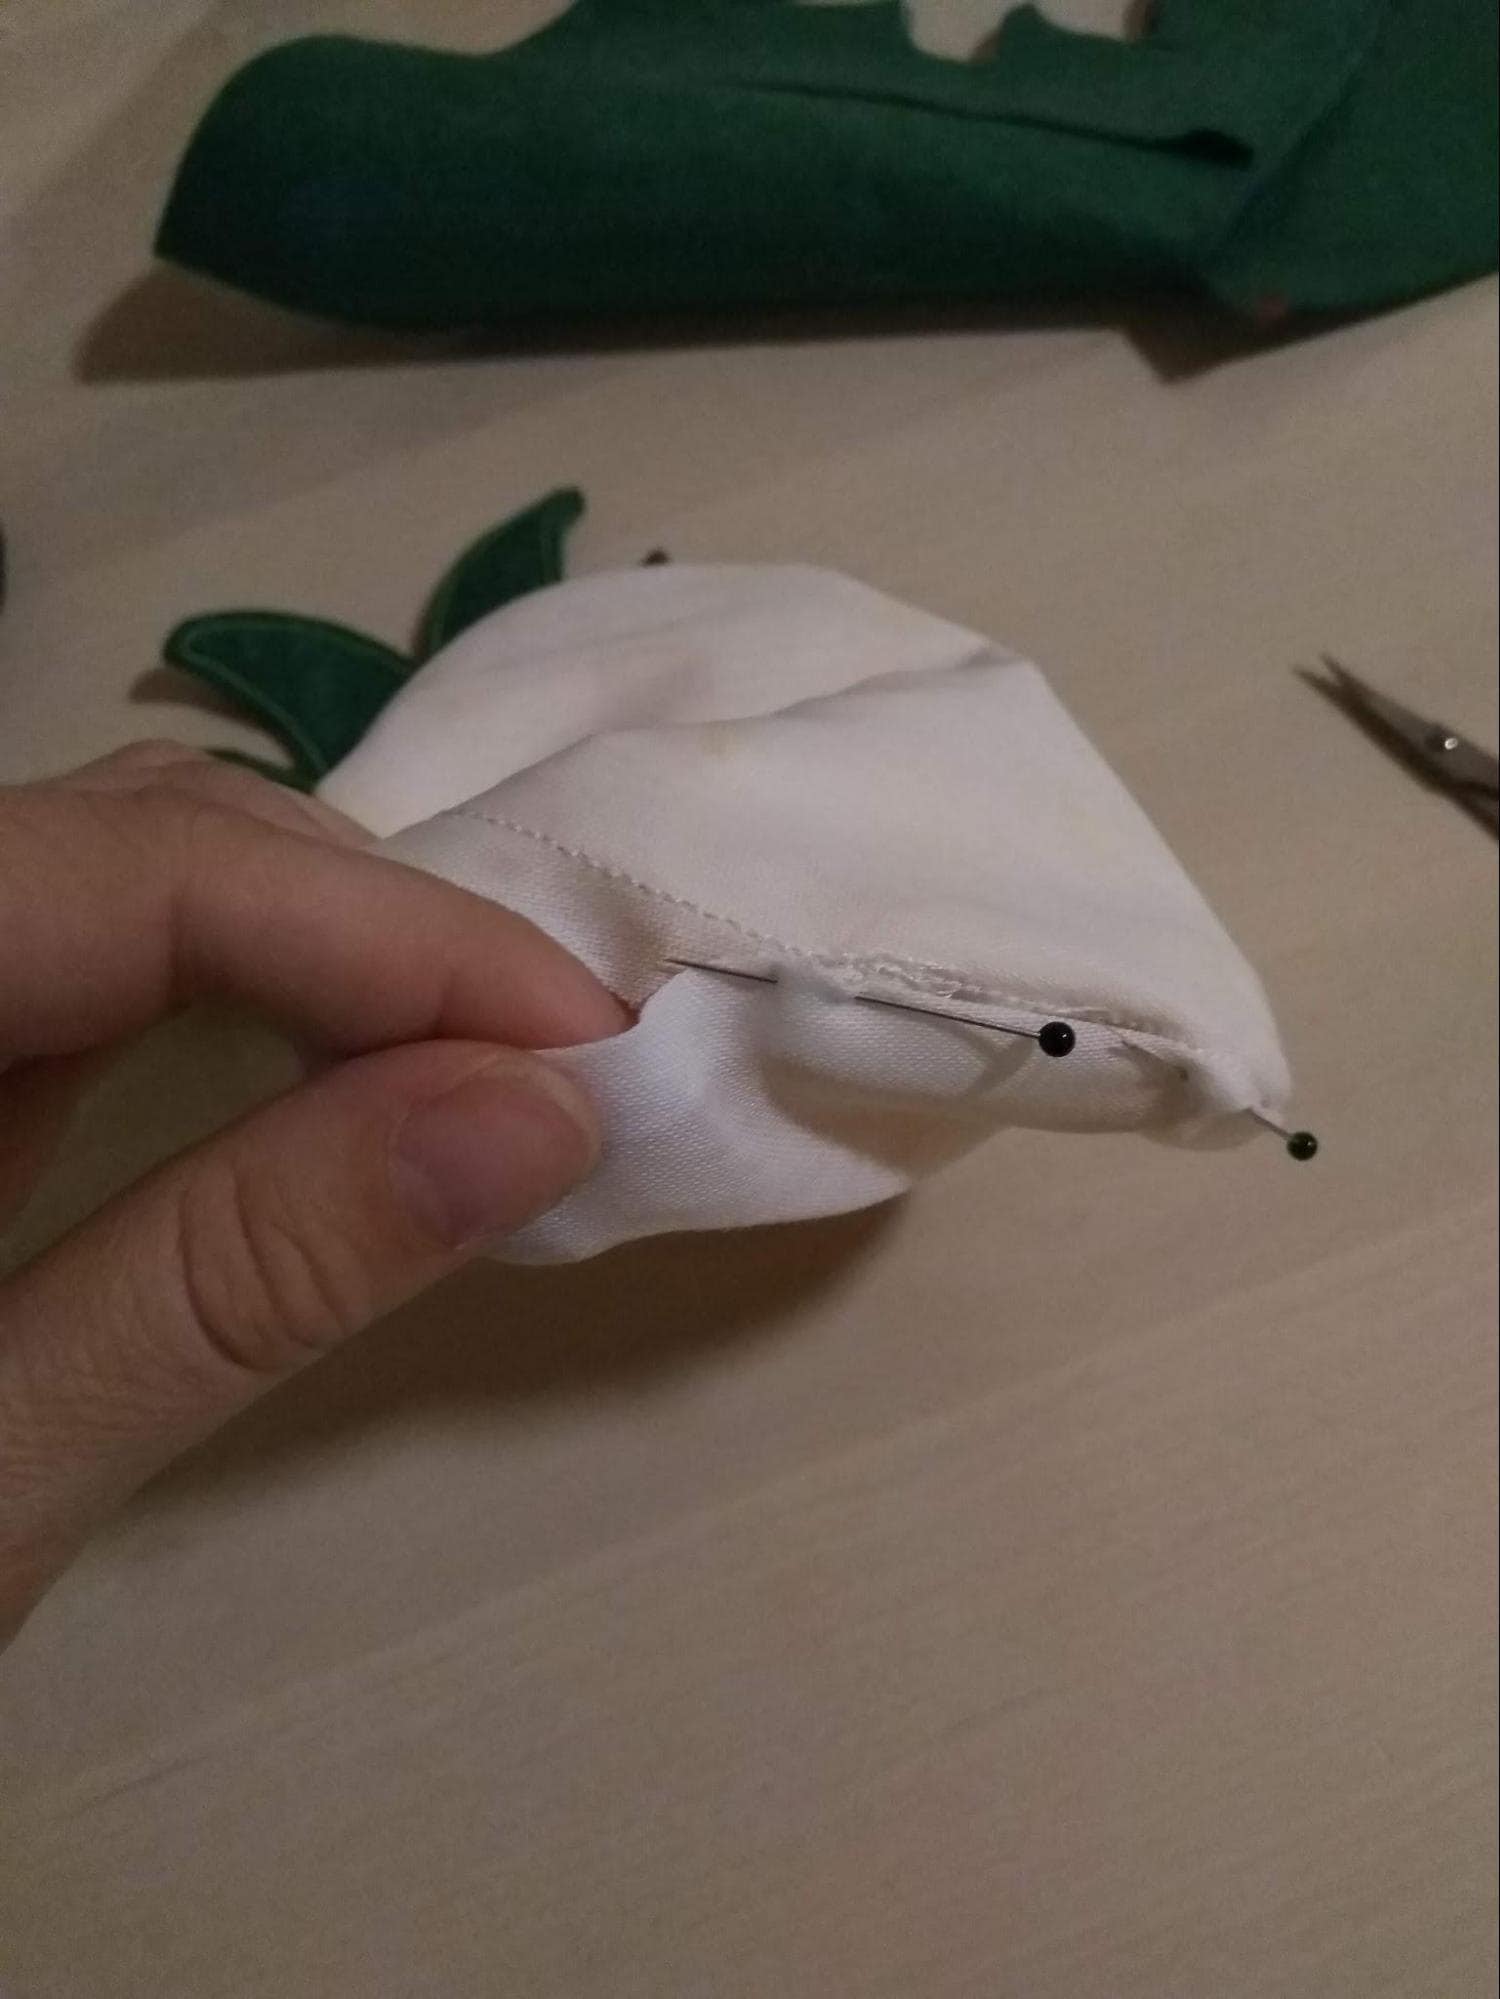
You can sew the opening by hand or with a sewing machine.
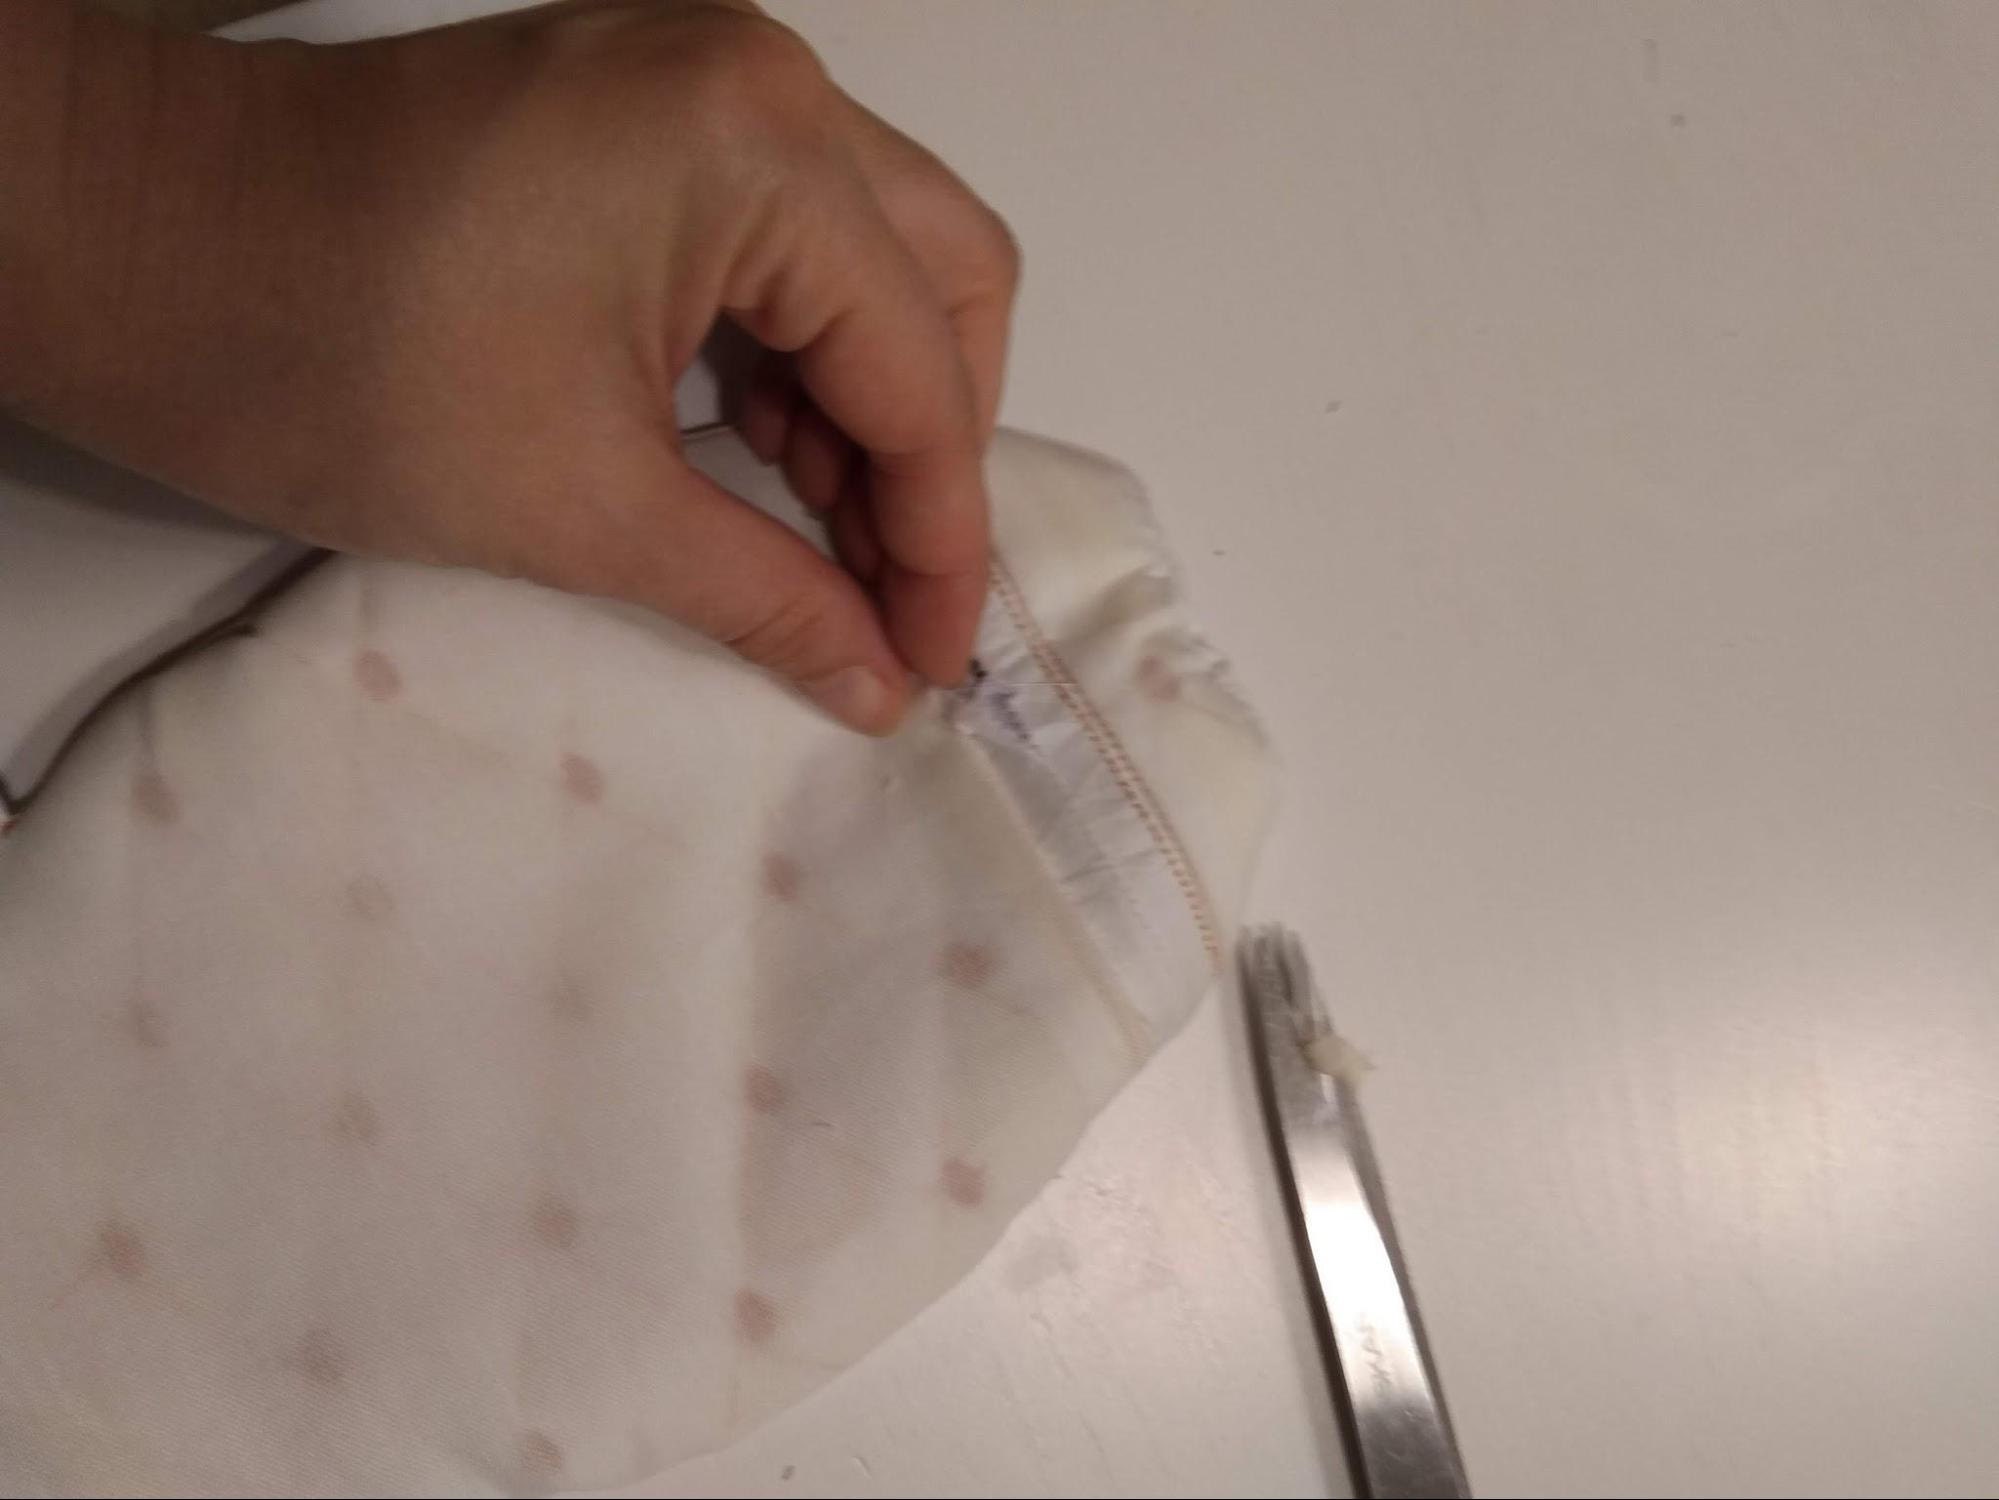
Trim any remaining stabilizer from the zipper before turning the bag right side out.
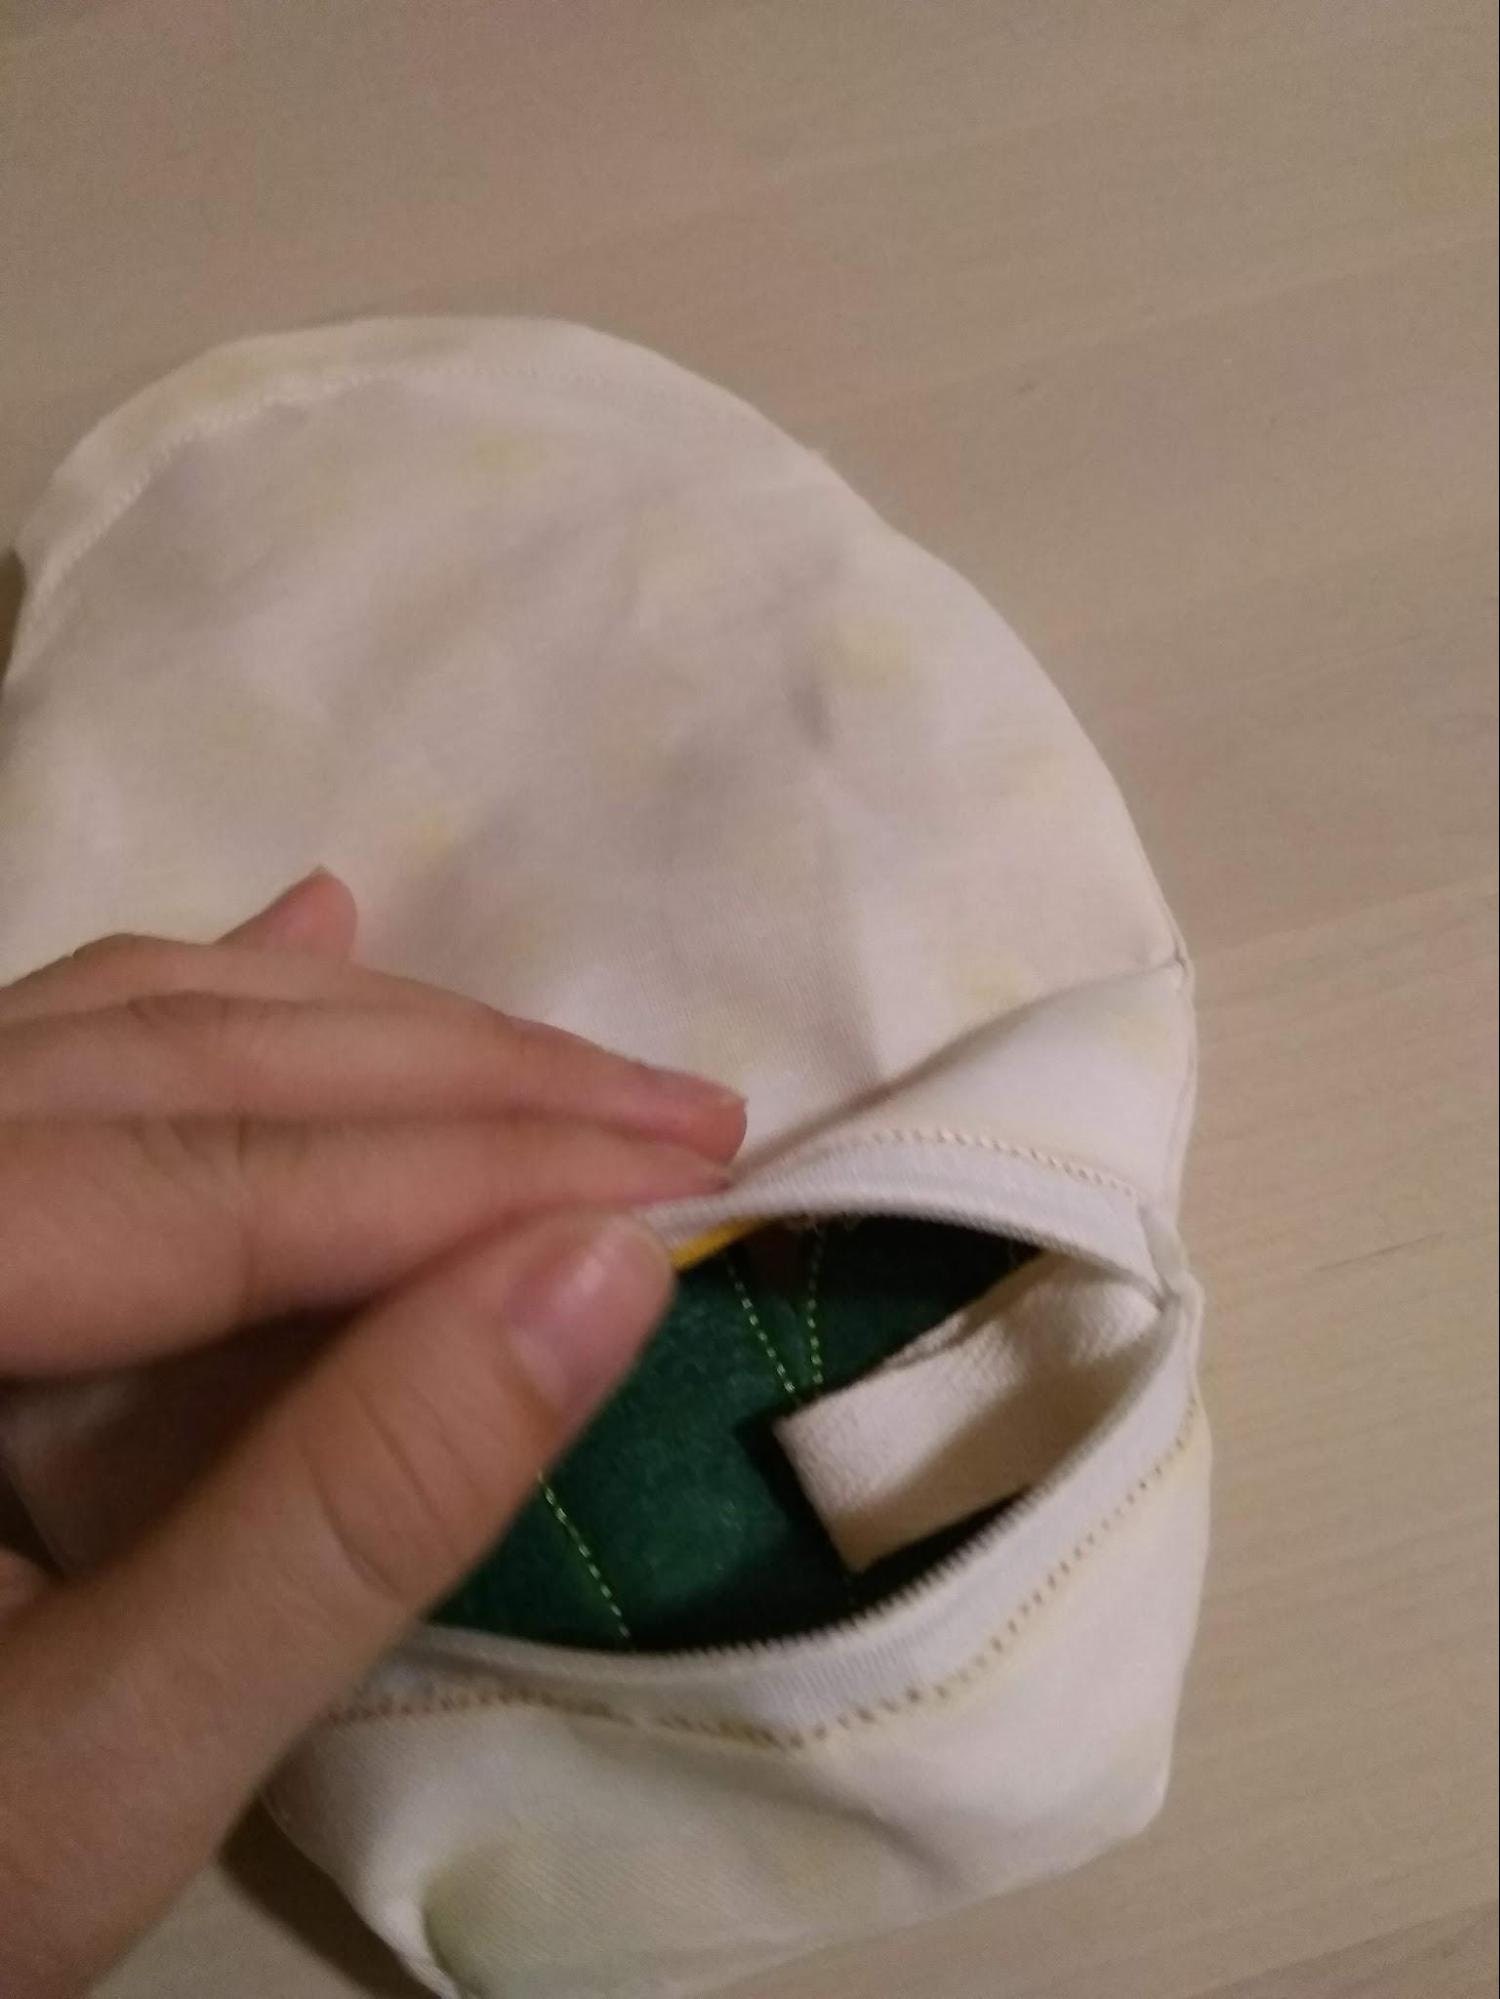
Finally, turn the bag completely right side out through the open zipper.
Optional Suggestions
Monogramming Without Software
Here is another way to monogram the purse. It is a little difficult, but it is an option if you do not have software.
- Load the purse ITH design onto your machine.
- Then, load the letters one by one to compose the name using the MERGE function on your embroidery machine. You will need to use a font that you have purchased or that is installed on your machine, as no font is included with this design. If you have problems, please feel free to ask for help.
- Embroider until the first main fabric tack-down is complete (the front of the purse) and then stop the machine. Skip forward through the other steps until you reach the steps for your custom name.
- Embroider the name and stop the machine.
- Navigate back to the step immediately after the front fabric tack-down and continue with the remaining basic instructions.
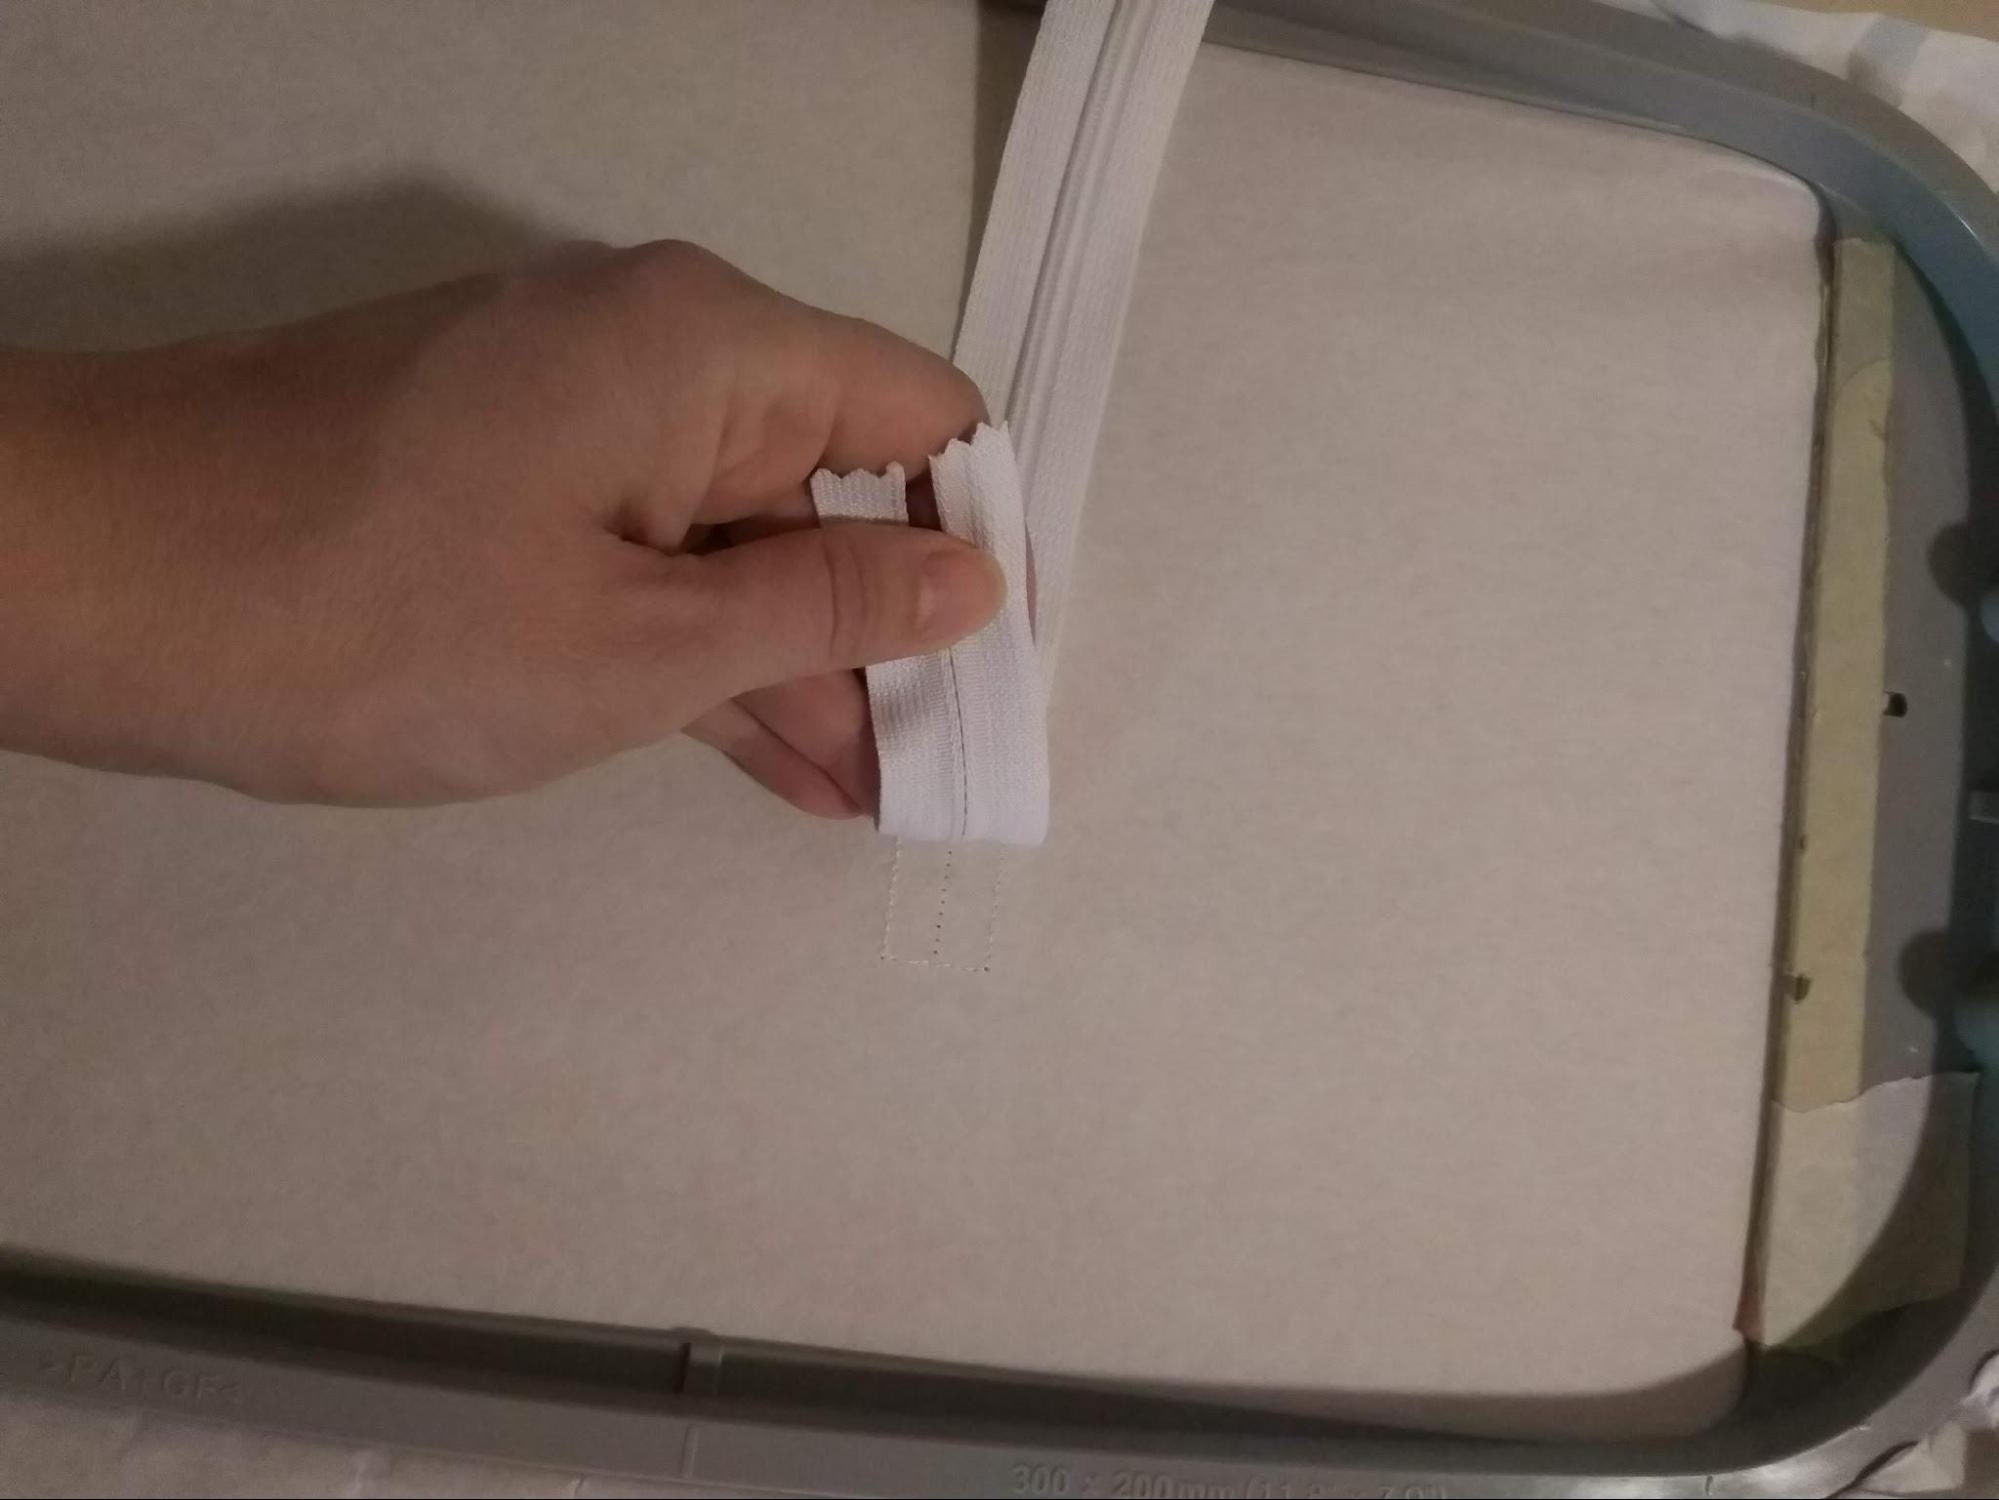
Adding a Ribbon or Cord Strap
You can add a strap for carrying, as shown in the image below.
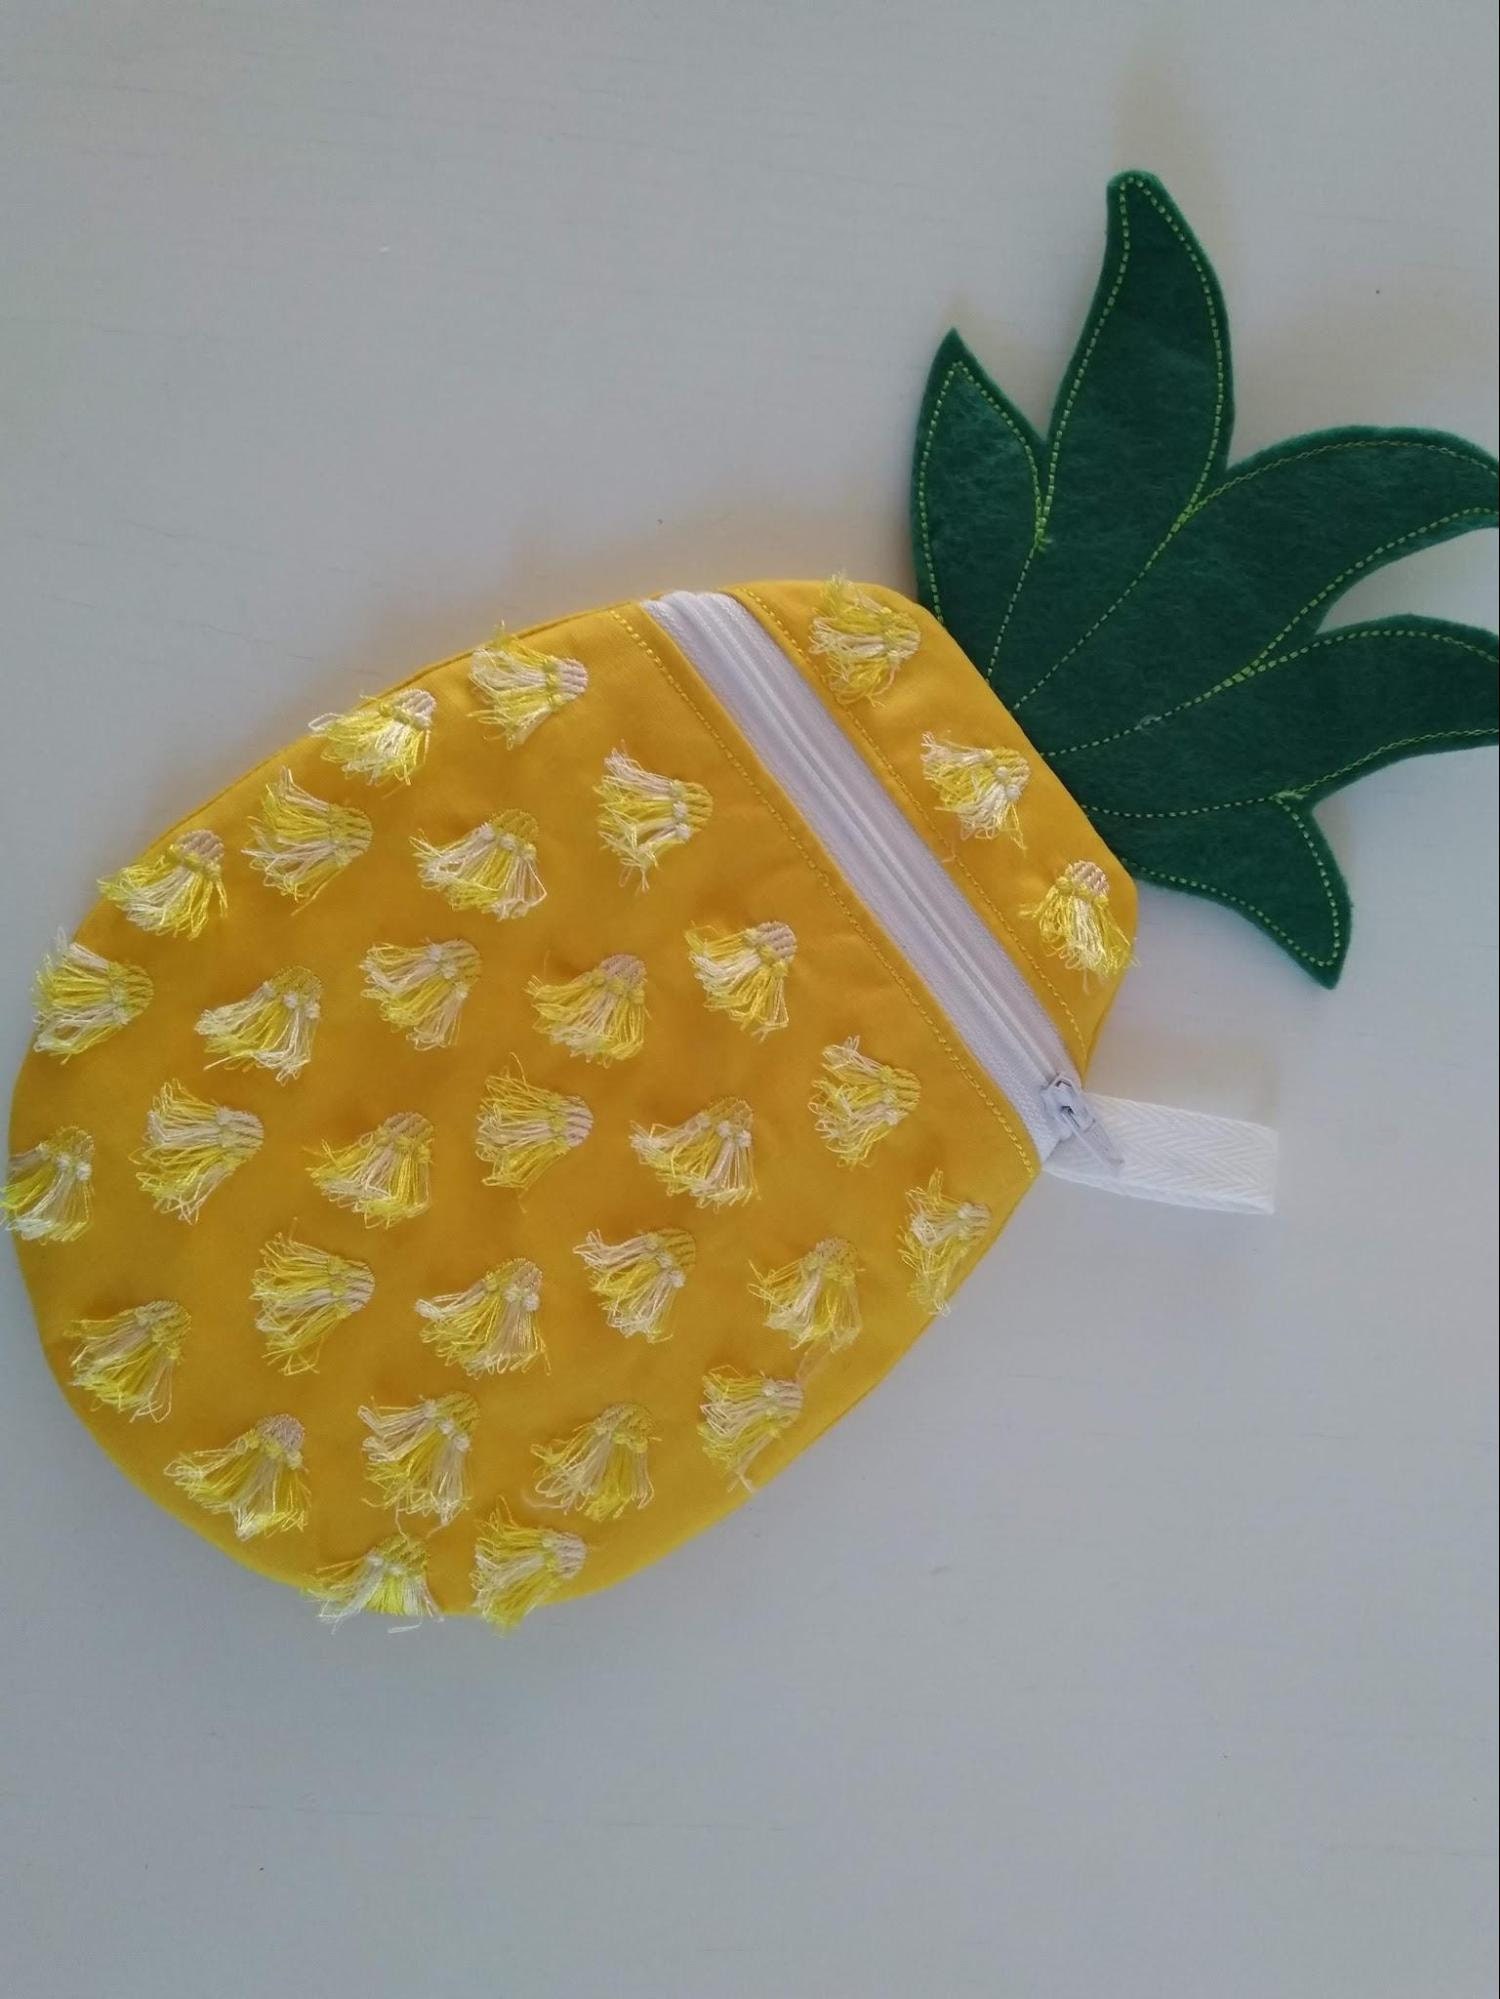
Fold the ribbon in half.
Lay it right on top of the zipper and tape the ribbon or cord ends in place. Then, continue with the remaining basic instructions.