
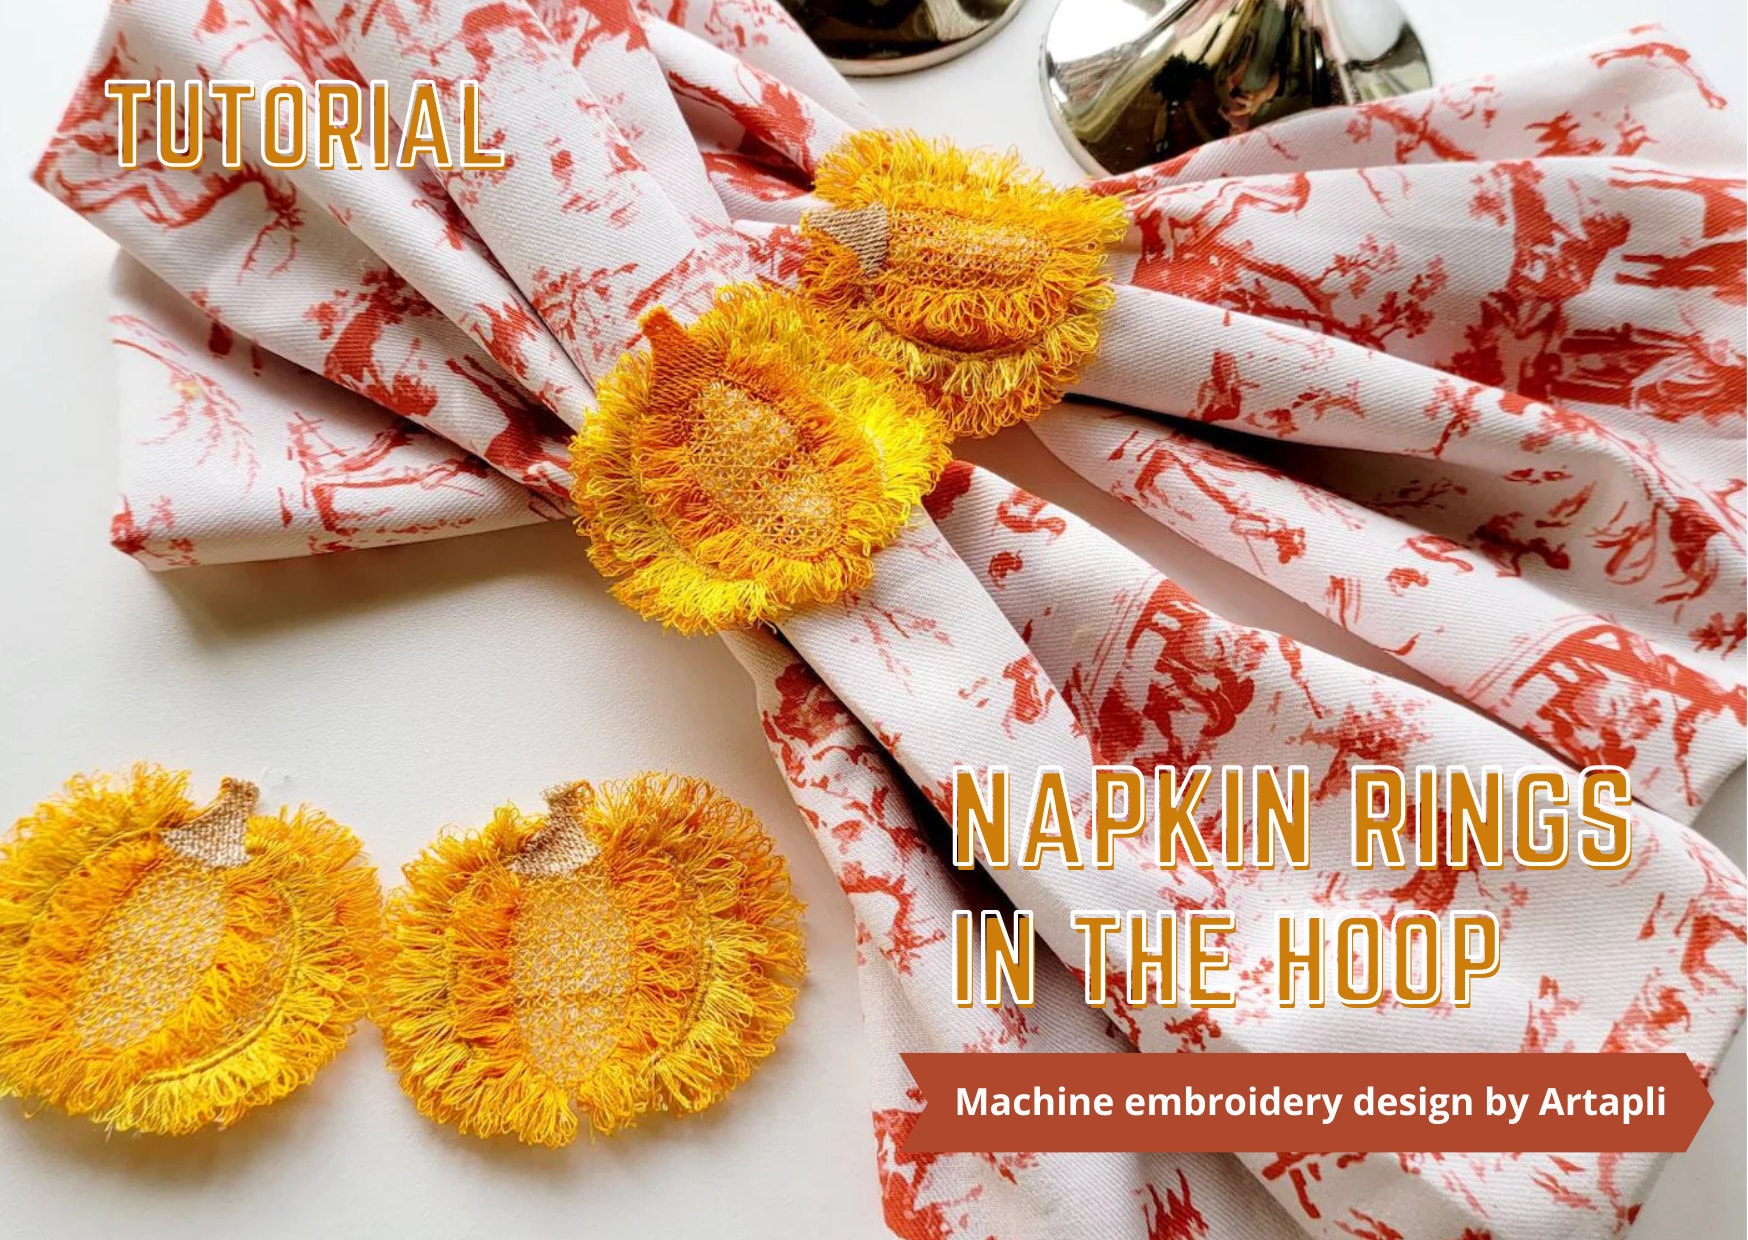
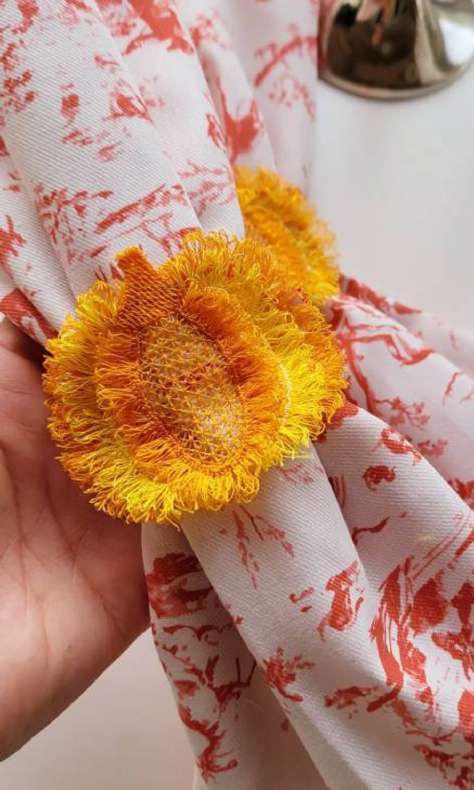
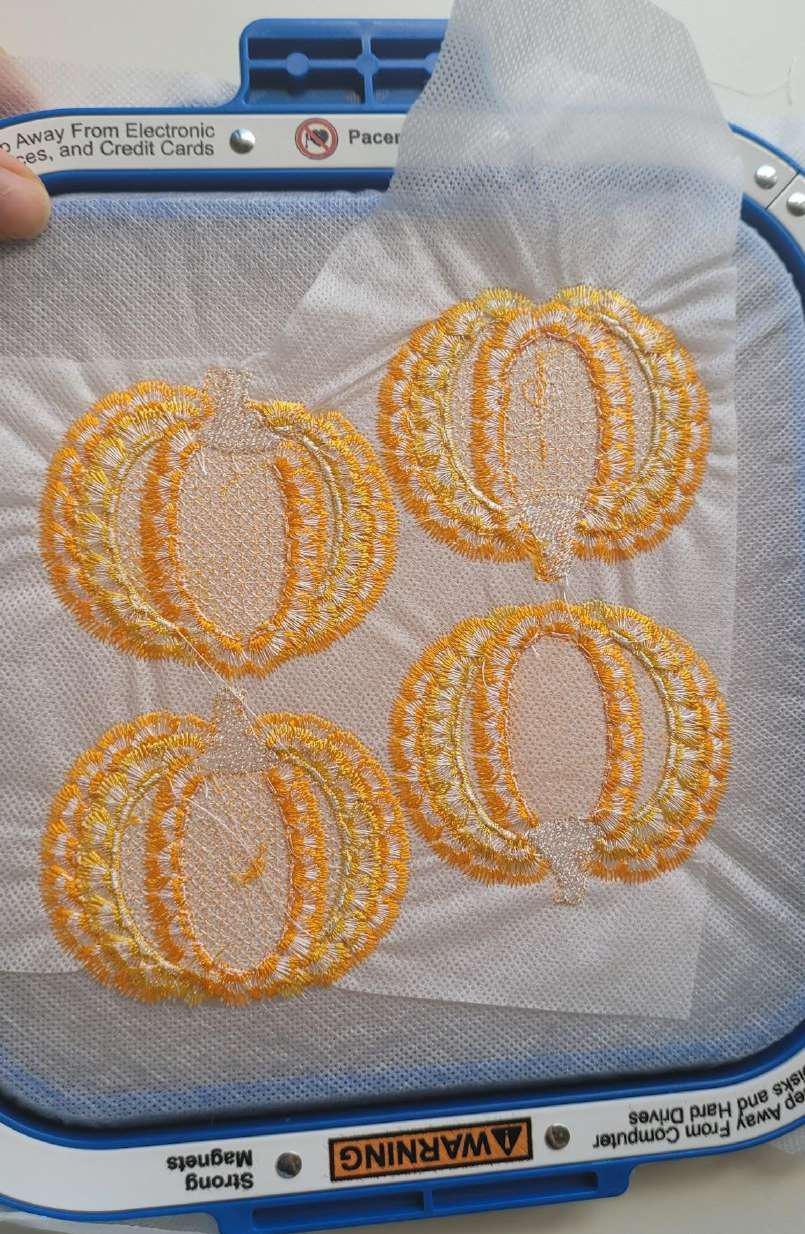
Fringed FSL Napkin Rings in the hoop
FSL Lace Napkin Rings In-the-Hoop Tutorial
Materials and Preparation
The napkin ring is stitched on a water-soluble stabilizer. I recommend using a fabric-style wash-away stabilizer, like Vilene, rather than a film type. You can also use a double layer to ensure your project is stable.
I would also recommend using the softest elastic you have, preferably wider than ¼ inch to ensure it will be securely attached during the tack-down stitch.
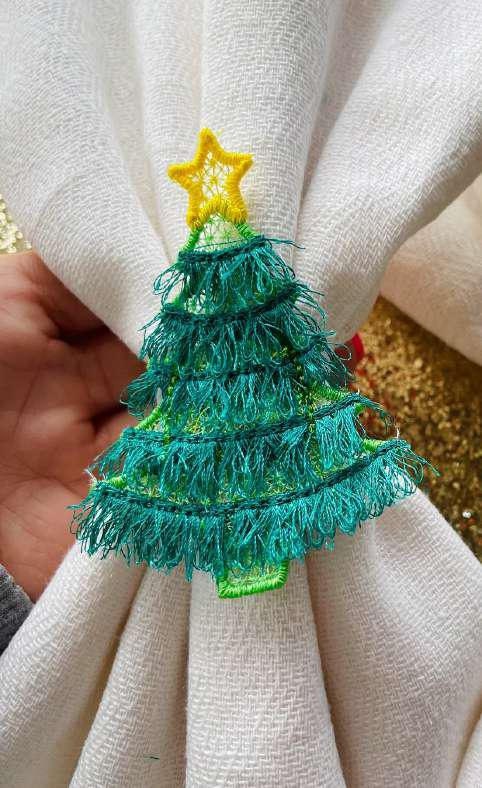
When stitching the Christmas tree napkin ring, it is better to lay the elastic like a “loop” to be sure a folded towel will fit through it.
Stitching Instructions
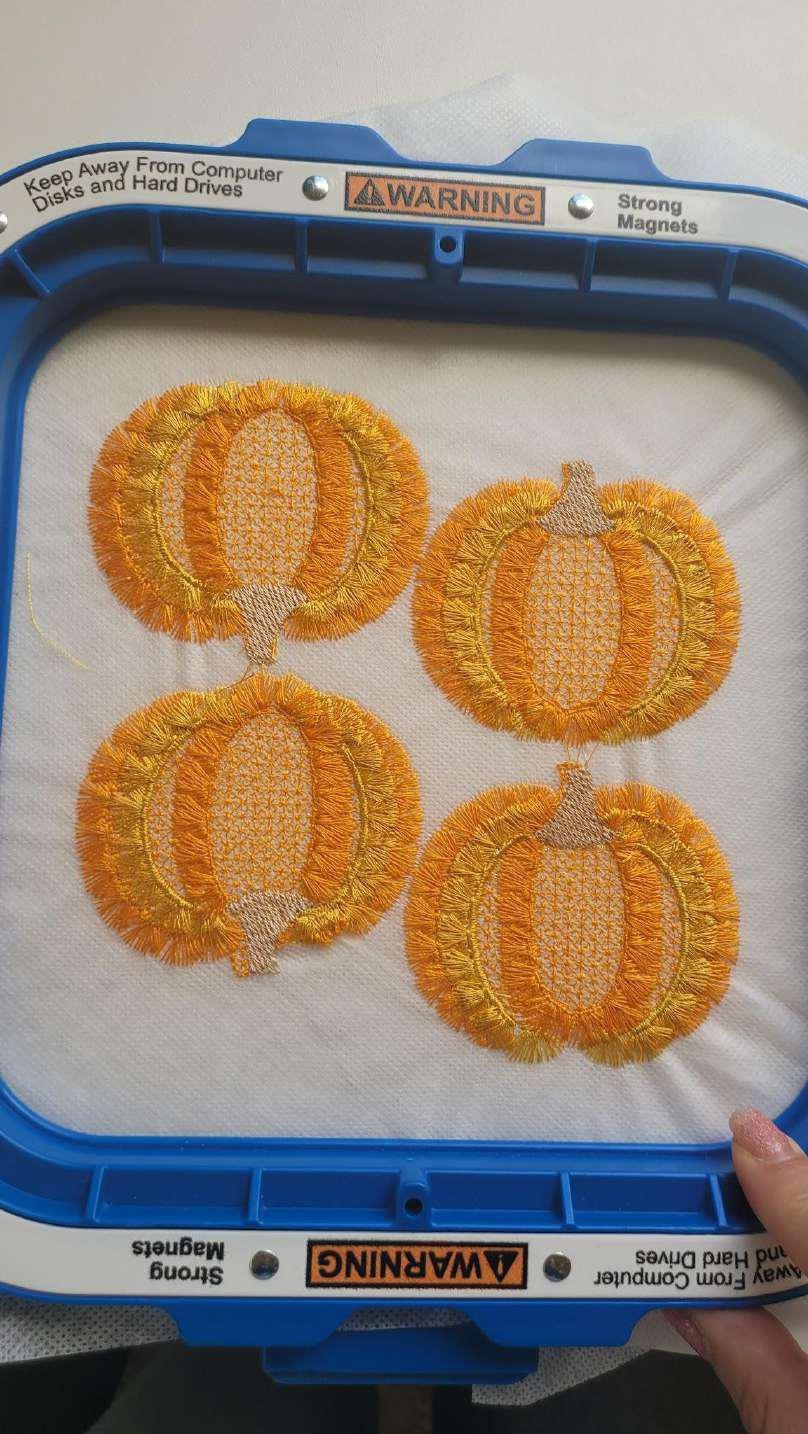
Stitch the design as you would for a typical Freestanding Lace (FSL) project, and stop your machine before the very last color change. The last color change is for tacking down the elastic loop.
Turn the hoop over to see the reverse side.
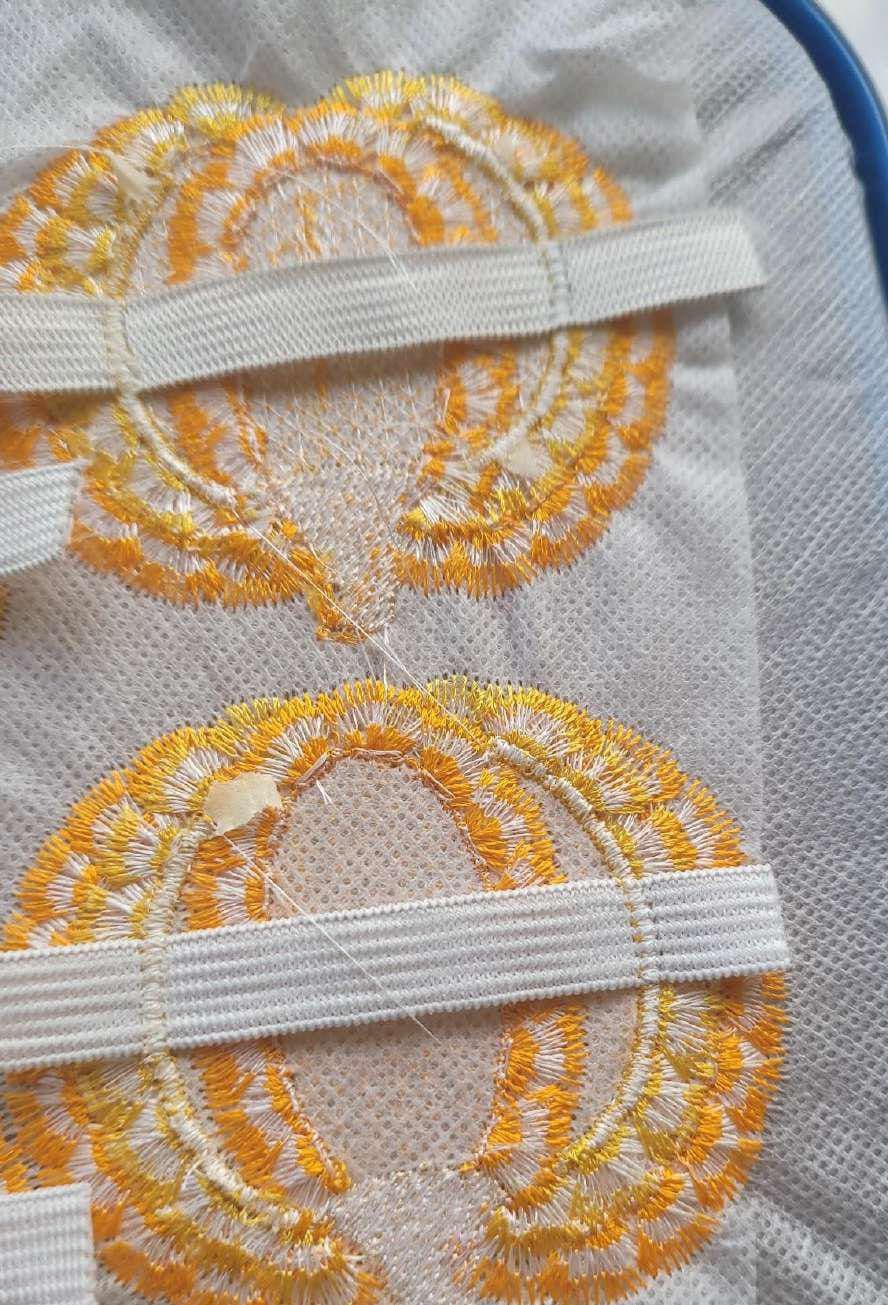
Tape a piece of elastic across the back of the pumpkin design. Do not worry if you do not get it perfectly straight; the tack-down stitch runs along the entire length of the pumpkin, so it will be secured regardless of placement.
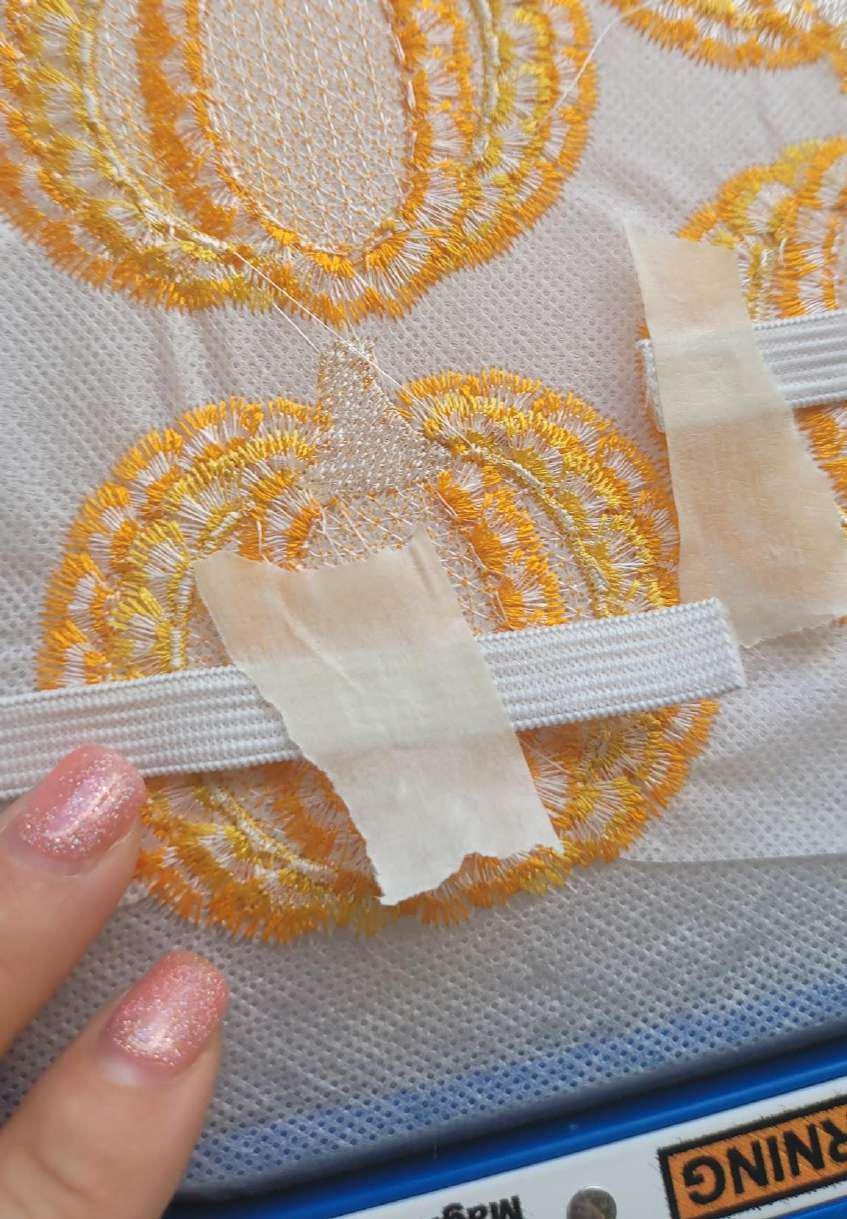
Return the hoop to the machine and stitch the last color to tack down the elastic.
Creating the Fringe
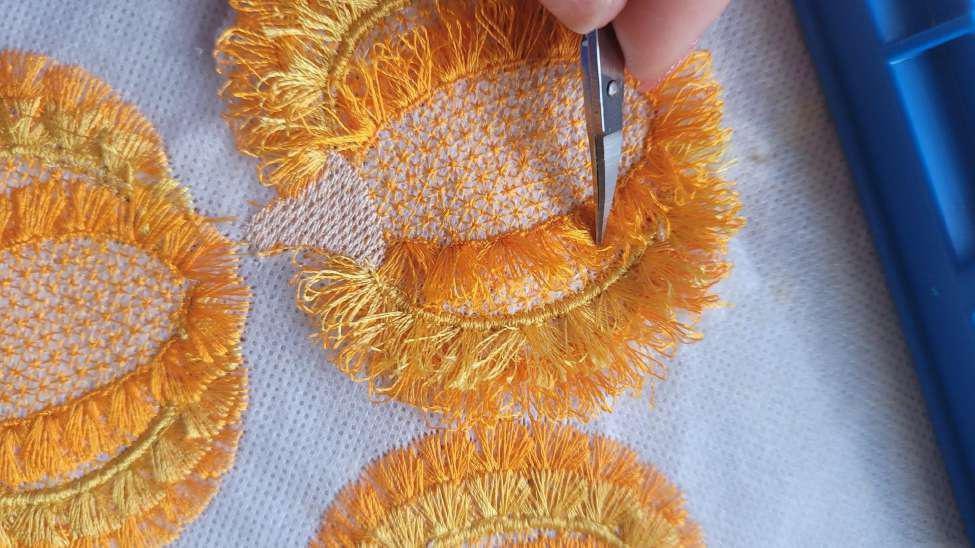
After the stitching is done, it is time to create the fringe. To do this, simply trim the bobbin thread of the long satin stitches. For the best result, I recommend using small, sharp embroidery scissors instead of thread nippers or any other thread remover.
In some cases, the bobbin thread may not be visible. If this happens, you can cut the top thread color instead. This will result in the fringe having open ends instead of loops, which is also a good option.
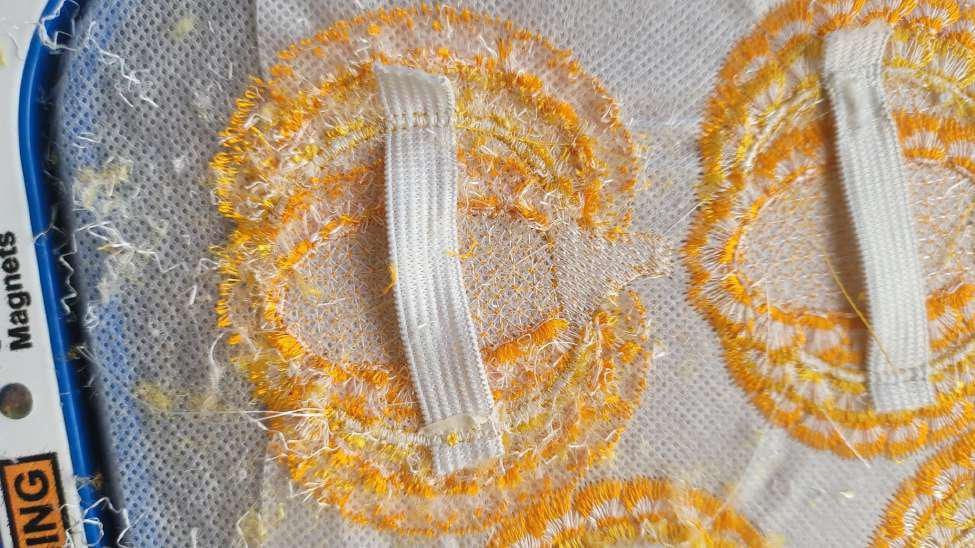
Turn the hoop back over to the right side up and gently fluff up the fringe with the tip of your scissors.
Finishing
I perform all the fringe-cutting steps while the project is still in the hoop, as the flat surface makes it easy to trim the bobbin thread.
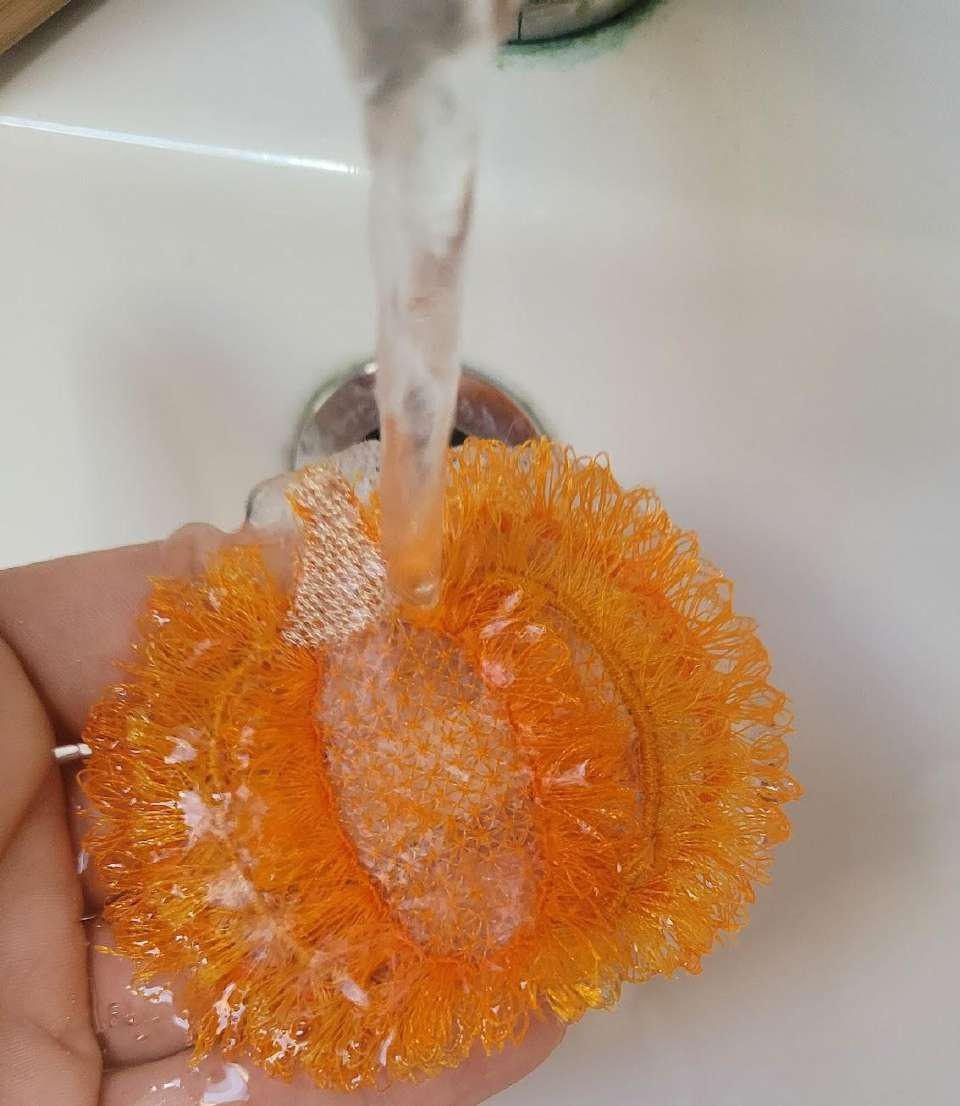
Then, unhoop your project, trim the excess stabilizer from around the design, and rinse it in lukewarm water. I recommend not washing away all of the stabilizer residue; leaving the project slightly tacky will make it stiffer once it dries.
Congratulations! You are done!