How To Make
- PLUSHIES
- → Pretty Tiger – In The Hoop Plushie Toy
- → Cow family – In The Hoop Plushie Toy
- → Leopard - In The Hoop Plushie Toy
- → Kitty – In The Hoop Plushie Toy
- → Bunnies – In The Hoop Plushie Toy
- → Pretty Foxes 🦊 In The Hoop Plushie Toy
- → Simple snowballs
- → Snowballs
- ALPHA & FONTS
- → Text Along a Curve
- → Raggedy App Duo fonts
- → Puffy foam fonts
- → Puffy Fonts Videos
- → Glitter HTV
- → Glitter HTV Alphabets
- → Glitter HTV in embroidery
- → Ombre Iridescent 2 Color Fonts
- → Patchwork style Applique fonts
- → Split Greek
- → Candy Stitch Fonts
- → Fringed Double Layer Applique
- → Circle BX Font (Embrilliance)
- → Working with alphabets
- SOFTWARE & SETUP
- → Materials & Process FAQ
- → How to unzip
- → Resize Embroidery Designs
- → Alphabets in PE-Design 11
- → Tajima Pulse software
- → About ESA Files
- → Quality Imports in Wilcom
- → Files in Wilcom
- → Quality Imports in Hatch
- → Hatch 3? Map Alphabets
- → Use Alphabets in Embird
- → Fonts with Your Bernina
- → ART Bernina Machines
- → Fonts in Melco DesignShop
- → Font Editor (Luxe) in Chroma
- FRINGE
- → Fringed Rainbow
- → Fringed Pom-Poms
- → Fringed designs
- → Fringe Embroidery videos
- → Llama Fringed designs
- GAMES & LEARNING
- → Math multiplication table game
- → Puzzle designs
- → Memory game Pumpkins
- → Shapes Memory game
- → Little Chef oven mitts
- → Little Chef hot pot holder
- → Farm memory game
- ACCESSORIES
- → Key cover
- → Fringe key fob
- → Puffy key fobs
- → Keychain in the hoop
- → Envelope to Santa Felt project
- → Pineapple Zipped Bag
- → Zipped Bag
- → Zipper Bag
- → Video for a Zipper Purse
- → Zipper Lined Bag
- → Biker key case
- → Fabric and Felt Bows
- → Kindle Sleeve
- → Apple Airtag Key Pocket
- → Face Mask in the hoop
- → Zipper bag with a flap
- CLOTHING DETAILS
- → Lace split seam
- → Split seams in short
- → Neckline cutout
- →Doctor side seam Bow
- → 3D BUTTERFLY
- → Bunny Head 3D
- → Unicorn 3D
- → Unicorn 3D
- → Lamb head 3D
- → Seamstress Pockets
- → Teacup Pockets
- HOME DECOR
- → Fringed Edge Napkins
- → Crown bow holder
- → Full Christmas Stockings
- → Simply Christmas Stockings
- → Ornaments
- → Ginger Stocking felt project
- → Gingham Christmas ornaments
- → In-the-hoop Gingerbread
- → Gnome towel topper
- → Gingerbread Stuffies
- → Towel Topper
- → Towel hanging hole
- → Cat Towel Topper
- → Sloth Towel hanging hole
- → Towel Hanging Holes
- → Curtain holes
- → Christmas ornaments
- → 3D Fabric and Felt Bows
- → Felt Bow Folding
- → Fringed FSL Napkin Rings
- → Halloween Napkin
- → Coasters
- FSL LACE
- → Bow hanger ribbon FSL
- → Create FSL Earrings
- → FSL the "Succulentes"
- → Lace FSL Hibiscus
- → FSL roses floral crown
- → Cat Lace FSL bow
- → Assembly: Lace FSL bow
- → FSL 3D Dragonfly
- → 3D Bow
- OTHER
- → Bee Ribbon Appliqué
- → Tooth Fairy pillow
- → Tooth Fairy pillow Tooth
Patchwork style Applique fonts instructions
Patchwork Style Appliqué Letters Tutorial
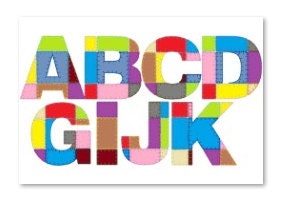
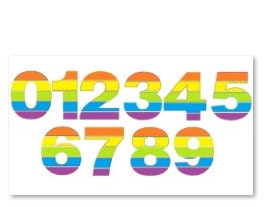
ARTAPLI offers 10 different styles of patchwork fonts. Check out more from the ARTAPLI shop.
How They Are Designed
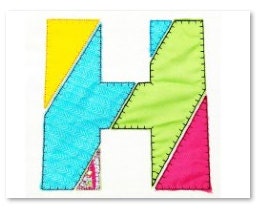
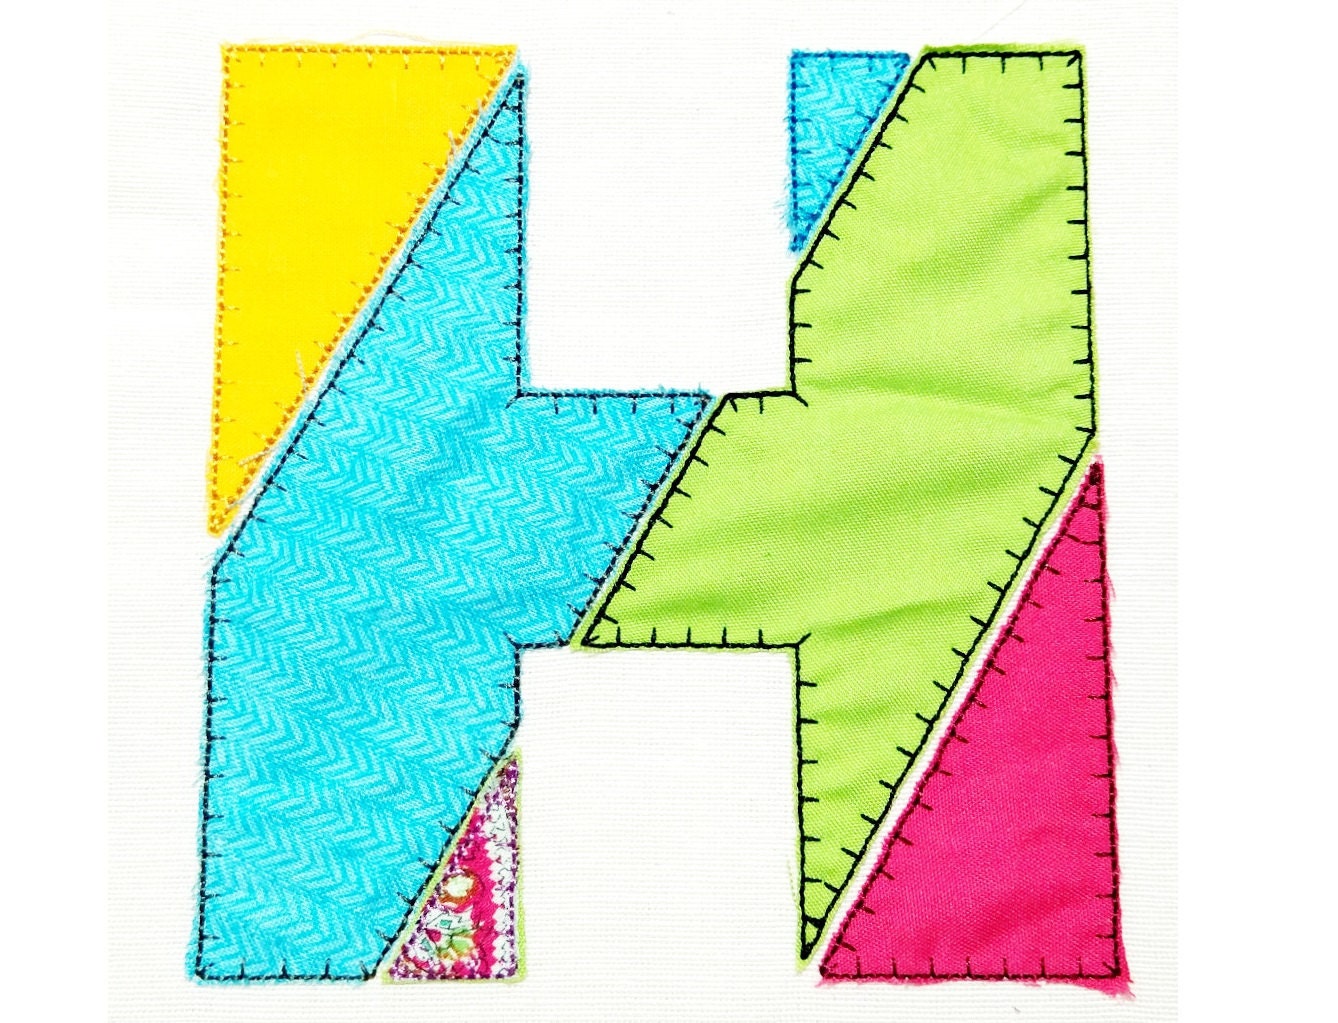
First, the machine will sew quick running stitch outlines for all the pieces of the letter. Then, each piece will be stitched again with the same color to create the appliqué placement seam. Before this step, you will need to lay a scrap of fabric inside the shape. Below, you will find detailed instructions for how I stitched the letter "H."
Usage
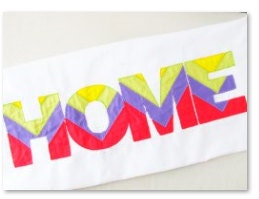
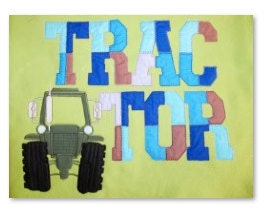
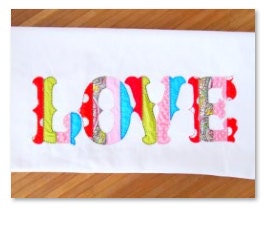
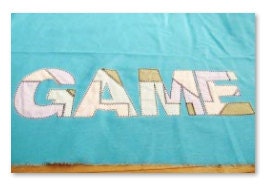
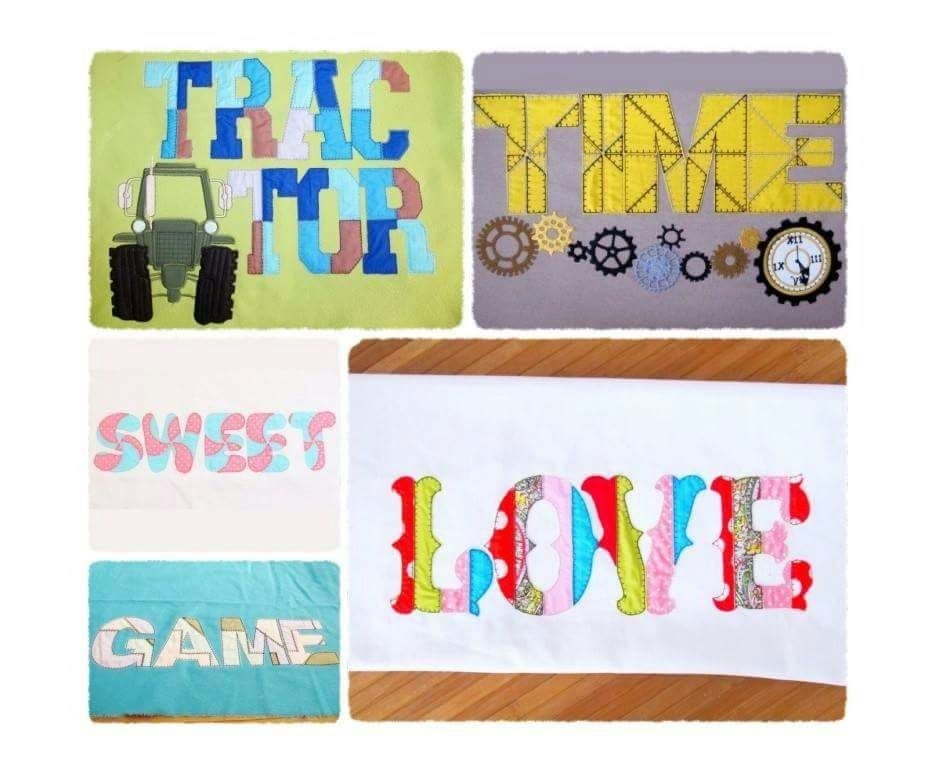
The idea was to create a fast and easy way to make words for clothing, monogramming, and other patchwork projects. This font is good for most types of fabrics. Of course, it is always great to run a test stitch of any letter from the alphabet to make sure everything will work perfectly. This is a great way to use up scraps from your previous projects.
Stitching Instructions
First, sew the outlines for all the letter pieces.
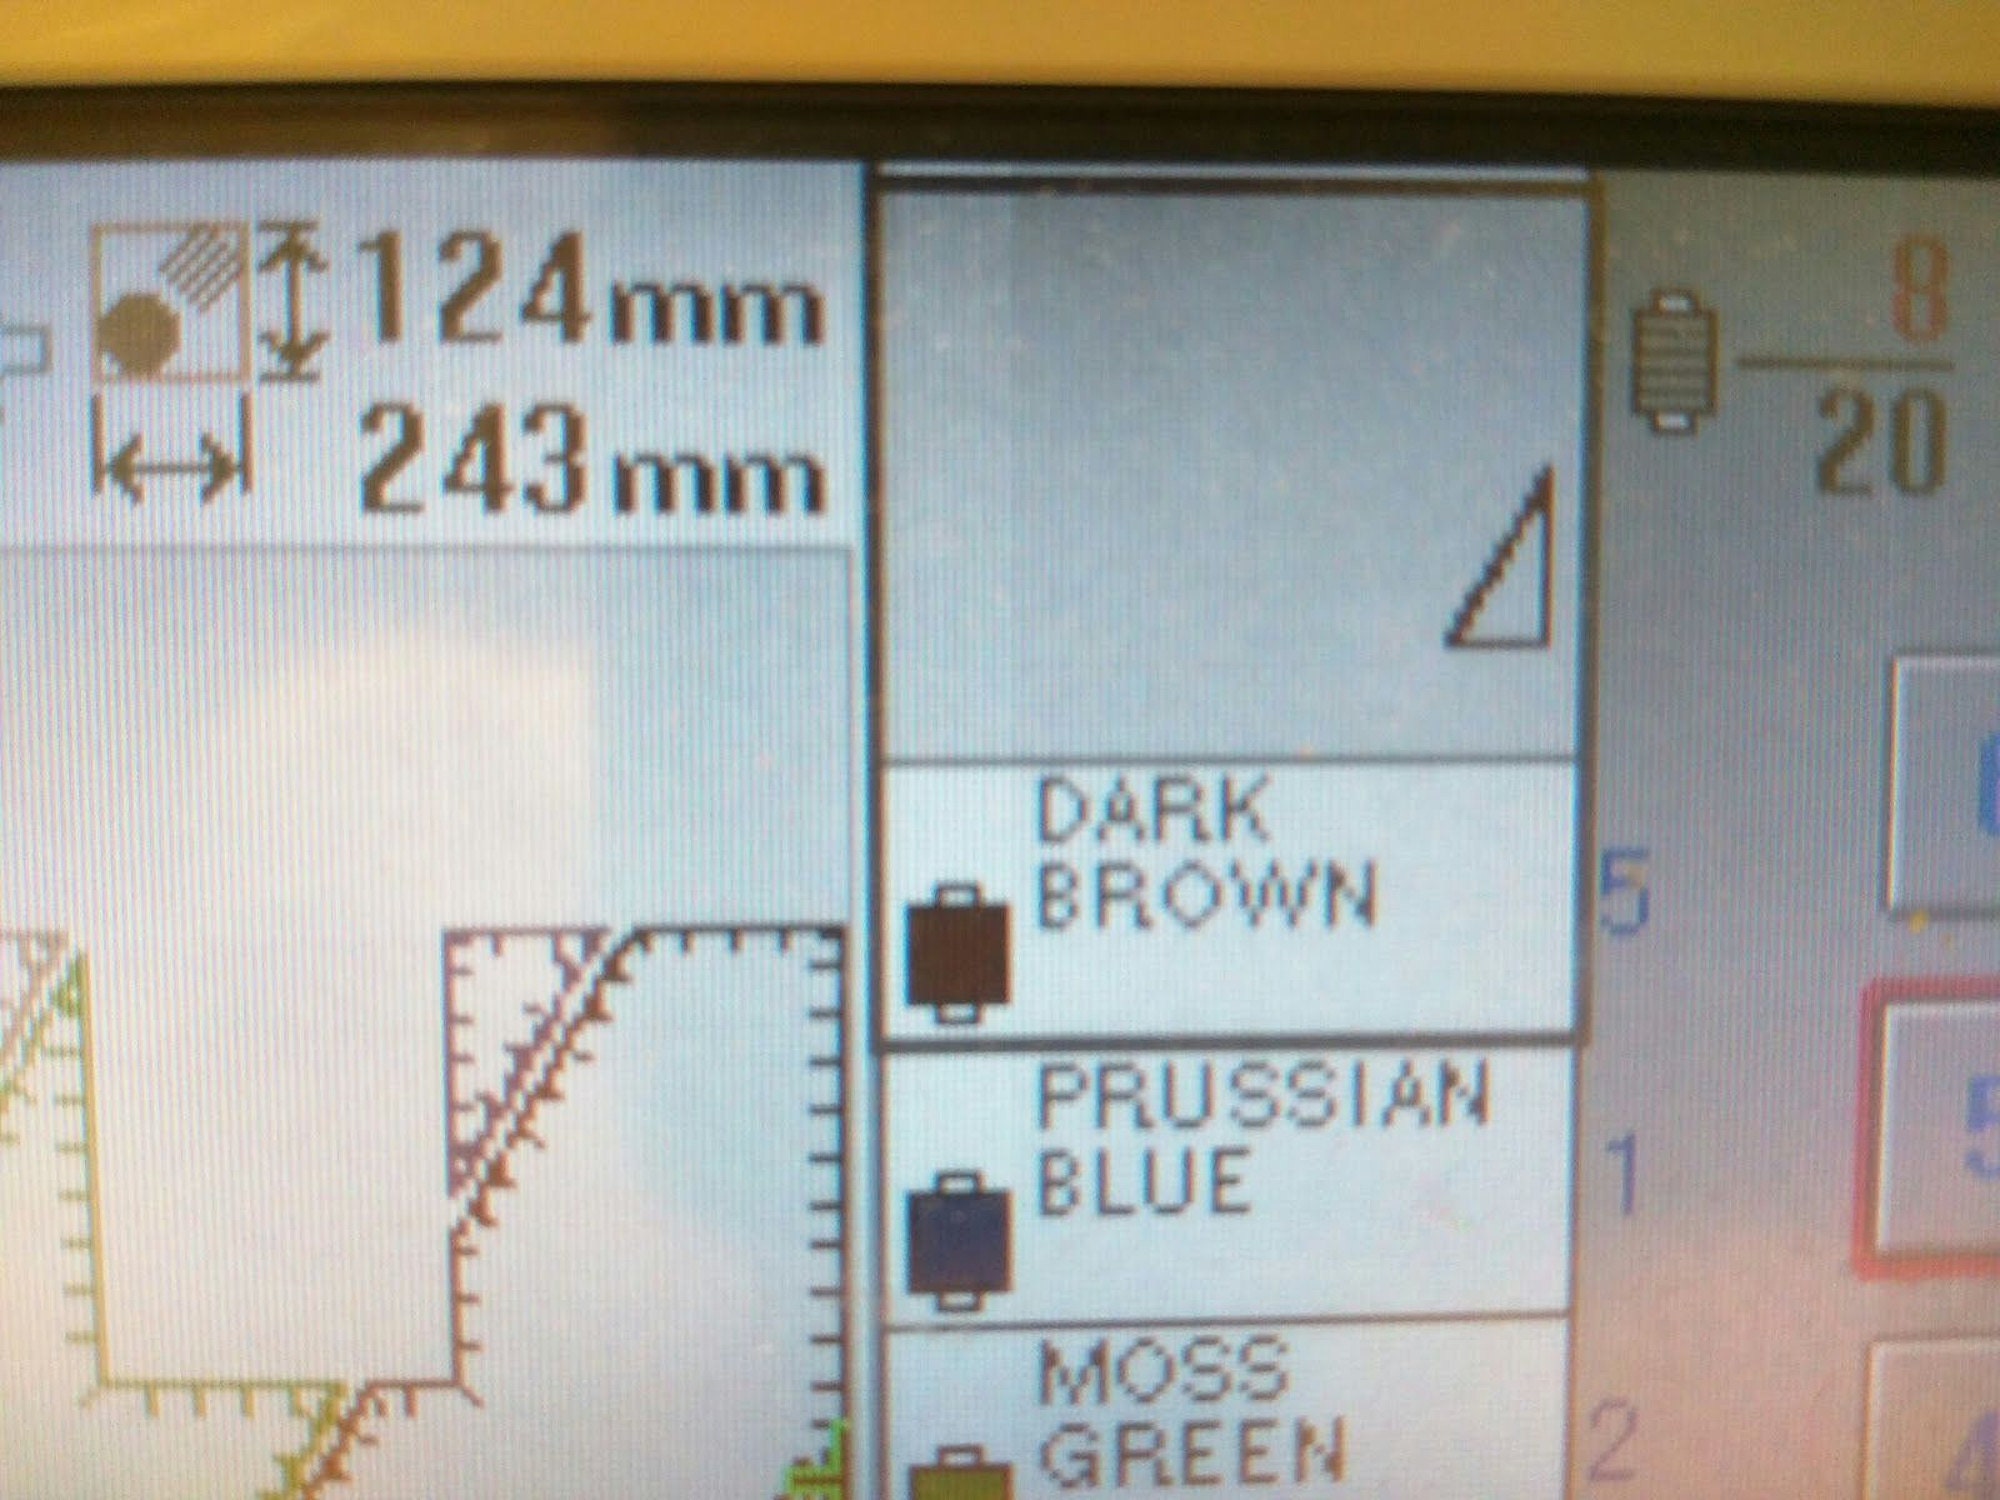
Your machine will then show which step it is going to sew next.
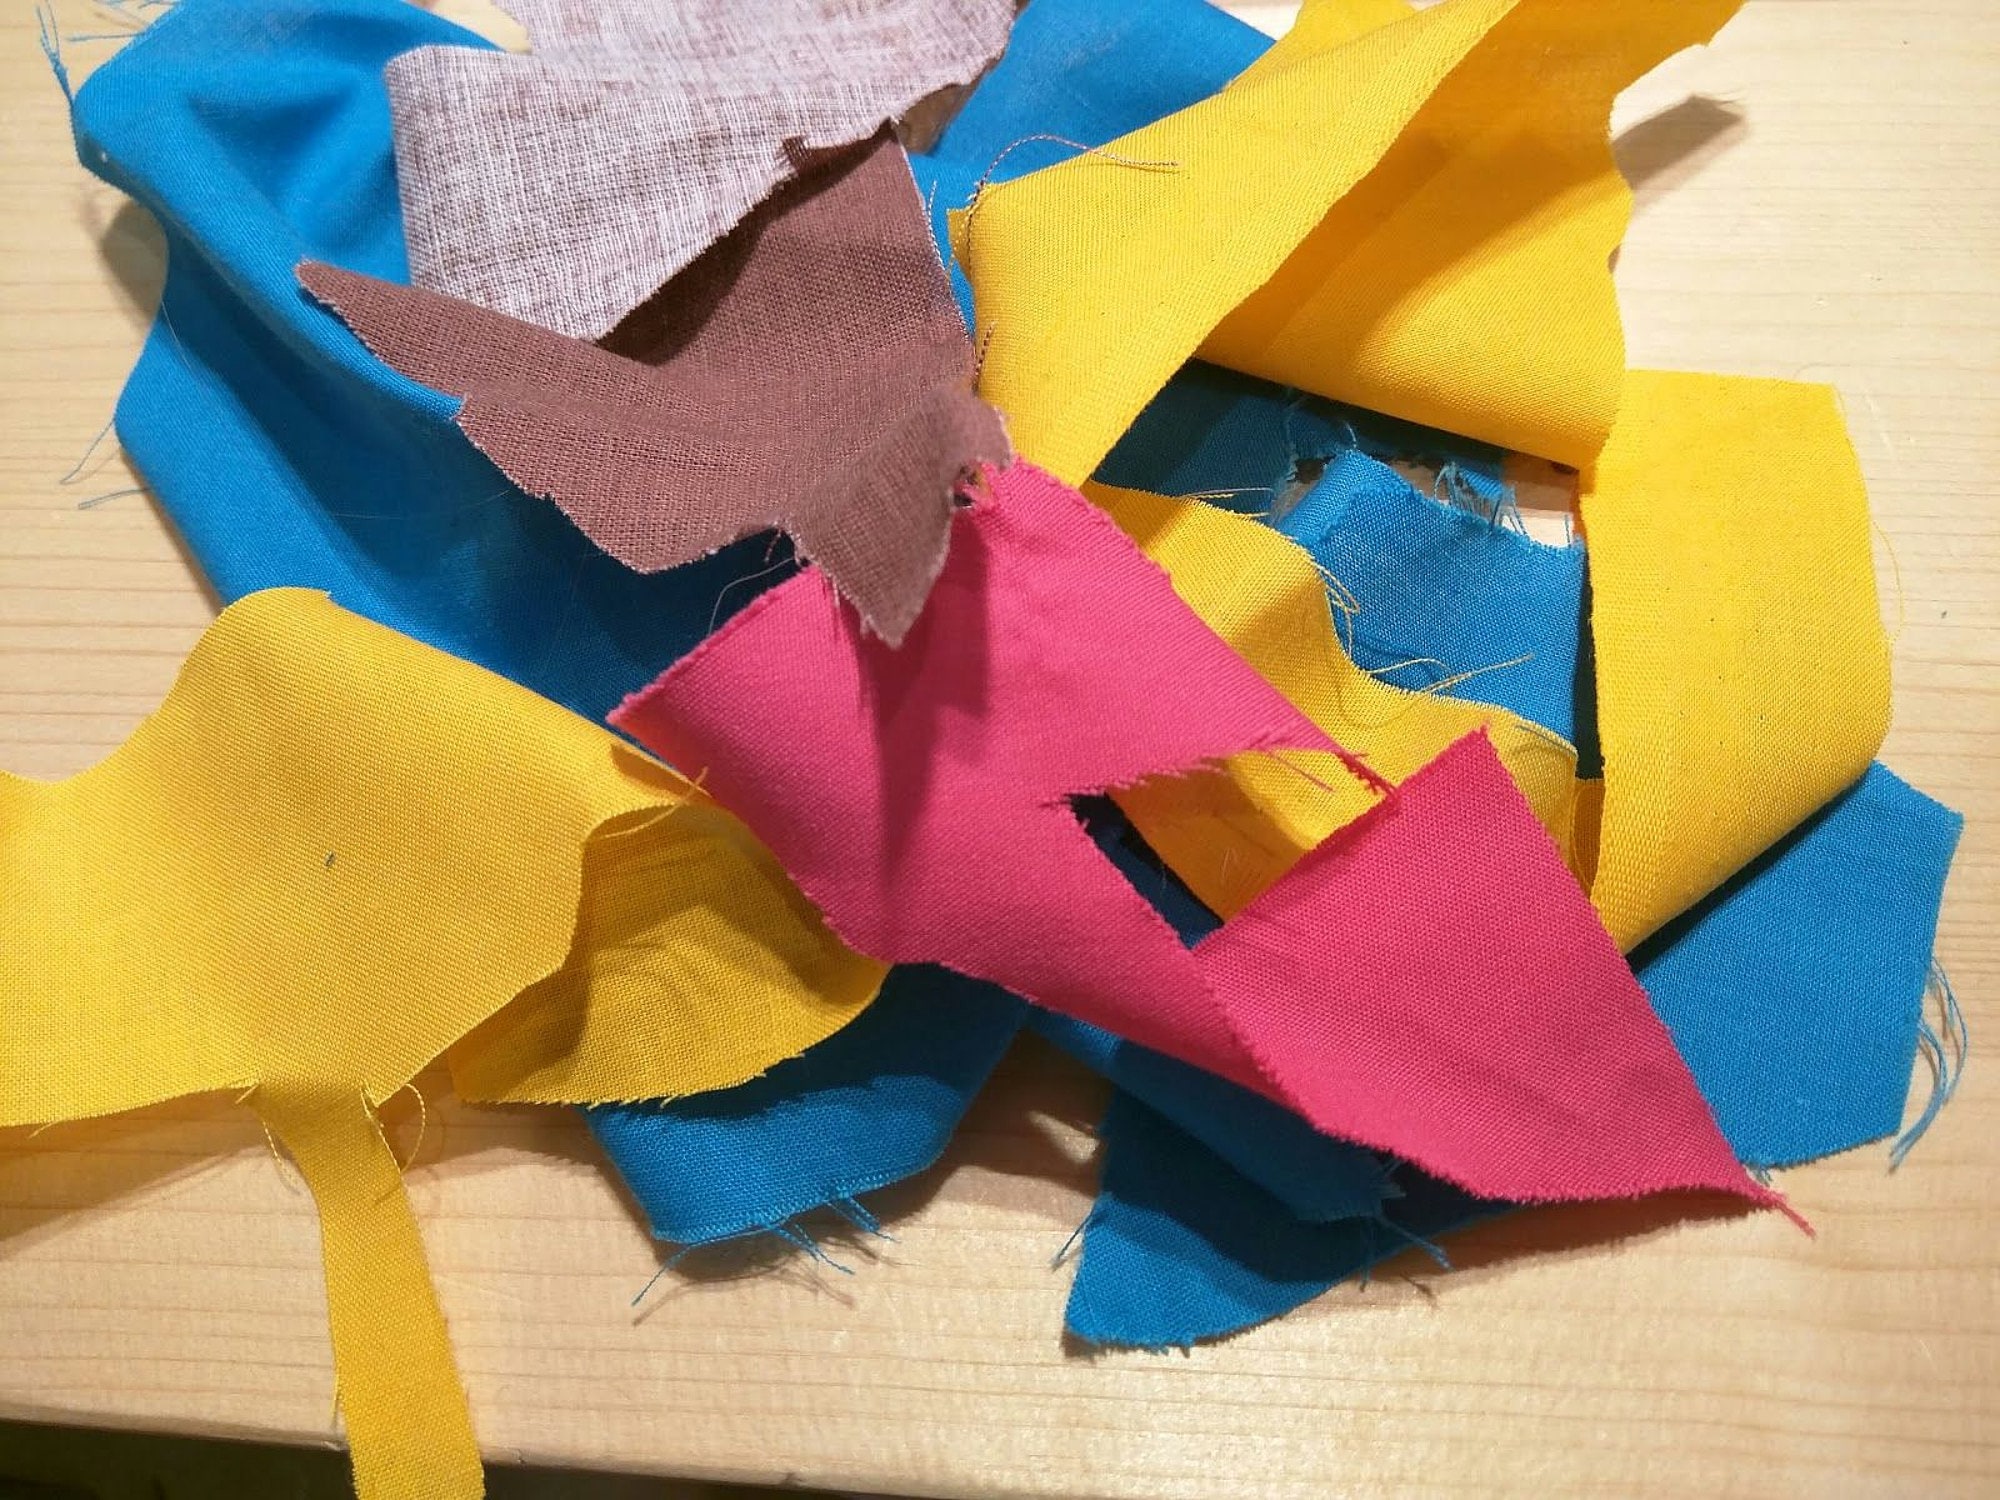
Stop the machine, but do not unhoop your project. Lay a piece of fabric right inside the indicated shape.
Stitch the appliqué fabric tack-down seam.
Trim the excess fabric and repeat the steps for the next piece.
Repeat for the next piece.
And repeat for the final piece.
Please feel free to ask any questions. Thank you!
ARTAPLI