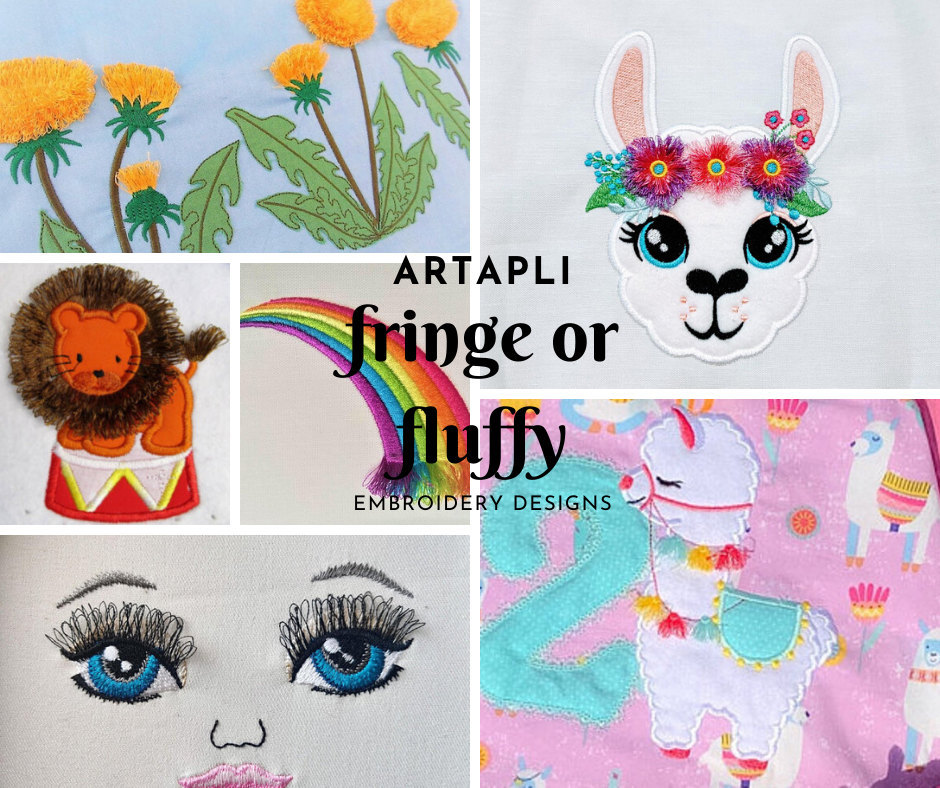
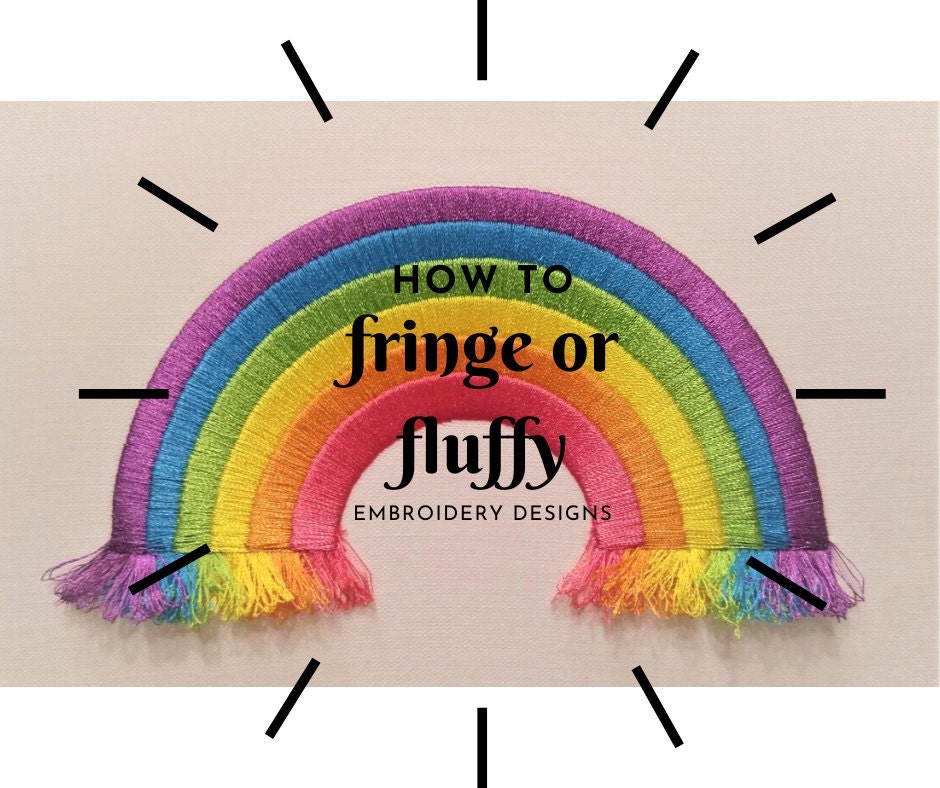
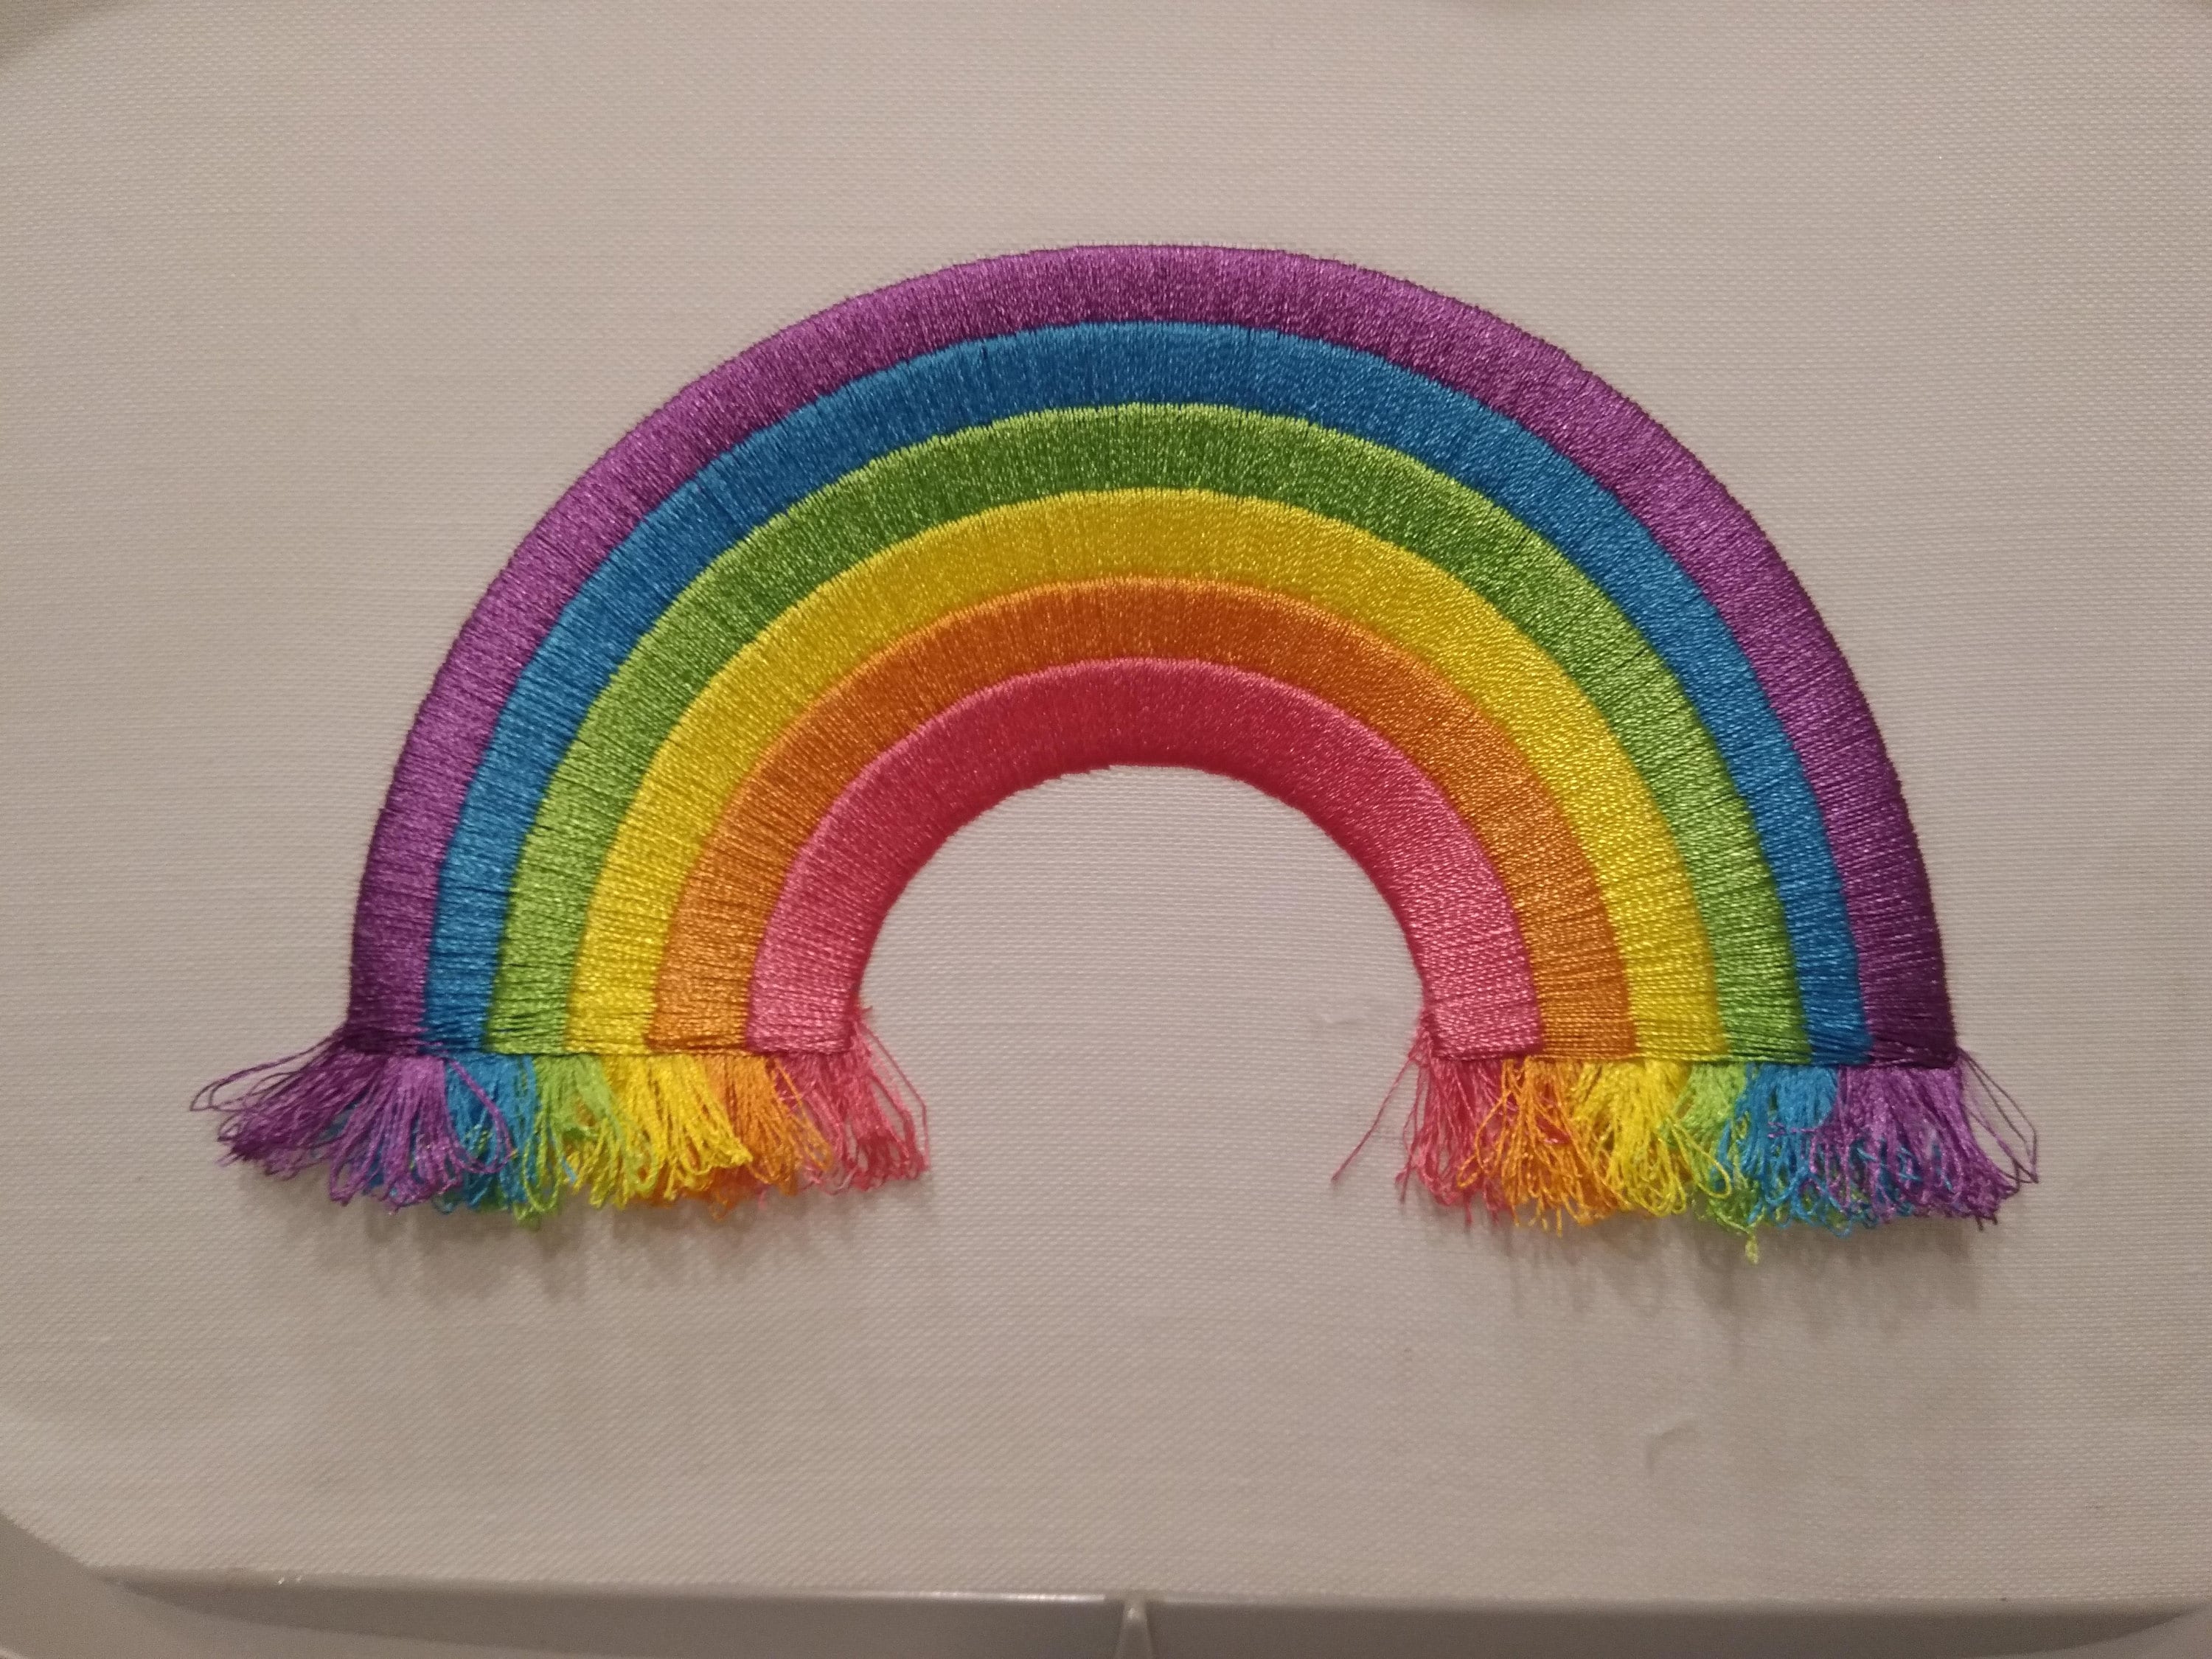
Fringed Rainbow instructions
How to Make Fringed Embroidery Designs
The Basic Technique
Creating fringed embroidery is an easy and fun process. These designs are 100% safe to machine wash and are suitable for any kind of fabric.
Simply embroider the design as you normally would. The large satin stitches that create the fringe will appear loose. Once you have finished stitching the design, turn your hoop over and carefully cut the bobbin thread on the back. That's it!
Step-by-Step Process
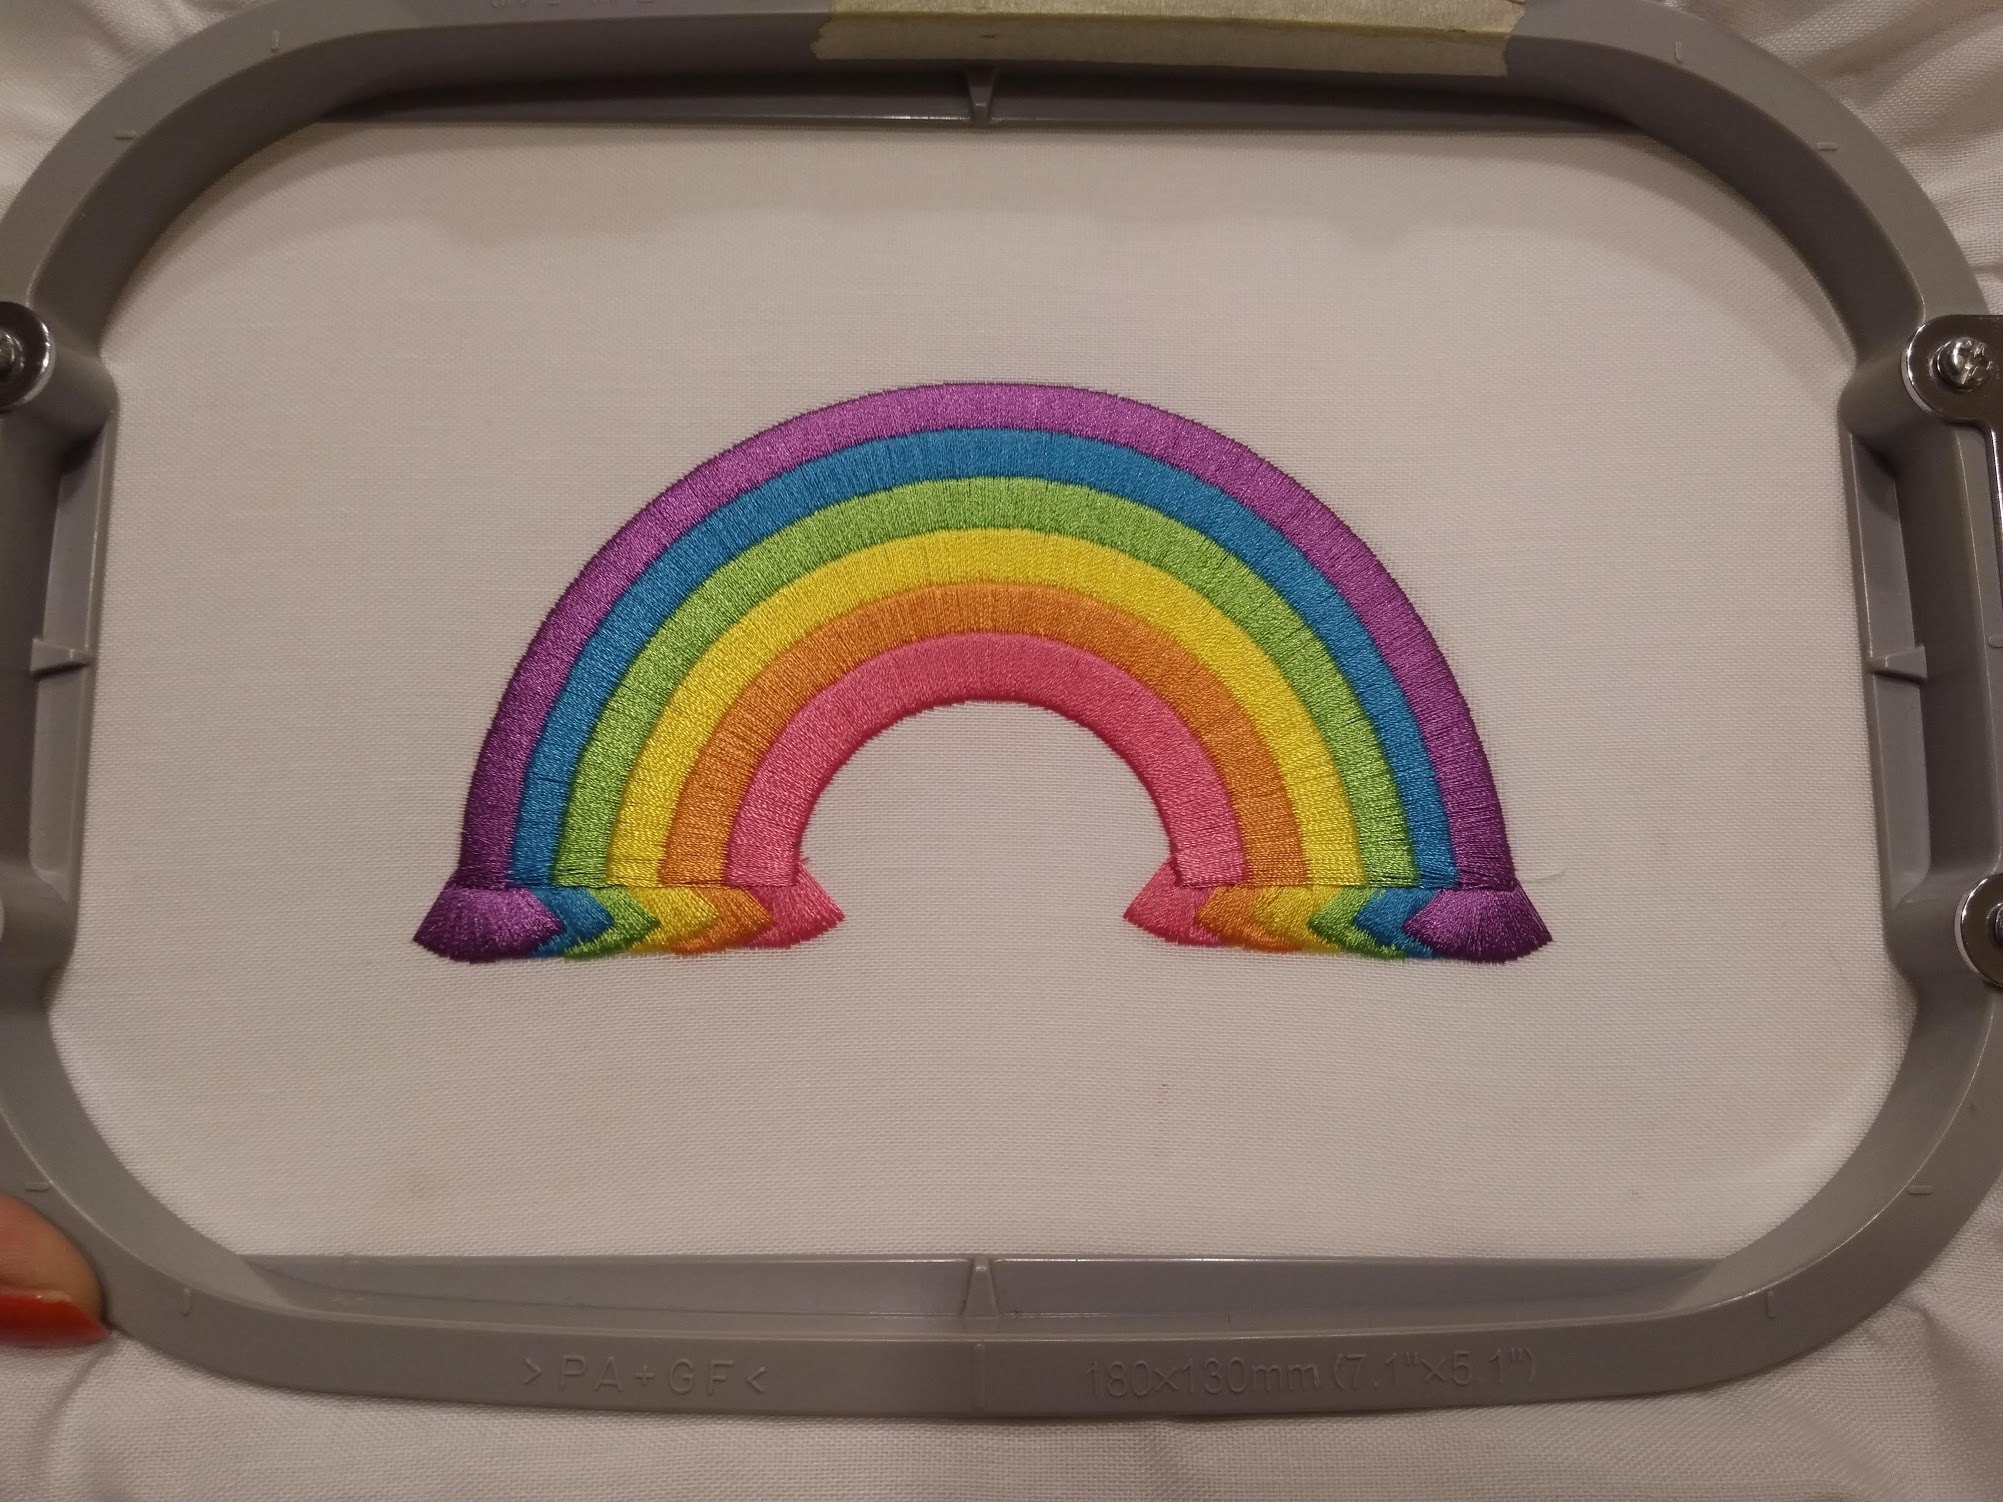
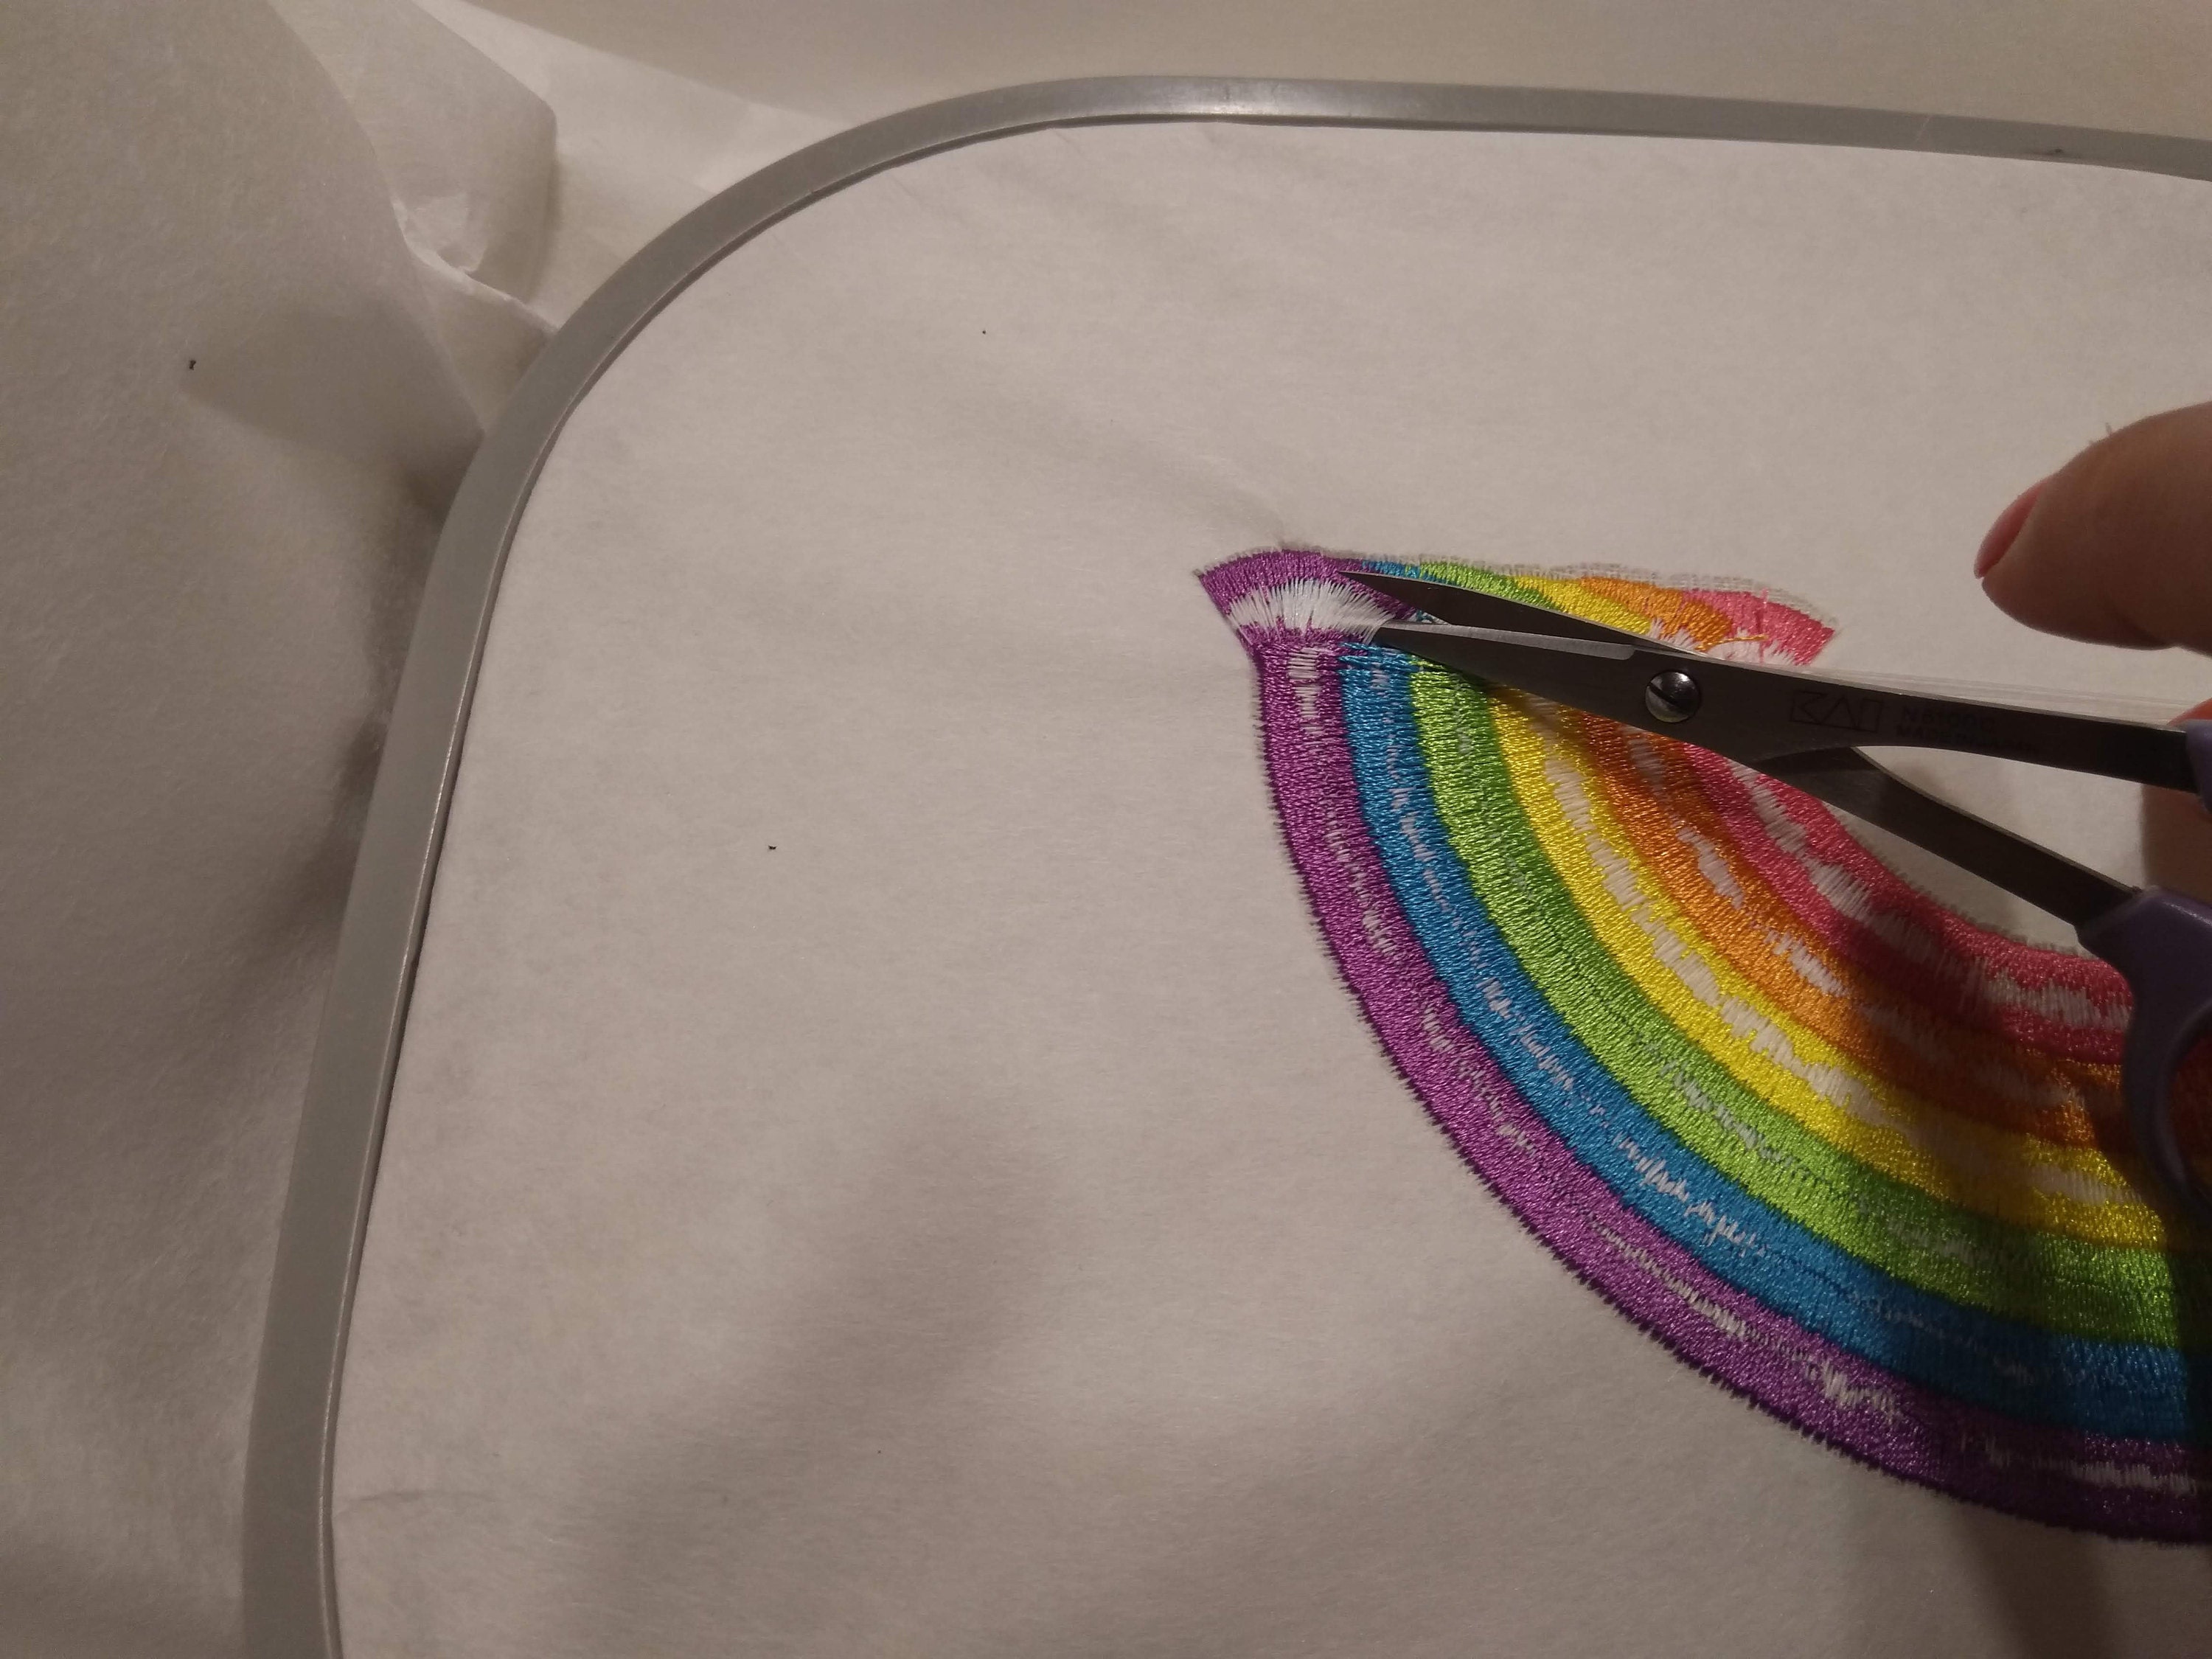
First, complete the embroidery design. The fringe designs have rows of long satin columns—these are the stitches you will work with to make the fringe.
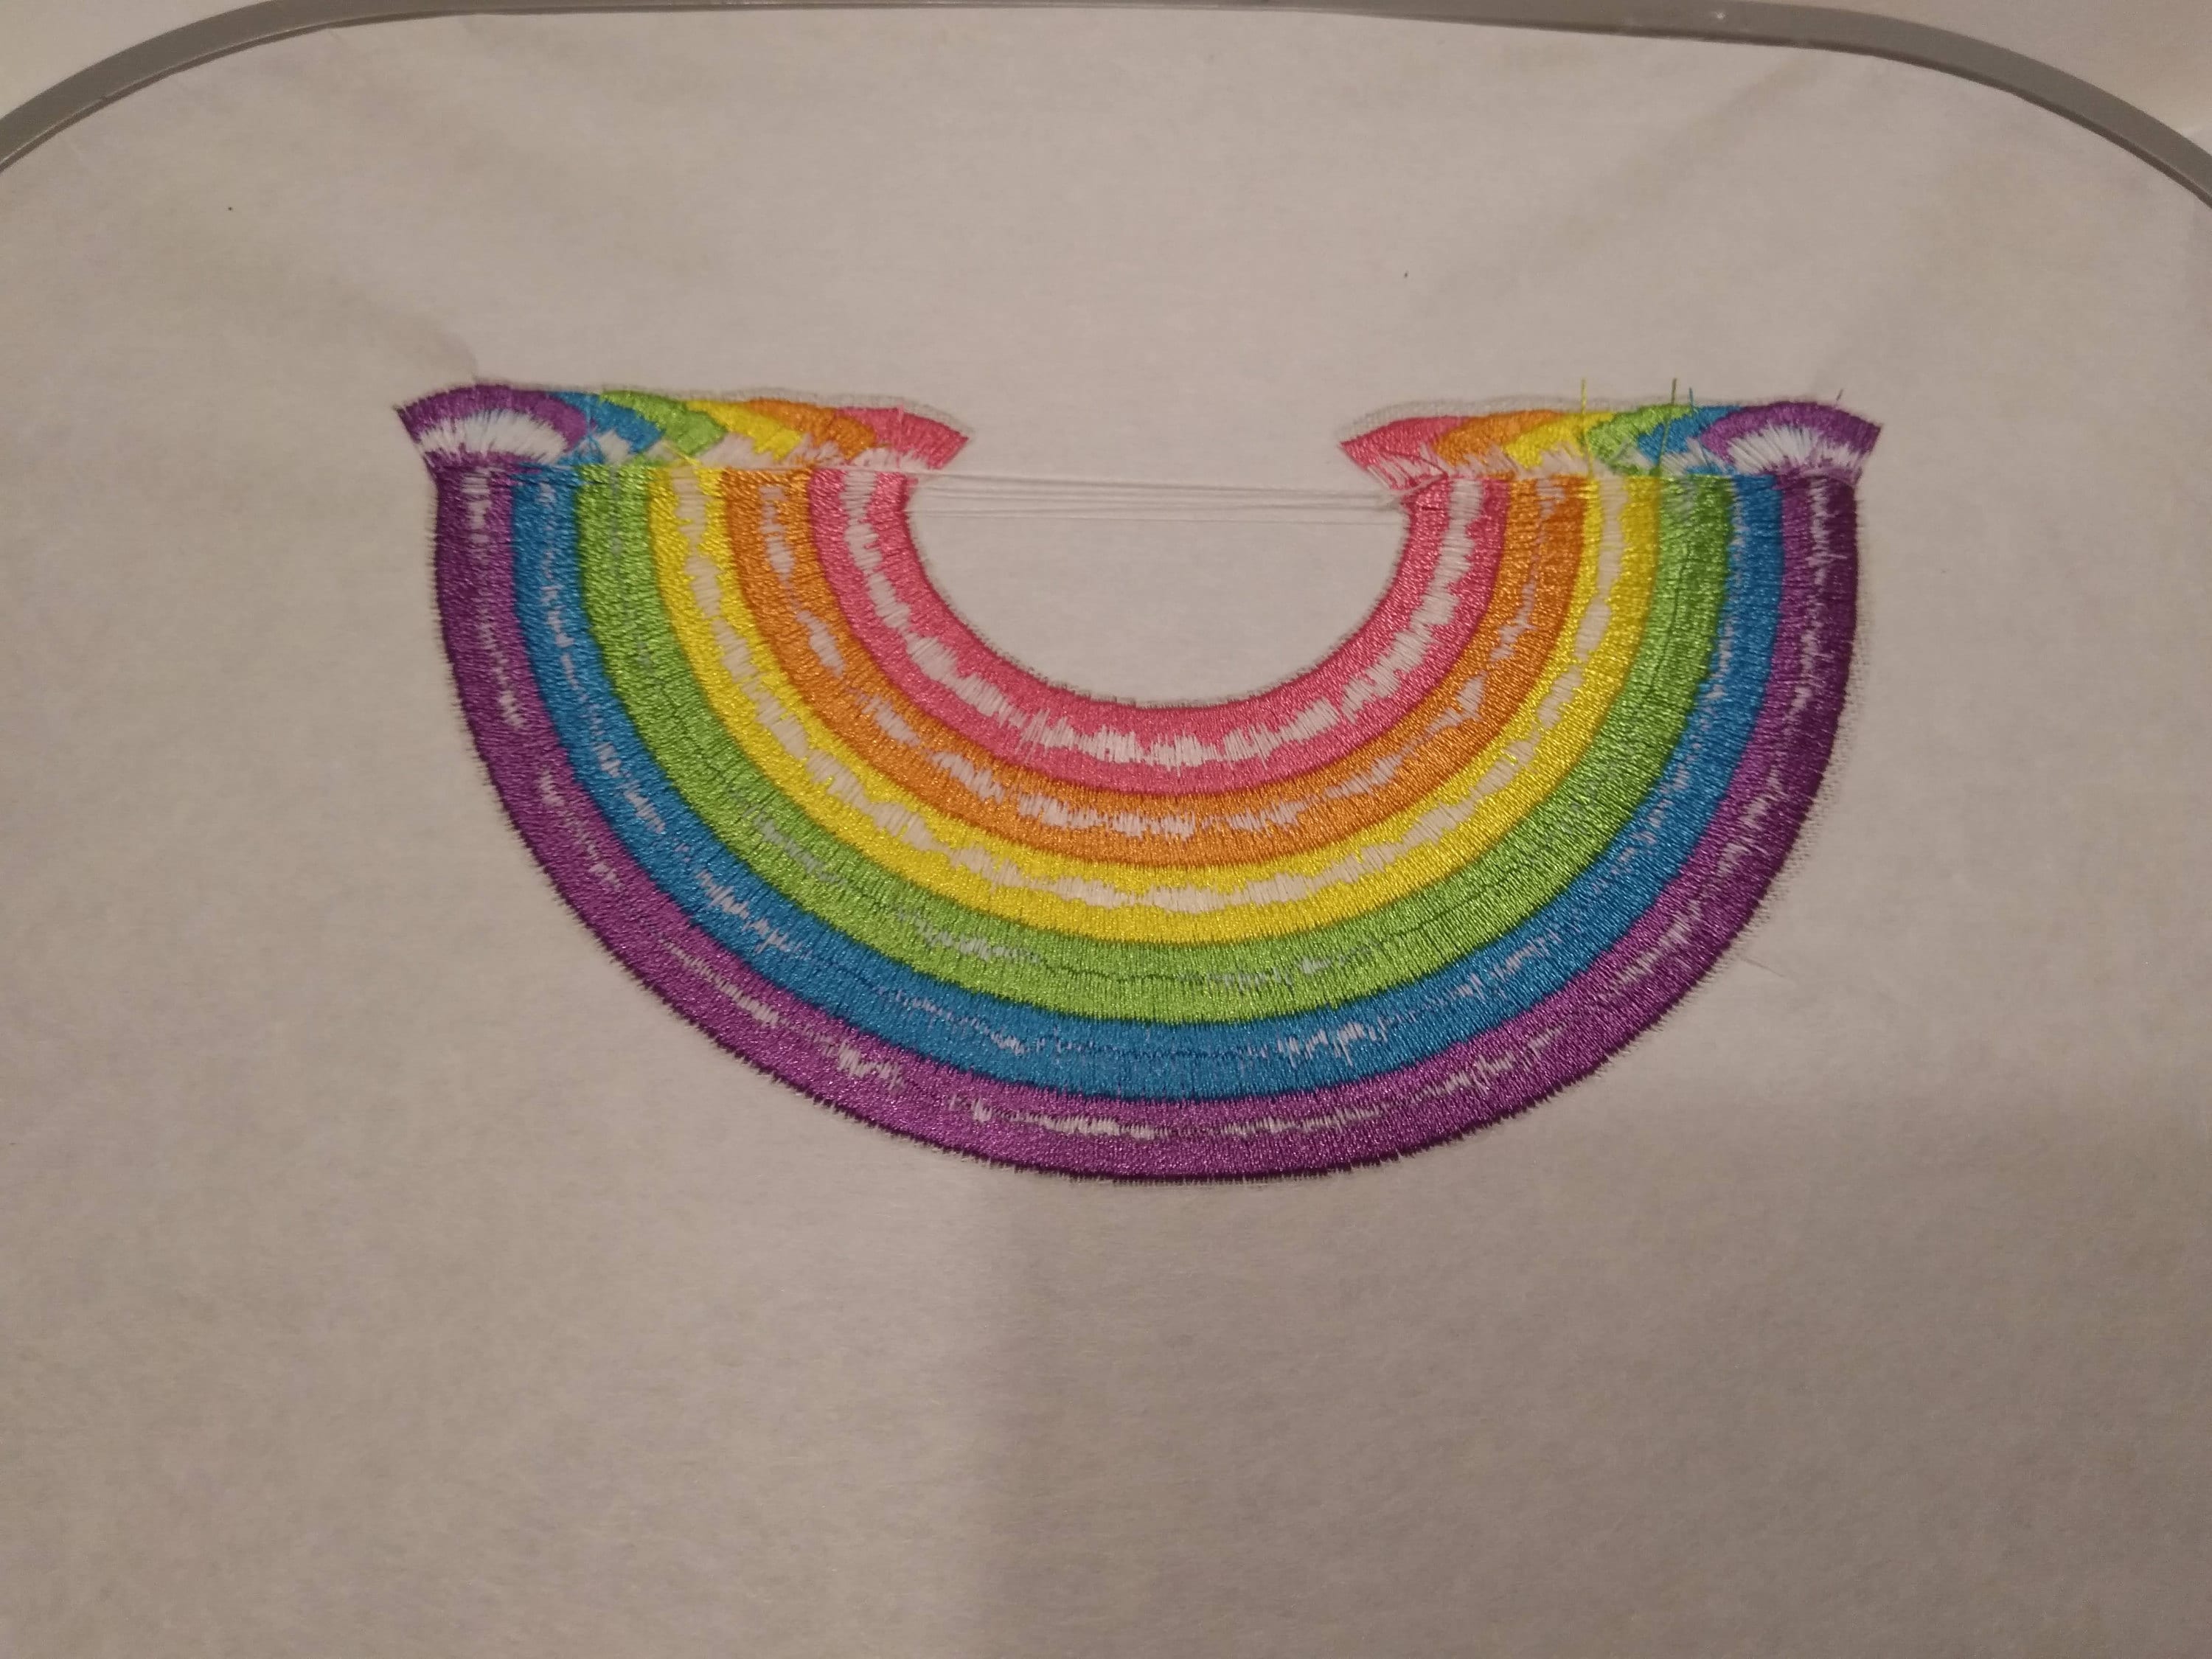
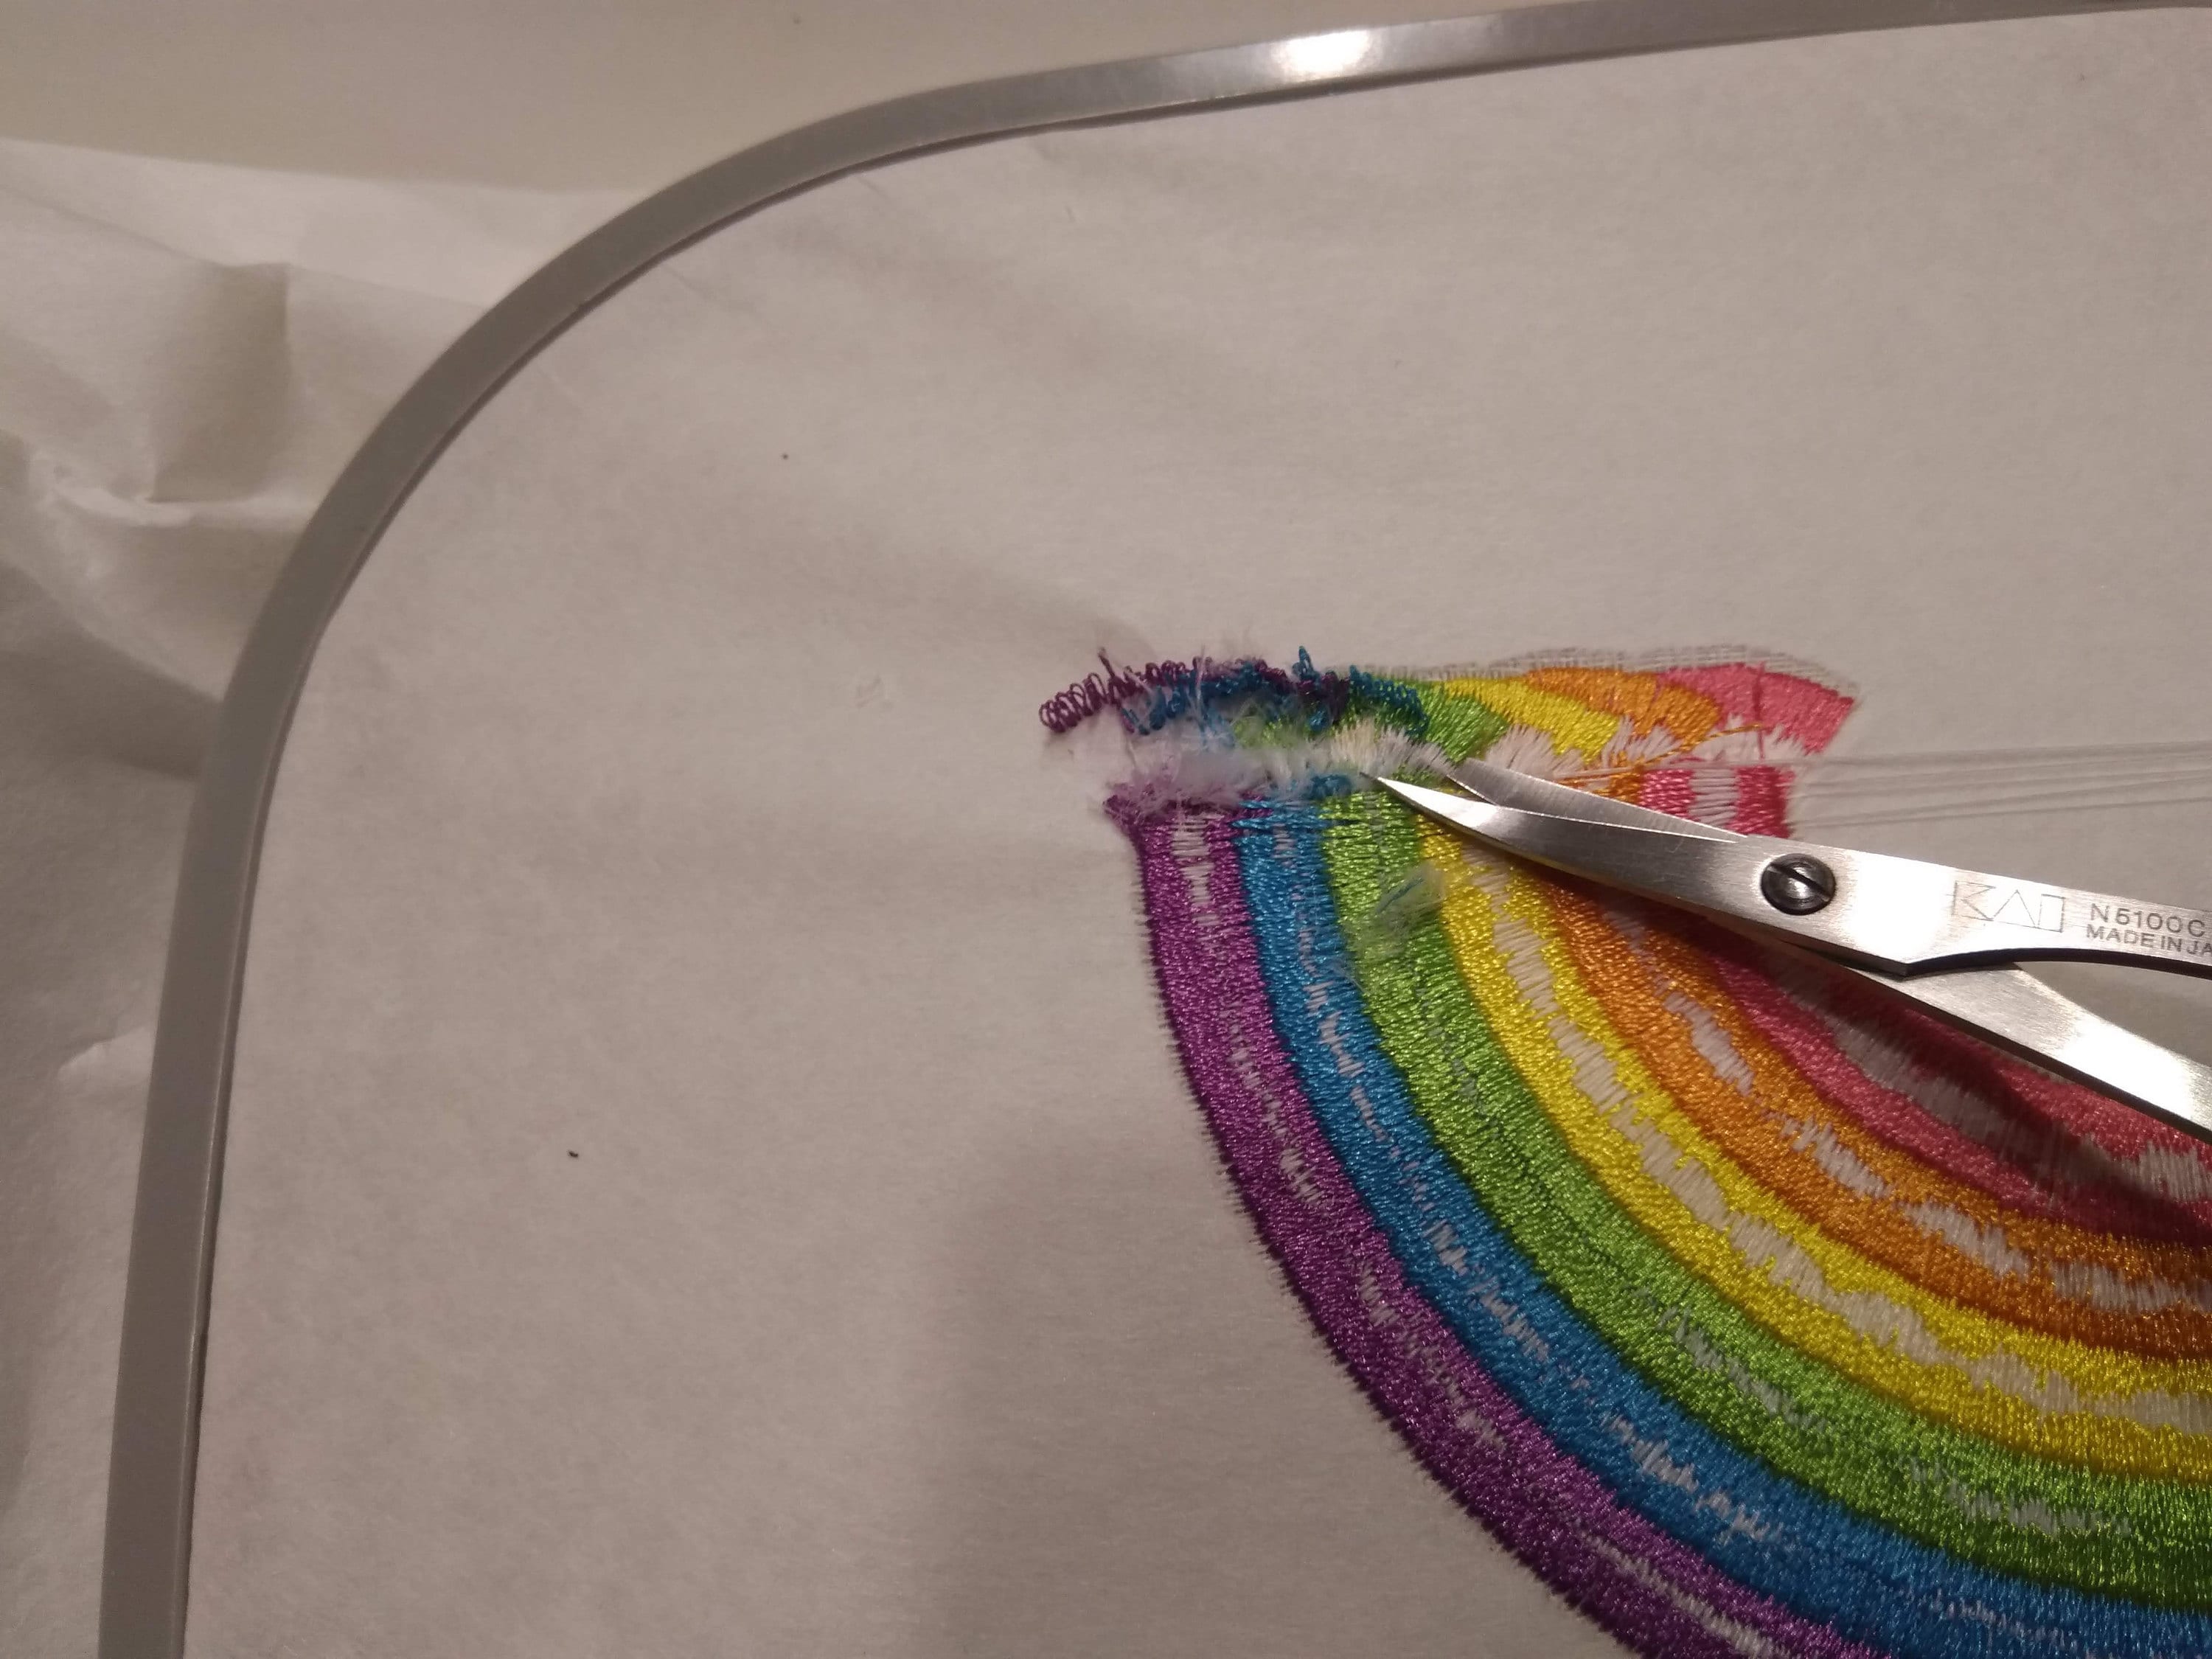
Next, turn the hoop over to the back. Cut the bobbin stitch of the first thread color that is located on top.
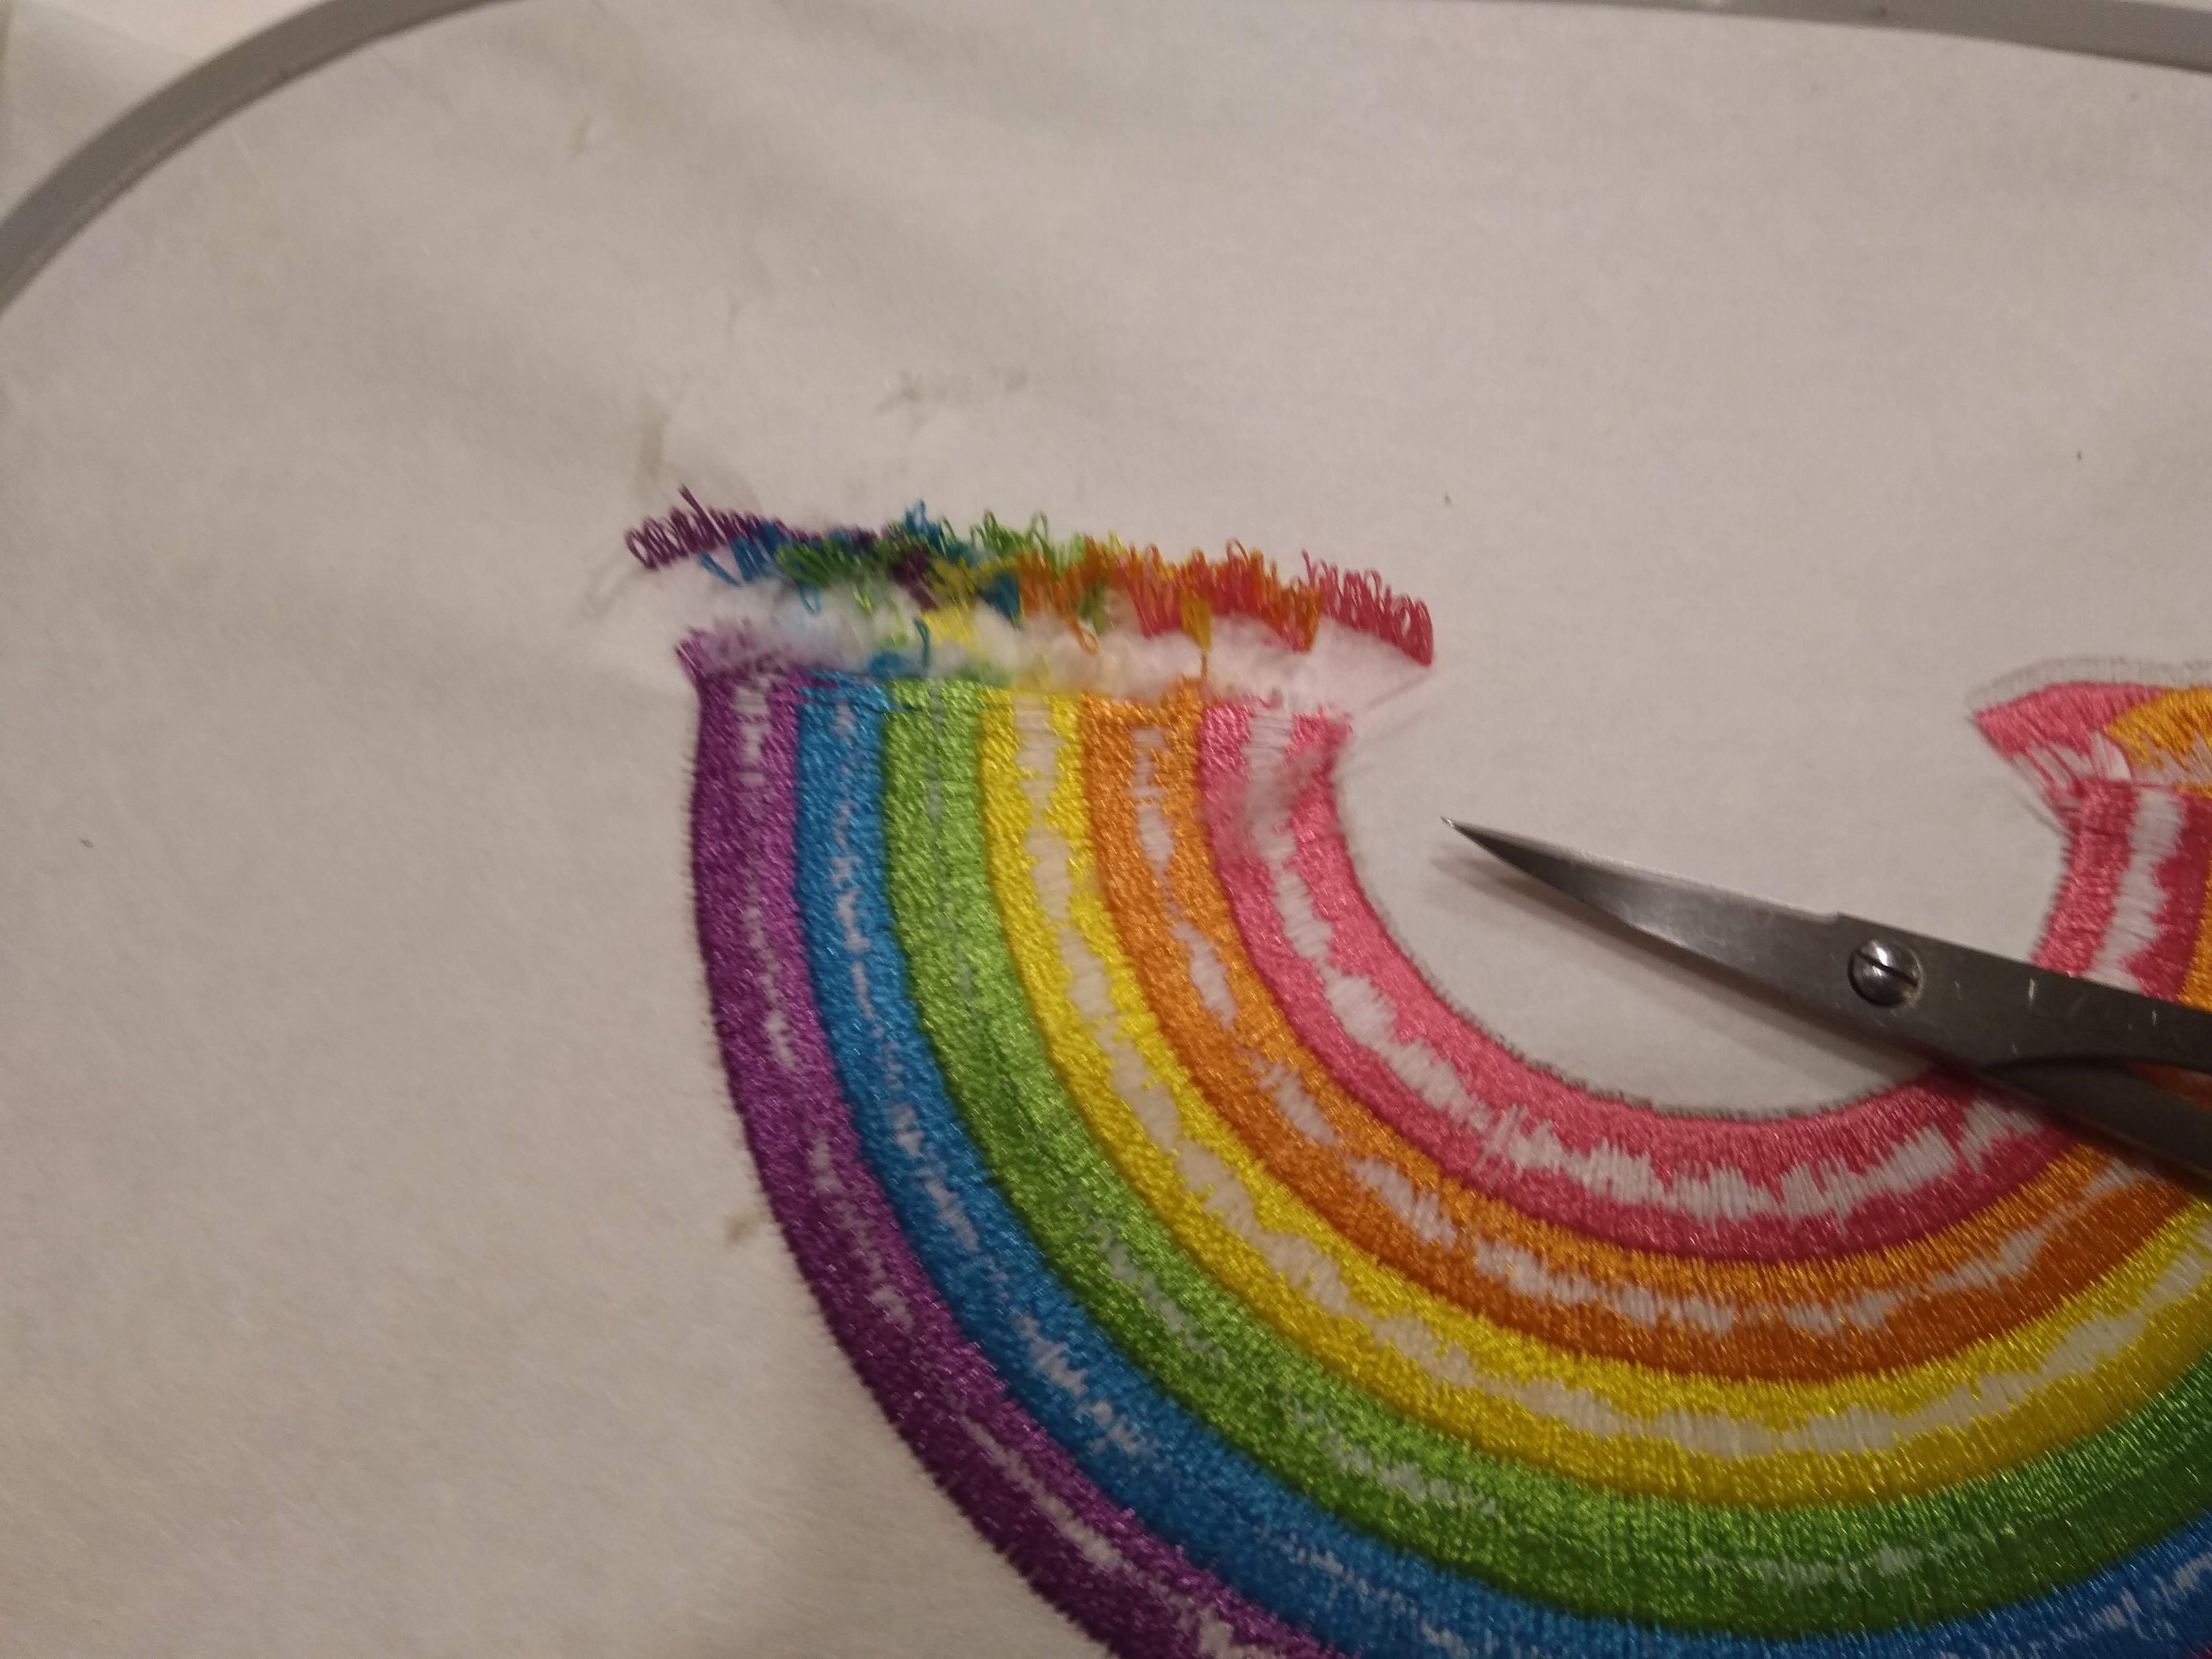
Continue this process step-by-step, cutting the bobbin stitches for all the satin stitch colors.
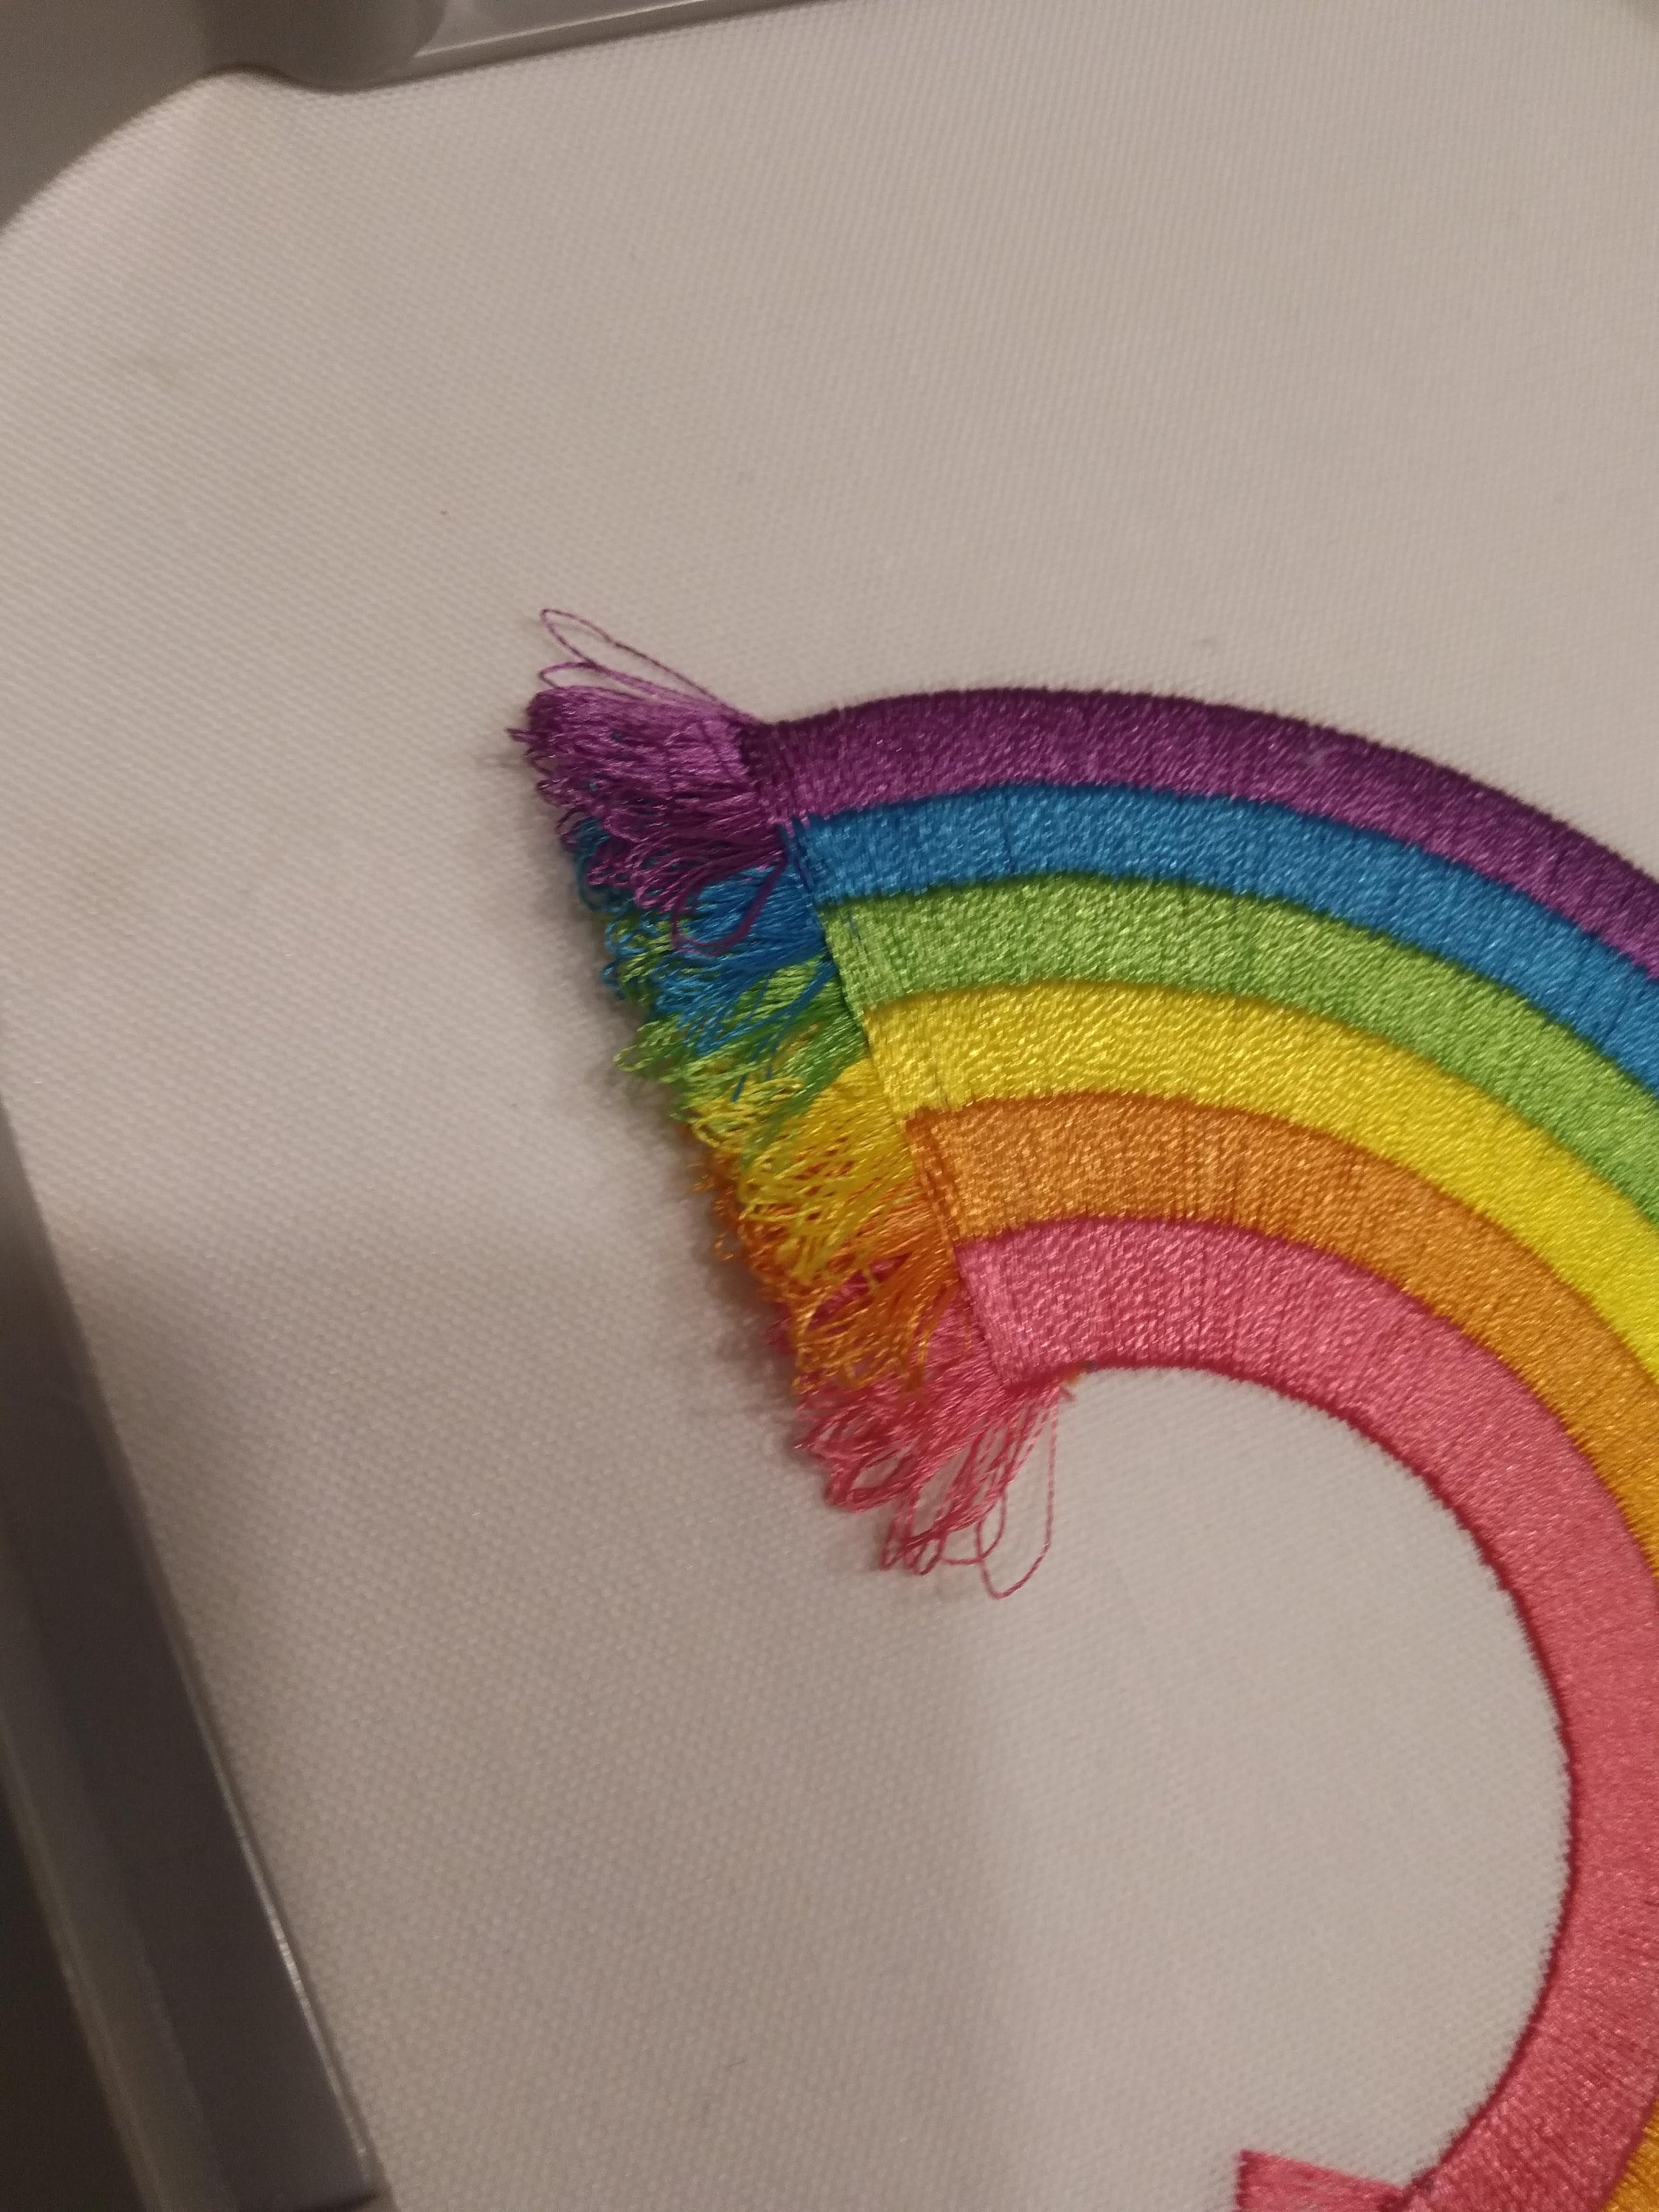
Finally, turn the embroidery back to the front side and gently fluff the fringe with the point of small scissors to give it volume.
Find More Designs
Shop for Rainbow designs here:
Shop for all fringed designs here: